










How to Build a Raised Planter Box: A Complete First-Timer’s Guide
Why Raised Planter Boxes Are Worth Building
Raised planter boxes have become one of my favorite DIY projects to recommend to home gardeners, and honestly, it’s easy to see why. You get total control over your soil, drainage, and growing conditions in a way that just isn’t possible when you’re planting directly in the ground. Got a small backyard, a concrete patio, or even a rooftop? A raised planter box lets you grow herbs, vegetables, and flowers in spots you’d never expect.
What I also love about this project is how satisfying it feels to finish. You get to check off woodworking and gardening in the same afternoon, and you don’t need any carpentry experience to pull it off. The techniques are simple, the tools are ones most people already have, and you can find everything you need at any home improvement store. A lot of first-timers say this is the project that gave them the confidence to tackle bigger builds — and I totally believe it.
There’s also a pretty compelling financial case for building your own instead of buying pre-made. A comparable cedar planter box at a garden center can easily cost two to four times what you’d spend building one yourself. Add in the freedom to customize the size, wood, and finish, and the DIY route really is the obvious choice if you’re willing to put in a few hours of work.
Choosing the Right Materials and Wood
Before you make a single cut, the most important decision you’ll make is what kind of wood to use. This isn’t a detail to gloss over — pick the wrong lumber and your planter could rot, warp, or completely fall apart within a single growing season. The go-to choice for raised planter boxes is cedar, specifically western red cedar. It’s naturally resistant to moisture, insects, and decay without needing any chemical treatment, and it’s lightweight and easy to work with even if you’re new to woodworking.
Redwood is another solid option with similar rot-resistant qualities, though it tends to cost more and can be harder to find depending on where you live. Douglas fir and pine are friendlier on the wallet and will work fine as long as you seal them with a food-safe sealant first — just know they won’t hold up as long as untreated cedar. One thing to avoid entirely: pressure-treated lumber for any planter where you’re growing food. The chemicals used to treat it can leach into your soil and eventually into what you’re eating.
For a standard beginner build, here’s what you’ll need to make a box roughly 24 inches long, 12 inches wide, and 12 inches tall — a comfortable, manageable size for a first project.
- Two boards at 1 x 6 x 24 inches for the long side panels
- Two boards at 1 x 6 x 12 inches for the short end panels
- Two additional sets of the above for a double-stacked wall height
- One piece of 1 x 6 lumber cut to fit for the bottom, with drainage gaps
- 1.5-inch exterior wood screws or galvanized nails
- Wood glue rated for exterior use
- Sandpaper in 80-grit and 120-grit
- A food-safe wood sealant or linseed oil for non-cedar wood
While you’re at the store, grab a sheet of landscape fabric or burlap to line the inside of the box before you fill it with soil. It does two things: keeps your growing medium from washing out through any gaps in the wood, and lets excess water drain freely. One heads-up — staple the fabric to the inside walls before you fully assemble the box. Trying to fit it afterward is a frustrating puzzle you don’t need to solve.
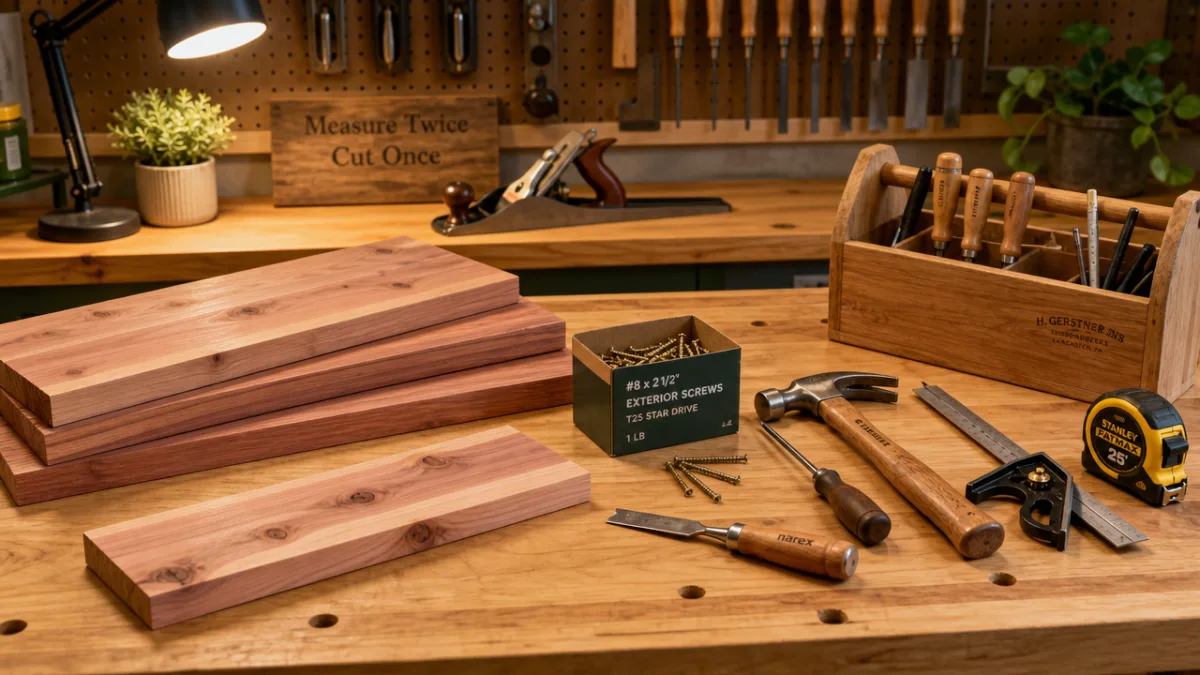
Tools You Will Need for This Project
One of the best things about this project is that you probably already own most of what you need. To cut your boards, a circular saw is the quickest option, but a hand saw works perfectly well if you take your time and keep your cuts square. A miter box is a cheap and handy tool that guides a hand saw for clean, accurate 90-degree cuts without needing any power tools at all.
For fastening everything together, a cordless drill is highly recommended over a manual screwdriver — though either will technically get the job done. The step that a lot of beginners skip is pre-drilling pilot holes before driving in the screws, and skipping it leads to split wood and frustration. Cedar is a relatively soft wood and benefits a lot from a pilot hole that’s just slightly smaller than your screw’s diameter. It only adds a few minutes to the whole build, and the difference in results is really noticeable.
Here’s what to gather before you get started:
- Circular saw or hand saw for cutting lumber to length
- Cordless drill and drill bits including a pilot hole bit
- Phillips-head driver bit
- Tape measure and pencil for marking cuts
- Speed square or combination square for checking right angles
- Clamps to hold boards in position while fastening
- Staple gun for attaching landscape fabric
- Safety glasses and work gloves
Clamps are worth calling out specifically, because a lot of first-time builders underestimate how much easier they make everything. When you’re trying to hold two boards in place and drive a screw at the same time, something always shifts at the worst moment. Even a pair of inexpensive bar clamps will hold your pieces steady while you fasten them, so your box ends up square and tight at the joints rather than slightly skewed. If you don’t already own clamps, they’re cheap enough to just add to your lumber shopping list.
Step-by-Step Construction Process
Start by cutting all your lumber to the right dimensions before you assemble anything. Cutting everything first and then assembling is always more efficient than cutting one piece, fitting it, cutting the next, and so on. Once all your pieces are cut, lay them out on your work surface and double-check the measurements before you move on. This is also the right moment to knock down any rough edges with your 80-grit sandpaper and finish up with 120-grit. You’ll thank yourself later when you’re handling the finished planter.
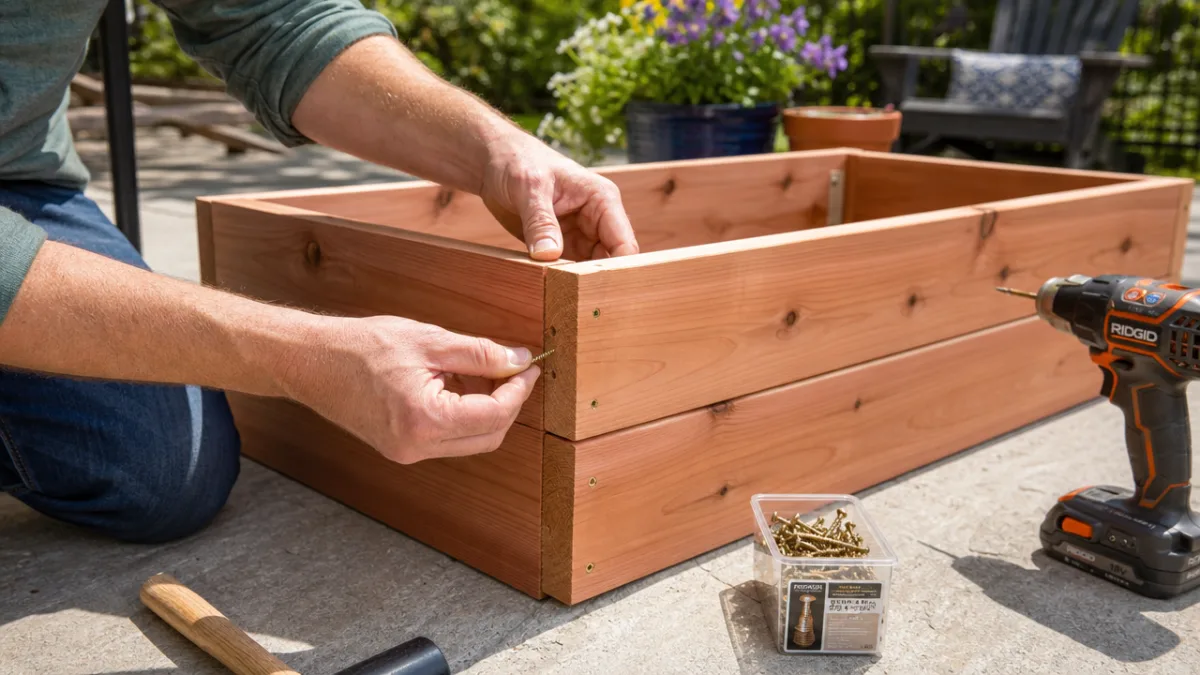
Start building by assembling the two long side walls first. Run a thin, even bead of exterior wood glue along the edge of your short end boards, then clamp a long side board against them to form an L-shape. Drill your pilot holes through the long board and into the end grain of the short board, then drive your screws in. Two screws per joint is much stronger than one — it resists racking and twisting a lot better. Repeat this for the second long side, then join your two L-shaped pieces together into a complete rectangular frame.
Once that first rectangle is assembled and the glue has had 20 to 30 minutes to tack up, stack your second course of boards on top — but stagger the joints so that no seam on the upper course lines up directly with a seam on the lower one. This is the same idea as brick-laying: offset joints spread stress more evenly across the structure and eliminate any single weak spot. Fasten the upper course down through pilot holes into the top edge of the lower course, using glue at each joint just like before.
For the bottom, you have a couple of options. You can cut boards to span the width and attach them to a ledger strip fastened to the inside of the lower course, leaving small gaps between boards for drainage. Or, if you’re placing the planter directly on soil, you can leave the bottom open entirely and let plant roots eventually reach the ground underneath. For patios or decks where an open bottom isn’t practical, attach your bottom boards with gaps of about half an inch between each one so water can escape and the wood doesn’t end up sitting in a puddle.
Lining, Filling, and Finishing Your Planter Box
Before you add any soil, line the inside of your finished box with landscape fabric or burlap. Cut it generously so it runs up all four interior walls and folds over the top edge by at least an inch, then staple or tack it in place. This layer keeps your soil mix from washing out through any gaps in the wood during watering, while still allowing moisture to drain through the fabric itself. It’s a small step that makes a real difference in how well the planter holds together over time.
The soil mix you use matters just as much as the build itself — maybe more, since it’s what your plants are actually living in. Regular garden soil from your yard isn’t a good fit here because it compacts badly in a confined space and drains poorly. Instead, use a blend made for raised beds, or mix your own with roughly equal parts of good compost, coarse perlite or vermiculite for drainage, and a peat-free growing medium. This combination stays loose and aerated even after repeated watering, which gives plant roots the kind of open, oxygen-rich environment they really thrive in.
If you went with pine, fir, or another wood that isn’t naturally rot-resistant, now is the time to seal the exterior before you add soil. Brush the sealant into all the joints and end grain — those are the spots where water gets in first. Let it cure fully according to the manufacturer’s instructions before filling and planting. With an annual reapplication, a well-sealed pine or fir box can hold up for several seasons, making it a legitimate budget-friendly alternative to pricier lumber.
Planting Tips and Long-Term Maintenance
Now for the fun part. Your box is built, lined, and filled — time to plant something. If you’re new to gardening, herbs are a great place to start. They’re forgiving, they grow fast enough to keep things exciting, and you’ll actually use them in the kitchen. Basil, parsley, chives, thyme, and rosemary are all excellent choices that love the well-drained, loose soil your planter naturally provides.
One thing new gardeners tend to overlook in their excitement to fill every inch: spacing. The recommendation on a seed packet or nursery tag reflects the plant’s mature size, not how it looks the day you put it in the ground. Crowd your plants and they’ll compete for light, water, and nutrients — and poor airflow makes fungal disease a lot more likely. Following those spacing guidelines even when your seedlings look tiny and lonely will absolutely pay off in a few weeks when everything has room to grow without fighting for resources.
Maintaining a raised planter box is pretty low-effort, but it does require consistency. Plan to water more often than you would for an in-ground garden, since the elevated structure and good drainage mean the soil dries out faster — especially in warm weather. The easiest way to check: press your finger about an inch into the soil. If it’s dry at that depth, it’s time to water. At the start of each new growing season, top off the soil with a few inches of fresh compost to replace the nutrients last season’s plants used up. And once a year, take a few minutes to look over the wood for any cracking, splitting, or discoloration that might signal moisture damage. Catching those spots early goes a long way toward keeping your planter in good shape for years to come.
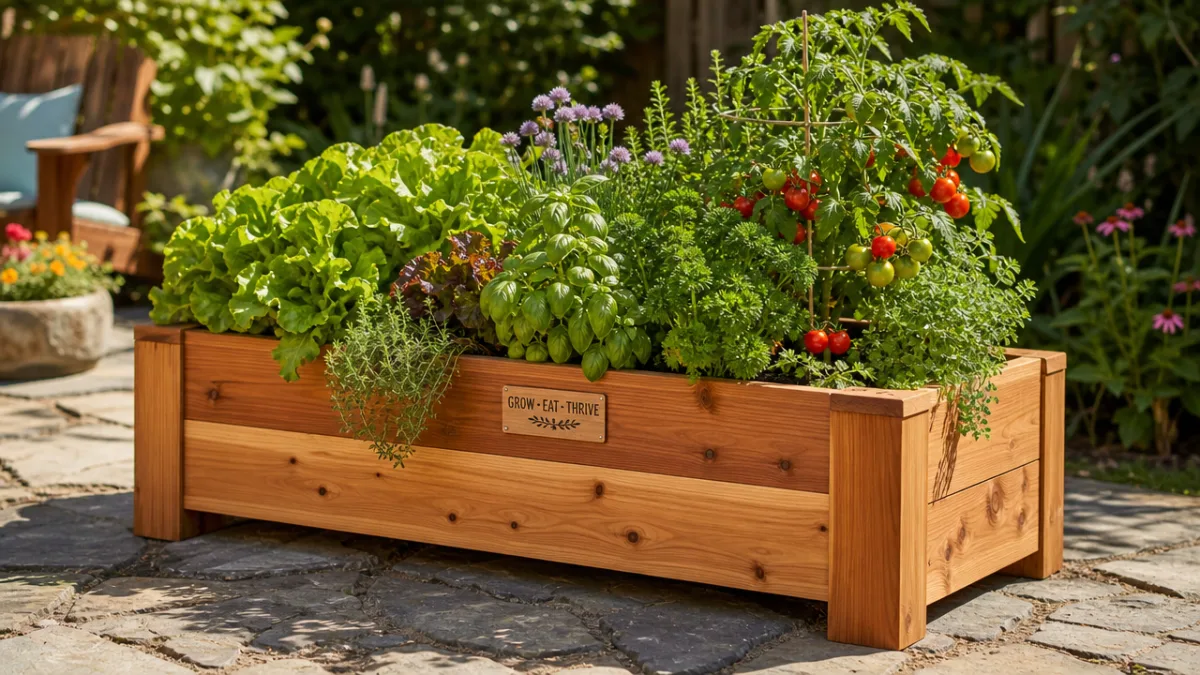
Customization Ideas to Make It Your Own
Once you’ve finished your first box, there’s a good chance you’ll immediately start thinking about what to build next — or how to make this one even better. A popular upgrade is adding a simple trellis to the back using vertical stakes and horizontal twine or wire. This turns your planter into a vertical growing system for climbing plants like cucumbers, pole beans, or compact tomato varieties. It also gives the whole setup a much more intentional, designed look that goes well beyond a basic box.
Adding casters or wheels to the bottom is another upgrade worth considering. It transforms your planter from something fixed into something you can actually move around — chase the sun, bring it indoors before a frost, or just rearrange your patio on a whim. Heavy-duty locking casters rated for outdoor use are inexpensive and attach easily with short screws driven up through the bottom boards. This is especially handy for renters or anyone who wants a flexible garden setup without making permanent changes to their space.
For a more polished finish, try adding a cap rail around the top perimeter of the box. It’s just a wider, slightly thicker board laid flat on top of the wall, overhanging the edge by an inch or so on each side — similar to the top rail of a fence. On a practical level it gives you a surface to set down tools, rest a coffee mug, or perch while you’re tending your plants. It also protects the top edges of your wall boards from direct rain, which is typically one of the first places moisture damage shows up. With a cap rail on it, your planter stops looking like a construction project and starts looking like actual outdoor furniture — and don’t be surprised when your neighbors ask you where you bought it.








What do you think?
It is nice to know your opinion. Leave a comment.