










“`html
DIY Laptop Card for Your Bestie: A Complete Step-by-Step Guide
There’s something about a handmade gift that just hits differently. No store-bought card can quite capture the feeling of “I actually sat down and made this for you,” and when it comes to your best friend, that matters. A DIY laptop card is one of those projects that’s clever enough to feel special but totally doable — whether your bestie is a hardcore tech person, a student practically glued to her laptop, or just someone who appreciates when you go the extra mile. Trust me, the moment she opens it, she’s going to love it.
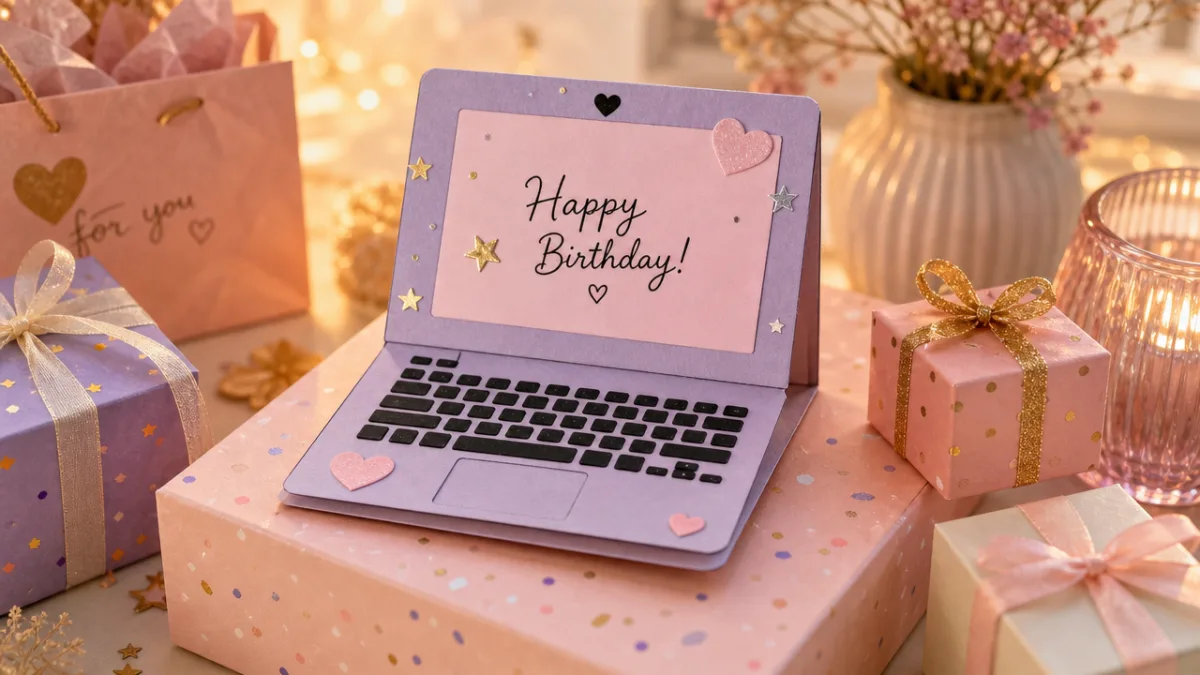
What I love about this particular project is that it looks way more impressive than it actually is. The finished card is dimensional and interactive — it literally opens like a tiny laptop, with a “screen” that swings open to reveal your message inside. It’s the kind of thing people set on their desk or prop up on a shelf and keep there for ages, because it’s just too cute to toss.
This guide walks you through the whole process from start to finish: what to buy, how to cut and fold everything, ways to decorate it, and how to write a message that’ll actually mean something. By the time you’re done, you’ll have a card ready to gift and a skill you can pull out again and again for every birthday, graduation, or “just because” moment that comes along.
Gathering Your Materials and Tools
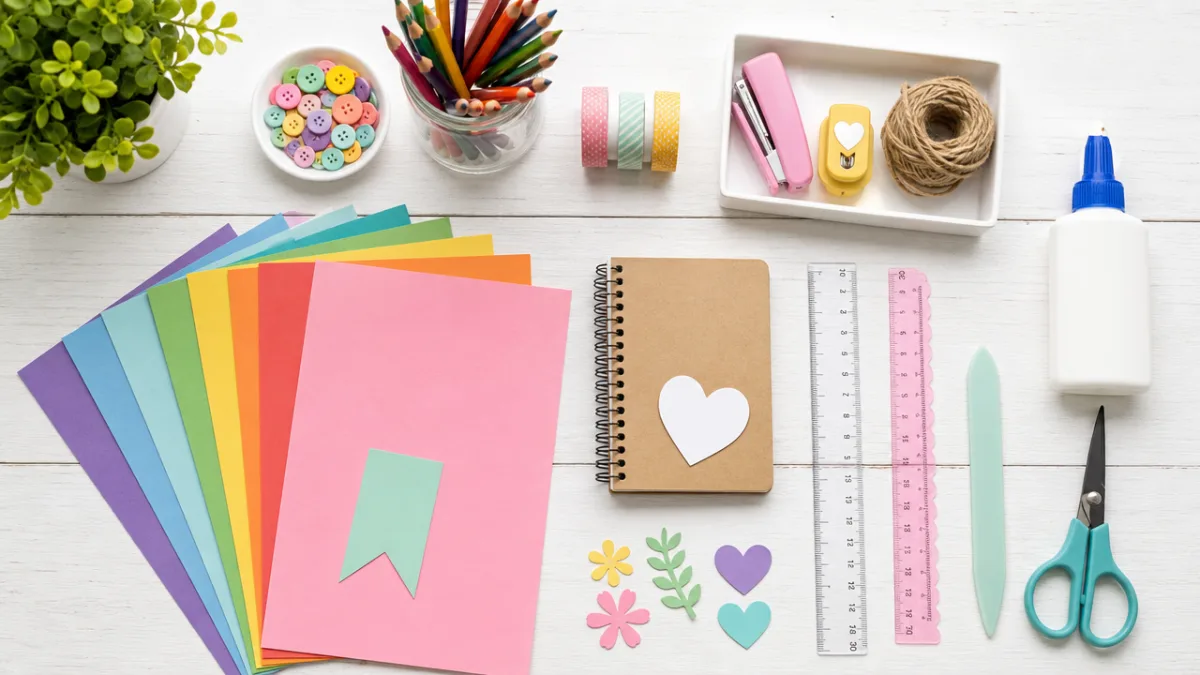
Before you start cutting anything, do yourself a favor and get everything laid out first. Hunting for your scissors halfway through a project is the fastest way to lose momentum, and honestly, having everything in front of you makes the whole thing feel a lot more fun. The good news is you probably already own most of this stuff, and anything you’re missing is cheap and easy to find at a craft store or online.
For the base of the card, you’ll need two pieces of sturdy cardstock in whatever color feels right. Gray, silver, white, rose gold, and classic black all look really great because they actually look like a laptop. You want something heavy enough to hold its shape when folded but not so stiff that it cracks — standard 80 to 110 lb cardstock is the sweet spot. You’ll also want a smaller piece of black or very dark navy cardstock for the screen area, which gives it that realistic contrast.
Beyond the cardstock, grab a ruler, a pencil for light guide marks, scissors or a craft knife with a cutting mat, and a bone folder for clean crisp folds. For adhesive, a glue stick or double-sided tape both work well. Then there’s the fun stuff: metallic markers or gel pens, alphabet stickers or stamps, washi tape, small decorative stickers, maybe a tiny printed keyboard image, and a fine-tip black pen for drawing keyboard details. Lay it all out on a clean flat surface and you’re ready to go.
Creating the Laptop Structure: Cutting and Folding
The whole charm of this card is in the structure, so it’s worth slowing down here and measuring carefully. Start by cutting your main cardstock into a rectangle that’s about 8 inches wide by 5.5 inches tall. This one piece is going to become both the screen and the keyboard base once it’s folded in half. Use your ruler and bone folder to score a fold line right down the center at the 4-inch mark, then fold along it so the top half becomes the screen lid and the bottom half becomes the keyboard tray.
The card should open and close just like a real laptop hinge, with the opening at the top where the screen tilts back. That orientation is what gives it the right silhouette. If you want it to be a little wider than tall when open (which is how real laptops look), just trim a small strip from the top or adjust your original cut. The goal is that when you open it flat, it reads immediately as a laptop viewed from slightly above.
Once the base fold is done, cut a slightly smaller rectangle from your dark cardstock for the screen. It should be about half an inch smaller on all sides than the top portion of the laptop, so there’s a visible border of the main color around it. Adhere it centered on the upper half of the card. On the lower half, lightly sketch a keyboard layout — you can draw little rectangles freehand to represent keys, or cut out a printed keyboard image and glue it on. That one detail is honestly what makes the whole thing click visually and look unmistakably like a laptop.
Decorating the Exterior: Making It Uniquely Yours
Okay, here’s where it gets really fun. The outside of the laptop lid is your canvas, and this is your chance to make it feel like it was made specifically for her — because it was. Think about who she is: her favorite colors, the shows she’s obsessed with, a quote that never fails to make her laugh, or a symbol that means something to just the two of you.
If she’s more of a minimalist, keep it clean and elegant — maybe just her initial in a pretty font, a tiny hand-drawn botanical or geometric detail, and a thin line of metallic ink around the edges. If she’s all about color and maximalism, go wild: layered washi tape borders, bold stickers, doodles in every color, chaotic fun patterns. You could even lean into the sticker-covered laptop aesthetic that so many people actually have, scattering little decorative stickers across the lid so it looks like her real laptop might look.
Another great approach is to build the design around something you share. A movie you watch together every year, a place you’ve both been dreaming about visiting, an inside joke that only the two of you would get. When the card’s visual design is rooted in that kind of shared history, it stops being just a cute craft project and starts being a little artifact of your friendship. Use markers, paint pens, hand lettering, or printed images — whatever brings your idea to life best.
Writing the Perfect Message Inside the Screen
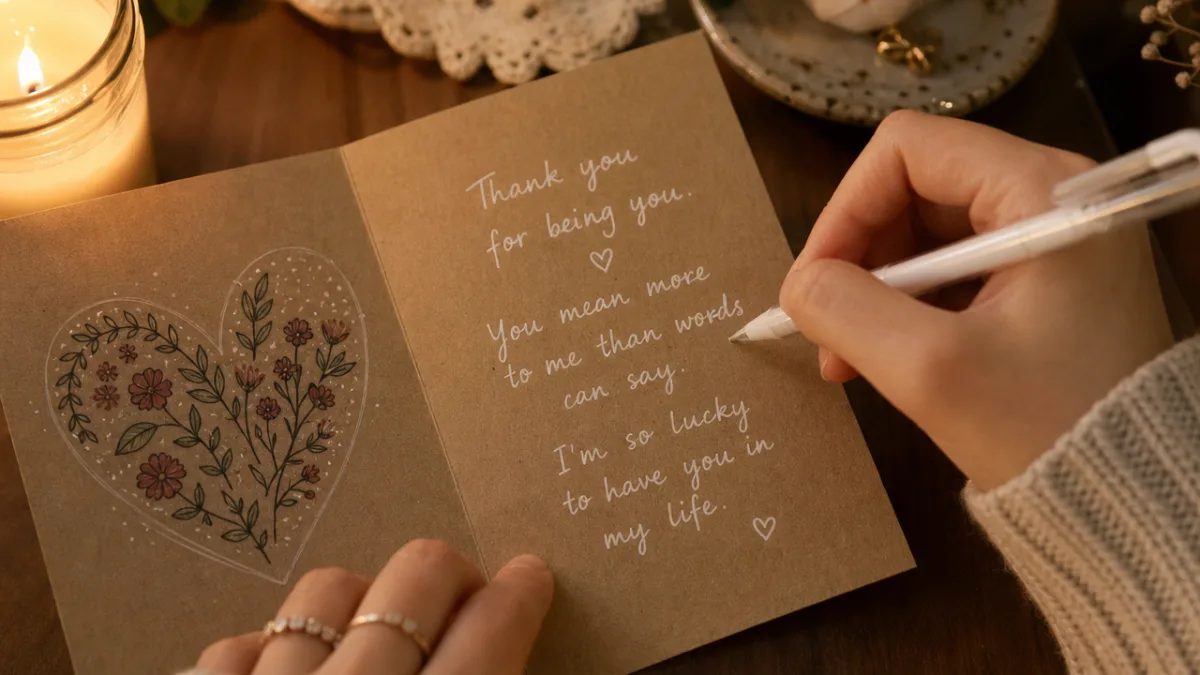
The dark screen panel is such a perfect spot for your message, and because it already looks like a display, you can have a lot of fun with the format. A white or light-colored gel pen on the dark background mimics glowing screen text beautifully — it’s a small touch that makes the message feel surprisingly fresh and modern instead of like a standard card greeting.
If you want to lean into the laptop metaphor, there are so many fun ways to structure the message. Something like “Loading best friend appreciation message… 100% complete” before you get into the real stuff is the kind of opener that’ll make her laugh before she even reads the actual words. You could also write it as a browser notification, a fake text thread, or even a faux document that starts “Dear [Name].doc.” These little details communicate that you thought about every single part of this, and she’ll feel that.
That said, the words themselves are what matter most. Before you pick up the pen, take a minute to think about what you actually want to say. Bring up a specific memory that captures something real about your friendship. Tell her something you genuinely admire about her. Say thank you for something she’s done that you’ve never quite found the words for before. The messages people hold onto are never generic — they’re the ones that are specific and honest and could only have come from one person, for one person. Write her that kind of message.
Optional Add-Ons and Enhancements to Elevate the Card
If you want to take it up a notch, there are some really lovely extras worth adding. One of my favorites is tucking a small interactive element into the keyboard area — a tiny pull-out flap, a sliding panel, or a little hidden pocket where you can stash a second note, a photo, or a gift card. That kind of surprise transforms the card from something she reads once into something she explores, which makes the whole experience so much more memorable.
Texture and dimension go a long way, too. Foam adhesive squares under certain stickers or decorative pieces lift them off the surface just enough to give everything a polished, layered look. A little glitter glue or clear embossing powder in the right spots catches the light in the best way. Even something as simple as wrapping a ribbon or piece of twine around the closed card gives the moment she receives it a tiny ceremony feel — like something worth slowing down for.
Don’t overlook the envelope or packaging either, because presentation really does set the tone. You can easily fold your own envelope out of a large decorative paper square to match your card’s color scheme. Seal it with a wax stamp if you have one, or a pretty sticker works just as well. Adding a small tag on the outside with just her name in your handwriting is such a simple thing, but it makes a difference — it tells her before she even opens anything that what’s inside was meant for her specifically.
Tips for Gifting and Making the Moment Special
A card this thoughtful deserves a thoughtful moment of gifting. Instead of just handing it over on the way out the door, think about building a little something around it. A few small items that play into the laptop theme work perfectly alongside it — a sticker pack she can actually use, a fun cable organizer, a cute mouse pad, or even just her favorite snack and a coffee shop gift card so the two of you can actually sit down together. It doesn’t have to be a lot; you’re just creating a little cohesive moment rather than a single object handed over in passing.
If you’re mailing it instead of delivering it in person, take a little extra care with packaging so it arrives looking as good as it left. Slip a backing board into the envelope so nothing bends in transit, write “Do Not Bend” clearly on the outside, and consider a padded mailer for good measure. A note on the envelope saying something like “Open carefully — something handmade inside” is a thoughtful heads-up that slows her down and sets the right mood before she even gets to the card itself.
And finally — don’t save something like this only for birthdays or big occasions. Surprising your best friend with a handmade card on a random Tuesday when she’s stressed about work, or on the anniversary of the day you met, or simply on a day when you caught yourself feeling grateful she exists — that kind of timing can make a gift land even harder than one tied to a calendar date. The best gifts aren’t always the biggest or the most expensive. Sometimes they’re just the ones that show up at exactly the right moment.
Why Handmade Cards Will Always Matter
We can send a birthday message to anyone in the world in about three seconds now. GIFs, voice notes, little video clips — all of it instant, all of it easy. And yet handmade cards haven’t lost their meaning. If anything, they mean more than ever, precisely because they’re the thing nobody has to do. When someone sits down, gathers their supplies, thinks carefully about what to make and what to write, and creates something with their own hands just for you — that communicates something that no digital message can touch. It says: you were worth my time. Not my money, my time.
Handmade cards also tend to stick around in a way that other things don’t. Think about the cards you’ve held onto over the years — the ones in a box somewhere, or pinned above your desk. They’re almost always the handmade ones, or the ones where someone wrote something so specific and honest it felt like it was written just for you (because it was). This laptop card could easily become one of those for your bestie. Something she pulls out years from now and smiles at, remembering exactly where you both were in life when you made it.
There’s also something genuinely good in the making itself. A crafting session has this focused, meditative quality to it — you slow down, you work with your hands, you think about someone you love. That’s genuinely good for you. So as you cut and fold and decorate and write, know that this whole thing is a gift in both directions. You’re giving her something beautiful and personal. And you’re giving yourself a quiet, joyful hour or two of making something that matters. That’s a pretty wonderful return on a piece of cardstock and some craft supplies.
“`








What do you think?
It is nice to know your opinion. Leave a comment.