










43 Toilet Paper Roll Crafts: Easy and Creative Ideas for Kids
Why Toilet Paper Roll Crafts Are Perfect for Kids
Honestly, toilet paper rolls might be the most underrated craft supply in any household. Instead of tossing those cardboard tubes into the recycling bin, parents and teachers everywhere have figured out that they’re actually amazing building blocks for all kinds of creative projects. They’re lightweight, easy to cut, safe for little hands, and best of all — totally free. Since every home goes through them constantly, you’ve always got a fresh supply ready to go.
From an educational angle, these crafts give kids a real, hands-on way to connect with ideas about recycling and sustainability. When a child turns something headed for the trash into something they’re proud of, that lesson about reducing waste actually sticks — no lecture required. Parents and teachers can let the conversation happen naturally in the middle of making something cool, and kids absorb it without even realizing they’re learning.
Beyond the environmental side of things, crafting with toilet paper rolls quietly supports a whole range of developmental skills. Kids build fine motor control through cutting, folding, and gluing. Their creativity gets a genuine workout when they’re handed an open-ended material with no single right answer. And that natural focus that comes from watching a project slowly take shape? That’s patience being practiced in the best possible way. Whether you’ve got a curious three-year-old or a crafty teenager, there’s a toilet paper roll project that fits right where they are.
Essential Supplies to Get Started
Before you jump into any of these projects, it’s worth taking a few minutes to pull together a basic toolkit of supplies. The good news is that most of what you need is probably already floating around in a junk drawer or craft bin somewhere. Getting everything laid out before you start makes the whole experience smoother for kids and keeps the creative momentum going — nobody wants to stop mid-project to hunt down a pair of scissors.
The real essentials are pretty simple: child-safe scissors, non-toxic craft glue (or a low-temperature glue gun for older kids), and a solid selection of paints like tempera or acrylic. Markers, colored pencils, and crayons all add great detail and personality to finished pieces. Throw in some googly eyes, pipe cleaners, pom-poms, yarn, and foam sheets and suddenly a plain cardboard tube can become a genuinely impressive animal or character. Washi tape and stickers are also great for adding color and texture without any of the paint mess.
If you want to take things up a notch, a few specialty materials open up a lot of new possibilities. Metallic paints, glitter glue, tissue paper, and fabric scraps can give projects a surprisingly polished look. For anything structural, wooden skewers, rubber bands, and cardboard from old cereal boxes help hold things together. Keeping a dedicated craft box Stocked with these supplies means you’re always ready to dive in — whether it’s a rainy Saturday afternoon or an unexpected school holiday.
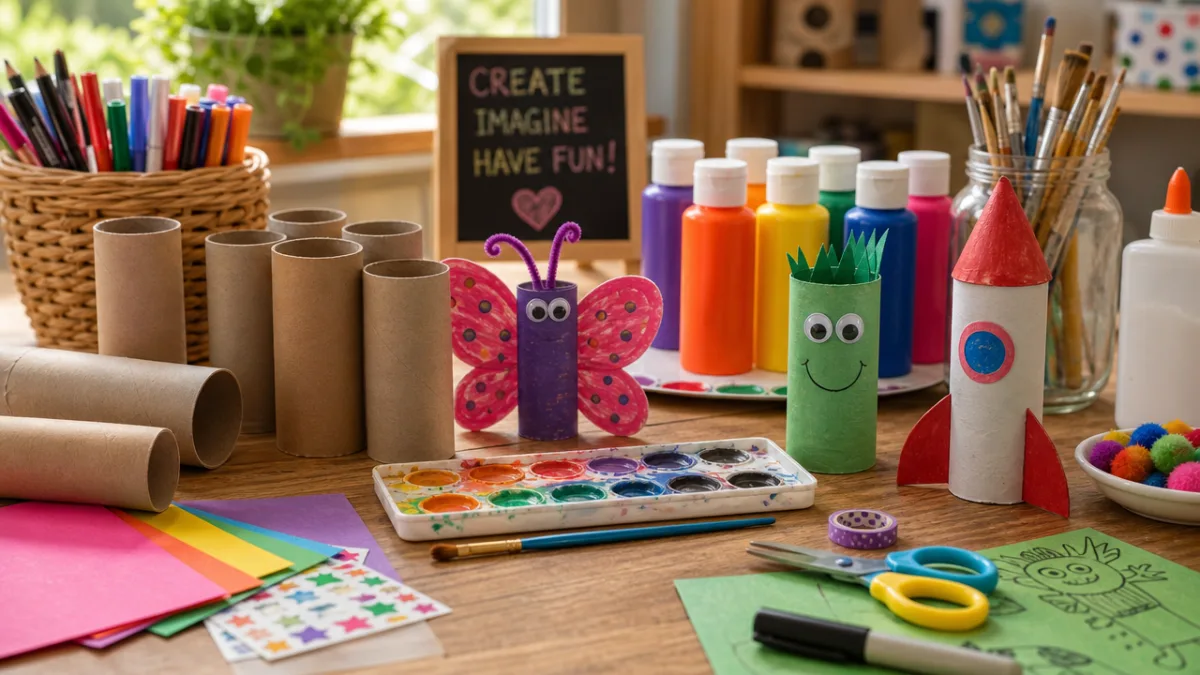
Animal-Themed Toilet Paper Roll Crafts
Animal crafts are consistently the most popular toilet paper roll projects, and it’s really not hard to see why. Kids are naturally drawn to animals, and there’s something almost magical about watching a plain cardboard tube turn into a recognizable creature right before their eyes. From jungle cats to barnyard favorites, you can approximate just about any animal with some paint, a handful of craft supplies, and a little imagination. Plus, these projects naturally lead to fun conversations about different animals and where they live.
Owls are probably the most iconic toilet paper roll animal, and they’ve stayed popular for a reason. Just squeeze the top of a tube into two points to make ears, add some painted feather details, stick on a pair of googly eyes and a small triangular beak, and even the youngest crafters end up with an adorable owl in under twenty minutes. Penguins are just as easy and just as crowd-pleasing — a bit of black and white paint, an orange paper beak, and some little orange feet, and you’re done. They look especially cute lined up in a little colony on a shelf.
For kids who want more of a challenge, the options get pretty exciting. A toilet paper roll lion can get a full mane made from strips of yellow and orange construction paper curled around a pencil. Flatten two tubes, cut them into wing shapes, paint them in bold colors, and you’ve got a butterfly. Snakes, caterpillars, fish, elephants, bunnies, and even dinosaurs all translate surprisingly well to this format. Building out a whole animal kingdom across multiple crafting sessions gives kids something to look forward to and keeps them engaged for days.
Animal crafts also pair really naturally with storytelling and imaginative play. Once a child has a whole cast of cardboard creatures, those animals can move into a handmade diorama or star in an original puppet show. You can also encourage kids to look up fun facts about the animal they’re making while they craft — it turns the whole thing into an informal nature lesson without anyone feeling like they’re doing homework. That combination of creativity, learning, and play is what makes these projects so worth coming back to.
Seasonal and Holiday Toilet Paper Roll Decorations
One of the best things about toilet paper roll crafts is how easily they stretch across the whole calendar year. Every season and major holiday brings a fresh wave of ideas for turning these simple tubes into festive decorations and thoughtful handmade gifts. Seasonal projects give kids something to look forward to as the year moves along, and the decorations they make often end up becoming family favorites — the kind of things that get pulled out every year and come with little stories attached.
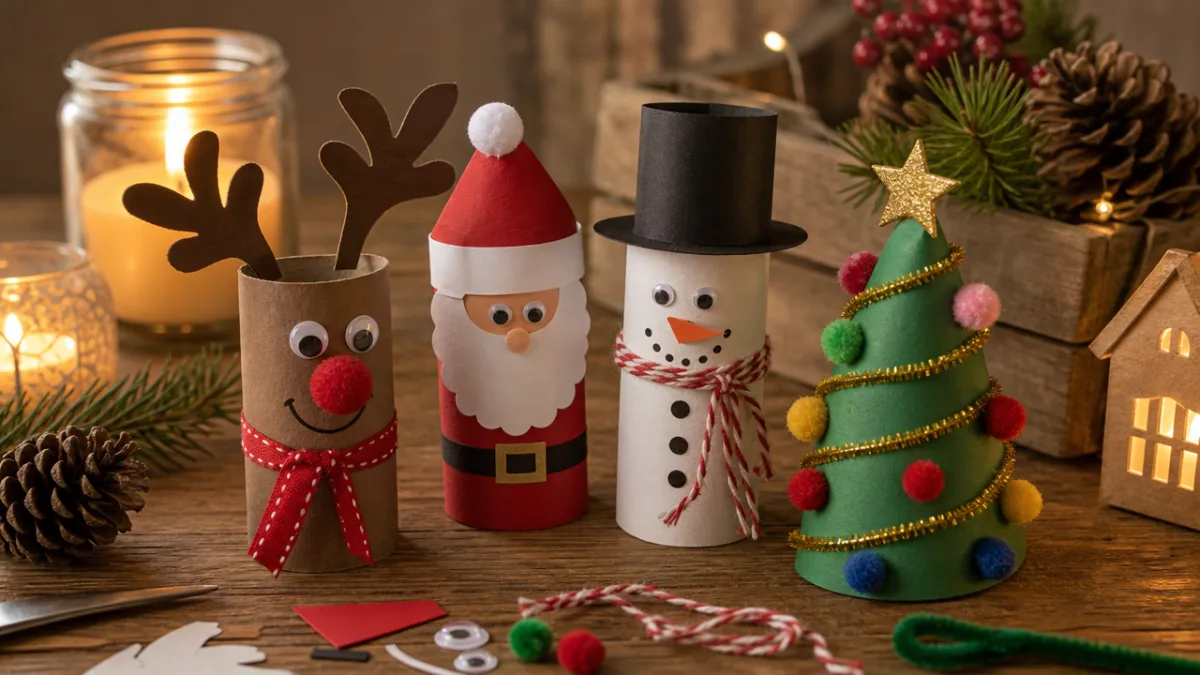
The winter holidays are honestly peak season for toilet paper roll crafts. You can cut a spiral down from the top of a tube, fan out the layers, paint it green, and add tiny dot ornaments to make an adorable miniature Christmas tree. White paint, a carrot-colored nose, and a little fabric scarf turn a tube into a snowman in minutes. Kids can also make nativity figures, dreidels, or luminaries with cut-out star patterns that glow softly when you drop a battery-operated tea light inside — those are genuinely beautiful and only require basic skills.
Spring and autumn are just as full of possibilities. At Easter, tubes shaped like eggs and painted in soft pastels make charming little treat holders that feel so much more personal than plastic eggs from a bag. For a spring flower activity, cut the end of a tube into petal shapes and use it as a stamp to press blooms onto paper — the results are surprisingly lovely. And Halloween might be the most fun season of all: toilet paper rolls can become black cats, jack-o-lanterns, Frankenstein’s monster, mummies wrapped in white tissue paper strips, or bats with wings cut from black cardstock. Honestly, the ideas don’t run out no matter what time of year it is.
Educational and STEM-Inspired Toilet Paper Roll Projects
Toilet paper rolls aren’t just for decorative crafts — they’re actually surprisingly capable materials for STEM activities that get kids thinking like real engineers and scientists. When children are challenged to build something, solve a problem, or test out an idea using simple everyday materials, they develop critical thinking and a growth mindset that goes way beyond the craft table. The humble toilet paper roll turns into a genuine tool for exploration and discovery.
Building challenges are one of the most popular STEM uses for toilet paper rolls. Give a group of kids a set number of tubes and some tape and challenge them to build the tallest freestanding tower they can — suddenly they’re thinking about structural stability and weight distribution without even realizing it. Marble runs and ball ramps made from tubes cut in half and taped to a wall or door are another huge hit. They teach gravity, momentum, and angle in a hands-on way that holds attention far longer than a worksheet ever could, and they work great both at home and in a classroom.
Toilet paper roll projects also connect naturally to art history and cultural learning. Kids can build ancient Greek columns for a mythology diorama, construct a model of a famous building, or make puppets based on characters from a book they’re reading. Kaleidoscopes assembled from a tube, reflective mylar paper, and translucent beads are a genuinely cool project. Even simple binoculars made from two tubes taped side by side can kick off an afternoon of backyard birdwatching. Each of these bridges creative play with real learning in a way that feels natural rather than like a classroom exercise.
Math concepts fit in here too, maybe more than you’d expect. Kids can practice measurement by cutting tubes into sections of specific lengths, or explore sorting and patterning by cutting tubes into rings and arranging them by size or color. Older kids can try flattening tubes into different polygonal shapes to explore geometry, or calculate the surface area of a cylinder as part of a math or science assignment. These kinds of connections between crafting and curriculum are what make toilet paper rolls a genuinely useful tool in any learning environment.
Tips for Organizing and Running a Toilet Paper Roll Craft Session
Whether you’re doing this at home with one kid or running a craft session for a whole classroom, a little bit of planning ahead makes the difference between a fun, creative experience and a chaotic mess. The great thing about toilet paper roll crafts is that they’re already low-stress and low-cost by nature, so you don’t need to overthink it. A few simple strategies in place before you start means kids spend more time creating and less time waiting around or getting frustrated.
Start collecting and storing toilet paper rolls well before any planned session. A dedicated box or bag in a utility closet fills up faster than you’d think, especially if you put the word out to neighbors, friends, or other families at school. Paper towel rolls are great too — they offer a longer version of the same material and can be cut down or used as-is for bigger projects. On the day of the craft session, lay everything out in accessible stations before the kids arrive so they can move around freely without crowding each other, which keeps things calm and creative.
Consider the following tips for a smooth and successful craft experience with children of any age:
- Cover all work surfaces with newspaper or a plastic tablecloth for easy cleanup after painting or gluing activities.
- Pre-cut difficult shapes or slits in tubes for younger children who may struggle with scissors, so they can focus on the creative aspects of the project.
- Provide a simple step-by-step visual guide or sample finished project so children have a reference point without feeling constrained by it.
- Allow adequate drying time between painting and decorating stages, and plan a secondary activity to fill the waiting period.
- Celebrate every finished project with genuine enthusiasm, emphasizing effort and creativity over technical perfection.
- Photograph completed projects before they get damaged or lost so children have a lasting record of their accomplishments to look back on with pride.
And finally, try to hold loosely to the plan. The best craft sessions are the ones where kids feel free to go off-script. A project that starts as a simple owl might turn into a rocket ship or some fantastical creature that doesn’t exist anywhere in nature — and that creative leap deserves celebration, not redirection. A toilet paper roll is an invitation, not a set of instructions. When kids feel trusted to follow their own ideas, they make things that genuinely surprise everyone in the room, including themselves. That spark of joyful surprise is really what you’re going for, and these projects deliver it every time.
Displaying and Preserving Your Toilet Paper Roll Creations
Once a child has poured real effort and imagination into a toilet paper roll project, the question of what to do with it actually matters more than you might think. How you display or store a creation sends a message to a child about how much their work is valued. Giving a finished piece a thoughtful home — rather than just stacking it on a counter until it gets knocked over — turns a simple craft into something a kid can genuinely feel proud of for a long time.
For three-dimensional pieces like animals and figurines, a dedicated display shelf or windowsill gallery in a child’s bedroom works really well. A small shadow box or wooden crate mounted on the wall can become a rotating seasonal gallery, swapped out as new projects come in throughout the year. If you spray finished painted projects with a clear craft sealant, they become noticeably more durable and get a polished look that extends their life considerably. It’s especially worth doing for pieces a child is particularly attached to or anything made as a gift for someone else.
For flatter projects like stamped flower prints or decorated tube rings, framing is a surprisingly easy and impactful option. Simple frames from a dollar store work perfectly, and a matted, framed piece of child-made art looks genuinely impressive on any wall. Another idea worth trying: photograph all the finished projects from a given year and compile them into a printed photo book. It becomes a wonderful keepsake that both kids and parents love looking back through. Sharing those photos in a family group chat or a private social media album is also a really nice way to keep grandparents and extended family in the loop on a child’s creative life throughout the year.








What do you think?
It is nice to know your opinion. Leave a comment.