










The Dos and Don’ts of Homemade Candle-Making: A Complete Guide for Beginners and Beyond
Getting Started: Essential Supplies and Safety First
Homemade candle-making is one of those crafts that’s genuinely satisfying to get into — but because it involves heat and open flames, you really do need to respect that from day one. Before you melt a single ounce of wax, take a good look at your workspace, your tools, and what you actually know. A little preparation upfront goes a long way toward making better candles and keeping yourself safe throughout the whole process.
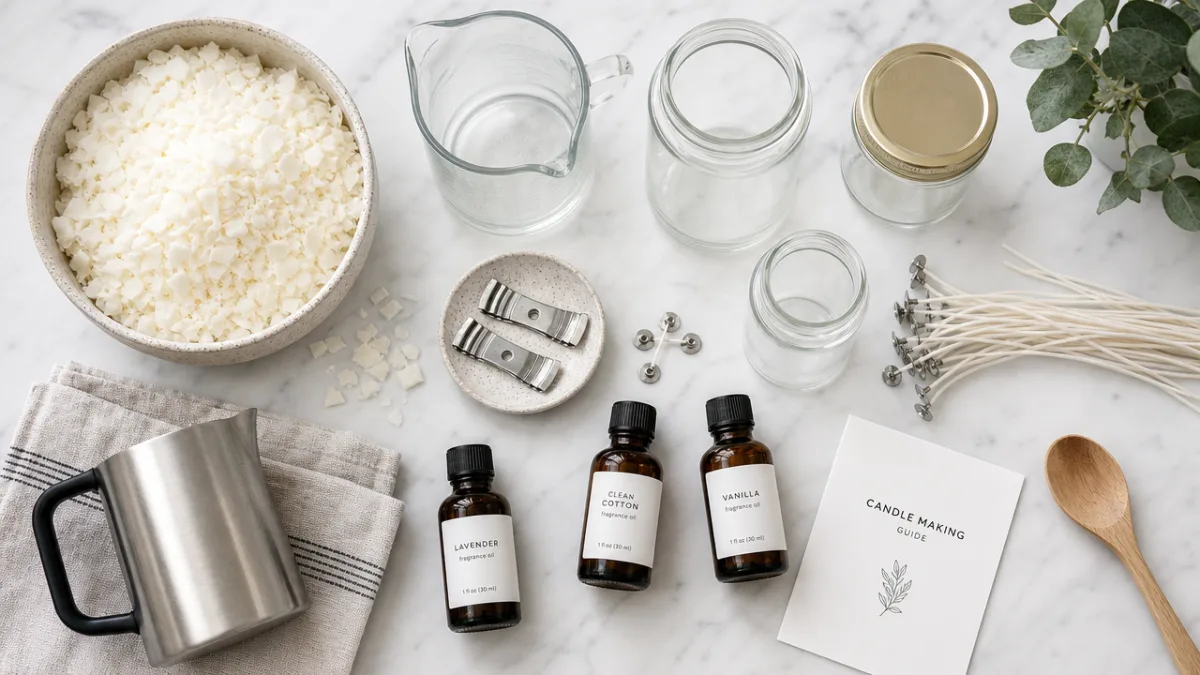
Make sure your supply list is solid before you dive in. At a minimum, you’ll need a double boiler or dedicated melting pitcher, a reliable thermometer, a kitchen scale, candle wicks with wick stickers or tabs, your chosen wax, fragrance or essential oils, and containers or molds. And please don’t just grab whatever pot is nearby — using cookware you also eat from can leave behind wax residue and fragrance chemicals, which is gross at best and potentially harmful at worst. Set aside specific tools for candle-making and label them clearly so nothing gets mixed up.
Safety gear deserves its own spot on your checklist. Keep a fire extinguisher rated for grease or chemical fires within arm’s reach, never walk away from melting wax, and always work on a heat-resistant surface. Overheated wax can flash and ignite, so keeping an eye on temperature isn’t a suggestion — it’s the whole ballgame. Wear closed-toe shoes and throw on an apron to protect against splashes. Keep kids and pets out of the workspace while wax is melting and being poured. Build these habits from the start and candle-making stays fun instead of becoming a scary story you tell later.
Choosing the Right Wax: What Works and What Doesn’t
Choosing your wax is one of the biggest decisions you’ll make as a candle maker, and it touches everything — scent throw, burn time, how your finished candle looks. The most popular options for hobbyists are soy wax, paraffin, beeswax, coconut wax, and various blends. Each one behaves differently, and honestly, there’s no universally “best” wax. The right pick depends on what kind of candle you’re going for, your budget, whether natural ingredients matter to you, and what you plan to do with them once they’re finished.
Soy wax has a big following among home crafters because it comes from renewable soybeans, burns slower than paraffin, and is pretty forgiving to work with. That said, it’s sensitive to temperature changes while cooling, which can cause surface issues like frosting or sinkholes if you’re not paying attention. Paraffin, on the other hand, throws scent beautifully and gives you that smooth, polished finish — but it’s a petroleum byproduct and can produce more soot. Knowing these trade-offs helps you choose based on facts rather than just following whatever’s trending.
One of the most common beginner mistakes is mixing waxes together without understanding how they interact. Not every wax plays nicely with others, and the wrong combo can lead to separation, uneven burning, or a weak scent throw. If you want to experiment with blends — which can yield really lovely results — do your homework or stick to tested formulas before you start improvising. Along the same lines, avoid melting down old candle stubs as your main material, especially if you don’t know what fragrance load or additives were already in them. Starting with fresh wax from a reputable supplier gives you a reliable, consistent foundation to build on.
Mastering Fragrance: The Art of Scenting Your Candles
Scent is usually the whole reason someone falls in love with a particular candle, and nailing it takes equal parts science and intuition. The amount of fragrance oil you add is guided by what’s called the “fragrance load” — basically a percentage of the total wax weight. Most waxes can handle somewhere between six and ten percent fragrance oil, and some specialty waxes push up to twelve. But more fragrance doesn’t just mean a stronger smell. Go over the limit and you risk fragrance pooling on the surface, creating a fire hazard, or preventing the candle from setting the way it should.
The temperature at which you add your fragrance is another detail that’s easy to overlook but really matters. Most fragrance oils do best when added to wax that’s cooled to somewhere between 160 and 185 degrees Fahrenheit, though the sweet spot varies depending on your specific wax and fragrance combo. Add it to wax that’s too hot and those aromatic compounds can evaporate before the candle even sets, leaving you with a disappointing cold and hot throw. Add it to wax that’s too cool and you risk poor incorporation and separation as the candle cures.
It’s also worth understanding the difference between fragrance oils and essential oils before you spend money on either. Fragrance oils are synthetic or blended compounds made specifically for candle use — they’re consistent and reliable. Essential oils are natural plant-derived, which sounds appealing, but many of them have low flash points and evaporate quickly at candle-making temperatures, which often means little to no scent in the finished candle. If you’re set on using essential oils, look into the flash point of each one and lean toward those with higher flash points, like cedarwood or patchouli, for better results.
Wicks, Containers, and the Pour: Getting the Details Right
Wick selection is probably the most technically finicky part of candle-making, and it’s behind the majority of burn problems people run into. A wick that’s too small will cause tunneling — the candle burns straight down the center while a thick wall of unmelted wax builds up around the outside. A wick that’s too large throws a flame that’s too big, creates excessive soot, leaves heavy carbon mushrooming on the tip, and can push your candle into genuinely unsafe territory. The right wick depends on the diameter of your container, the type of wax you’re using, and your fragrance load, and finding it often means testing a few options before you land on the winner.
Container choice is another spot where beginners can get into trouble. Stick to containers that are actually rated for candle use — glass canning jars, ceramic vessels, and purpose-made candle tins are all solid options. Don’t pour wax into thin decorative glass, plastic, or anything with cracks or weak spots. A burning candle puts sustained thermal stress on its container over hours, and a container failure mid-burn can mean spilled hot wax or an actual fire. If you’re ever unsure, check with the manufacturer before you pour.
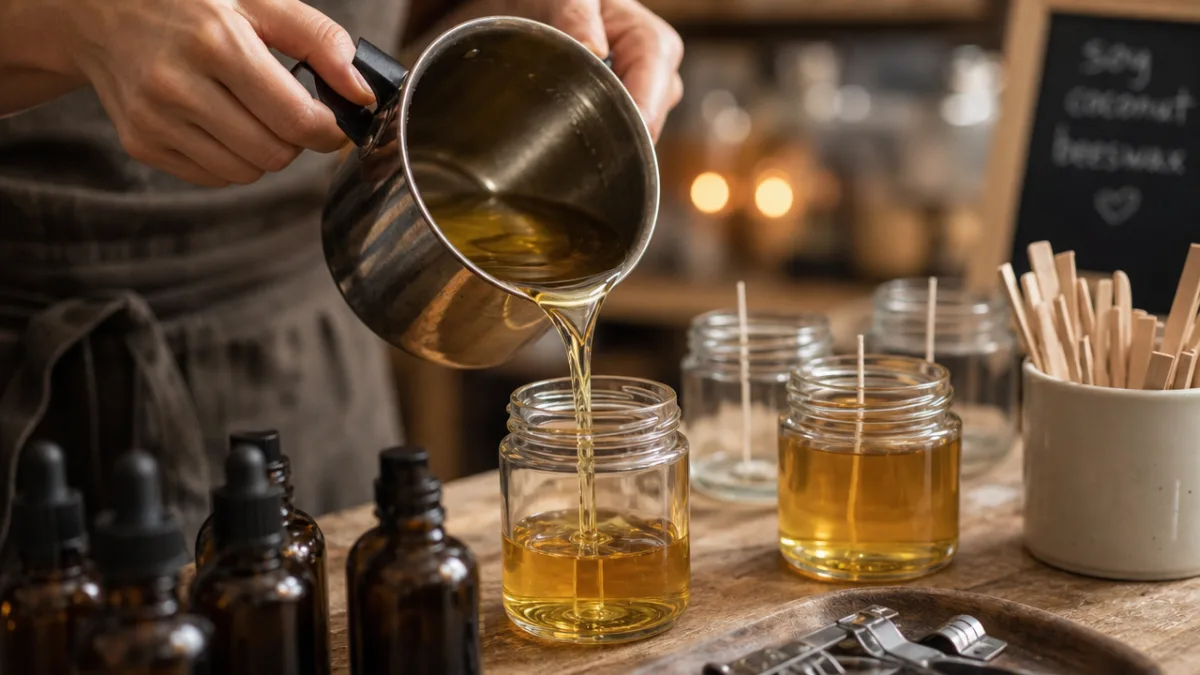
The pour itself is where all your preparation either comes together or falls apart. Pour at the right temperature for your specific wax — too hot and the wax will shrink dramatically as it cools, leaving deep sinkholes around the wick; too cool and you’ll end up with a lumpy, uneven surface. Go slow and steady to avoid trapping air bubbles. Once the candle has set, you’ll almost always need to do a second pour to fill in any sinkholes that form as the wax contracts. And give your candles enough time to cure — at least 24 to 48 hours, and up to two weeks for soy — before you even think about doing a burn test.
Testing and Troubleshooting: The Step Everyone Skips
Burn testing isn’t the glamorous part of candle-making, but it’s the step that separates a candle that actually works from one that just looks pretty. No matter how carefully you’ve chosen your materials and followed your process, a candle isn’t proven until it’s been burned — ideally through several test burns under consistent, documented conditions. On your first burn, light the candle and let it go until the melt pool reaches the edges of the container (that’s called a full melt pool). Depending on your container’s diameter, this usually takes one to four hours. If you’re hitting a full melt pool consistently, your wick size is probably right.
Learning to read common candle problems is one of the most useful skills you’ll develop over time. Tunneling usually means your wick is too small or you’re not burning long enough in those early burns. A flame that’s oversized, sooty, or mushrooming heavily points to a wick that’s too big or a fragrance load that’s too high. Those white, crystal-like deposits you might see on soy candles? That’s frosting — totally natural, doesn’t affect how the candle burns, and can be reduced by pouring at slightly lower temperatures and keeping candles away from drafts while they cool. Sinkholes mean you needed a second pour. Oily droplets sweating on the surface usually mean the wax is holding more fragrance than it can handle.
Write everything down. Every test batch. Wax type and weight, fragrance name and percentage, wick type and size, pour temperature, cure time, burn observations — all of it. It feels like overkill at first, but once you’ve got a solid library of tested combinations, those notes become invaluable. When a candle turns out great, you can reproduce it exactly. When something goes wrong, you can actually isolate the likely cause instead of just guessing. Candle-making has a lot of chemistry underneath it, and a methodical approach will take you so much further than winging it.
Common Mistakes to Avoid and Pro Tips to Elevate Your Craft
Even experienced candle makers hit snags, but the most avoidable mistakes almost always come down to impatience. Sticking candles in the fridge or freezer to speed up cooling can crack the wax and stress the glass. Burning a fresh candle before it’s fully cured gives you a weak scent throw that might make you think your fragrance or load is the problem when it’s really just timing. Skipping wick centering tools — those simple metal or wooden bars that hold the wick in place as the wax sets — leads to off-center wicks and uneven burns. None of this is hard to avoid. It just takes patience and the right habits.
On the flip side, there are a handful of things that reliably bump your candles up a level. Pre-warming your containers slightly before pouring slows the cooling rate and reduces wet spots — those cloudy patches where the wax has pulled away from the glass wall. Trim your wick to a quarter inch before every single burn, not just the first, to keep the flame clean and controlled all the way through. And use a kitchen scale instead of volume measurements for both wax and fragrance — weight is so much more precise and repeatable than measuring in cups.
There is also an important list of absolute don’ts that every candle maker should commit to memory before lighting their first burner:
- Never leave melting wax unattended on any heat source, even briefly — wax that reaches its flash point can ignite without warning, and a fire can escalate within seconds.
- Never add water to burning or overheated wax — water causes superheated wax to splatter violently, spreading fire and causing serious burns.
- Never use candle fragrance oils in wax warmers or oil diffusers not designed for candle use — the concentration and chemical composition differ from diffuser oils.
- Never sell candles without properly testing them for safety and compliance with relevant consumer product safety guidelines in your region.
- Never assume that a recipe found online has been properly tested — always verify through your own rigorous burn testing before committing to any formula.
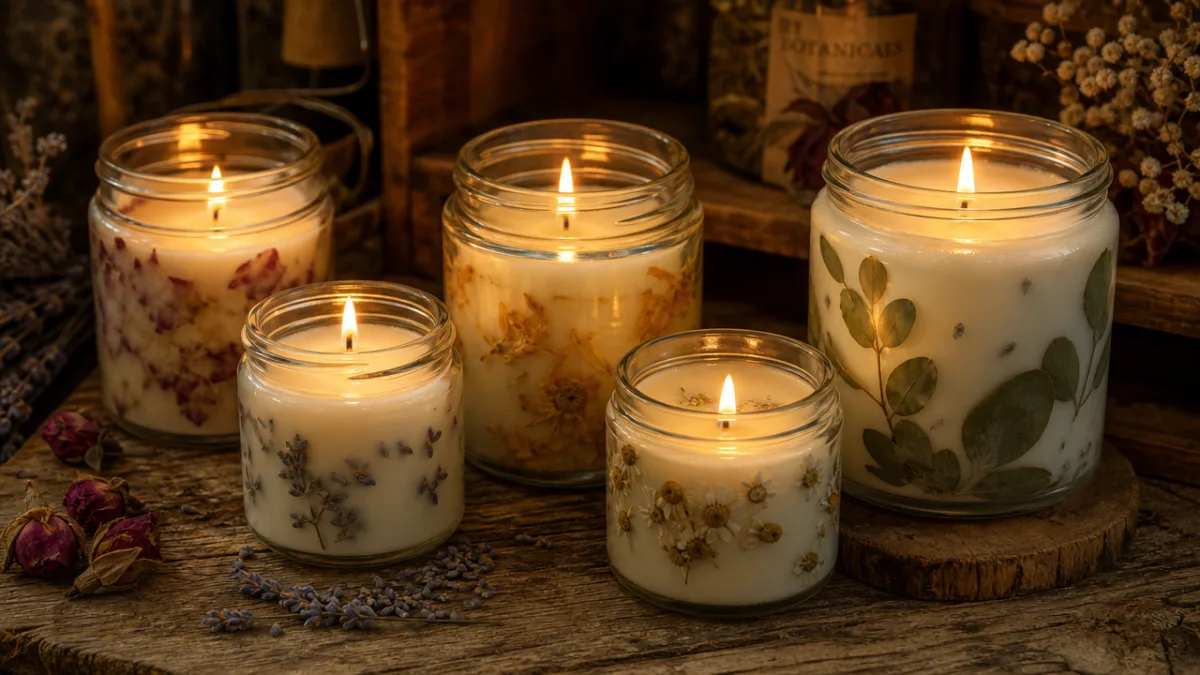
As you get more comfortable, you’ll find that candle-making has almost no ceiling for creativity and experimentation. Layered pours, botanical embeds, custom fragrance blends, decorative finishes — there’s always something new to try. The people who improve the fastest tend to approach each batch as something to learn from rather than a finished product to show off. They keep good records, burn-test everything, and stay genuinely curious about why things work the way they do. With the right foundation of knowledge, good safety habits, and a willingness to be patient with the process, candle-making can become both a deeply personal craft and a way to make something truly beautiful to share with the people you care about.








What do you think?
It is nice to know your opinion. Leave a comment.