










What Are Melted Blue Crayon Suncatchers and Why Are They So Magical?
Melted crayon suncatchers are one of those crafts that sounds almost too simple to be impressive — and then you hold one up to the light and your jaw drops a little. The basic idea is that you melt wax crayons onto wax paper, and as they cool, they form this gorgeous, jewel-like sheet that glows when the sun hits it. It’s legitimately stunning. And when you work with blues specifically, the effect is something else entirely — pale icy teals, deep cobalts, rich sapphires, all of them catching the light like you’re looking through a piece of the sky or a shallow tide pool.
The reason it works is pretty simple once you think about it. Crayons are basically just paraffin wax and pigment, so when you apply heat, they melt into a semi-translucent pool of color. As that wax cools and hardens on your wax paper, it holds onto this beautiful, almost glassy quality that lets light pass right through it. Blue pigments in particular do something really lovely with natural light — there’s a calming, almost meditative quality to the way they glow that makes any room feel a little more peaceful.
One of the best things about this craft is how genuinely accessible it is. You don’t need any special skills, an art background, or a trip to a fancy craft store. A few blue crayons, some wax paper, an iron or heat gun, and a bit of imagination are really all it takes. That low barrier to entry is a huge part of why this project has spread like wildfire on Pinterest and keeps pulling in new fans — people try it, can’t believe how good it looks, and immediately want to make ten more.
Gathering Your Supplies: Everything You Need to Get Started
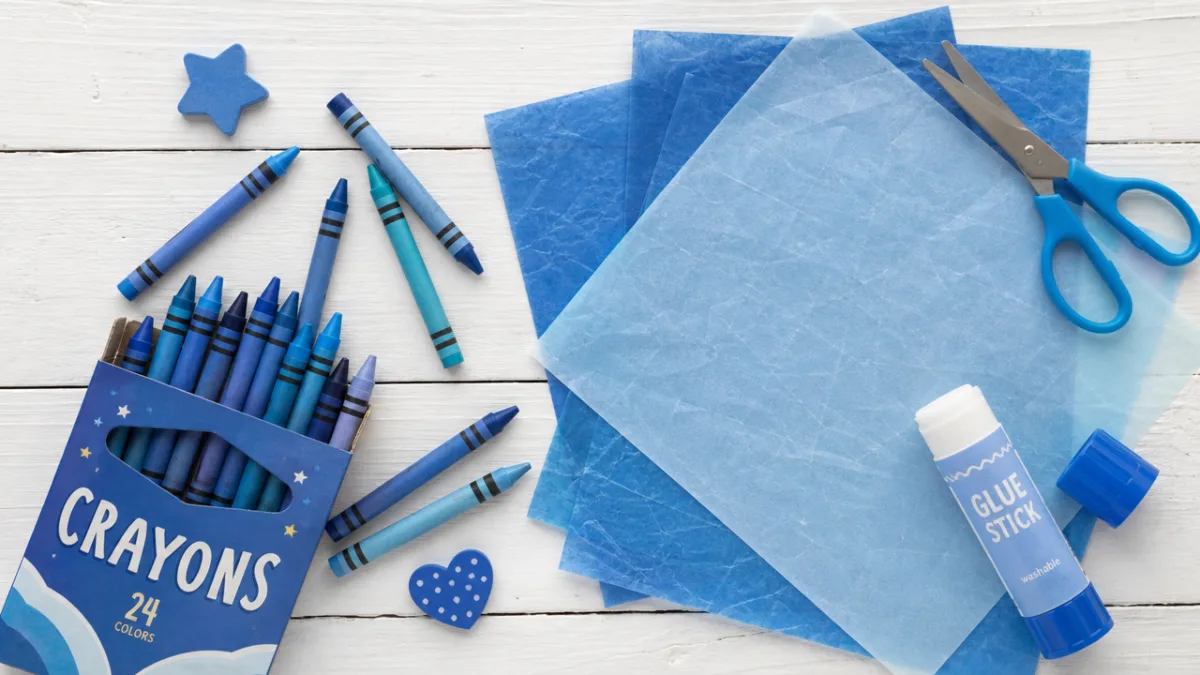
Before you dive in, it’s worth taking a few minutes to get everything together so you’re not hunting for scissors mid-melt. The star of the show is obviously your crayons. Any brand will work, but ones with richer pigment will give you more vibrant results and tend to melt more evenly. Try to gather a good range of blue shades — navy, cerulean, sky blue, teal, periwinkle, blue-violet — because that variety is what gives the finished piece its depth and that gorgeous, layered quality instead of a flat wash of one color.
For the base, wax paper is the go-to choice and works really well because it’s already slightly translucent. If you want something even more glass-like, clear contact paper or transparency sheets are great alternatives. You’ll also need a heat source — a regular household iron is perfect and gives you nice control over the process. A heat gun is a fun option too if you like a more hands-on approach, since you can actually push and direct the wax as it melts for a more dynamic, painterly effect.
A few other things worth having nearby: a cheese grater or pencil sharpener for turning your crayons into fine shavings, parchment paper to protect your iron and work surface, scissors (regular or decorative-edge if you want fancy borders), a hole punch, and some ribbon or twine for hanging. If you want to take things up a notch, optional additions like dried flowers, glitter, or pressed leaves tucked between the layers can make each suncatcher feel completely one of a kind. Getting everything laid out before you start makes the whole process so much more enjoyable.
- Blue crayons in a range of shades (navy, cerulean, teal, periwinkle, sky blue)
- Wax paper or clear contact paper
- Household iron or heat gun
- Parchment paper for protection
- Cheese grater or pencil sharpener for shaving crayons
- Scissors (regular or decorative-edge)
- Hole punch and ribbon or twine for hanging
- Optional: dried flowers, glitter, leaf skeletons, or pressed botanicals
Step-by-Step Guide to Creating Your Melted Blue Crayon Suncatcher
Start by setting up your workspace. Lay parchment paper down on a hard, flat, heat-safe surface — an ironing board is actually ideal for this. Tear off two equally sized sheets of wax paper, roughly 12 by 12 inches, and set one aside. On the first sheet, start grating or shaving your blue crayons right onto the surface. You don’t need to be precise about the distribution — honestly, some of the most beautiful results come from just going for it and letting the randomness do its thing. Layer different shades as you go, putting the darker colors toward the center and lighter ones out toward the edges for a soft, natural gradient.
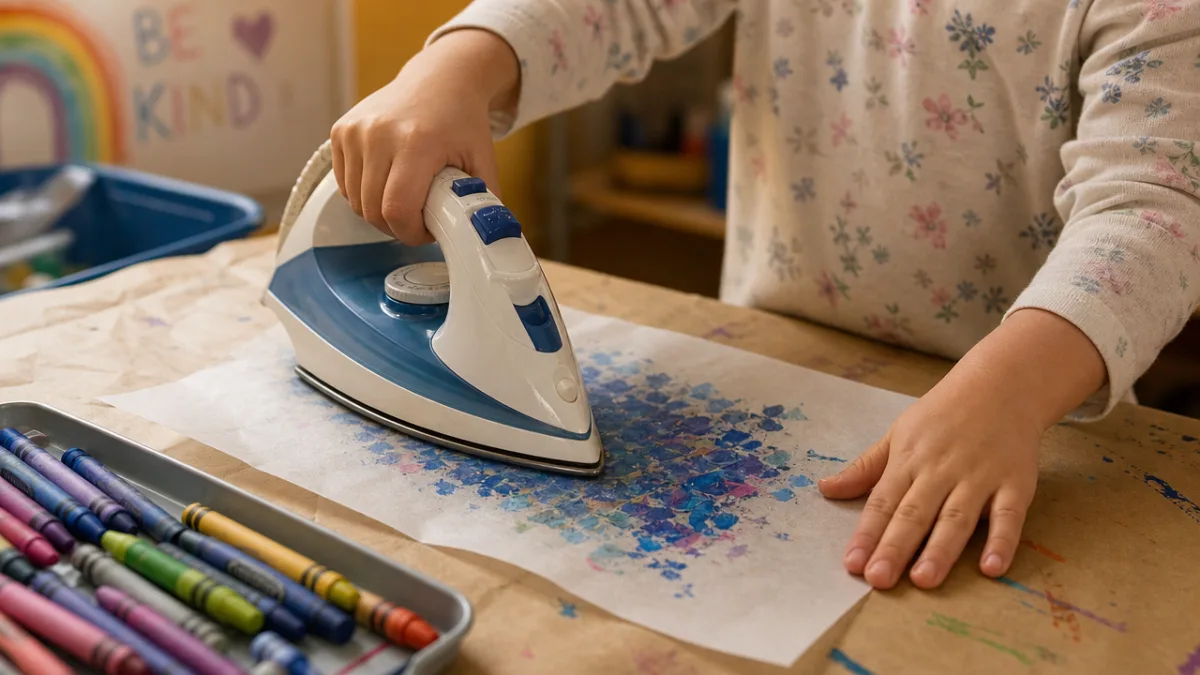
When you’re happy with how it looks, carefully lay the second sheet of wax paper on top so all your shavings are sandwiched in between. Then cover the whole stack with a piece of parchment paper to protect your iron. Set the iron to medium-low heat with no steam, and start pressing and gliding it over the surface in slow, circular motions. Almost immediately you’ll start to see the colors bleeding and swirling together through the layers — it’s a genuinely satisfying moment. Lift the iron often to check your progress, because it’s easy to go too far and end up with muddy, over-blended color if you’re not watching.
Once the wax is melted to your liking, set the iron aside and let the whole thing cool flat for about five to ten minutes. When it’s fully cooled, peel back the parchment paper and take a look at what you made. From here, you can cut it into pretty much any shape you want — a circle, a teardrop, a sun, a butterfly, something totally abstract. Punch a small hole near the top, thread ribbon or twine through it, tie a loop, and you’re done. Ready to hang.
- Prepare your workspace with parchment paper on a heat-safe surface.
- Lay one sheet of wax paper flat and grate blue crayons evenly over it.
- Layer different shades for depth and dimension.
- Place the second sheet of wax paper on top to sandwich the shavings.
- Cover everything with parchment paper for protection.
- Iron on medium-low heat with circular motions until wax melts and blends.
- Allow to cool completely on a flat surface.
- Cut into your desired shape, punch a hole, and add ribbon for hanging.
Creative Variations and Design Ideas to Personalize Your Suncatchers
Once you’ve got the basic technique down, this is where things get really fun. One of the most popular variations is pressing dried botanical elements — tiny flowers, fern fronds, individual petals — right onto your crayon shavings before adding the top layer of wax paper. As the wax melts around them, it encases the botanicals like they’re suspended in amber, and when you hold the finished piece up to the light, it’s genuinely breathtaking. Using blue flowers like forget-me-nots or dried lavender alongside your blue crayon palette pulls everything together in a really cohesive, nature-inspired way.
You can also get more intentional with the color gradient if you want a more structured look. Instead of scattering shavings randomly, try laying them in deliberate bands — deep navy at the bottom, then royal blue, then cerulean, then sky blue, then the palest periwinkle at the top. The finished piece ends up looking like a twilight sky or a cross-section of the ocean. A radial gradient is another beautiful option: darkest shavings in the center, lighter ones spreading outward, which creates a starburst or sunburst effect when the light hits it.
For extra sparkle, try mixing a little fine glitter into your shavings before ironing. Silver or holographic glitter looks especially magical against blues, giving the whole piece a kind of celestial shimmer. Some crafters also seal their finished suncatchers with a layer of clear contact paper, which makes them more durable and gives the surface a polished, glass-like finish. And if you’re feeling ambitious, try cutting your pieces into geometric shapes — hexagons, triangles, diamonds — and linking several together with small jump rings to make a mobile or window garland. A cluster of them catching the light together is an absolutely stunning effect.
Where and How to Display Your Suncatchers for Maximum Impact
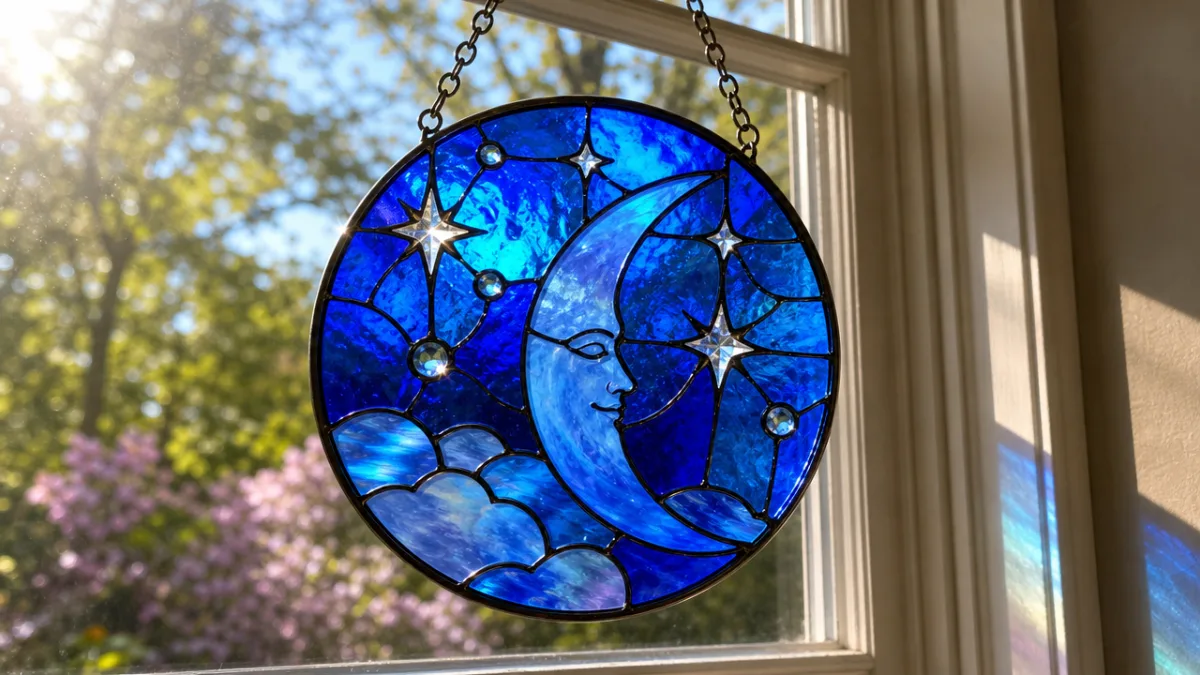
Where you hang your suncatcher matters more than you might think. Natural light is really the star of the show here, so it’s worth spending a moment thinking about which windows get the best light at which times of day. East-facing windows are wonderful for morning displays — the low-angle sunrise light will send brilliant blue rays dancing across your walls and ceiling in a way that feels genuinely magical. West-facing windows catch that warm golden afternoon light, which does something unexpected and gorgeous with blue wax, shifting the hues toward aquamarine and soft violet as the angle of the light changes.
If you don’t have a lot of direct sunlight coming in, you can still make it work beautifully. Hung in front of a lamp or a string of fairy lights, a blue suncatcher casts the softest, most dreamy azure glow across the surrounding wall. It’s especially lovely in a bedroom, reading nook, or meditation space where you’re going for a calm and peaceful atmosphere. The indirect light gives it a softer, more diffused quality — different from direct sunlight, but genuinely just as pretty in its own way.
Kids’ rooms are honestly one of the best spots for these. A little cluster of suncatchers in different shapes and sizes hung at varying heights in a child’s window creates this whimsical, kaleidoscopic display that sparks so much imagination and makes mornings feel like something to look forward to. Beyond windows, they also work beautifully as tabletop art — press one between two sheets of glass in a clip frame and stand it near a candle for a glowing centerpiece. And they make incredibly thoughtful handmade gifts, especially when you personalize the shades or press in flowers from a meaningful occasion.
Tips for Success and Troubleshooting Common Problems
Even a simple craft has its gotchas, and this one is no exception. The most common mistake beginners make is using too much heat for too long. When that happens, all those beautiful individual swirls of color just blend together into a dark, murky mess that doesn’t have any of the luminous quality you’re going for. Start with the lowest heat setting that still gets the wax melting, check your progress often, and remember: you can always add more heat, but you can’t undo too much. Patience here really pays off.
Uneven melting is another thing people run into — some spots fully melted while others still have whole shavings floating around. This usually comes down to inconsistent pressure or heat distribution. The fix is pretty simple: use gentle, even pressure across the whole surface and make sure your iron is covering all of it rather than hovering in the same spot. If you’re using a heat gun, keep it moving constantly and hold it a few inches back from the surface so the heat is more diffused and less likely to scorch one area while leaving another untouched.
It’s also worth thinking about storage and longevity, especially if you’re making these as gifts or holiday decorations. Because they’re made of wax, they can warp or partially re-melt if they get too hot — a car on a summer day, for example, is a bad place to leave one. Store them flat between sheets of parchment paper somewhere cool and dry. Over time, paraffin wax can yellow slightly from UV exposure, but that process is genuinely slow and probably won’t be noticeable for years in normal display conditions. If you want to protect them long-term, laminating with clear contact paper is a great move — it seals everything in and actually makes the colors look even more vivid.
- Always start with low heat and increase gradually to avoid over-melting.
- Keep the iron moving consistently to ensure even melting across the whole surface.
- Grate crayons finely for smoother, more blended results.
- Allow the piece to cool completely before cutting or handling.
- Store flat in a cool, dry place between sheets of parchment paper.
- Laminate with contact paper to improve durability and color vibrancy.
- Don’t overfill with shavings — a thinner layer melts more evenly and looks more translucent.
The Bigger Picture: Why Handmade Art Transforms Spaces and People
There’s something that hits differently about making art with your own hands and then actually living with it — hanging it in your window, seeing it glow every morning, noticing it when you walk past. A melted crayon suncatcher isn’t just a pretty thing. It’s a record of an afternoon spent doing something just for the joy of it, of colors you chose, of a moment you gave entirely over to making something beautiful. In a world full of mass-produced décor and perfectly curated aesthetics, a handmade piece carries a warmth that nothing manufactured can quite replicate. Every unexpected swirl, every slightly imperfect edge, is part of what makes it yours.
And the act of crafting itself — separate from whatever you end up making — is genuinely good for you. Research consistently shows that focused, hands-on creative activities reduce cortisol, ease anxiety, and produce a kind of relaxed, absorbed state that’s a lot like meditation. Choosing your colors, grating the crayons, watching the wax bloom and spread under the heat, then stepping back to see the finished piece — it engages your brain in a way that’s both stimulating and restorative. For kids, it builds fine motor skills, color recognition, and confidence in their own creative instincts. For adults, it’s a rare invitation to slow down and just be present with something simple and beautiful.
Ultimately, the most meaningful thing about a melted blue crayon suncatcher isn’t even the light it throws across your walls, as lovely as that is. It’s the reminder it offers every time you glance at it glowing in your window: that you are capable of making beautiful things. You don’t need special training or expensive materials or a dedicated studio. You need a handful of crayons, a bit of curiosity, and the willingness to try. That’s really it. And in that sense, this little craft project is quietly making a much bigger argument — that creativity isn’t a talent you either have or don’t, and that the joy of making something with your own hands is always, always worth it.








What do you think?
It is nice to know your opinion. Leave a comment.