










Fabric Wall Pocket Sewing Tutorial: A Complete Guide to Organizing Your Space in Style
Introduction to Fabric Wall Pockets
If you’re looking for a storage solution that’s actually pretty to look at, fabric wall pockets might just be your new favorite sewing project. They’re endlessly useful — perfect for corralling mail, craft supplies, remote controls, kids’ art materials, you name it — and because you’re making them yourself, you can match them to any room in your home. That’s something a plastic bin from the dollar store simply can’t do.
The best part? You don’t need to be an experienced sewist to pull this off. If you can sew a straight line, you have everything you need skill-wise. Grab a few fat quarters, some basic hardware for hanging, and you’re looking at a finished project in two to four hours — a very satisfying weekend afternoon well spent.
There’s also something genuinely fun about the design process. Picking fabrics, deciding how many pockets you want, debating whether to add rickrack or a bit of lace along the top — it’s all part of the joy. And when it’s done, a handmade wall pocket makes a really thoughtful gift for teachers, new parents, coworkers, or honestly anyone who appreciates something both beautiful and useful in their space.
Materials and Tools You Will Need
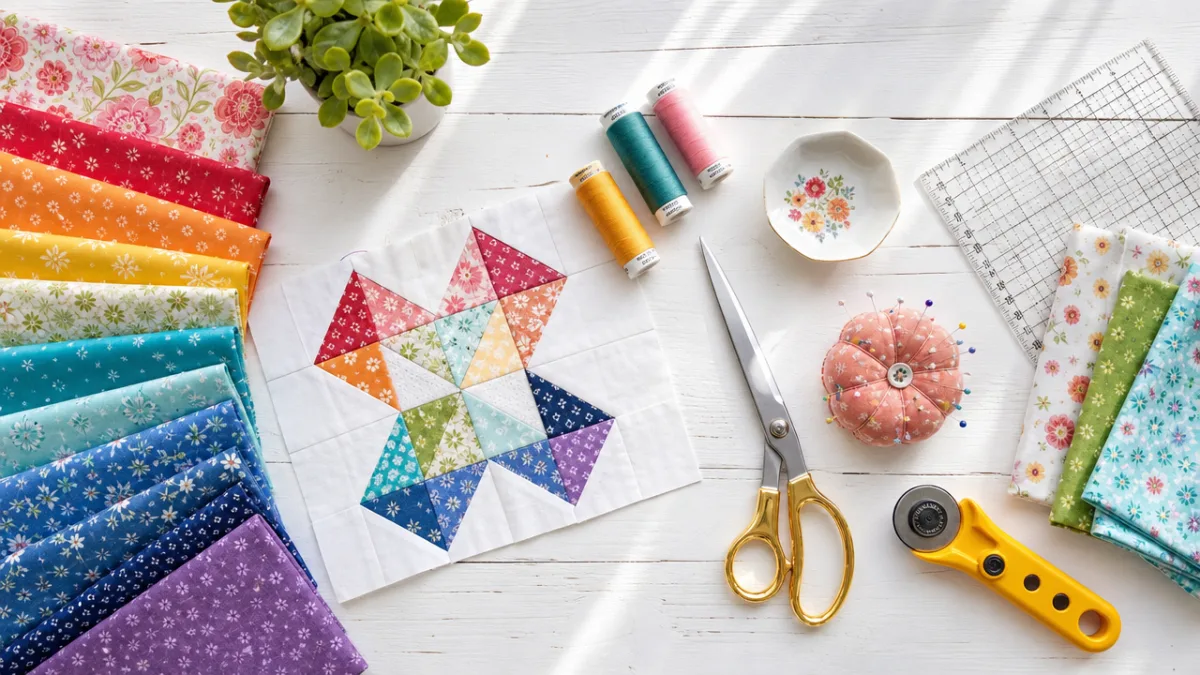
Before you sit down at your machine, take a few minutes to get everything together. It makes the whole process so much smoother. For a standard three-pocket organizer that comes out around 12 by 18 inches, you’ll need half a yard each of your main backing fabric, a coordinating pocket fabric, and lightweight fusible interfacing to give the piece some body. Fat quarters are a great option here if you want to mix and match different prints across the pocket panels.
Beyond the fabric, you’ll want matching thread, a sewing machine that’s in good working order, and sharp scissors or a rotary cutter with a cutting mat. A ruler or quilting square is really helpful for getting clean, accurate cuts. Your iron is going to be your best friend throughout this project — pressing seams and fusing interfacing makes a huge difference in how the finished piece looks, so don’t skip it. Keep pins or wonder clips nearby to hold layers together, and tuck a seam ripper close at hand just in case.
For hanging, a wooden dowel, a decorative curtain rod, or even a smooth branch from the backyard all work beautifully depending on the look you’re going for. You’ll also want ribbon or fabric strips to make the hanging loops at the top. On the fun side, optional extras like pom-pom fringe, rickrack, lace, iron-on patches, or fabric paint can really personalize each pocket. A fabric marker or tailor’s chalk for marking your cut lines is also worth having on hand.
- Half yard of main backing fabric (quilting cotton, canvas, or linen)
- Half yard of pocket fabric in a coordinating print
- Half yard of lightweight fusible interfacing
- Matching thread and a fully threaded sewing machine
- Sharp scissors or rotary cutter, cutting mat, and ruler
- Iron, ironing board, and pressing cloth
- Pins or wonder clips
- Wooden dowel or decorative rod for hanging
- Ribbon or fabric strips for hanging loops
- Optional decorative trim and embellishments
Cutting and Preparing Your Fabric
Good cutting is really the secret to a tidy finished project. Start by pre-washing and drying all your fabrics — you’ll thank yourself later when the wall pocket doesn’t shrink after it’s already hanging on the wall. Press everything flat before you start marking, because cutting wrinkled fabric is a recipe for pieces that don’t quite line up the way you want. Measure twice, cut once, as the saying goes.
For the backing panel, cut one rectangle at 13 by 19 inches from your main fabric and a matching piece from your fusible interfacing. Following the manufacturer’s instructions, fuse the interfacing to the wrong side of the backing fabric using a pressing cloth to protect both surfaces. This step is what keeps the finished piece looking structured and flat on the wall rather than floppy and sad once you load the pockets up.
For the pockets themselves, cut two or three rectangles depending on how many you want. A typical three-pocket layout uses pieces at 13 by 9 inches each, but feel free to vary the heights based on what you plan to store. A taller bottom pocket is great for magazines or folders, while shorter upper pockets work well for mail, small notebooks, or remotes. Cut a matching interfacing piece for each pocket panel and fuse it on before you move to the sewing machine.
If you’re planning to use fabric loops to hang the piece over a rod or dowel, now’s the time to cut those too. Cut three or four strips at 3 by 6 inches each, fold each one in half lengthwise with right sides together, stitch along the long edge, turn right side out, and press flat. They’ll get tucked into the top seam a little later on. Getting all your pieces ready before you start sewing keeps things flowing and means you’re not scrambling around mid-project looking for your scissors.
Sewing the Pockets
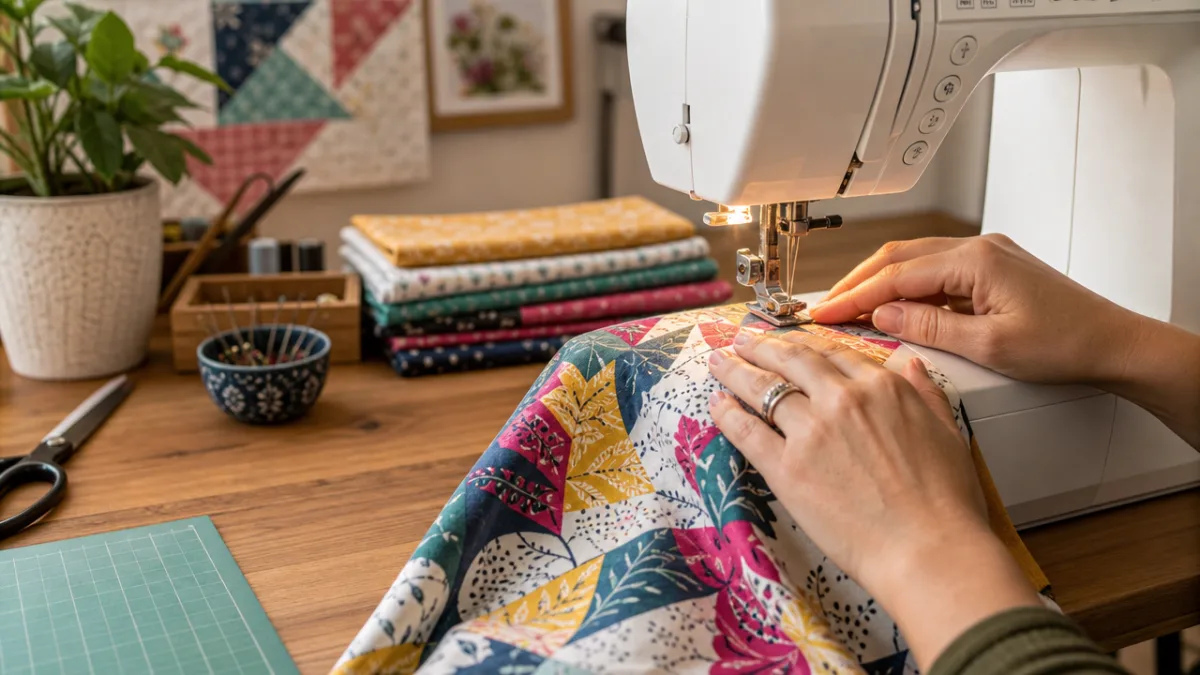
Now the fun really begins. Start with the top edge of each pocket rectangle — fold it down half an inch toward the wrong side, press, then fold it down another half inch and press again for a clean double-fold hem. Stitch it down close to that lower folded edge with a medium straight stitch, backstitching at both ends to keep things secure. It doesn’t take long, but pressing each fold before you stitch makes a noticeable difference in how crisp the hem looks.
If you’re adding any decorative trim to the pocket tops, do it right now before you attach anything to the backing. Pin your rickrack, lace, or ribbon just below the finished hem on the right side of the fabric, fold the ends under neatly at the sides, and stitch it down. It sounds like a small thing, but a little trim along the top of each pocket genuinely transforms the look of the finished piece — and it’s so much easier to add at this stage than after everything is assembled.
Once the pocket tops are hemmed and looking good, start placing them on the right side of the backing panel. Line up the lowest pocket with the bottom and side edges of the backing, pin it down, then position the second pocket above it and pin that one too. Baste all raw edges with a long machine stitch about an eighth of an inch from the edge to hold everything in place while you work on the rest of the construction.
- Hem the top edge of each pocket panel with a double-fold hem and press carefully.
- Add any decorative trim below the hem on the right side of the fabric.
- Position pockets on the backing panel with right sides facing up.
- Pin all raw edges securely and baste them in place.
- Optionally stitch vertical dividing lines to create smaller individual pockets within a panel.
Assembling the Wall Pocket and Adding the Facing
The facing is the strip that finishes off the top and hides the raw edges of your hanging loops. Cut a strip of fabric at 13 by 4 inches and a matching piece of interfacing, fuse the interfacing to the wrong side, and press it smooth. If your hanging loops are ready, fold each one in half so the raw ends meet, and pin them evenly spaced along the top raw edge of the backing panel with the loop body pointing down toward the pockets and the raw ends flush with the top edge.
Lay the facing strip right side down over the top of the backing, so the loops are sandwiched between the two layers. Pin everything in place and stitch across with a half-inch seam allowance, making sure you catch those loop raw ends firmly in the seam. When you flip the facing upward and fold it over to the back, the loops will pop right up at the top, ready for your rod or dowel. Give that seam a good press — a crisp top edge really does make the whole thing look more polished.
Fold the facing to the back of the wall pocket, turn under its raw bottom edge by half an inch, press, and pin it against the wrong side of the backing. You can slip-stitch it down by hand for an invisible finish, or carefully edge-stitch it by machine if you’d rather keep things quick. Either way, the facing does double duty: it looks tidy and it reinforces the top of the organizer so the fabric doesn’t stretch out around the hanging loops after months of use.
For the remaining raw edges, you have a couple of good options. The easiest is to enclose all four sides with purchased double-fold bias tape in a coordinating color, mitering the corners for a neat finish — it’s surprisingly satisfying to do. Alternatively, if you want a cleaner lined look, cut a full lining piece the same size as the backing, sew it right sides together around the edges with a gap for turning, flip it right side out, press, and edge-stitch the opening closed. Both approaches give you a durable, finished piece that’ll hold up to everyday use.
Hanging and Styling Your Fabric Wall Pocket
Take a moment to think about where this thing is actually going to live, because placement really matters. Near the front door is a classic spot for catching incoming mail and keys. A home office wall is great for keeping documents and stationery within reach. Beside a craft table, next to a child’s desk, or in a playroom for art supplies — all excellent options. The main thing is to hang it at a height that makes sense for whoever will be using it most.
Slide your rod or dowel through the loops and decide on the hanging style. A painted or stained wooden dowel is simple and looks great with almost any fabric. A decorative curtain rod with finials can feel more intentional and polished in a living room or entryway. A smooth, naturally curved branch adds the kind of rustic, organic touch that works so well with farmhouse or cottagecore aesthetics. Tie ribbon, twine, jute, or leather cord at each end of the rod to create the loops you’ll hang from the wall.
For hanging it up, a single centered nail works well for a clean look, but two nails or small hooks spaced apart give you more stability once the pockets are full — especially if you’re planning to load them up with heavier things. Make sure whatever you’re hanging from is actually anchored properly, either into a stud or with the right wall anchor for the weight. And take a second to level the rod before you start filling it, because even a slight tilt gets much more obvious once there’s weight inside.
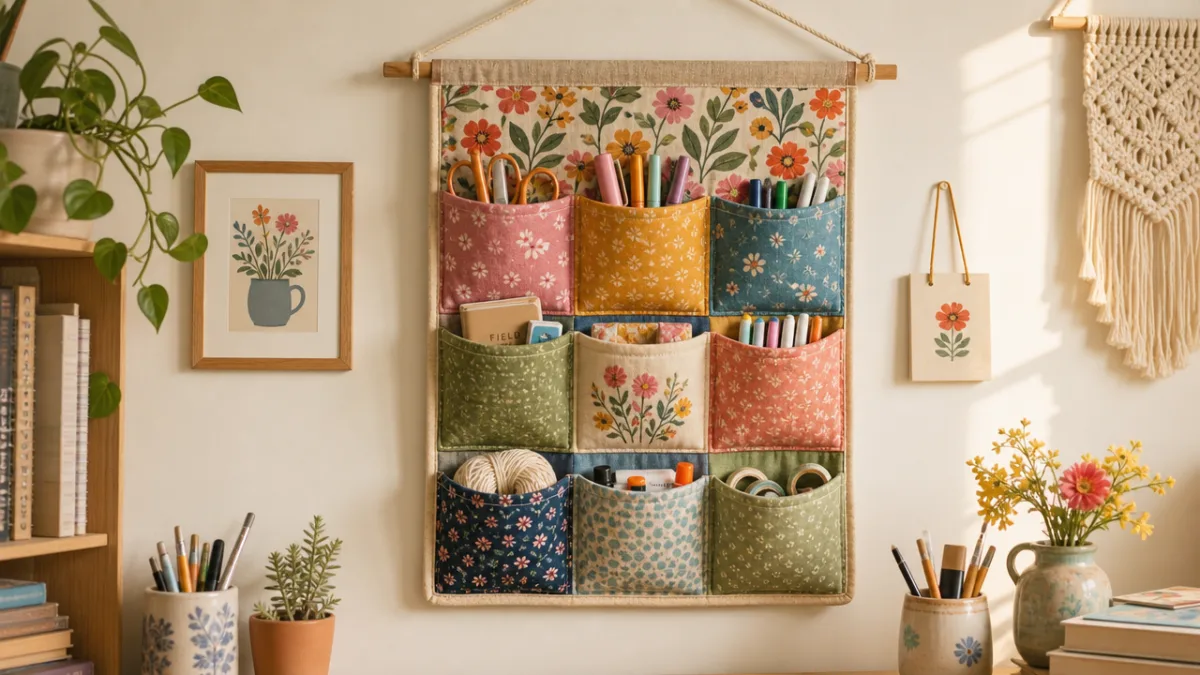
Filling and styling your wall pocket is honestly one of the most enjoyable parts of the whole project. Arrange things so the pockets look considered rather than just crammed. Coordinating notebooks, envelopes, or little baskets in colors that match your fabric go a long way. If you want to add a little extra charm, tuck a small plant cutting in a test tube vase, a sprig of dried lavender, or a pretty paper card into one of the pockets. Then take a photo and share it — you made something genuinely lovely, and other sewists will want to see it.
Tips, Variations, and Troubleshooting
Once you’ve made one wall pocket, it’s hard to stop. One of the most popular variations is a seasonal version — either swapping out fabric inserts or making entirely new ones in festive prints throughout the year. Another fan favorite is the classroom wall pocket with lots of narrow individual pockets labeled by student name or subject, which teachers absolutely love because it’s as functional as it is cheerful.
If you need something more rugged — say, for a garage, workshop, or garden shed — try using canvas or denim as your main fabric and swap the decorative dowel for a piece of PVC pipe or a thick wooden rod. Reinforce the pocket seams with double stitching and add bar tacks at the upper corners of each pocket where the stress tends to concentrate. This version can handle tools, seed packets, twine, and all manner of workshop odds and ends without showing any signs of wear for years.
If you run into puckering at the pocket seams, the usual culprits are uneven machine tension or skipping the pressing step between construction stages. Pressing every seam as you go really does make a difference — it’s not just for looks. If the finished piece won’t hang flat against the wall, try adding a second layer of fusible interfacing to the backing, or tuck a thin piece of foam stabilizer inside the backing before you close up the edges. A few minutes of troubleshooting early on is always easier than trying to fix something after the final stitching is done.
For anyone who loves to embellish, a fabric wall pocket is a wonderful canvas to play on. Simple hand embroidery — running stitches, cross-stitch motifs, small appliquéd shapes — gives the finished piece a folk art quality that feels right at home in current handmade decor trends. Block printing, textile paint, and stenciled lettering are all techniques you can apply to the pocket panels before assembly. These little personal touches are what take a wall pocket from “functional storage” to something you actually love looking at every day — which, when you think about it, is exactly the point.








What do you think?
It is nice to know your opinion. Leave a comment.