










24 Super Cute DIY Animals and Insects to Spruce Up Your Garden
Why DIY Garden Decorations Are Worth Your Time
There’s something really special about stepping back and looking at a garden you’ve decorated with your own two hands. Store-bought ornaments are fine, but they always look a little… samey. A handmade fox peeking out from behind your rose bush, or a cheerful painted ladybug sitting on a garden stone — those things have personality. They tell visitors something about you, and no mass-produced garden center find is ever going to do that.
These projects are also surprisingly kind to your wallet. Chances are you’ve already got half the materials you need sitting around at home — old terracotta pots, leftover paint, wire hangers, smooth river stones, bits of broken crockery. All of that can be turned into something genuinely lovely. A few afternoons of creative time and you’ll have something far more interesting than anything you’d find at a home improvement store, usually for a fraction of the cost.
And honestly, beyond how your garden looks, making this stuff is just good for you. It’s calming, it keeps your hands busy, and there’s a real sense of satisfaction in watching a plain stone slowly become a bumblebee. If you’ve got kids, even better — these are the kinds of projects that turn into proper family memories, and they’re a natural way to get children interested in nature and the outdoors.
Getting Started: Materials and Tools You Will Need
Before you dive into your first project, it’s worth pulling together a core set of materials that’ll carry you across lots of different animal and insect designs. Most garden craft projects lean on some combination of smooth stones or pebbles, air-dry clay, terracotta flower pots, wire, and outdoor-grade acrylic paint. Don’t skimp on the paint — garden pieces live outside in the rain, sun, and everything in between, so you really do want quality exterior paint if you want your work to last more than one season.
You don’t need a fancy toolkit, but a few basics will make your life a lot easier. Fine-tipped paintbrushes in a few different sizes are essential for getting those tiny details right — antennae, wing patterns, expressive little eyes. A hot glue gun is a lifesaver for putting multi-part pieces together, and a waterproof sealant spray is non-negotiable before anything goes outside. Throw in some wire cutters, a pair of pliers, and a small drill for making holes in pots or stones, and you’ve got everything you really need.
If you love the idea of working with natural materials, your own backyard is a great place to start foraging. Pinecones make surprisingly convincing hedgehog bodies, driftwood can be coaxed into whimsical caterpillar shapes, and acorn caps are just the right size for tiny fairy-garden mouse hats. Moss, bark, twigs, dried seed pods — all of it adds texture and a genuinely organic feel to your creatures. The best DIY garden art often comes from unexpected places, so don’t overthink it too much.
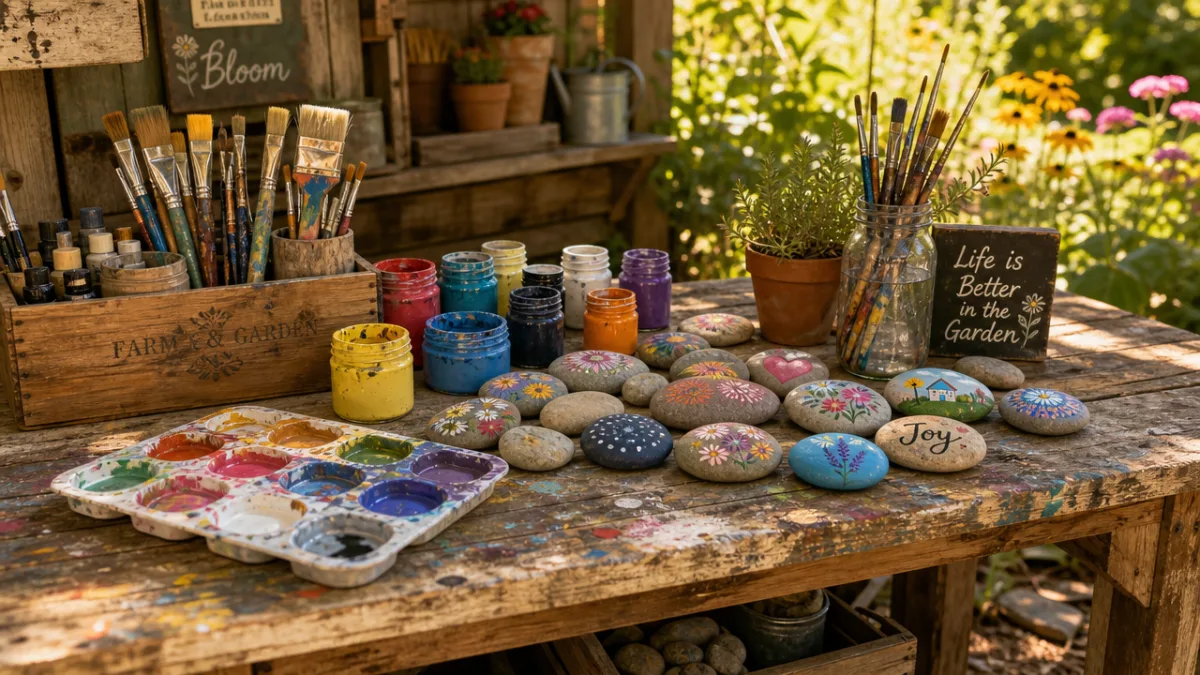
Painted Rock Animals: Simple Projects for All Skill Levels
If you’re just getting started with garden animal crafts, painted rocks are the perfect place to begin. You don’t need much — just some smooth river stones, outdoor acrylic paint, and a bit of patience. Flat, oval stones are ideal for ladybugs, bumblebees, hedgehogs, and snails. Give each stone a good wash and let it dry completely, then lay down a white or light base coat first so your colors show up nice and bright. Once that’s dry, lightly sketch your design in pencil before you commit with paint.
Ladybugs are a classic beginner project and they always turn out adorable. Paint the stone red, draw a bold black line down the middle, add a rounded black head, and dot the wings with spots. When everything’s dry, use a fine brush to dot on tiny white eyes with black pupils — that little detail is what makes them look friendly rather than just painted. Two coats of outdoor varnish later and your ladybug is ready to nestle among potted plants or sit along a garden path for years.
Once you’ve got your confidence up, try painted rock owls, foxes, or little turtles. Owls look fantastic on upright oval stones in shades of brown, cream, and burnt orange — give them big circular eyes and they have that perfect wise, watchful look. Foxes in rust-orange with white-tipped tails and pointed ears look magical peeking out from behind a garden fern. And turtles? The geometric shell patterns are almost meditative to paint, and they look really striking once they’re placed outside.
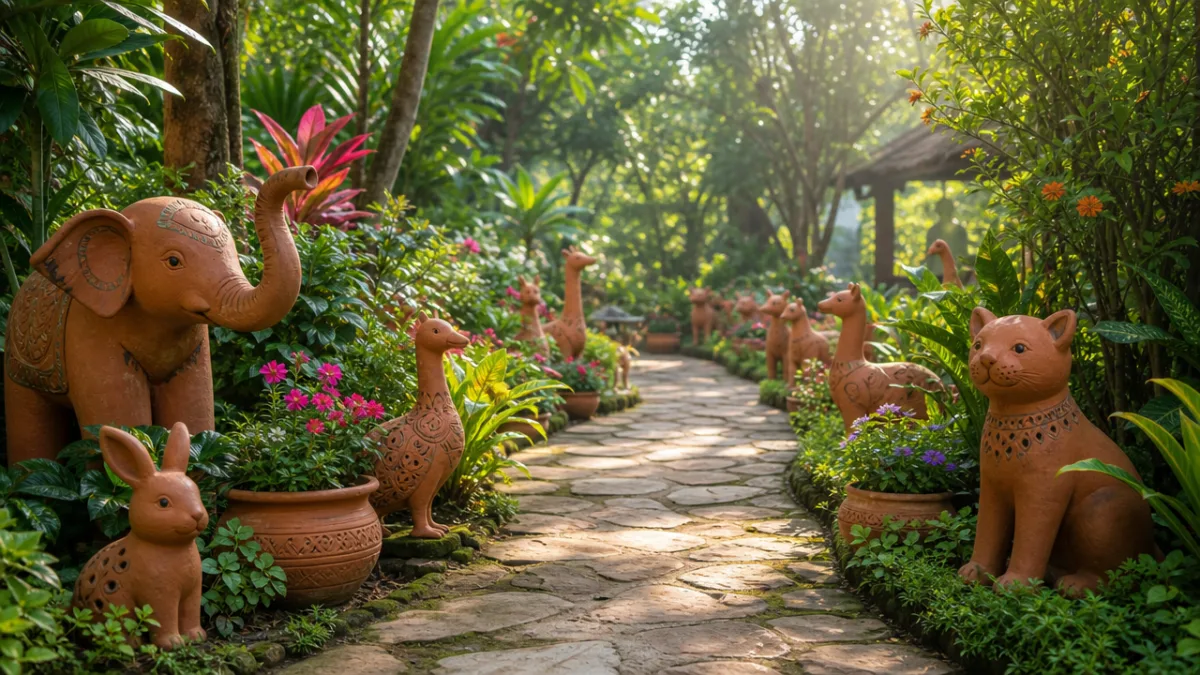
Terracotta Pot Sculptures: Animals That Double as Planters
Stacking terracotta pots in different sizes is one of those DIY techniques that feels a little like magic — suddenly you’ve got a three-dimensional animal sculpture that can also hold actual plants. The terracotta pot caterpillar is a classic for a reason: thread a line of graduated pots together on a sturdy rope or wire, paint each segment a different color, and add googly eyes and pipe-cleaner antennae to the head pot. Kids absolutely love helping with this one.
Frogs are another great fit for this technique. Use a large pot for the body, a medium pot for the head, and two small pots for the bulging eyes. Paint everything grass-green, add a wide red smile and some white spots, and sit your frog beside a garden pond or at the base of a water feature. You can even plant succulents or trailing ivy in the body pot, so your frog is both a sculpture and a living garden feature at the same time — which is pretty great.
Penguins, elephants, and pigs work just as well and don’t require any advanced painting skills. The main thing to get right is using exterior-grade paint in bold, contrasting colors and sealing every surface thoroughly with waterproof varnish before anything goes outdoors. If you’re actually planting in the pots, double-check that your sealant is food-safe where needed. Line a few of these sculptures along a garden path and the whole space takes on a wonderful storybook quality.
Wire and Recycled Material Insects: Adding Whimsy at Every Scale
Wire-sculpted insects have a completely different feel from stone or clay pieces — they’re light, delicate, almost ethereal. They seem to hover in a way that solid sculptures just can’t pull off. Making dragonflies, butterflies, and damselflies from galvanized wire and repurposed bits and pieces is a genuinely relaxing craft once you get into it. Start simple: wrap wire into a central body shape, then bend thinner wire into elongated ovals for the wings and attach them with twisted wire joints at the center.
Filling those wings in is where things get really fun. Thread glass beads onto finer wire and you get a stunning stained-glass effect when light passes through. Colored cellophane or iridescent film cut to shape and glued inside wire frames is easier but looks just as beautiful. Some crafters press actual dried flower petals or leaves between layers of resin to fill wing shapes — the result looks like the insect was frozen mid-flight, which is just incredible.
Recycled materials open up a whole other world of possibilities. Old spoons and forks bent into shape become surprisingly convincing snails and caterpillars. Bottle caps painted in metallic colors and clustered together form the segmented bodies of beetles or centipedes. Tin cans cut and shaped with tin snips can produce large, dramatic butterfly or moth sculptures that make a real statement mounted on a garden fence or wall. It’s creative, it’s sustainable, and the results are genuinely impressive.
Garden Stakes and Hanging Decorations: Bringing Your Animals to Life in the Landscape
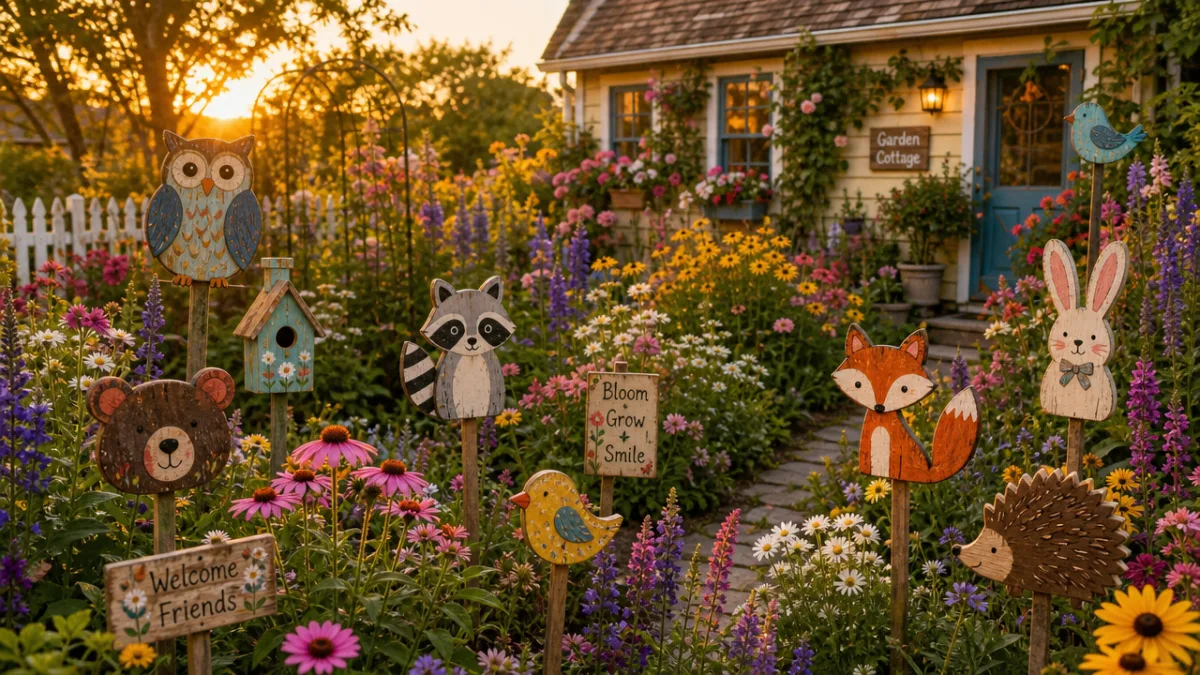
One of the best ways to show off your handmade garden animals is on stakes at different heights throughout your flowerbeds and borders — it creates a real sense of movement and depth. Wooden dowels or bamboo canes work brilliantly as stakes for painted rock creatures, which you can glue or wire securely to the top. Metal garden stakes cut into animal silhouettes — cats, rabbits, hedgehogs — can be painted and pushed straight into the soil, where they catch the light beautifully even in winter when the flowers are long gone.
Hanging decorations add a kinetic quality that makes a garden feel genuinely alive. Wind chimes made from painted wooden bird and butterfly cutouts make a gentle, cheerful sound in the breeze. Mobile-style hanging displays with wire-strung insects at different lengths twist and spin in the wind, catching sunlight and throwing dappled shadows across paths and walls below. These suspended pieces are especially lovely under pergolas, in covered seating areas, or beside a garden gate where they’re the first thing visitors notice.
For a really cohesive look, pick one animal theme and run with it across multiple pieces and materials. A garden full of foxes — a painted rock fox, a terracotta pot fox family, a wire fox silhouette on a stake, a wooden hanging fox plaque — creates a unified, intentional feel that’s far more impactful than a random mix of unrelated creatures. It also makes gift-giving incredibly easy: you can add a new fox piece to someone’s collection every birthday or Christmas, gradually building their garden menagerie into something really special.
Seasonal and Holiday Variations: Keeping Your Garden Fresh Year-Round
One of the nicest things about making your own garden decorations is how easy it is to swap them out with the seasons. In spring, lean into baby animals — painted chick rocks, little bunny pot sculptures, wire butterflies that look like they’re just emerging from their cocoons. Pastel tones work perfectly alongside the first crocuses and daffodils, giving the whole garden a fresh, hopeful feel.
Summer is the time for bold, bright insects. Oversized painted bumblebees on stakes buzzing above a lavender bed, dragonfly wind spinners beside a water feature, ladybug clusters along a vegetable patch — they all fit right in with the vivid colors of a garden in full bloom, and they add a playful human touch to what nature’s already doing. Come autumn, shift toward warmer tones: rust-colored fox sculptures, painted hedgehog stones nestled among fallen leaves, terracotta owl planters filled with heathers and chrysanthemums. Cozy and woodland-y in the best possible way.
Winter doesn’t have to mean a bare garden, either. Wire-frame sculptures look genuinely magical when they’re dusted with frost or a light covering of snow. Properly sealed painted rocks can stay out through most winter weather without any trouble. And there’s real joy in giving your favorite garden animals a seasonal makeover — a ladybug with a tiny Santa hat, a terracotta frog in a miniature scarf and earmuffs, a wire reindeer strung with outdoor fairy lights. These small touches keep your garden feeling personal and alive no matter what time of year it is.
Tips for Longevity: Making Sure Your Creations Last
You’ve put real time and effort into these pieces, so it’s worth doing a few simple things to protect them. The single most important step is sealing every finished piece with a good quality outdoor sealant before it goes outside — full stop. Look for something specifically labeled UV-resistant, because sunlight is the biggest culprit when it comes to faded garden art. Two coats minimum, with full drying time in between, and then revisit everything at the start of spring each year as part of your regular garden maintenance.
Where you place your decorations matters more than you might think. Most sealed pieces handle rain just fine, but positioning delicate wire sculptures or painted stones in spots with good drainage — rather than areas where water pools — goes a long way toward preventing rust, paint lifting, and general wear. For particularly delicate pieces, it’s always worth bringing them in during prolonged heavy rain, hail, or a sharp frost. A garden shed shelf or a corner of the garage is all the shelter they need to come through winter in good shape.
Ongoing care is pretty minimal. Wipe down painted stones and pot sculptures with a damp cloth now and then to stop algae or moss from taking hold — left unchecked, that stuff can stain or work its way into painted surfaces. Touch up any chips or scratches promptly before moisture gets a chance to sneak underneath. Wire sculptures, especially in humid or coastal spots, benefit from a coat of rust-inhibiting spray paint every year or two. It’s not a lot of effort, but it makes all the difference — your handmade garden animals and insects can genuinely last for years and keep bringing a smile to everyone who passes through your garden gate.








What do you think?
It is nice to know your opinion. Leave a comment.