










22 DIY Fence Ideas on a Budget: Transform Your Yard Without Breaking the Bank
Why a DIY Fence Is One of the Best Home Improvement Investments You Can Make
A well-built fence does far more than mark the edges of your property. It creates privacy, adds curb appeal, keeps children and pets safely contained, and can dramatically increase your home’s resale value. Yet many homeowners assume that fencing is an expensive professional job, something that requires a contractor and a budget they simply don’t have. The truth is that with a little planning, the right materials, and a free weekend or two, you can build a beautiful, durable fence yourself for a fraction of the cost.
The DIY fence movement has exploded in recent years, and for good reason. Access to affordable materials at big-box hardware stores, combined with an abundance of tutorials and inspiration online, means that even a first-time builder can tackle a fence project with confidence. Whether you’re working with a tight budget of a few hundred dollars or you have a little more flexibility, there is a style and material combination that will work perfectly for your space, your aesthetic, and your wallet.
Beyond the financial savings, building your own fence gives you complete creative control. You choose the height, the spacing between boards, the color, the finish, and the overall design. You’re not limited to the standard options a contractor might offer. You can mix materials, experiment with patterns, and truly personalize your outdoor space in a way that reflects your taste and complements your home’s architecture. That sense of ownership and pride in a finished project is something money truly cannot buy.
Understanding the True Cost of Professional Fencing
Before diving into the DIY options, it’s worth understanding what you’re saving. Professional fence installation can cost anywhere from $15 to $60 or more per linear foot, depending on the material and your region. For an average-sized backyard with 150 linear feet of fencing, that translates to $2,250 to $9,000 or higher. Labor often accounts for 50 percent or more of that total cost. When you remove labor from the equation and source materials smartly, those numbers drop dramatically.
DIY fencing costs vary widely depending on your chosen material. Pallet wood fences can cost as little as $50 to $200 for an entire project if you source free pallets. Basic treated pine picket fences might run $3 to $8 per linear foot in materials. Even cedar, one of the more premium budget-friendly choices, rarely exceeds $10 to $15 per linear foot when you’re doing the work yourself. The savings are substantial, and the quality of the finished product is entirely in your hands.
It’s also important to factor in the long-term value. A fence you build yourself is one you understand completely. You know where every post is set, how deep it goes, how the panels are connected. That knowledge makes future repairs and maintenance far easier and less expensive. Rather than calling a contractor every time a board warps or a post shifts, you can handle it yourself in an afternoon, keeping your fence looking great for decades without ongoing professional costs.
The Best Budget-Friendly Fence Materials and Where to Find Them
Choosing the right material is the single most important decision in any DIY fence project. Your choice will affect the total cost, the amount of labor involved, the maintenance required, and how long the fence will last. The good news is that there are excellent budget-friendly materials available for every style and application. Understanding the strengths and limitations of each will help you make a smart choice from the very beginning of your project.
Pressure-treated pine is the workhorse of the DIY fencing world, and it remains one of the most popular choices for good reason. It’s widely available, relatively inexpensive, resistant to rot and insects, and easy to work with standard carpentry tools. Pressure-treated lumber is rated for ground contact, which means posts set directly in soil won’t deteriorate quickly. It can be stained or painted to match any color scheme, and when maintained properly, a pressure-treated pine fence can last 15 to 20 years or longer.
Cedar is another outstanding choice that sits just slightly above pine in cost but offers natural resistance to rot, warping, and insects without the chemical treatment process. Cedar has a beautiful natural grain and a warm reddish-brown color that ages gracefully to a silvery gray if left unfinished. It’s lighter than pine, which makes installation easier, and it holds paint and stain exceptionally well. For homeowners who want a premium look without a premium price tag, cedar strikes an ideal balance between cost and quality.
Unconventional and Upcycled Material Options
For the truly budget-conscious builder, reclaimed and upcycled materials open up a world of possibilities. Wooden pallets are perhaps the most popular free fencing material available. Shipping pallets are used by retailers and warehouses across the country, and many businesses give them away for free to anyone willing to haul them off the property. With a little cleaning, sanding, and finishing, pallet wood can be transformed into a surprisingly attractive and rustic fence that has genuine character and charm.
Old corrugated metal roofing panels are another clever upcycled option that has gained significant popularity in recent years. These panels can often be found at salvage yards, farm auctions, or listed for free or very cheaply on local online marketplaces. When framed between wooden posts and rails, corrugated metal creates a striking industrial-farmhouse aesthetic that looks intentional and stylish. It’s also incredibly durable and requires virtually no maintenance beyond the occasional rinse with a garden hose.
Bamboo is one of the most underrated budget fencing materials on the market. As one of the fastest-growing plants on Earth, bamboo is both sustainable and affordable. Bamboo fencing panels are available at many garden centers and online retailers for surprisingly low prices, and they’re extremely easy to install. They can be attached to existing fence frames or simple wooden posts and rails, and they create an instant tropical or zen garden atmosphere. While bamboo may require more frequent replacement than hardwoods in wet climates, its low cost makes periodic replacement an acceptable trade-off.
Creative Design Styles That Look Expensive but Cost Very Little
One of the most exciting aspects of building your own fence is the creative freedom it offers. Some of the most visually stunning fence designs are also among the most affordable, because they rely on clever arrangements of inexpensive materials rather than costly premium products. With a little creativity and some basic carpentry skills, you can build a fence that looks like it was designed by a professional landscaper at a budget that would make them raise an eyebrow.
The horizontal slat fence is a perfect example of a high-design look achieved with minimal expense. Instead of the traditional vertical picket arrangement, horizontal boards create a modern, clean-lined aesthetic that immediately elevates the appearance of any backyard. Using standard pine boards set with consistent gaps between them, you can achieve a look that feels contemporary and intentional. The key is precision in spacing and levelness, both of which are achievable with basic tools and careful measurement. Paint it a deep charcoal or a bright white and the effect is genuinely stunning.
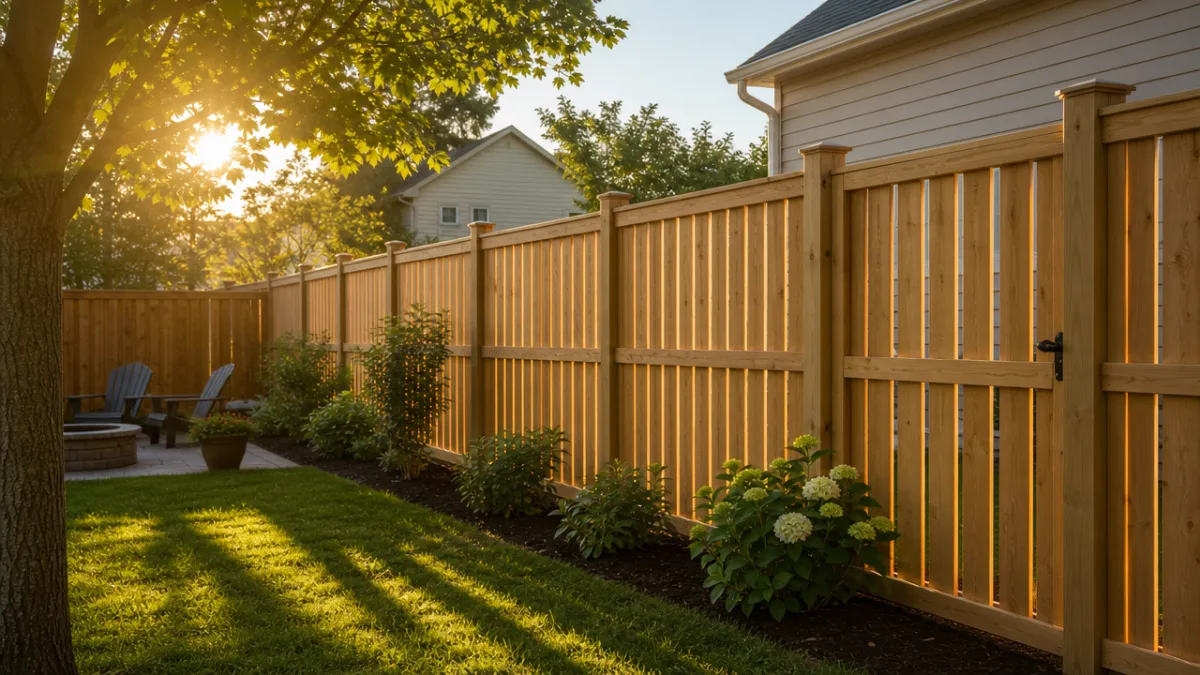
The shadow box fence, sometimes called a board-on-board design, is another style that delivers significant visual impact without a proportional cost increase. In this design, boards are installed on alternating sides of the fence rails, with each board overlapping its neighbors slightly. This creates a fence that has attractive visual depth from either side, while also allowing air to flow through, reducing wind resistance and stress on the posts. It uses only slightly more lumber than a flat-panel fence but looks substantially more sophisticated and complete.
Adding Decorative Touches That Elevate Any Budget Fence
Post caps are one of the simplest and most impactful ways to elevate the look of a basic fence. A plain fence post cut flat at the top looks unfinished and plain. Add a simple pyramid cap, a solar light cap, or even a decorative ball finial, and suddenly the entire fence looks more intentional and polished. Post caps are inexpensive, easy to install, and available in a wide range of styles to complement any aesthetic from rustic farmhouse to sleek modern.
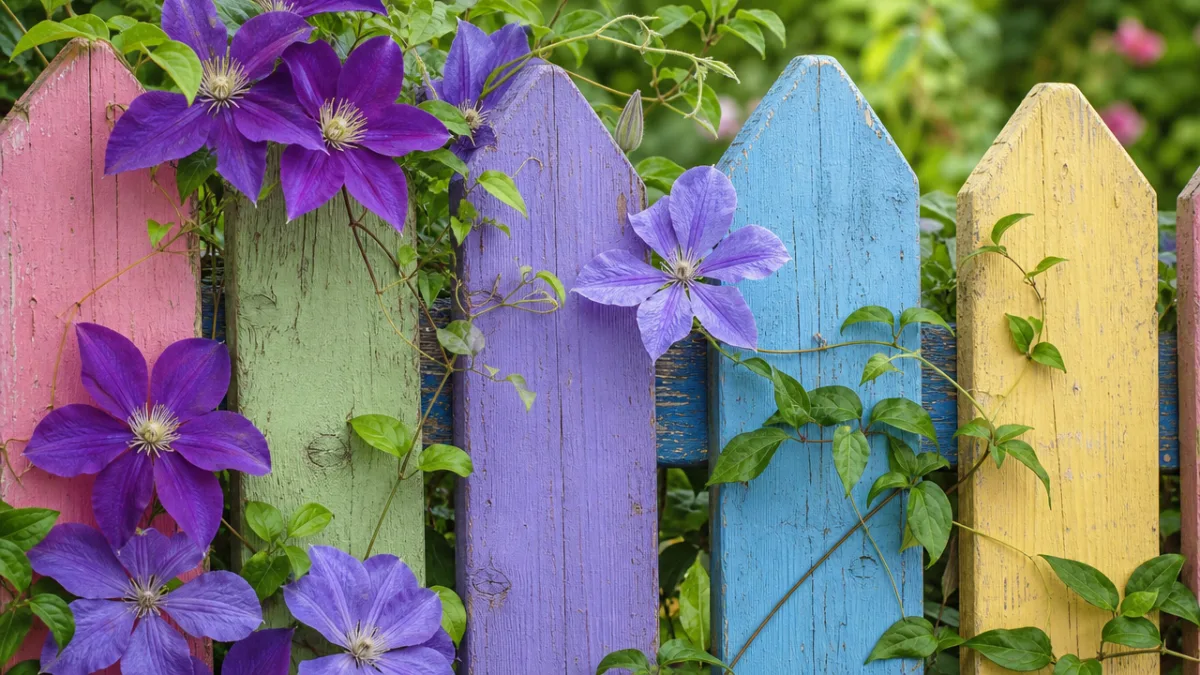
Lattice panels are another affordable decorative element with tremendous visual potential. Attached to the top portion of a solid fence panel, lattice adds visual interest and can support climbing plants like roses, jasmine, or clematis. Over time, a lattice topper covered with flowering vines transforms a plain fence into a living garden feature that improves with each growing season. The combination of structure and organic growth creates a layered, lush look that appears far more expensive and effortful than it truly is.
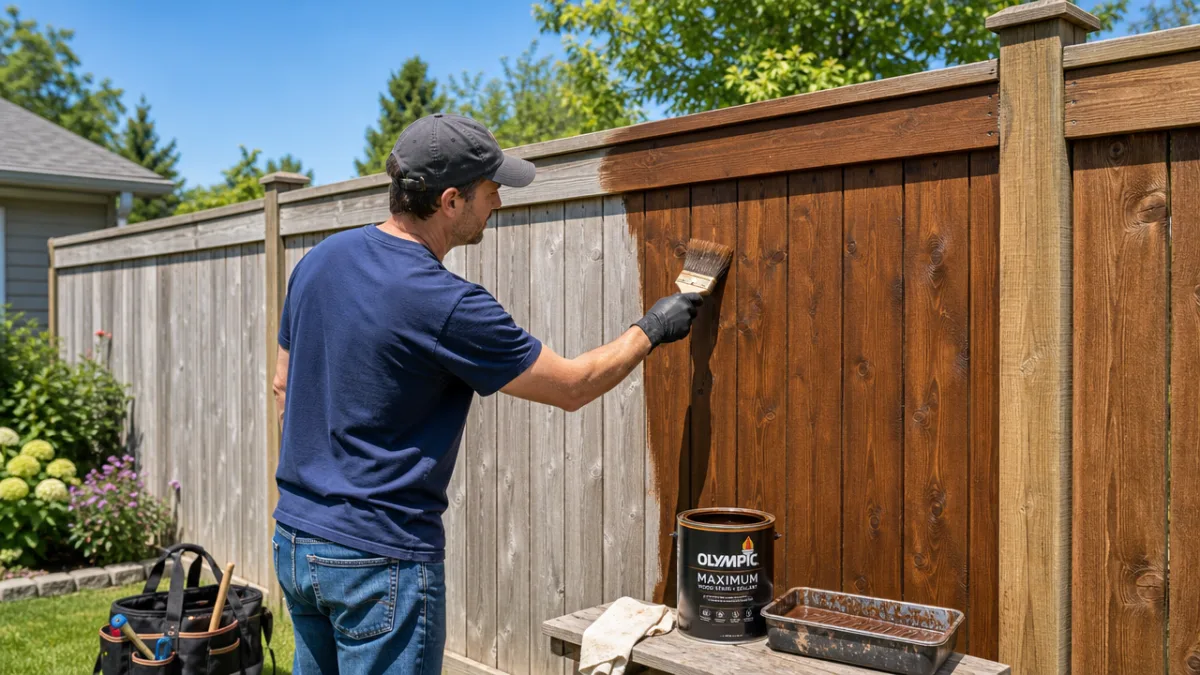
Paint and stain should never be underestimated as design tools. A plain pressure-treated pine fence is functional but visually uninspiring in its natural state. A coat of solid-color stain in a bold navy, forest green, or warm terracotta can transform the exact same structure into a striking design feature. Exterior paint is affordable, widely available, and one of the highest-impact improvements you can make to any fence project. Choosing a color that complements your home’s exterior creates a cohesive, well-designed outdoor space that looks professionally curated.
Step-by-Step Planning: How to Approach Your DIY Fence Project
A successful DIY fence project begins long before you purchase a single board or dig a single post hole. Careful planning is what separates a fence that looks great and stands strong for years from one that wobbles, gaps, and requires expensive repairs within a season or two. Taking the time to map out your project properly, understand your property boundaries, gather the right tools, and purchase the correct quantities of materials will save you significant time, money, and frustration during the actual build.
The very first step is to identify your property lines with absolute certainty. Building a fence on your neighbor’s property, even accidentally, can create serious legal and interpersonal problems. If you don’t have a recent survey, consider ordering one from a licensed surveyor or checking your county’s property records online. Many municipalities also require building permits for fences above a certain height, and some neighborhoods governed by homeowners associations have strict rules about fence styles, materials, and colors. Confirm all of this before you begin.
Once you’ve confirmed your boundaries and checked local regulations, measure your fence line carefully and sketch a simple layout diagram. Note where gates will be located, account for any slopes or changes in elevation, and mark the position of each post. Standard post spacing is typically 6 to 8 feet on center, but this may vary depending on your panel design. Use your diagram to calculate the total number of posts, rails, pickets or boards, and any hardware you’ll need. Always add 10 percent to your material estimates to account for cuts and mistakes.
Essential Tools and Techniques for First-Time Fence Builders
You don’t need a professional-grade tool collection to build a great fence. A relatively modest set of basic tools will handle the vast majority of DIY fence projects. At minimum, you’ll need a post hole digger or a rented power auger for setting posts, a level for ensuring everything is plumb and straight, a measuring tape, a circular saw or miter saw for cutting boards, a drill and driver bits for fastening, and a string line for keeping your fence alignment true over long runs. Most of these tools are available inexpensively at any hardware store.
Setting fence posts correctly is the single most important technical step in the entire project. Posts that are set shallow, not plumb, or not secured with concrete will shift and lean over time, compromising the entire fence. For most residential applications, posts should be set to a depth of one-third of their total length, with a minimum of 24 to 30 inches in the ground. Mix concrete according to the package directions, pour it around each post, and use your level to check plumb in two directions before the concrete sets. Allow full cure time before attaching rails and panels.
Consistent spacing and levelness in your rails and pickets are what give a finished fence its polished, professional appearance. Use a spacer block cut to your desired gap width to maintain consistent spacing between pickets as you work. Run a string line between posts at the height of your picket tops to maintain a level line across the entire run. Work methodically and double-check your measurements frequently. The extra time spent on precision during installation pays enormous dividends in the quality and appearance of the finished fence.
Maintenance Tips to Keep Your Budget Fence Looking Great for Years
Building a beautiful budget fence is only half the story. Maintaining it properly ensures that your investment of time and money continues to pay off for years or even decades to come. Wood fences in particular require periodic attention to prevent rot, warping, insect damage, and weathering. The good news is that most fence maintenance tasks are simple, inexpensive, and require nothing more than an afternoon and a few basic supplies. Establishing a regular maintenance routine is far easier than dealing with significant deterioration after the fact.
Annual inspection should be the cornerstone of your fence maintenance routine. Walk the entire perimeter at least once a year, ideally in early spring, looking for any signs of damage or wear. Check posts for signs of rot at the ground line, look for cracked or split boards, test gate hardware for smooth operation, and check that all fasteners are secure and not rusting. Catching small problems early, a single rotted post or a loose picket, allows you to make quick, inexpensive repairs before they develop into larger structural issues that require extensive work.
Cleaning your fence once or twice a year makes a significant difference in both its appearance and its longevity. A simple wash with a garden hose and a soft brush removes accumulated dirt, mold, and mildew that can accelerate wood degradation. For more stubborn staining or significant mildew growth, a diluted solution of oxygen bleach and water applied with a pump sprayer and rinsed thoroughly works beautifully without damaging the wood fibers. After cleaning, allow the fence to dry completely before applying any fresh stain or sealant.
When to Refinish and How to Choose the Right Products
Wood fence stain and sealant are your most powerful weapons against weathering, and knowing when to reapply them is crucial. As a general rule, a quality exterior stain should be reapplied every two to three years for horizontal surfaces and every three to five years for vertical fence boards, which shed water more efficiently. A simple water droplet test tells you when it’s time: sprinkle a few drops of water on the wood surface. If the water beads and rolls off, your sealant is still working. If it soaks in immediately, it’s time to refinish.
Choosing the right product for your refinishing project depends on your fence’s current condition and your desired finish. A penetrating oil-based stain is ideal for raw or previously oiled wood, as it soaks deep into the grain and provides excellent water and UV protection. A solid-color stain functions more like paint and is ideal for covering older wood with blemishes or color variations. For a natural look that enhances the wood grain while providing protection, a clear or semi-transparent sealant is the right choice. Always clean and lightly sand the surface before applying any finish for best adhesion and longevity.
Beyond refinishing, a few targeted product applications can dramatically extend your fence’s life. Applying a post preservative or end-cut solution to any freshly cut lumber ends before installation seals the exposed wood fibers that are most vulnerable to moisture penetration. Using stainless steel or hot-dipped galvanized fasteners rather than standard steel screws prevents the unsightly rust streaking that can quickly make a new fence look neglected. These small, inexpensive choices made during construction pay dividends in appearance and durability for the entire life of the fence.
Inspiring Ideas: 22 DIY Fence Concepts to Spark Your Creativity
Sometimes the hardest part of any DIY project is simply deciding where to start. With so many fence styles, materials, and design approaches available, the options can feel overwhelming. The following collection of ideas spans a wide range of aesthetics, budgets, and skill levels, so whether you’re a first-time builder looking for something simple or an experienced DIYer ready for a more ambitious project, there’s something here to inspire you. Let these concepts spark your imagination and help you find the perfect fence for your home and yard.
Each of these ideas can be adapted and personalized to suit your specific needs. Mix and match elements from different styles, scale them up or down to fit your space, and don’t be afraid to put your own creative stamp on the design. The most successful DIY projects are the ones that reflect the personality and preferences of the person who built them. Use these ideas as a starting point, not a rigid blueprint, and you’ll end up with a fence that is uniquely and perfectly yours.
Consider the following 22 DIY fence ideas, ranging from the ultra-simple to the genuinely creative, each achievable on a real-world budget with standard tools and a willingness to get your hands a little dirty. From classic charm to contemporary edge, from natural wood to industrial metal, from lush living walls to crisp geometric patterns, the possibilities for your outdoor space are virtually limitless when you choose to build it yourself.
- Classic White Picket Fence: A timeless choice built from standard pine pickets, painted bright white for maximum curb appeal and traditional charm.
- Horizontal Slat Modern Fence: Clean-lined and contemporary, using standard lumber set horizontally with consistent gaps for a sleek, architectural look.
- Pallet Wood Rustic Fence: Free or nearly free materials create a genuine rustic aesthetic with beautiful, character-filled wood grain variation.
- Shadow Box Board-on-Board Fence: Alternating boards on each side of the rail create depth and privacy while allowing air circulation.
- Corrugated Metal Panel Fence: Industrial-chic style using affordable metal panels set between wooden or metal posts for a striking modern look.
- Bamboo Roll Fence: Quick, easy, and inexpensive, bamboo panels stapled or tied to existing posts create an instant tropical or zen garden boundary.
- Living Willow Fence: Young willow branches woven together and planted directly in soil grow into a beautiful, living fence over a single season.
- Split Rail with Wire: Traditional split rail logs combined with welded wire mesh create a ranch-style boundary that’s both affordable and attractive.
- Chevron Pattern Fence: Boards cut and arranged in a V-shaped chevron pattern create a visually dynamic panel that looks custom and crafted.
- Cinder Block Base with Wood Top: Affordable concrete block base sections create a sturdy, permanent base with wood panels above for a hybrid industrial-natural look.
- Repurposed Headboard Fence: Vintage bed headboards mounted between posts create a whimsical, eclectic garden boundary full of personality.
- Wattle Hurdle Fence: Woven flexible branches create a traditional cottage garden boundary that is entirely free if you have access to appropriate shrubs or saplings.
- Trellis and Vine Fence: Lightweight lattice panels support climbing plants, creating a living green fence that grows more beautiful each year.
- PVC Pipe Fence: Schedule 40 PVC pipes in a horizontal arrangement offer a clean, low-maintenance, and surprisingly affordable modern fence option.
- Log Slice Fence: Short sections of log or thick branch cut to uniform lengths and stood vertically in a trench create a natural, woodland-inspired boundary.
- Scalloped Picket Fence: Standard pickets cut with a scalloped top edge using a jigsaw add elegant decorative detail for minimal additional effort.
- Gabion Wire Basket Fence: Wire mesh cages filled with stones or river rock create a dramatic, permanent, and architecturally bold fence structure.
- Reclaimed Window Frame Fence: Old window frames mounted between posts create an artistic, open garden divider full of vintage charm.
- Diagonal Board Fence: Boards set at a 45-degree angle add visual dynamism and geometric interest to a standard fence structure.
- Painted Mural Fence: A plain fence becomes a genuine work of art with a hand-painted mural, transforming a utilitarian structure into a neighborhood landmark.
- Corten Steel Accent Fence: Affordable Corten-style steel panels develop a rich, warm rust patina over time, requiring zero maintenance and offering lasting beauty.
- Mixed Material Fence: Combining two materials, wood posts with wire panels, or metal frames with wood boards, creates a layered, custom look that is entirely unique to your space.
Each of these twenty-two ideas represents a genuine opportunity to transform your outdoor space without a massive budget or professional help. The key is to choose an idea that excites you, plan carefully, source materials smartly, and approach the build with patience and attention to detail. Your yard is an extension of your home, and a well-chosen, well-built fence is one of the most impactful improvements you can make to it. With the ideas, guidance, and inspiration gathered here, you have everything you need to get started on a project that will bring lasting satisfaction every single time you step outside.








What do you think?
It is nice to know your opinion. Leave a comment.