










DIY Cozy Benches with Flower Pots: Transform Your Outdoor Space on a Budget
There is something undeniably charming about a garden bench that doubles as a planter, bringing together the comfort of seating with the natural beauty of flowering plants. Whether you have a sprawling backyard, a modest patio, or a compact balcony, a DIY bench built with flower pots as its structural foundation can become the most beloved feature of your outdoor space. This project is surprisingly approachable for beginners, requiring minimal tools and materials, yet the result looks like something you would find in an upscale garden boutique.
The concept is elegantly simple: large terracotta or concrete flower pots serve as the legs and support structure for a wooden bench seat, while also functioning as planters filled with your favorite herbs, flowers, or trailing vines. The pots provide weight and stability, the wood provides comfort and warmth, and the plants provide color and life. Together, they create a unified garden feature that is far greater than the sum of its parts, transforming even the dullest corner of your yard into an inviting retreat.
What makes this project especially appealing is its versatility and customizability. You can scale it up or down depending on your space, choose pots that match your existing garden aesthetic, select wood finishes that complement your home’s exterior palette, and plant whatever species suit your climate and personal taste. In the sections that follow, we will walk through everything you need to know to plan, build, and style your own flower pot bench from scratch.
Gathering Your Materials and Planning the Design
Before you make a single purchase, it pays to spend time planning your bench carefully. Start by deciding where the bench will live, since its location will influence nearly every design decision you make. A sunny patio spot might call for heat-tolerant plants like lavender and succulents, while a shaded garden nook might be better suited to ferns and impatiens. Similarly, if the bench will be exposed to heavy rain, you will want to choose rot-resistant wood and ensure your pots have excellent drainage holes to prevent waterlogging and structural instability.
For the pot supports, large terracotta pots in the 16-to-20-inch diameter range work beautifully for a standard-length bench. You will typically need two to four pots depending on how long you want the bench to be and how much weight you expect it to bear. Concrete or stone pots offer superior durability and a more refined aesthetic, though they are considerably heavier and harder to reposition. Ceramic glazed pots bring a pop of color and a polished look that can tie the whole arrangement together with the plantings you choose.
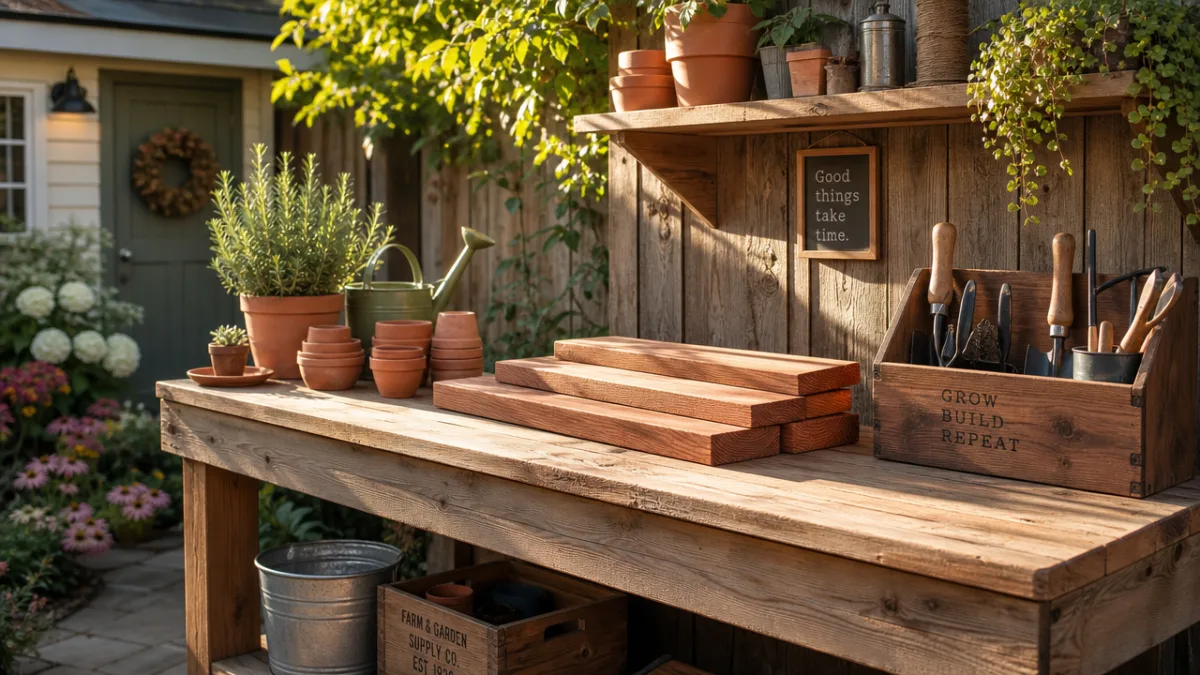
For the seat itself, common wood choices include pressure-treated pine for budget-friendly durability, cedar for its natural resistance to rot and insects, and reclaimed barnwood for a rustic, weathered character. You will typically need two to three planks cut to your desired bench length, which is usually between four and six feet. You will also need wood screws, exterior wood glue, sandpaper in multiple grits, and a weatherproof sealant or outdoor paint to protect the wood from the elements and extend the life of your bench significantly.
Essential Tools for the Project
- Circular saw or miter saw for cutting lumber to length
- Power drill and drill bits for pilot holes and driving screws
- Orbital sander or sanding blocks for smoothing rough edges
- Measuring tape, carpenter’s square, and pencil for precise marking
- Level to ensure an even, stable seating surface
- Paintbrush or foam roller for applying sealant or stain
- Safety glasses and work gloves for personal protection
Once you have your materials list finalized, consider sketching a rough diagram of your bench. Even a simple pencil drawing helps you visualize proportions, identify potential problems before they arise, and gives you a reference to work from once you are in the middle of construction. Measure the height of your chosen pots carefully, since this will determine the final seat height of the bench. A comfortable seat height for most adults falls between 17 and 19 inches, so factor in the thickness of your wood planks when selecting pot height.
Step-by-Step Construction Process
Begin the construction phase by preparing your wooden planks. Cut them to your desired bench length using a circular or miter saw, then sand all surfaces thoroughly, starting with 80-grit sandpaper to remove any rough spots, mill marks, or splinters, and finishing with 120-grit for a smooth surface that will hold stain or sealant evenly. Pay particular attention to the edges and corners, rounding them slightly to prevent sharp points that could snag clothing or scratch bare legs during use. Take your time with this step because a well-sanded bench not only looks better but also accepts finish coats more uniformly.
If you are using two or three separate planks side by side to form the bench seat, you will want to join them together before placing them on the pots. Apply exterior wood glue along the mating edges, press the boards firmly together, and clamp them until the glue cures according to the manufacturer’s directions. For extra strength, drive wood screws through the boards at an angle, a technique called toenailing, to reinforce the glue joint. Once dry, give the joined surface a final light sanding to eliminate any unevenness at the seam where the boards meet.
Next, apply your chosen finish to the wood. A penetrating oil-based stain will highlight the natural grain and provide excellent moisture resistance, while an opaque exterior paint in a color like sage green, slate blue, or classic white can make the bench feel intentional and stylish rather than purely functional. Apply at least two coats, allowing full drying time between each, and pay special attention to the ends of the boards, which are most vulnerable to moisture absorption and cracking over time. Once the finish is fully cured, typically 24 to 48 hours, your bench seat is ready for assembly.
Assembling the Bench
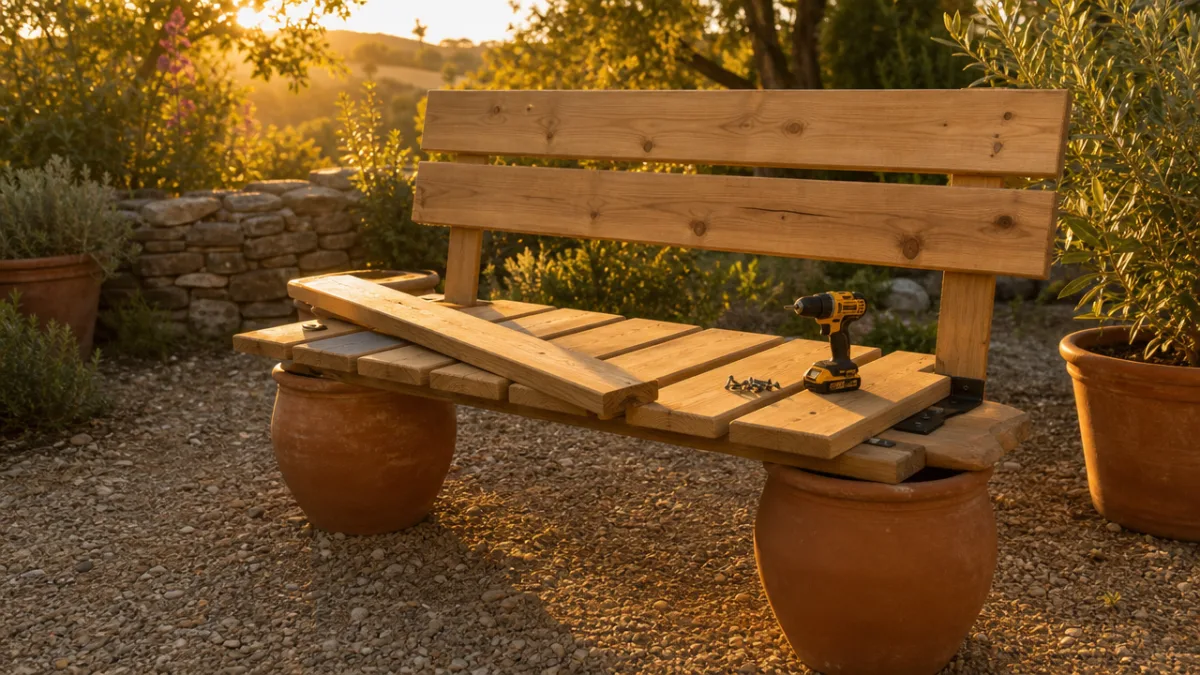
Assembling the bench is refreshingly straightforward. Position your filled or partially filled pots in your chosen location, spacing them evenly along the length of the bench. If your pots are lightweight or sitting on a smooth surface, consider placing non-slip rubber matting underneath each one to prevent shifting and protect the surface beneath. Center your prepared bench planks across the tops of the pots, checking with your level to ensure the seating surface is even. In most cases, the weight of the wood is sufficient to keep the bench stable, but you can also use outdoor construction adhesive between the pot rim and the underside of the boards for a more permanent connection.
Some builders prefer to add a small wooden frame on the underside of the bench seat, essentially a rectangle of 2×2 lumber glued and screwed to the bottom of the planks with notches or ledges that hook over the pot rims. This approach makes the bench feel much more secure and prevents any lateral movement or shifting, which is especially important if children will be using the bench or if it will be positioned on an uneven or sloped surface. This inner frame also distributes the bench’s weight more evenly across the entire pot rim rather than concentrating stress at single contact points.
Once everything is in position and you are satisfied with the stability of the assembly, do a final inspection of all surfaces. Look for any exposed screw heads that might scratch skin and countersink them if necessary. Check that all edges are smooth, that the bench sits level, and that the pots are stable beneath their load. Walk around the bench from all angles to assess how it looks in its environment. This is also a great moment to decide whether you want to add any finishing touches like a cushion, decorative brackets, or additional potted plants arranged around the base to frame the bench.
Choosing and Planting the Right Plants
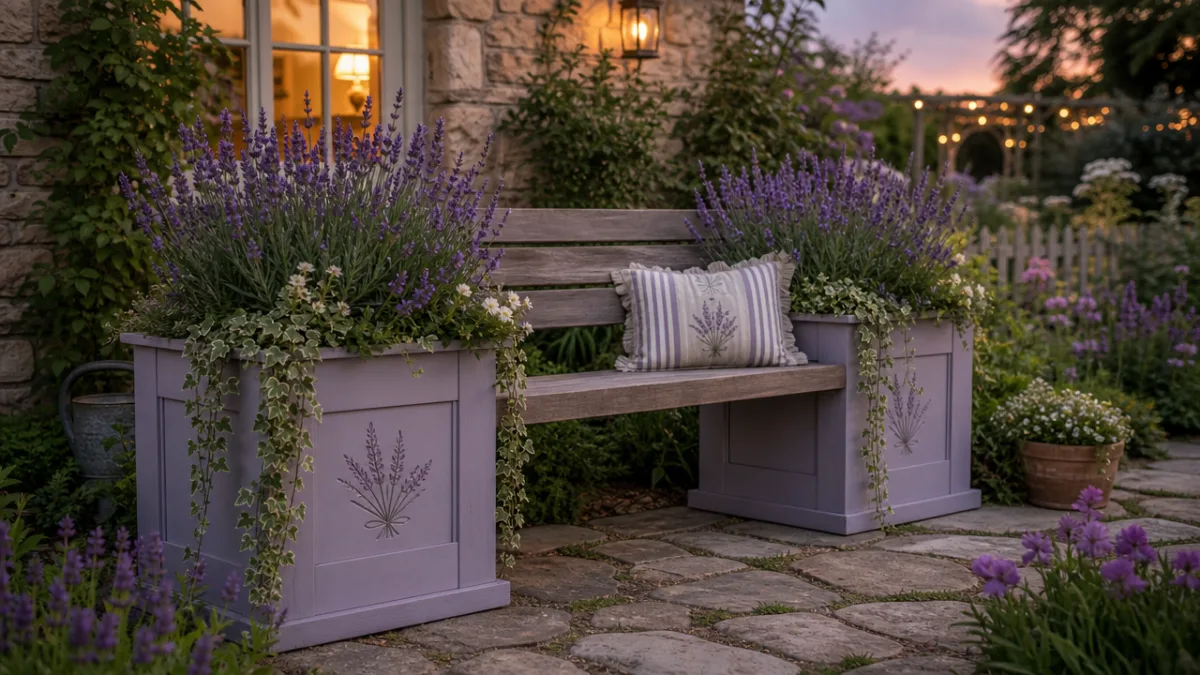
The plants you choose to grow in your bench pots will dramatically influence the entire feel of the finished piece, so it is worth spending real time thinking about this decision. Consider first the practical factors: how much sun does your bench location receive, how often are you willing to water, and what is your local climate like through the seasons? Container plants dry out faster than in-ground plantings, so if you choose thirsty plants like petunias or impatiens, you will need to commit to regular watering, ideally daily during hot weather. Drought-tolerant options like lavender, rosemary, sedums, and ornamental grasses are far more forgiving if you tend to forget to water.
For a truly romantic and fragrant bench experience, consider planting climbing roses or jasmine that are trained on a small trellis inserted into the pot directly behind the bench. As the vines grow, they create a living, flowering backdrop that makes the bench feel like a secret garden hideaway. Alternatively, a combination of tall ornamental grasses in the back of each pot with trailing sweet potato vine or bacopa spilling over the front creates a lush, layered look that changes beautifully through the growing season without requiring much intervention beyond basic fertilizing and deadheading.
Edible plantings bring an additional layer of delight and practicality to your bench pots. Imagine sitting on your bench surrounded by the scent of fresh basil, with cherry tomatoes climbing a small cage beside you and strawberries tumbling over the pot rims. A bench planted with culinary herbs like thyme, mint, chives, and parsley becomes a functional kitchen garden feature as much as a decorative one. Just be mindful that edible plants generally require consistently moist, fertile soil and benefit from a slow-release granular fertilizer worked into the potting mix at planting time.
Planting Tips for Container Success
- Always use a high-quality potting mix rather than garden soil, which compacts in containers and inhibits drainage.
- Add a layer of drainage material like gravel or broken pot shards at the bottom of each pot before filling with soil.
- Mix slow-release fertilizer granules into the potting mix before planting to feed plants throughout the growing season.
- Water deeply until water drains freely from the bottom holes, then allow the top inch of soil to dry before watering again.
- Deadhead spent flowers regularly to encourage continued blooming and prevent the plants from going to seed prematurely.
Styling and Personalizing Your Bench
A beautiful DIY bench deserves equally beautiful styling, and there are countless ways to personalize your creation to make it feel uniquely yours. Start with a weather-resistant outdoor cushion in a fabric that complements both your plant colors and your home’s exterior palette. Sunbrella fabric and similar solution-dyed acrylic textiles offer excellent UV resistance and are easy to wipe clean, making them a practical and attractive choice for outdoor use. Toss a few coordinating throw pillows on the bench for extra comfort and visual softness, though be sure to bring them indoors during rain or overnight to extend their lifespan.
Lighting can transform your bench area from a daytime feature into an enchanting evening destination. Solar-powered string lights woven through the plants or draped over a simple trellis behind the bench create a magical glow at dusk without requiring any electrical work. Lanterns placed on the ground near the base of the bench, or small solar stake lights tucked into the pot soil among the plants, add layers of warm illumination that make the seating area inviting long after sunset. This is particularly valuable if you enjoy spending evenings outdoors during the warmer months of the year.
Consider the ground surface beneath and around your bench as an extension of the design. A simple outdoor rug in a complementary pattern can anchor the bench within a larger seating arrangement or define it as a distinct destination within your garden. Stepping stones leading up to the bench, a small side table made with the same pot-and-board technique scaled down for surface height, or a nearby lantern on a tall shepherd’s hook can all work together to create a cohesive outdoor room rather than just a solitary piece of furniture sitting in a garden.
Seasonal Styling Ideas
- Spring: Plant tulip bulbs in fall for a surprise pop of color as the weather warms, then transition to summer annuals after blooms fade.
- Summer: Fill pots with bold tropical plants like canna lilies, coleus, and elephant ears for a lush, vacation-worthy vibe.
- Autumn: Replace summer plantings with ornamental kale, mums, and small pumpkins nestled among the greenery for seasonal charm.
- Winter: In mild climates, plant evergreen sedges, cyclamen, or pansies; in cold climates, use the pots for twiggy branches, pine cones, and dried seed heads for sculptural winter interest.
Maintenance, Longevity, and Troubleshooting
Like any outdoor structure, your flower pot bench will reward regular maintenance with a long, beautiful service life. At least once a year, ideally at the end of the growing season before winter sets in, remove the bench planks from the pots and inspect the wood carefully. Look for any signs of rot, checking especially the underside of the boards where moisture can accumulate and linger. Sand away any rough or weathered patches that have developed, and apply a fresh coat of exterior sealant, stain, or paint to replenish the wood’s protective coating and restore its appearance. This annual refresh takes just a few hours but can add years to the life of your bench.
The pots themselves require their own maintenance routine. Each spring, it is good practice to remove your plants, dump out the old potting mix, and scrub the pots with a stiff brush and diluted bleach solution to eliminate any fungal spores, mineral deposits, or pest eggs that may have accumulated over the previous season. Rinse thoroughly and allow the pots to dry completely before refilling with fresh potting mix and new plants. This annual refresh dramatically reduces problems like fungal disease, root rot, and insect infestations that tend to build up over successive seasons in the same soil.
One common challenge with this type of bench is that heavy rains can cause pots to shift if they are placed on a smooth surface, or can flood the pots if drainage is inadequate. To address drainage, always confirm that your pots have sufficient holes at the bottom, and elevate them slightly on pot feet or small flat stones to ensure water can escape freely beneath. On smooth patios or decks, the rubber non-slip matting mentioned earlier in the construction section is essential for keeping everything in place during windy or rainy weather. If you live somewhere with freezing winters, either bring terracotta pots indoors or choose frost-resistant ceramic or concrete pots to prevent cracking from freeze-thaw cycles.
Finally, do not overlook the structural connection between the bench seat and the pot tops over time. Outdoor construction adhesive can degrade with UV exposure and repeated wetting and drying cycles, so check the bond periodically and reapply if you notice any loosening or movement. If you used the wooden frame system to lock the bench onto the pot rims, inspect the frame for any signs of rot or loosened fasteners and address them promptly. A stable, solid bench is not only more enjoyable to use, it is fundamentally safer, especially if elderly family members or young children will be sitting on it regularly throughout the seasons.
With thoughtful maintenance and a little seasonal attention, a well-built flower pot bench can remain a centerpiece of your outdoor space for a decade or more. The pots will develop a beautiful patina, the wood will silver gracefully if left unfinished or deepen in tone if stained, and the plants will become increasingly established and lush with each passing year. What begins as an afternoon DIY project has the genuine potential to become a beloved and enduring feature of your garden, a place where morning coffee tastes better, evening conversations linger longer, and the everyday business of life feels just a little more beautiful.








What do you think?
It is nice to know your opinion. Leave a comment.