










Create Magical Salt Painting for Kids: A Fun DIY Craft Activity
What Is Salt Painting and Why Kids Absolutely Love It
Salt painting is one of those crafts that feels like actual magic every time you do it — and I mean that. The idea is simple: draw designs with glue, pour salt all over them, then touch a wet paintbrush to the crystals and watch the color take off on its own. It blooms, it races, it does things you didn’t plan. The finished piece is vibrant and Textured, and kids are genuinely proud of it, even though honestly the salt does a lot of the heavy lifting for them.
What kids really love about it is how much is happening all at once. There’s the satisfying squeeze of the glue bottle, the cascade of salt pouring over the page, and then that magical moment when color hits the crystals and just goes. It spreads like tiny rivers across a sparkling landscape. Every sense gets pulled in — the grainy feel of salt under small fingers, the bright colors bleeding and blooming in ways that feel almost alive. It’s a full sensory experience wrapped up in a craft project.
And here’s the thing: it’s also quietly educational in a way kids won’t even notice. The color moves because of something called capillary action, the same process that pulls water up through plant roots. Children naturally start wondering why it works the way it does, which opens the door to great conversations about science. At the same time, because there’s no “right” way for the design to turn out, kids learn to roll with unexpected outcomes — and usually discover those surprises are the best part.
Gathering Your Supplies: Everything You Need Before You Begin
One of the best things about salt painting is that you probably already have most of what you need. Even if you don’t, a quick trip to the dollar store or grocery store will cover it, and the total cost is usually pretty minimal. It’s the kind of craft you can pull together on a rainy afternoon without much advance planning — which is honestly when the best crafts happen anyway.
Here’s everything you’ll want to round up before you get started:
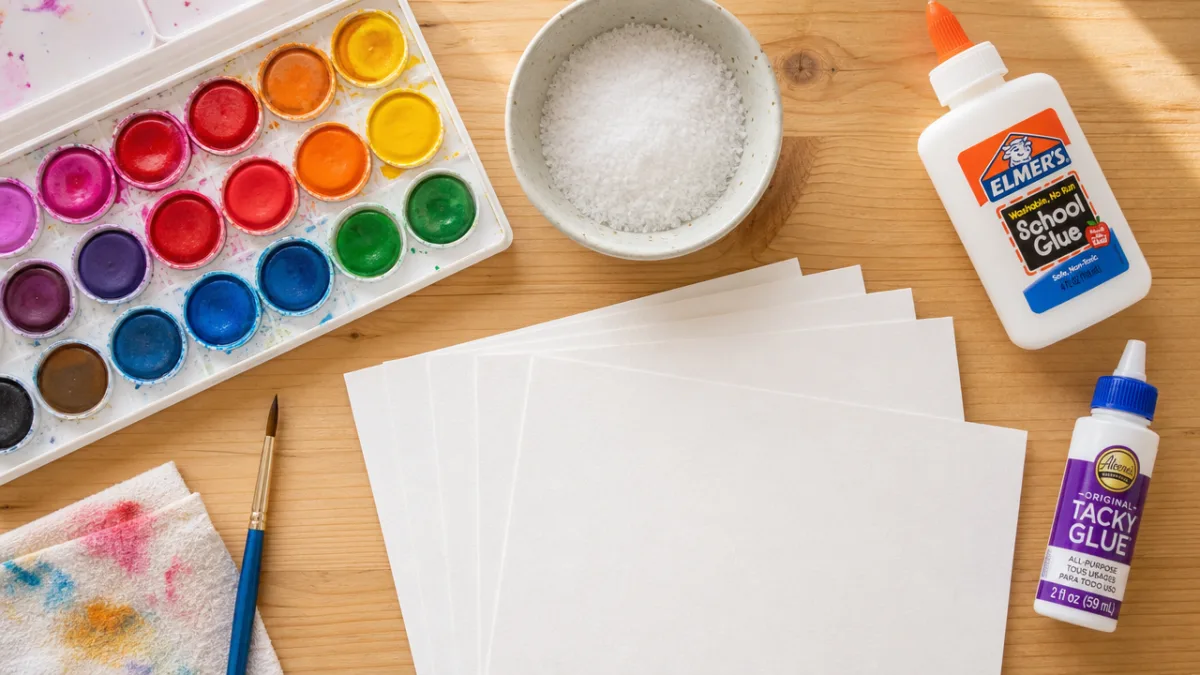
- White cardstock or thick watercolor paper, at least one sheet per child
- White school glue or a glue bottle with a fine-tip nozzle for precise application
- Table salt or fine sea salt, enough to coat your designs generously
- Liquid watercolor paints or diluted food coloring in several bright colors
- Small paintbrushes or dropper bottles for applying the color
- A tray or baking sheet to catch excess salt as it pours off the paper
- Old newspapers or a plastic tablecloth to protect your work surface
- Small cups or a paint palette to hold individual colors
A few things worth knowing before you dive in: skip the regular printer paper. It warps under the moisture and the salt ends up sliding around before anything has a chance to dry. Cardstock is the minimum you’ll want, and actual watercolor paper gives you the most beautiful, stable results. For paint, liquid watercolors are the way to go — they’re thinner and travel through the salt far more dramatically than tempera or poster paint. Once you’ve tried it with liquid watercolors, you won’t go back.
Step-by-Step Instructions for Creating Your Salt Painting Masterpiece
Do yourself a favor and get everything set up before the kids sit down. Cover the table with newspaper or a plastic tablecloth — salt has a remarkable talent for ending up everywhere, and watercolor can stain light surfaces faster than you’d expect. Get the glue bottles filled, pour your colors into small cups, and have brushes or droppers ready. The more prepped you are before the creative chaos begins, the smoother things will go for everyone.
Then just follow these steps in order:
- Have each child draw their design on the cardstock using the glue bottle, squeezing out a steady, generous line. Simple shapes — suns, stars, rainbows, wavy lines — work great for younger kids. Older ones might want to try animals, landscapes, or more detailed scenes.
- Before the glue starts to skin over, pour salt generously over the whole design. Make sure every glue line gets a good thick coating of crystals.
- Tilt the paper over a tray and shake off the loose salt. What’s left should be a raised, sparkly outline of the original drawing, ready for color.
- Dip a brush or dropper lightly into one of your colors and just touch it gently to the salt. Watch the color travel almost instantly along the line. Keep going with different colors, letting them blend naturally where they meet.
- Set the finished artwork flat to dry completely — usually one to two hours depending on how much paint went on.
The single most important tip to share with kids before they start adding color: touch, don’t stroke. Almost every child’s first instinct is to brush the paint across the surface like they would in a regular painting. With salt painting, that’s the one thing you don’t want to do — it disturbs the crystals and kills the flowing effect. Instead, just rest the tip of a loaded brush or dropper against the salt and let the liquid do its thing. It takes a little patience, but watching that color race off on its own is exactly the reward kids get for waiting.
Age-Appropriate Variations to Suit Every Child
Salt painting works for pretty much every age, which is one of the reasons it’s such a great group activity. The core process stays the same, but with small tweaks to tools and expectations, it can feel appropriately fun and challenging whether you’re doing it with a three-year-old or a twelve-year-old. Getting those adjustments right means every kid walks away feeling like they made something genuinely cool.
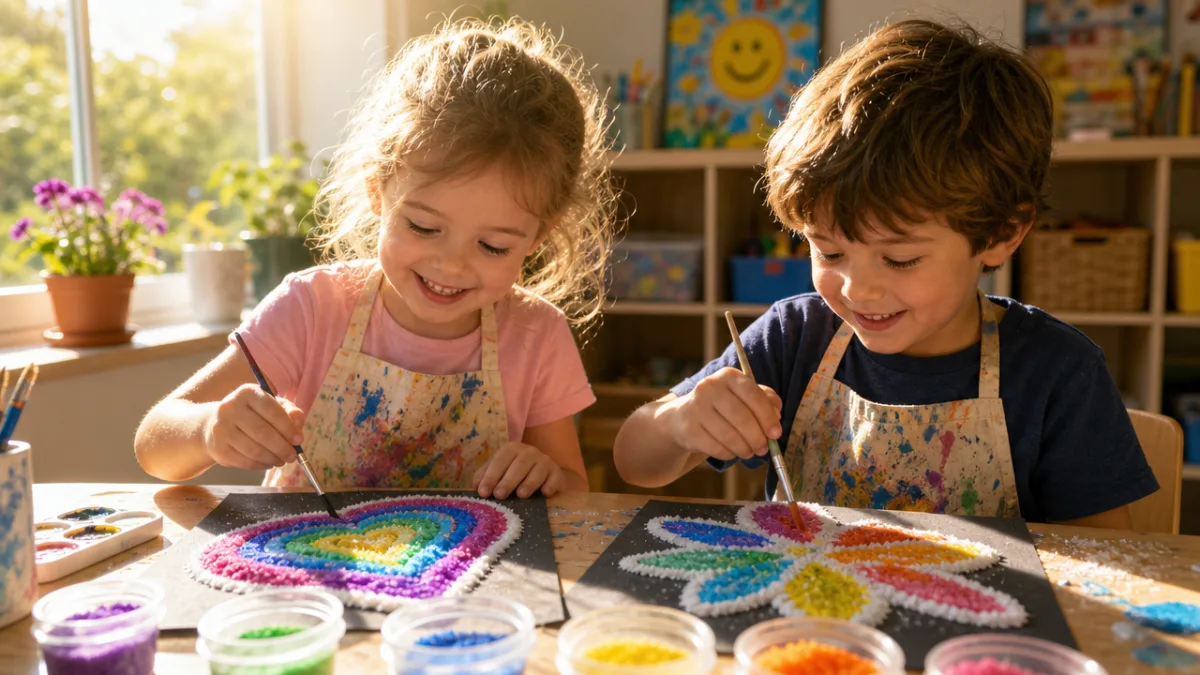
For toddlers and preschoolers, ages two to four, an adult doing the glue stage is a good idea. Very young kids often struggle to control a glue bottle precisely enough to make defined lines, which tends to end in frustration and blobs. A grown-up or older sibling can handle the glue while the little one does the pouring and the painting, which keeps them fully involved without the struggle. Chunky dropper bottles filled with diluted watercolor are much easier for little hands than traditional paintbrushes at this age.
Kids between five and eight can usually handle the whole thing themselves with just a bit of guidance here and there. This age group tends to love themed paintings — a night sky full of stars, an underwater scene, a flower garden. For nine and up, you can raise the bar: try layering techniques, planning color gradients ahead of time, or using a salt painting as the background layer in a bigger mixed-media project. Teenagers often rise to the challenge of creating something with real artistic intent, whether that’s a realistic scene or a carefully planned abstract composition.
The Science Behind the Magic: Teaching Moments Hidden in the Craft
What’s happening when color hits the salt isn’t just visually cool — it’s actual science. The process is called capillary action, the same thing that lets plants pull water up from their roots all the way to their leaves, against gravity. When liquid watercolor touches the salt crystals, it gets drawn rapidly through the tiny spaces between them through a combination of adhesion and cohesion. That’s why the color spreads in those branching, flowing patterns rather than just sitting where you placed it. Every painting looks a little different because the process is genuinely unpredictable.
You can encourage kids to think like scientists while they work without it feeling like a lesson at all. Just ask questions as you go: What do you think happens if the paint has more water in it? Will color travel faster on a thick salt line or a thin one? What happens when two colors meet in the middle? Those simple prompts invite kids to make predictions and then find out if they’re right, which is exactly how science works. The answers they discover by experimenting will stick with them far longer than anything you could just tell them.
The drying process is worth talking about too, even if it’s easy to overlook in the excitement of finishing. As the artwork dries, the water in the paint evaporates and leaves the pigment sitting inside and around the salt crystals — which is why a finished salt painting has that distinctive sparkly, crystalline look that’s so different from a regular painting on paper. Bringing up evaporation and how water changes states connects the whole project to bigger science ideas in a way that feels completely natural rather than like a homework assignment.
Displaying, Preserving, and Sharing Your Salt Painting Creations
Once the painting is done and dry, figuring out what to do with it is its own fun challenge. Salt paintings are more delicate than regular artwork — the crystals are stuck to the glue, but rough handling or rubbing can dislodge them. Knowing how to care for and display these pieces properly means all that creative effort actually lasts, rather than flaking apart disappointingly within the week.
If you want to preserve the surface, a very light coat of clear sealant spray from at least twelve inches away can make the finished painting significantly more durable without changing how it looks much. This part is strictly for adults, and it should be done outside or near an open window with good airflow. If you’d rather skip the spray entirely, slipping the painting into a glass or acrylic frame right after it dries protects the surface just as well without any chemicals involved — and it looks great on a wall.
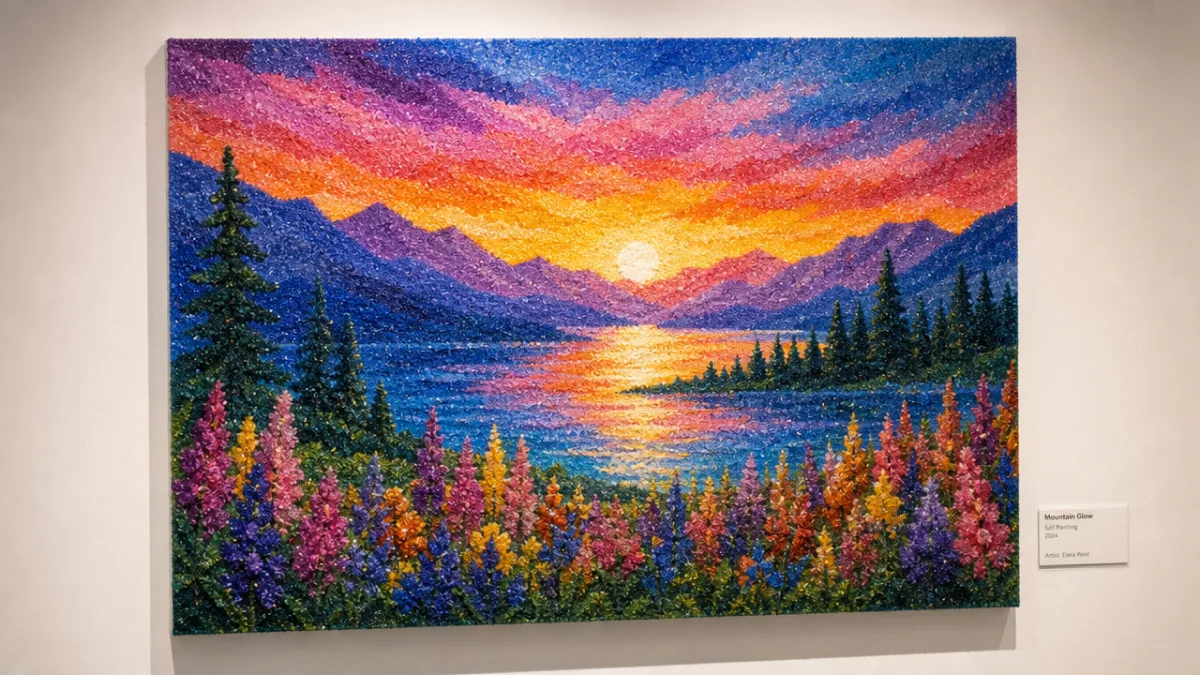
Salt paintings also make genuinely wonderful handmade gifts — the kind people actually keep rather than quietly recycle. Mounting a finished piece on a slightly larger piece of colored cardstock or matboard instantly gives it a framed look and elevates the whole presentation. A group of kids can collaborate on one big salt painting that becomes a real statement piece for a classroom wall or family gathering. And if you photograph the finished artworks, you can upload those images to an online printing service and turn an afternoon of crafting into cards, calendars, or tote bags — a really nice way to share what the kids made with grandparents, teachers, or anyone else who would love to see it.
Troubleshooting Common Salt Painting Problems and How to Solve Them
Even when you’re well prepared, a few hiccups tend to come up — especially the first time. The most common one is that the color doesn’t travel the way anyone expected. Almost every time, the culprit is either paint that’s too thick to flow freely through the crystals, or not enough salt on the glue lines to create a continuous path for the liquid to follow. Both are easy fixes: add a little more water to the paint, or pour on more salt before shaking off the excess.
Paper warping is another one that shows up pretty often — the cardstock buckles as the wet paint goes on, and the salt starts sliding into the wrong places. Using heavier paper from the start is the best way to prevent it, but if it happens anyway, pressing the finished and fully dried painting flat under a heavy book usually sorts it out. And honestly, a little texture and undulation can add to the handmade character of the piece. Helping kids see slight imperfections as part of what makes their artwork unique rather than a failure goes a long way toward keeping the mood at the table cheerful.
Muddy, brownish colors where things blend together are a common disappointment, especially for younger kids who tend to go heavy with the paint and layer colors on top of each other. The fix is teaching kids to choose colors that play nicely together — blue and purple, red and orange, yellow and green — and to stay away from pairing complementary colors like red and green or blue and orange, which go brown fast when they mix. Leaving tiny unpainted gaps between sections, or letting one color settle a bit before adding the next one right beside it, also helps keep those colors vivid and distinct, which is exactly what makes a salt painting so striking in the end.








What do you think?
It is nice to know your opinion. Leave a comment.