










DIY Pallet Backyard Bar Ideas: Transform Reclaimed Wood Into Your Dream Outdoor Entertaining Space
Why Pallet Wood Is the Perfect Material for a Backyard Bar
There’s something genuinely satisfying about turning materials most people walk right past into something beautiful. Shipping pallets are everywhere — and if you know what to look for, they’re one of the best sources of reclaimed wood a DIYer could ask for. They’ve got that rustic, weathered character that would cost serious money to fake with store-bought lumber. When you build your backyard bar from pallets, you’re not just saving cash — you’re making something that says something about you. Something resourceful. Something a little creative. And honestly, something pretty sustainable too.
What surprises a lot of people is just how well-suited pallets actually are for this kind of project. Most are built from hardwoods like oak, hickory, or southern yellow pine — tough stuff that handles outdoor conditions without falling apart on you. The planks are thick enough to bear real weight, and those built-in gaps and spacers? They’re practically begging to become bottle holders, shelving cubbies, or decorative slots. You get a lot of functionality baked right in without having to do much extra cutting or framing.
And the look — it just works for a backyard bar. The natural grain, the occasional knot, the slightly worn Texture all add up to something warm and lived-in that pairs perfectly with string lights, potted plants, and a cold drink in hand. Whether you’re going for a tropical tiki vibe, a cozy farmhouse tavern feel, or something more sleek and industrial, pallet wood plays nicely with all of it. Sand it, stain it, paint it — it’ll go wherever you want to take it.
Finding, Selecting, and Preparing Your Pallets Safely
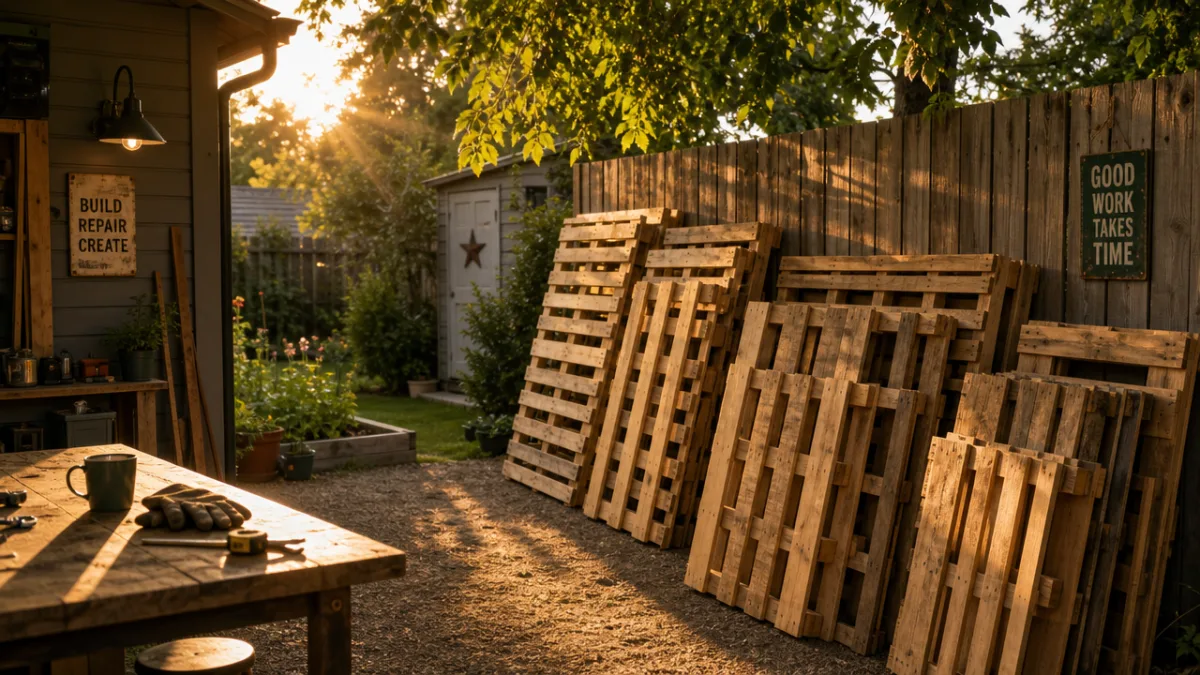
Before you pick up a single tool, you need to sort out your pallets — and this step really does matter. Not all pallets are safe to work with, especially when you’re building something that’ll have food and drinks anywhere near it. The key thing to look for is the “HT” stamp, which means the wood was heat-treated to kill off pests and bacteria. What you want to avoid is anything stamped “MB,” which stands for methyl bromide — a chemical fumigant you absolutely do not want in your backyard bar.
The good news is that free pallets aren’t hard to come by once you start looking. Garden centers, hardware stores, furniture retailers, and grocery distribution warehouses often have more pallets than they know what to do with and are happy to let them go. Facebook Marketplace, Craigslist, and Freecycle are all worth checking too. When you go to grab them, bring gloves and actually look each one over carefully — check for protruding nails, soft or rotting spots, heavy staining, or any weird smells that might hint at chemical exposure.
Once you’ve got your pallets home, take some time to prep them properly before building anything. Pull apart the boards you want to use individually, making sure every nail comes out completely. Then sand everything down — start with a coarser grit around 60 to 80 to knock out the splinters and rough patches, then work up to 120 grit for a smoother finish. If your bar is going to live outside year-round, a wood conditioner or primer before you stain or paint will help the finish stick better and hold up much longer against whatever the weather throws at it.
Essential Tools and Materials You Will Need
Here’s something that makes pallet bar projects so appealing: you don’t need a fancy workshop or a truck full of professional tools to pull one off. Most builds come together just fine with a basic set of equipment that a lot of homeowners already have sitting in the garage. That said, it’s worth gathering everything before you make your first cut. Stopping mid-build to hunt down a missing clamp or the right size drill bit gets old fast, and having what you need on hand keeps things moving safely and smoothly.
Here’s a practical rundown of what you’ll likely need for most pallet bar builds:
- Circular saw or jigsaw for cutting pallets to size
- Drill with both screwdriver and drill bit attachments
- Pry bar or reciprocating saw for disassembling pallets
- Orbital sander and assorted sandpaper grits
- Tape measure, carpenter’s square, and pencil
- Clamps to hold pieces in position during assembly
- Exterior wood screws in multiple lengths
- Wood glue rated for outdoor use
- Exterior wood stain, paint, or sealant
- Paintbrushes, rollers, and drop cloths
- Safety glasses and work gloves
Beyond the tools, it’s worth thinking about what’ll really elevate the finished product. The countertop is where a lot of people level up their bar — a poured concrete top, a slab of butcher block, or some outdoor-rated tile can take the whole thing from “cool pallet project” to genuinely impressive. Little hardware details like pipe brackets, locking casters, or decorative hinges add personality and practicality at the same time. And don’t overlook lighting — LED strip lights tucked under shelves or along the bar base do something wonderful to the mood of an outdoor space once the sun goes down.
Step-by-Step Guide to Building a Basic Pallet Bar
If you’re newer to DIY, the easiest place to start is a stacked pallet design — basically, you stand pallets vertically to build the bar body and add a flat surface on top for the counter. First, figure out your dimensions. A typical bar sits around 42 inches tall, which usually works out to two pallets stacked, though that depends on the pallets you have. Lay everything out on a flat surface and measure twice before you drill or cut anything — it saves a lot of headaches later.
Once your stacks are at the right height, connect them with exterior-grade screws at multiple points so nothing shifts. If you’re planning to actually use this as a working bar surface — and why wouldn’t you? — reinforce the uprights with pressure-treated 2×4 framing to keep things solid and wobble-free. The countertop goes on with screws from below and exterior wood glue along the seams. Give it a really thorough sanding, since this is the surface that’ll be meeting every glass, bottle, and snack plate you put on it.
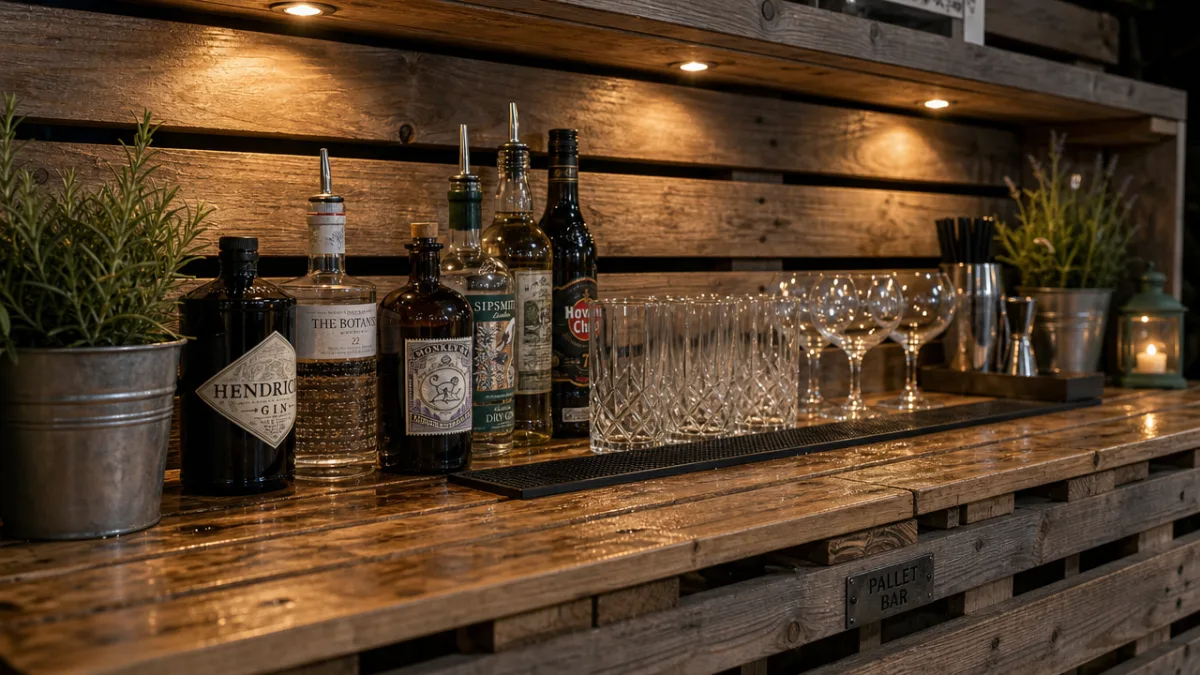
With the structure in place, the fun really starts. A back bar made from a single upright pallet secured to a fence or wall is a natural next step — add shelves and you’ve got a great spot for bottles and glassware. A galvanized pipe footrest along the base is one of those small details that makes it feel like a real bar rather than a backyard prop. Bolt on a bottle opener, hang some hooks for bar towels, tuck in a shelf for a cooler or compact fridge underneath. Each little addition pulls the whole thing together into a proper entertaining setup.

Creative Design Variations and Personalization Ideas
One of the best things about building your own bar is that nobody else’s will look quite like yours. Your bar should feel like your backyard — your style, your vibe, the kind of nights you want to have out there. Going for a tiki theme? Throw a bamboo canopy overhead, wrap the base in grass skirt skirting, and paint the wood a faded turquoise or coral. Add some string lights woven through the bamboo and a ring of tropical plants and you’ve basically built a vacation spot in your own yard.
If you’d rather go sleeker and more contemporary, pair your pallet wood base with a poured concrete countertop and a black metal pipe back bar. Paint the pallet wood deep charcoal or matte black and the whole thing reads moody and polished — nothing like the typical pallet project you see online. Copper pipe fittings, Edison bulb pendants, and geometric metal stools all push that industrial-chic direction without asking for any advanced building skills.
The personalization details are what make a DIY bar feel genuinely yours. Here are some popular ideas worth considering:
- Stencil or wood-burn your family name or a fun bar name onto the front face of the bar
- Use mismatched reclaimed drawer pulls or vintage cabinet hardware as decorative accents
- Install a chalkboard panel on the back bar surface for writing daily drink specials or menus
- Create a wine glass rack by attaching slotted wood strips to the underside of a shelf
- Add a built-in ice bucket by cutting a hole in the countertop and dropping in a stainless steel mixing bowl
- Incorporate a pegboard section for hanging bar tools neatly within reach
Color choices matter more than people often expect. Raw pallet wood with just a clear matte sealant lets the grain do all the talking and feels right at home surrounded by garden greenery. A whitewash — white paint diluted with water, rubbed in and then wiped back — gives you a beautifully weathered coastal look that’s surprisingly easy to pull off. A dark walnut stain adds richness and warmth and honestly makes the bar look more expensive than the materials have any right to suggest.
Weatherproofing, Maintenance, and Long-Term Care
Building the bar is the exciting part, but taking care of it is what keeps it looking great a few years down the road. The single most important thing you can do before your bar ever sees a drop of rain is get a proper exterior sealant on it. Products like Thompson’s WaterSeal, Minwax Helmsman Spar Urethane, or a comparable exterior polyurethane will create a moisture-resistant barrier that keeps the wood from warping, cracking, or turning into a mold situation over time. Do this before anything else, not as an afterthought.
The legs and base deserve extra attention, since they take the most abuse from ground moisture and splashing. If you can, set your bar on paving stones, a concrete patio, or even furniture feet — anything to get the wood slightly off the ground and let air move underneath it. That small step alone can make a meaningful difference in how long the whole structure holds up. Plan to reapply your sealant at least once a year, and bump that up to twice a year if you live somewhere with heavy rain or dramatic temperature swings between seasons.
Day-to-day maintenance is simple and quick. Wipe the bar down after use so drink spills don’t get a chance to soak in. For a deeper clean, a little dish soap in warm water with a soft brush does the job — just rinse it well and let it dry completely before covering it. Speaking of covering: a good outdoor furniture cover goes a long way during winter or any extended stretch when the bar won’t see much use. UV exposure and prolonged moisture are the main culprits behind fading and degradation, and a fitted cover keeps both at bay pretty effectively.
Budget Breakdown and Cost-Saving Tips
Cost is honestly one of the biggest reasons people go the pallet route in the first place — and the numbers make a pretty compelling case. A comparable store-bought outdoor bar can run anywhere from four hundred dollars on the low end to well over two thousand for something with quality materials and a decent size. A well-built pallet bar? Typically somewhere between fifty and two hundred dollars total, with most of the variation coming down to your countertop choice and how much hardware and detail work you want to put into it.
The pallets themselves are usually free if you’re willing to do a little legwork. The bigger line items tend to be the countertop surface, the exterior sealant or stain, and any hardware — pipe fittings, lighting, decorative touches, that kind of thing. For the countertop, it’s worth calling around to local tile shops or stone yards and asking about offcuts. You can get genuinely beautiful pieces for a fraction of what they’d cost off the shelf. Architectural salvage stores are another great source for interesting hardware, vintage bar tools, or one-of-a-kind decorative elements that give your bar real character without much spend.
A few more ways to keep costs down without cutting corners on quality:
- Borrow tools from neighbors or rent from a local hardware store rather than purchasing everything new
- Watch for seasonal sales on exterior wood stains, sealants, and outdoor lighting
- Repurpose old kitchen cabinet hardware for a charming, eclectic look at zero cost
- Use leftover pallet wood to build bar stools or a matching side table to complete the look
- Look for outdoor string lights at dollar stores or discount retailers for a festive finish at minimal expense
- Collect glass bottles and jars over time to use as planters or votive holders around the bar
It’s also worth factoring in your time — not as a cost, but as an investment. A straightforward pallet bar can realistically come together in a single weekend with a helper and moderate DIY experience. More elaborate builds with custom countertops, built-in lighting, and detailed finishing might stretch across two or three weekends. But here’s the thing: at the end of it, you’ve got something that’s entirely yours. Something you figured out, built, and finished with your own hands. And the first time you raise a glass at a bar you made yourself, the pride in that is genuinely hard to put a price on.








What do you think?
It is nice to know your opinion. Leave a comment.