










Dresser Flip: How to Keep the Vintage Charm
Understanding the Appeal of Vintage Dressers
There’s something about a vintage dresser that just pulls you in. Maybe it’s a mid-century walnut piece with those classic tapered legs, a Victorian chest with beautifully carved handles, or a worn farmhouse dresser that spent decades quietly aging in someone’s attic. Whatever it is, these pieces carry a sense of history that no flat-pack furniture can touch. And it’s not just about how they look — it’s the craftsmanship. Those dovetail joints, the solid wood construction, the little details that old-school makers built in as a matter of course rather than as something you’d pay extra for.
When people talk about flipping a dresser, there’s a very real temptation to sand everything down, throw on some chalk paint, and call it done. But if you actually want to preserve that vintage charm, you need to slow down and think a little more carefully. You have to read the piece — figure out what era it came from, what style it’s representing, and which original features are worth showing off rather than painting over. When you approach a dresser flip with that kind of intention, it becomes as much a restoration as a makeover, and honestly? The results are almost always more beautiful — and more valuable — than anything a quick trendy paint job could produce.
The good news is that honoring a piece’s vintage character doesn’t mean you have to leave it exactly as you found it. Some of the most stunning flips involve careful, targeted updates that speak the same design language as the original while making the piece feel fresh and livable in a modern home. It all comes down to developing an eye for what makes each dresser special — and then letting that drive every single decision you make.
Sourcing the Right Piece: What to Look For
Before any of the fun stuff can happen, you need to find the right dresser to work with. Not every old piece is worth restoring, and learning to evaluate one before you haul it home will save you a lot of time, money, and headaches. The first thing to check is structural integrity. Open every single drawer. Does it slide smoothly? Press on the corners — is there any wobble? Look closely at the joints, especially at the back corners and underneath the top surface, where stress tends to build up over the years.
Wood species matters more than most beginners expect. Solid hardwoods like oak, walnut, cherry, and maple are the sweet spot — they sand beautifully, take stain and finish like a dream, and genuinely last forever with the right care. What you want to avoid are pieces built mostly from particleboard or MDF with a thin veneer on top, especially if that veneer is already peeling or chipped. Those materials are a pain to work with and rarely give you that rich, layered finish that makes a vintage flip really sing. That said, a little veneer on an otherwise solid wood piece is totally normal — especially in mid-century furniture — and nothing to worry about.
For sourcing, thrift stores, estate sales, flea markets, and online platforms like Facebook Marketplace and Craigslist are all great hunting grounds. Estate sales in particular tend to turn up higher-quality pieces, since you’re usually getting furniture straight from someone’s home rather than something that’s been passed through multiple hands and warehouses. When you go, get there early, bring a flashlight to check the undersides of drawers and the back panels, and don’t be shy about pulling drawers all the way out to look for hidden damage or old repairs. A little extra time spent sourcing well pays off enormously once you’re actually working on the piece.
Preparing the Dresser: Cleaning, Stripping, and Repairing
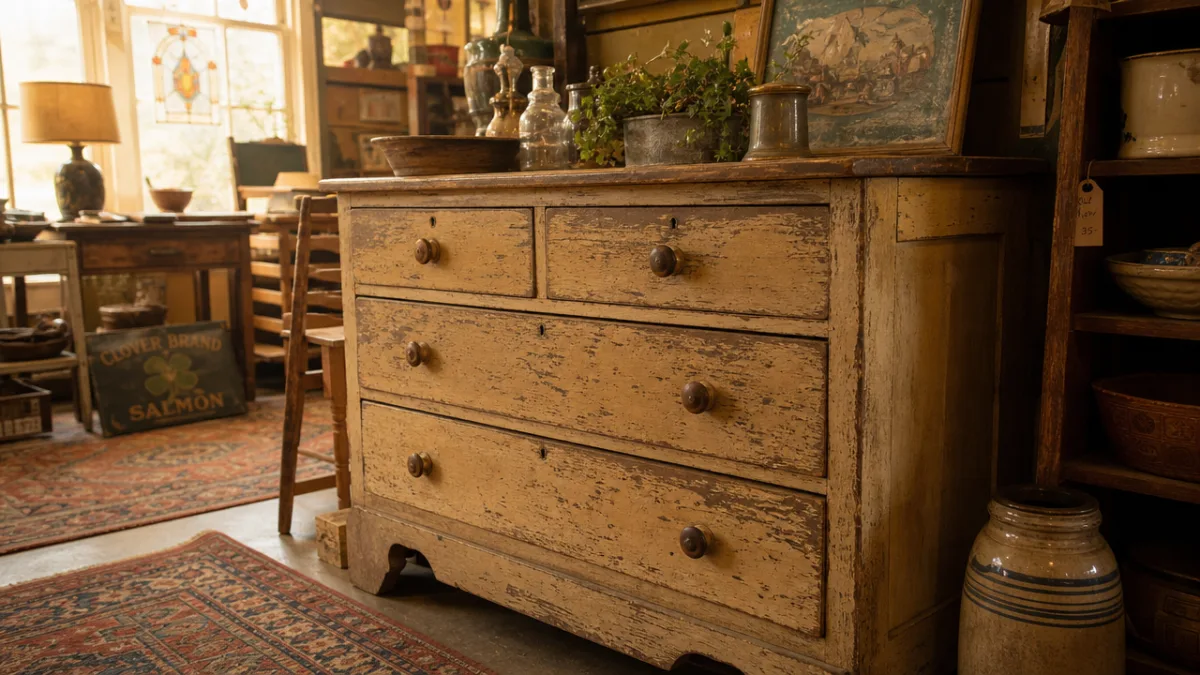
Prep work is honestly where most dresser flips succeed or fail. It’s easy to rush through this part when you’re itching to get to the painting, but the quality of your finished surface depends almost entirely on how well you prepare it. Start by taking off all the hardware — handles, knobs, hinges, any decorative escutcheons — and put everything in a labeled bag so nothing wanders off. If the original configuration is at all complicated, snap a few photos before you start so you have a reference later.
Before you do anything else to the wood, clean the whole piece thoroughly. Layers of old grime, wax buildup, and polish residue can hide the true condition of the surface and mess with anything you apply later. Warm water with a little dish soap handles most general cleaning just fine, but for stubborn old wax you’ll want to reach for mineral spirits or a dedicated furniture cleaner. Don’t forget the drawer interiors, the back panel, and the undersides of surfaces — those spots tend to accumulate years of undisturbed dust. Once everything is clean and fully dry, you’ll have a much clearer picture of what actually needs fixing.
The most common repairs you’ll run into are loose joints that need wood glue and clamping, small gouges or holes that need wood filler, veneer that has lifted and needs to be reglued, and drawer slides that are broken or missing. For anything structural, take the time to do it right — a dresser that looks gorgeous but wobbles every time you open a drawer is still a daily frustration. If you’re new to furniture repair, good tutorials are easy to find for most of these fixes, and picking up even a few basic skills will serve you on every project you tackle going forward.
Choosing Your Finish: Honoring the Original Character
This is probably the single biggest decision in the whole process, and it’s worth sitting with for a bit. The finish you choose can either bring the vintage character of a piece to life or quietly kill it, and there’s no universal right answer — it really depends on the style of the dresser, the condition of the original wood, your own taste, and how the piece is going to be used. Before you even think about reaching for paint, take a good look at the natural wood grain and ask yourself whether it’s worth preserving. A solid walnut or oak dresser with beautiful grain can be transformed simply by stripping the old finish and applying a fresh coat of oil or wax — sometimes all that’s standing between you and a stunning result is decades of old varnish hiding the wood underneath.
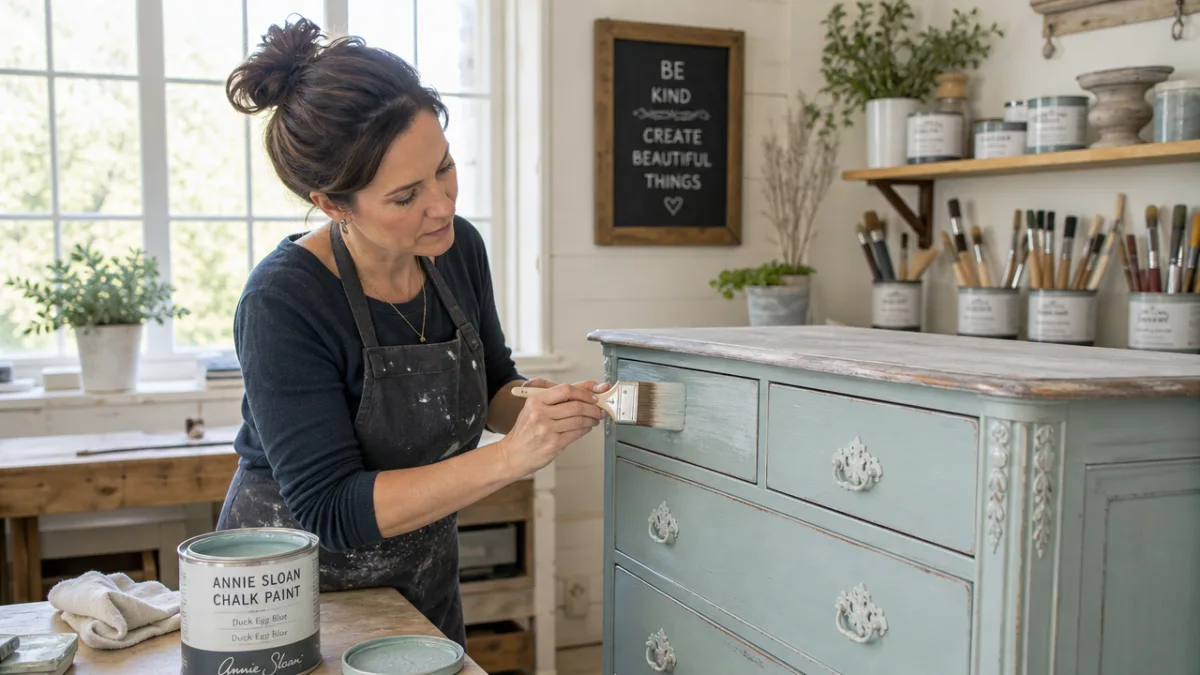
If paint is the right call, chalk paint and milk paint are both popular choices for vintage furniture for good reason. They produce a matte, slightly textured finish that looks authentically old rather than slick and new, they adhere well to previously painted or sealed surfaces without a ton of prep, and they distress easily to create the kind of worn edges and subtle aging that give a piece real character. One of the most effective techniques is layering two colors — a darker or contrasting base coat, followed by your chosen top color, then lightly sanding through at the natural wear points — to get a finish that looks genuinely aged rather than artificially manipulated.
Color choice should be guided as much by the era and style of the piece as by your personal preferences. A Victorian dresser looks gorgeous in deep jewel tones — forest green, navy, burgundy — while a mid-century modern piece might be better served by a warm mustard, terracotta, or a clean off-white that lets the shape do the talking. Farmhouse dressers naturally suit soft blues, sage greens, and creamy whites. Whatever direction you’re leaning, test your color on a hidden spot or a piece of cardboard first, and look at it in both natural daylight and your evening lighting before committing to the whole piece.
Hardware: The Jewelry of Your Dresser
Hardware is to a dresser what jewelry is to an outfit — get it right and the whole thing comes together, get it wrong and it can undermine even a beautifully executed finish. When you’re working with a vintage piece, the first question is always whether the original hardware is worth saving. Old brass, iron, or ceramic hardware often has a genuine patina that simply can’t be faked, and it contributes more to the vintage character of a finished piece than most people realize. Before you toss anything, clean the originals properly and actually assess what you’re working with.
For brass hardware, a mix of lemon juice and baking soda or a commercial brass cleaner works really well — it lifts the tarnish without destroying the underlying patina. Painted or lacquered hardware often responds well to a soak in hot water to loosen old paint, and a soft brush can work into the detailed areas without scratching. If iron hardware has surface rust, a rust converter followed by a light coat of wax or clear lacquer will take care of it and prevent future oxidation. More often than not, original hardware that’s been properly cleaned and polished looks absolutely spectacular against a fresh painted or refinished surface.
When you do need to replace hardware — because pieces are missing, broken, or just too far gone — try to find options that feel right for the era and style of the piece. Reproduction hardware has come a long way and can be genuinely convincing. For Victorian or Edwardian dressers, look for bail pulls with decorative backplates, escutcheons, or ceramic knobs with floral or geometric patterns. Mid-century modern pieces call for simple tapered pulls in brass or brushed nickel. Farmhouse dressers are a great match for cup pulls, ceramic knobs, or even leather tab pulls if you want something a little more relaxed.
Hardware Shopping Resources
- Etsy — a huge selection of vintage and reproduction hardware from independent sellers, including plenty of rare or unusual styles that are hard to find elsewhere
- Architectural salvage stores — genuine antique hardware pulled from demolished buildings, often with incredible patina and character you just can’t replicate
- Hobby Lobby and Michaels — affordable reproduction hardware in a range of styles, and the coupons make it even more of a bargain
- D. Lawless Hardware — a dedicated furniture hardware supplier with an extensive catalog organized by era and style, perfect for when you know exactly what you’re looking for
- Local antique malls — often have bins of loose hardware, which is ideal when you just need one or two pieces to replace what’s missing
Distressing and Aging Techniques: Creating Authentic Character
For a lot of people, distressing is the most enjoyable part of the whole project — it’s where you get to intentionally introduce the kind of wear and age that makes a piece look like it has actually lived a life. The goal isn’t to make something look damaged or neglected, though. It’s to suggest that a piece has been genuinely loved and used over many decades. When distressing is done well, you don’t notice it as a technique — it just looks like the natural accumulation of time. When it’s done badly, it looks exactly like what it is: someone hitting furniture with a chain or randomly sanding through paint in ways that make no physical sense.
The most important principle is to focus your distressing where real wear would actually happen. Edges and corners take the most abuse in everyday use, so those are the most believable places to sand through your top coat. The areas around hardware — where hands reach to open drawers over and over — also develop natural wear patterns. The tops of the feet where they meet the floor, and the top surface of the dresser where things are constantly being set down and moved around, are other logical spots. Concentrate your work in those areas and the result will read as genuinely aged rather than artificially messed up.
Beyond sanding, there are a handful of other techniques worth knowing. Dry brushing a lighter color over a darker base in subtle, directional strokes creates a beautiful weathered effect on flat surfaces. Applying dark wax over chalk paint — either all over or worked specifically into crevices and carved details — adds depth and shadow that mimics years of accumulated grime in the most elegant way possible. Crackle medium, applied between two coats of paint, creates a convincing cracked finish that suggests very old painted furniture. These techniques work well on their own, but the most interesting results often come from layering a few of them together with a light touch.
Essential Distressing Tools
- Sandpaper in a range of grits (80, 120, and 220) for different levels of wear and final smoothing
- Dark wax and a wax brush or lint-free cloth for adding depth and aging to painted surfaces
- Fine steel wool (0000 grade) for softening a finish subtly without actually removing material
- A small piece of candle wax for resist techniques between paint layers
- Crackle medium for creating authentic cracked paint effects on flat surfaces
Styling and Placement: Making the Finished Piece Shine
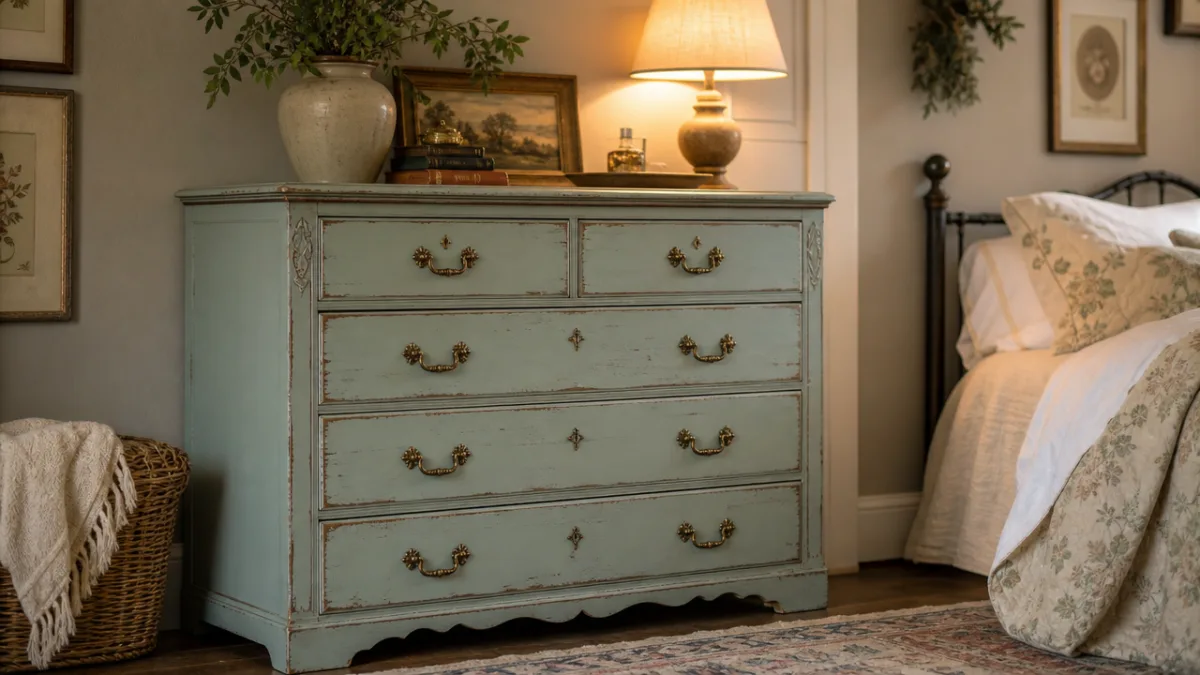
Once your dresser is finished, it deserves styling and placement that are just as thoughtful as the work you put into restoring it. The same dresser can look warm and curated in one setting and cluttered or out of place in another — context matters a lot. Start by thinking about what the dresser is actually going to be used for. If it’s living in a bedroom, think about what naturally belongs on the surface: a lamp, a small tray for jewelry, maybe a framed photo or a few stems in a simple vase. Try not to overcrowd it. The empty space around objects does as much work as the objects themselves.
Mirrors are natural companions for vintage dressers, and the right one can turn a standalone piece into a genuine focal point in the room. A leaning mirror propped against the wall behind the dresser is a popular, practical approach, but a smaller ornate mirror hung above it at eye height can be just as lovely. When you’re choosing a mirror, look for something whose style is sympathetic to the era of the dresser — an ornate gilded frame pairs naturally with a Victorian piece, while a simple arched mirror in dark wood or metal is a better fit for a mid-century or farmhouse dresser.
Finally, think about where in the room the dresser will actually live and how it’ll relate visually to everything around it. A vintage dresser doesn’t need to be surrounded by other antiques — in fact, mixing vintage and contemporary pieces often produces the most interesting and personal interiors. What matters is that the dresser has enough visual breathing room to actually be appreciated, that it’s proportional to the room and the other furniture, and that the colors and finishes around it create a backdrop that lets the character and craftsmanship of your restored piece come through the way it deserves to.








What do you think?
It is nice to know your opinion. Leave a comment.