










Thrifted Tray Gets A Perfect Makeover with Paint & A Decor Transfer
The Beauty of Thrift Store Finds and Why They Deserve a Second Life
There’s something so satisfying about walking into a thrift store and spotting a forgotten piece that everyone else has walked right past. Trays are honestly some of the most underrated finds you’ll come across — dusty on the shelf, priced at a couple of dollars, just waiting for someone to see what they could become. Wood, metal, mixed materials — it doesn’t really matter. A solid tray gives you exactly the kind of foundation that makes a makeover feel genuinely worthwhile.
And really, thrifted makeovers are about more than saving money. When you rescue a piece from a secondhand shop, you’re keeping something useful out of the landfill and giving it a whole new story. That same tray that looked tired and dated can end up as the centerpiece of your coffee table, a pretty organizer on your bathroom counter, or a little moment of style in your entryway. The transformation goes deeper than the surface — it’s the kind of thing that adds real character to a home.
Paint and decor transfers have become two of the most beginner-friendly tools in the DIY world, and together they’re kind of magic. You don’t need professional skills or a fancy setup to get results that look polished and intentional. You just need a little patience, the right supplies, and a willingness to enjoy the process.
Gathering Your Materials: Everything You Need Before You Begin
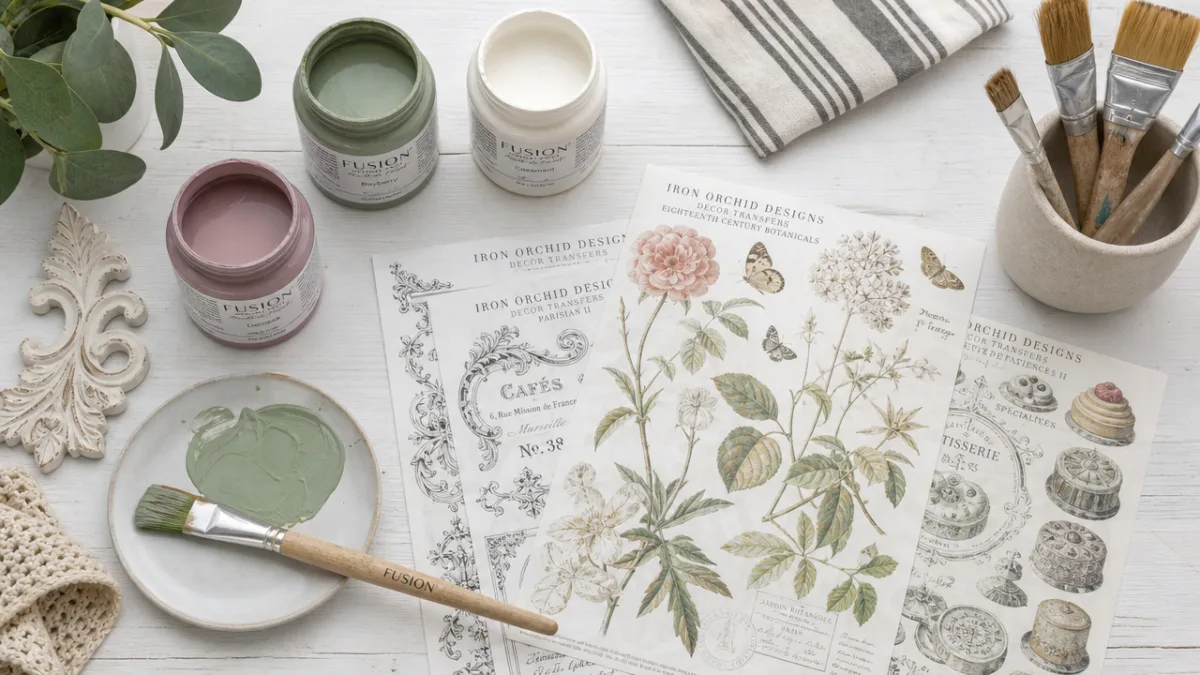
Before you get into the fun part, take a few minutes to pull everything together. It makes the whole process so much smoother. The most important thing, obviously, is the tray itself. When you’re thrifting, look for something with solid bones — tight joints, a reasonably smooth surface, no deep gouges or warping. A little wear and character? Totally fine, actually charming. Actual structural damage is where you’d want to pass and keep looking.
For paint, chalk paint is a favorite in the DIY community for good reason. It sticks to almost anything without a ton of prep, gives you a beautiful matte finish, and works especially well with decorative transfers. If you can’t get your hands on chalk paint, a good matte acrylic craft paint will do the job. You’ll also want a foam roller or smooth-bristled brush, some fine-grit sandpaper in case you want to lightly distress things, and a clear wax or water-based topcoat to seal everything when you’re done.
The transfer is really what takes this project from “cute painted tray” to “wait, did you buy that?” These thin printed film transfers — sometimes called furniture transfers or rub-on transfers — come in so many designs: botanicals, script lettering, geometric patterns, toile, vintage illustrations. Brands like Redesign with Prima, Chalk Couture, and IOD (Iron Orchid Designs) have gorgeous options. When you’re picking yours, think about the size of your tray and choose something that fits comfortably without feeling crammed in or lost.
- Thrifted tray — wood, metal, or composite material in good structural condition
- Chalk paint or matte acrylic — in your chosen base color
- Foam roller or smooth brush — for applying paint evenly
- Fine-grit sandpaper — 220 grit works well for light prep and distressing
- Decor transfer sheet — sized appropriately for your tray
- Wooden craft stick or squeegee — for burnishing the transfer
- Clear wax or matte topcoat sealer — to protect the finished surface
- Tack cloth or lint-free rag — for cleaning the surface before painting
Preparing and Painting Your Tray for a Flawless Base Coat
Prep isn’t glamorous, but skipping it is how you end up with a makeover that starts peeling after a few weeks. Start by wiping down your tray with a damp cloth to get rid of any dust, grease, or mystery residue from its previous life. If there’s any existing finish that’s flaking or bubbling, gently sand those spots and feather the edges so you don’t end up with a noticeable ridge. Then go over everything with a tack cloth to pick up any leftover dust before you even think about opening the paint.
When you start painting, think thin and even rather than one thick coat. Load your roller or brush modestly and work in smooth, consistent strokes — following the wood grain if you’ve got it. Let the first coat dry completely, which usually takes 30 minutes to an hour with chalk paint depending on how humid it is. Once it’s dry, give it a light sand to knock down any texture, wipe away the dust, and add a second coat. Two coats usually does the trick, though darker or more porous surfaces might want a third.
Color is a personal call, but some shades just tend to work really well with transfers. Soft, muted tones — creamy white, warm linen, sage green, dusty blue, gentle gray — give the transfer design room to breathe and really show up beautifully. Deeper shades like navy, forest green, or charcoal can be stunning too, especially with gold or cream transfers. Think about where the tray is going to live and pull from colors already in that space so the finished piece feels like it belongs there rather than like a standalone craft project that wandered in.
Applying the Decor Transfer: Step-by-Step for Perfect Results
Applying a decor transfer sounds a little nerve-wracking until you actually do it — and then you realize it’s honestly pretty forgiving. The one thing that really matters before you start: your paint needs to be fully cured, not just dry to the touch. Chalk paint usually needs at least 24 hours to cure properly. If you try to apply the transfer too soon, the paint can lift right along with the backing, and after all that work, that’s the last thing you want. Just wait. It’s worth it.
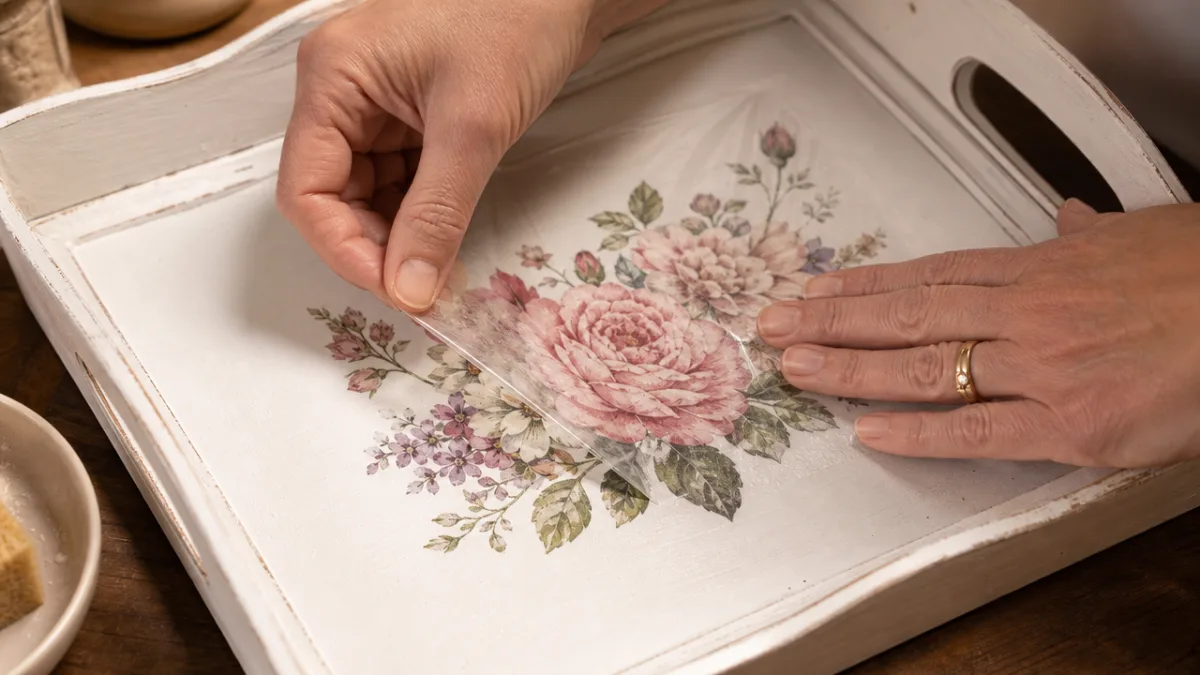
Place your transfer sheet face-down on the tray and move it around until you’re happy with where it’s sitting. Some transfers have a lightly adhesive backing that holds them in place; others you’ll need to hold steady. Once you’ve got the placement right, use your craft stick or squeegee to burnish firmly across the whole surface, working from the center outward to push out any air bubbles. Press firmly — you’ll actually be able to feel the design releasing from the backing as you go.
Then, slowly and carefully, peel back the backing film at a very low angle, checking as you go to make sure the design is transferring cleanly. If any section isn’t sticking, just lay the backing back down, burnish that spot again, and try peeling once more. When the backing comes away cleanly and you see the full design sitting on your painted tray — that moment is genuinely one of the best feelings in DIY. If you’re working with a large design or multiple pieces, take it one section at a time so you can keep control of placement and pressure throughout.
- Ensure paint is fully cured — wait at least 24 hours after the final coat
- Position the transfer face-down and confirm placement before burnishing
- Burnish firmly from the center outward using a craft stick or squeegee
- Peel back the backing film slowly at a very low, flat angle
- Re-burnish any areas that have not adhered and peel again
- Allow the applied transfer to settle for 15 to 20 minutes before sealing
Sealing and Finishing Touches That Make All the Difference
You’ve done the hard work — now protect it. Sealing isn’t optional; it’s what determines whether your tray still looks great a year from now or starts showing wear within a few months. For chalk-painted trays, clear finishing wax is the classic choice and gives you that lovely soft, slightly silky feel. Rub it on with a lint-free cloth in small circular motions, let it haze for a few minutes, then buff it to a gentle sheen. A second coat applied after the first has cured overnight gives you even better protection.
If your tray is going to see real use — holding glasses, a vase, a plant — you might want a water-based polycrylic or matte varnish instead. It applies easily, dries quickly, and creates a harder protective layer that handles moisture and light wear much better than wax. Whichever you go with, apply it gently over the transfer area without over-brushing. One smooth pass in each direction is enough. Thin coats, as always, are your friend.
Once everything is sealed and cured, take a look and see if any finishing touches feel right. Lightly distressing the edges with fine sandpaper can reveal glimpses of wood or an underlayer of paint beneath, giving the piece that curated, slightly-aged look that’s so much better than anything fresh off a store shelf. Small drawer pulls or upholstery tacks on the sides or handles can add a surprisingly polished touch. And if you want to add a little warmth and richness, a swipe of metallic wax buffed over raised details or edges can really elevate the whole thing.
Styling and Displaying Your Finished Tray in Your Home
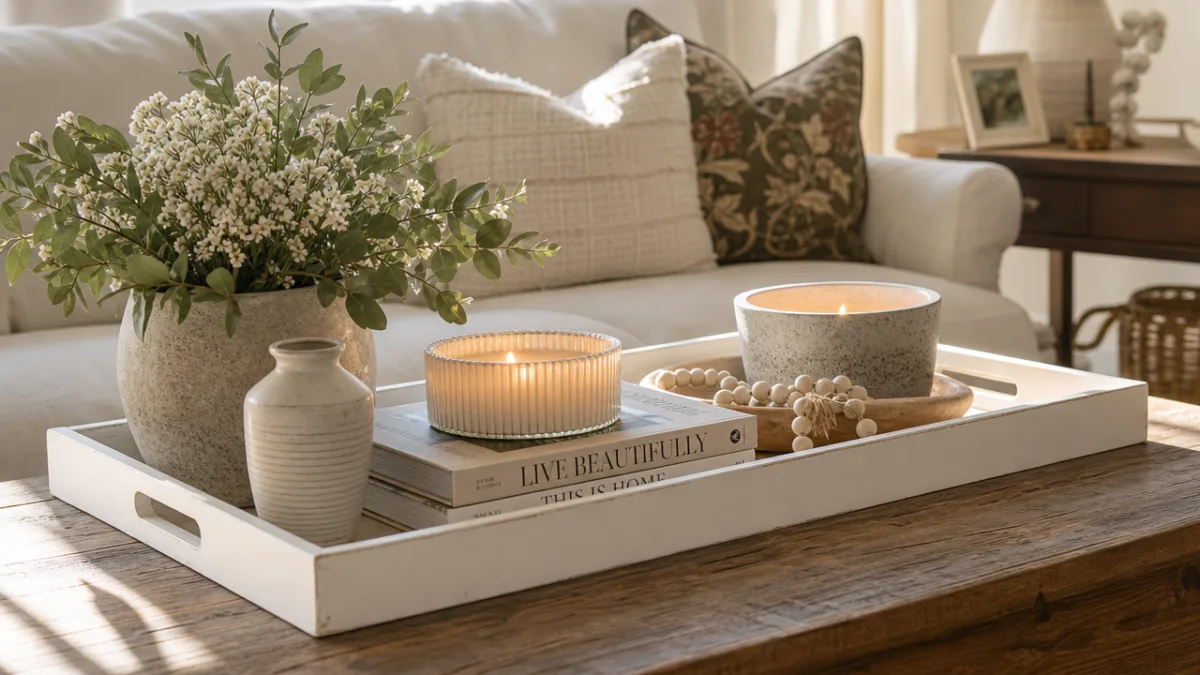
A tray you’ve put real care into deserves to be shown off well. On a coffee table, it pulls double duty as a practical organizer and a visual anchor for a little styled moment. Try grouping a small stack of books, a candle in a color that complements the tray, a tiny succulent or air plant, and one small sculptural object in and around it. That layered, collected look draws the eye and makes a room feel thoughtfully put together without a big investment.
In the kitchen or dining room, your remade tray is right at home as a bar tray, a bread and condiment station on the table, or a styling spot on a sideboard. The fact that it’ll be used every day is genuinely the best possible outcome for something you’ve put creative energy into. In a bathroom, a beautifully sealed tray becomes a lovely way to wrangle perfume bottles, candles, rolled hand towels, or a small plant — turning an ordinary counter into something that feels a little spa-like.
One thing that keeps a tray feeling fresh all year: seasonal restyling. Because the tray itself is a well-designed, neutral backdrop, the things you arrange on and around it can shift with the seasons — fresh flowers and pastels in spring, shells and linen textures in summer, small gourds and warm candles in autumn, evergreen sprigs and metallic accents in winter. The tray stays put; the vignette around it keeps evolving. One good thrift store makeover, it turns out, can carry you through an entire year of decorating.
Why This Project Is the Perfect Introduction to DIY Home Decor
If you’ve been curious about DIY home decor but keep talking yourself out of it because the bigger projects feel overwhelming, a thrifted tray makeover is genuinely the best place to start. The scale is manageable — you can do this on your kitchen table with no special tools. The money at stake is minimal since the tray probably cost you a few dollars. And the techniques involved — painting and applying a transfer — are both things you can learn and actually finish in a single afternoon, with plenty of room to course-correct if something doesn’t go perfectly.
What’s really great about this kind of project is that it builds confidence in a way that just keeps growing. Once you’ve painted and transferred a tray, you’ll start looking at thrift store pieces completely differently — that wooden side table, the old picture frame, the ceramic lamp base, the little dresser in the corner. The eye you develop on a small, low-stakes project like this translates directly to bigger and bolder ones. A lot of people who are now seriously into DIY decorating trace it back to one small project that cracked the door open and never let it close again.
And maybe the best part: this kind of project connects you to a creative community that is genuinely warm and encouraging. The DIY and thrifting worlds on Pinterest, Instagram, and YouTube are full of people who share their processes openly, celebrate each other’s work, and happily answer questions from beginners. When you share your finished tray, tag the brands you used, and engage with other makers on the same path, what started as a solo afternoon project becomes part of something bigger — a creative community that makes the whole thing feel a lot less like a hobby and a lot more like a home.








What do you think?
It is nice to know your opinion. Leave a comment.