










Recycled Wine Cork Garland: A Complete Guide to Crafting Beautiful Décor from Repurposed Corks
Introduction: The Art of Giving Wine Corks a Second Life
There’s something deeply satisfying about turning what would otherwise get thrown away into something genuinely beautiful. Wine corks are one of those humble little items that just pile up over time — tucked into kitchen drawers, rattling around in glass jars, lurking in the back of the pantry — each one a small souvenir of a shared meal, a celebration, or a quiet night in. A recycled wine cork garland takes all of that accumulated history and turns it into a decoration with real warmth, texture, and a handcrafted character that you simply can’t buy off a shelf.
The idea itself is refreshingly simple, but the finished result can look surprisingly sophisticated. Whether you string the corks along a mantelpiece, loop them across a holiday tree, or drape them in lazy swags above a dining table, the natural tones of cork bring an earthy, neutral quality that plays well with just about any decorating style. Modern farmhouse, bohemian, Scandinavian minimalist — a well-made cork garland fits right in.
There’s also a genuinely good environmental reason to work with recycled corks. Natural wine corks come from the bark of cork oak trees, and harvesting the bark doesn’t actually harm the tree — it’s a process that, done right, actively supports the health of cork oak forests across the Mediterranean. Collecting and repurposing your corks instead of tossing them keeps them out of the landfill and turns them into something worth keeping. This guide will walk you through the whole project, from collecting your first cork to styling the finished garland in your home.
Gathering and Preparing Your Wine Corks
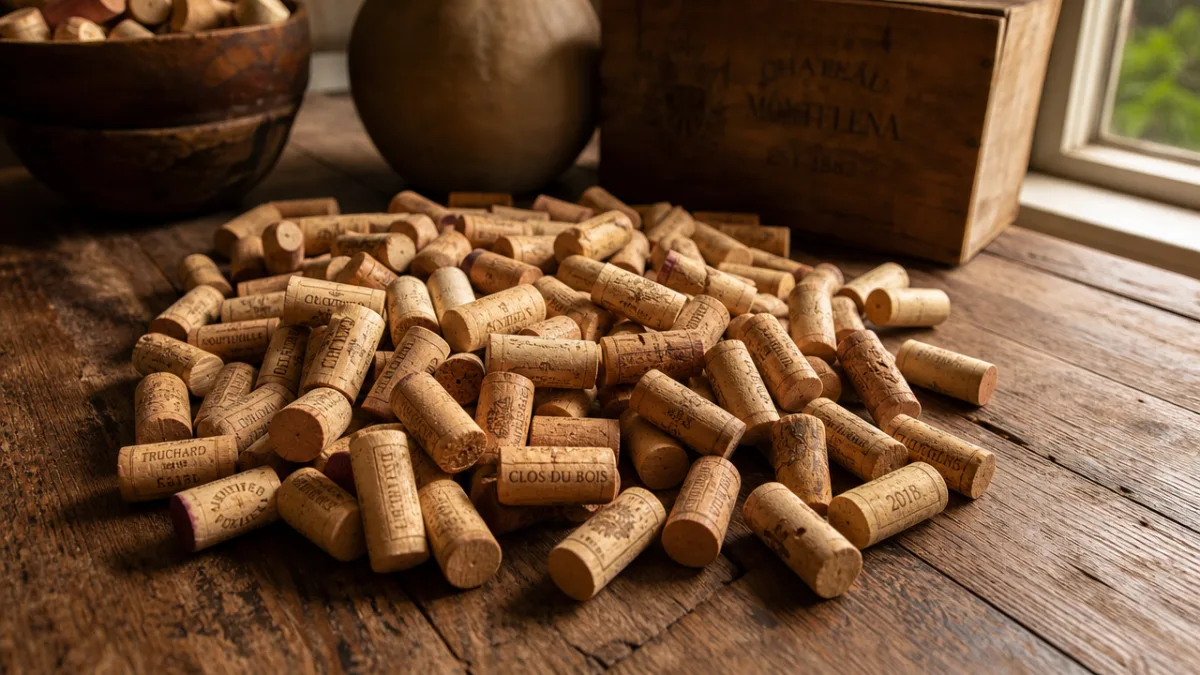
Before anything else, you’re going to need a solid supply of corks. How many depends on how long you want your garland to be, but a rough rule of thumb is that a five-foot garland will call for somewhere between forty and sixty standard-sized corks, depending on how closely you space them. Your best bet is to start collecting well before you plan to sit down and craft — keep a jar on the kitchen counter so you can drop corks in as you finish bottles. You can also put the word out to friends, family, and neighbors; most people are happy to hand theirs over. Wine bars and restaurants are another great source, and many will gladly set aside a bag of corks if you just ask.
Once you’ve got enough, the first order of business is a good cleaning. Even corks that look fine on the outside can harbor wine residue, tannin stains, or lingering smells that you’d rather not bring into your finished piece. Fill a large bowl or your sink with warm water and a small squeeze of mild dish soap, drop the corks in, and let them soak for about fifteen minutes. Give any stained spots a gentle scrub with a soft brush or cloth, rinse everything well under running water, then spread the corks out on a clean towel to dry. Depending on humidity, this could take a few hours or a full day, so plan ahead.
Once they’re dry, take a little time to sort through what you’ve got. Chances are you’ll have a lovely mix of sizes, shapes, and colors — everything from pale cream to deep honey-brown, from tiny Champagne stoppers to long, sturdy Bordeaux corks. Sorting by size or color before you start stringing lets you plan patterns or create gradients in your garland. Set aside any corks that are badly crumbled, deeply cracked, or made from synthetic foam — these won’t hold a needle or wire reliably and will likely look out of place in the finished piece.
Materials and Tools You Will Need
One of the nicest things about this project is how little you actually need to get started. Most crafters will already have the majority of supplies on hand, and anything missing is cheap and easy to track down at a local craft store or online. It’s worth getting everything together before you start, though — having to stop mid-project to hunt for scissors or more twine is the quickest way to break your momentum.
For the stringing material, you’ve got some great options, each with its own look and feel. Heavy-duty linen twine gives the garland that rustic, tactile quality that makes the corks feel right at home, and it pairs beautifully with dried botanicals or woodland-style decorations. Thin jute rope works similarly well. If you’re after something a bit more polished or festive, thin metallic wire in gold, silver, or copper catches the light in a really lovely way and gives the whole thing an almost jeweled quality. For a holiday project, threading velvet ribbon through or alongside the corks adds a luxurious softness that feels unmistakably seasonal.
For tools, you’ll need either a sharp awl, a drill with a fine bit, or a sturdy upholstery needle, depending on how you plan to string the corks. Drilling a hole lengthwise through the center of each cork gives the cleanest, most consistent result and keeps everything sitting neatly along the string. An awl is faster but a little less precise. A ruler and pencil will help you mark the center of each cork before you drill. You’ll also want scissors or wire cutters, a hot glue gun for embellishments, and a tape measure so you can keep track of how long your garland is getting as you work.
- Natural linen twine or jute rope — for a rustic, organic finish
- Thin metallic wire (gold, copper, or silver) — for a more refined or festive appearance
- Velvet ribbon — for a luxurious holiday feel
- Electric drill with 3mm or 4mm bit — for clean, centered holes through each cork
- Sharp awl or upholstery needle — for a quicker but less precise piercing method
- Hot glue gun and glue sticks — for attaching embellishments
- Scissors or wire cutters — depending on your stringing medium
- Tape measure and pencil — for planning and marking
Step-by-Step Instructions for Making Your Garland
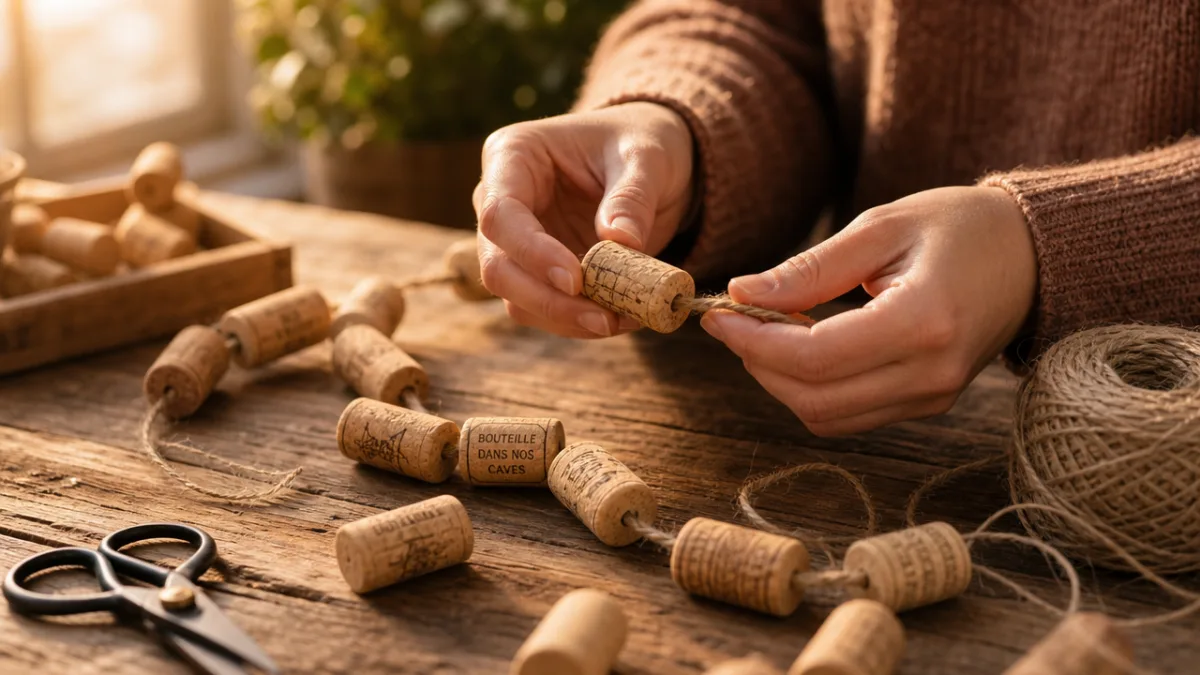
Start by drilling or piercing a hole lengthwise through the center of each cork, running from one flat end to the other. If you’re drilling, hold each cork firmly — or secure it in a small vice if you have one — line the drill bit up with the center of the flat end, and work slowly through to the other side. A steady, moderate pace helps prevent the cork from splitting. If you’re using an awl or a large needle instead, push it firmly into the center of the cork end and work it through with a steady rotating motion. Either way, it’s worth preparing all your corks before you start stringing so the assembly stage can flow without interruption.
When all your corks are ready, cut your stringing material to your desired finished length, then add an extra twelve to eighteen inches on each end for tying, knotting, or forming hanging loops. Thread twine through a large blunt needle, or if you’re using metallic wire, push it through each hole directly. Start at one end, tie or crimp a secure stopper knot (or attach a bead) so your first cork doesn’t slide off, then thread the corks on one at a time. You can tie a small knot between each cork to lock them in place, or let them slide freely for a softer, more relaxed drape — both approaches look great, just in different ways.
Think about orientation as you go. Threading corks lengthwise so they run parallel to the string gives a sleek, compact look. But if you drill horizontally through the widest part of the cork’s body instead, each piece will hang perpendicular to the string, presenting its full circular face forward — a more sculptural, layered effect with real visual presence. Once everything is strung and you’re happy with the length, finish the ends with a secure knot, a decorative bow, or a wrapped loop ready for hanging.
If you want to add embellishments, now’s the time. Hot glue small dried flower heads, sprigs of eucalyptus, cinnamon sticks, or tiny pine cones at intervals along the garland. Small burlap bows add nice texture. For a holiday version, faux greenery, miniature bells, or glittery star charms all work beautifully. The trick to keeping it looking cohesive is to repeat your chosen elements at consistent intervals — it gives the garland a satisfying rhythm when you look along its length.
Creative Variations and Customization Ideas
Honestly, this is one of the most fun parts of the whole project. The basic technique is a jumping-off point, not a constraint, and the same simple idea of stringing corks together can go in a dozen different directions depending on the season, the occasion, or the room you’re decorating. Once you’ve got the foundational method down, experimenting comes naturally — and that’s where you start to develop something that feels really distinctly yours.
For a holiday garland, try painting every other cork in a deep cranberry red or forest green before stringing, so you get a cheerful alternating color pattern that feels festive without any plastic in sight. Another idea that tends to get a strong reaction: use a fine-tipped gold paint pen to write words, dates, or little motifs directly on each cork, turning the garland into a kind of memory piece. Picture a garland where every cork is labeled with a year, a name, or a single word connected to the bottle it came from — it becomes a real conversation starter and a genuinely personal heirloom.
For something more botanical, try weaving in slices of dried citrus, loops of dried rosemary, small lavender bundles, or tiny seedpods gathered on autumn walks. This version has the bonus of smelling wonderful, which adds a whole extra sensory dimension. Draped across a kitchen shelf or hung above a window where the light can come through it, this kind of garland is quietly magical. It also works beautifully as a table centerpiece for a dinner party — lay it loosely down the center of a long table, surrounded by tea lights and scattered dried petals.
- Holiday Cork Garland: Alternate painted corks in red and green with small brass bells and faux berry sprigs for a festive mantelpiece decoration.
- Memory Garland: Label each cork with the date, occasion, or wine name before stringing, creating a beautiful and personal timeline of celebrations.
- Botanical Garland: Weave in dried citrus slices, lavender bundles, and seedpods for a fragrant, nature-inspired kitchen decoration.
- Metallic Garland: Thread corks on copper wire and finish with small crystal or glass beads between each cork for a sophisticated, modern aesthetic.
- Outdoor Patio Garland: Use weatherproof wire and seal the corks with a matte varnish before stringing for a durable outdoor entertaining decoration.
- Wedding Décor Garland: Combine corks from wines served at the reception with white ribbon and tiny silk flowers for a meaningful and eco-conscious wedding keepsake.
Displaying and Caring for Your Cork Garland
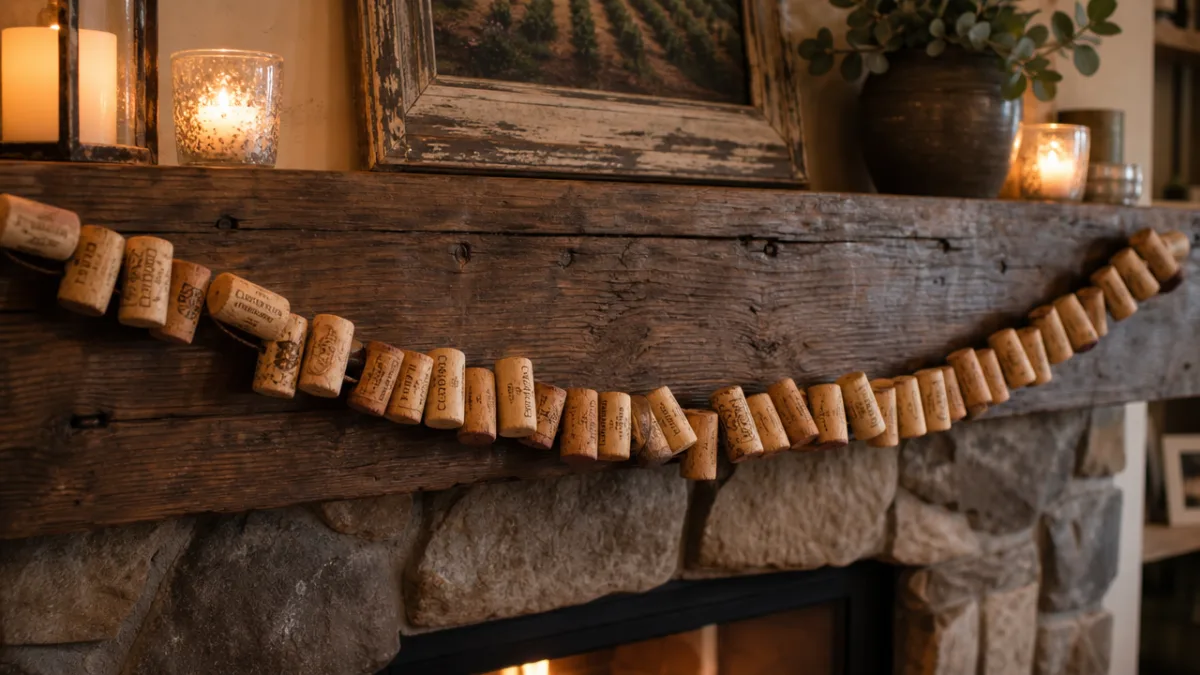
Once your garland is finished, you’ve got more options for displaying it than you might expect, and how you hang or drape it makes a real difference to the final effect. For a classic, symmetrical look, hang it along a mantelpiece with equal lengths falling on either side and a gentle swag in the middle, held in place with small hooks or removable adhesive strips. This works beautifully in a formal living or dining room and gives you a natural backdrop for layering in seasonal touches — candles, framed photos, a small vase of flowers arranged in front of it.
For something more laid-back, drape the garland loosely along a bookshelf, winding it around books, small plants, and decorative objects in a casual, organic way. This approach suits a home office or personal workspace really well — it adds warmth and character without feeling like a formal arrangement. You can also coil the garland into a wreath by shaping it into a circle and tying the ends together with a bit of extra twine, which gives you a handsome door or wall decoration with no frame or additional structure needed.
Caring for it is pretty simple. Natural cork is resilient and moisture-resistant, so it doesn’t need any special treatment to stay looking good. Just dust it occasionally with a soft dry cloth or a gentle puff of compressed air. If you want to keep the corks from fading and the twine from breaking down over time, keep it out of direct prolonged sunlight. If you’ve added dried botanicals, swap those out as they fade or crumble — it’s an easy refresh that keeps the garland looking great while the cork framework itself stays intact for many seasons to come.
The Broader Value of Crafting with Recycled Materials
Making a cork garland is, in the grand scheme of things, a small act. But it fits into something larger — a growing cultural shift toward valuing what we already have rather than constantly buying new things. Projects that start with repurposed materials invite you to look at the everyday objects around you differently, to see possibility in things you’d normally throw out. That shift in perspective has a way of spreading beyond the craft table, quietly encouraging a more resourceful and mindful approach to how you consume things in general.
There’s also real joy in the meditative quality of a project like this. Threading corks onto twine is repetitive, tactile, and quietly absorbing — a lot of people find it genuinely relaxing. In a world that constantly pushes speed and productivity, sitting down for an afternoon to make something slowly and carefully with your hands offers a meaningful counterpoint. The time you put in becomes part of the finished object in a way that’s hard to articulate but easy to feel — handmade things carry that attention within them in a way factory-made goods simply can’t.
Sharing the project with others makes it even better. Hosting an informal cork-crafting afternoon where everyone brings their collected corks and leaves with a personalized garland is a wonderful way to spend time together, and it has the pleasant side effect of clearing out everyone’s cork stash at once. This kind of casual creative gathering — grounded in sustainability and shared making — is an increasingly popular way for people to connect around values they actually care about. Seen in that light, your garland becomes more than a decoration; it’s a small emblem of a more thoughtful and connected way of living.
At the end of the day, the recycled wine cork garland proves that beautiful, meaningful home décor doesn’t require expensive materials, specialist skills, or fancy equipment. It just takes a bit of patience, some creativity, and a willingness to look at things that might otherwise go unnoticed and see what they could become. Every cork in your garland represents a moment worth savoring, and together they add up to something quietly eloquent — a reminder that the best things in a home are rarely the most costly ones, but the ones made with care, intention, and a genuine love of the craft.








What do you think?
It is nice to know your opinion. Leave a comment.