










Halloween Witch Candy Jar: The Ultimate Guide to a Spellbinding Holiday Craft
Introduction to the Halloween Witch Candy Jar
If you’re looking for a Halloween decoration that actually does something, the witch candy jar might be exactly what you need. It’s cute, it holds candy, and it has this wonderfully handmade charm that store-bought decorations just can’t match. Set one on your porch for trick-or-treaters or use it as a centerpiece at your Halloween party, and it’s guaranteed to get noticed.
The basic idea is pretty simple: take an ordinary glass jar and turn it into a tiny witch, complete with a pointy hat, wild hair, and a goofy or spooky expression. What’s great is that the project scales with your skill level. Total beginner? You can absolutely pull this off. Seasoned crafter who wants to go all out? There’s plenty of room to get elaborate. It also makes a wonderful family project — kids love the painting and gluing parts, and there’s something genuinely satisfying about making your own holiday decorations together.
The thing that makes this craft really stick around (pun intended) is that it’s not just decorative. It’s a functional candy holder, which means it earns its place at the table — or on the porch, or in the classroom. That combination of looking good and actually being useful is what’s made this project such a hit across crafting communities and social media. It’s the kind of thing you make once and then want to make again every year.
Materials You Will Need
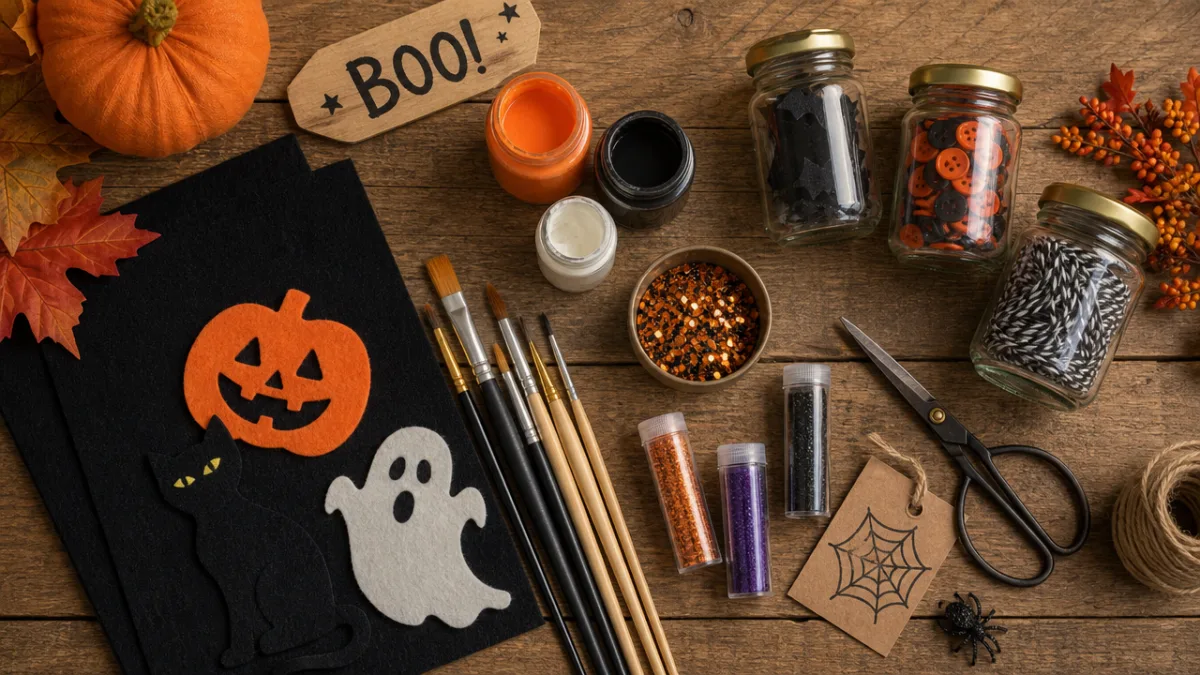
Before you start, it helps to have everything gathered and ready to go. For the jar itself, a wide-mouth mason jar in a quart or half-gallon size is ideal — they’re easy to find, sturdy, and give you plenty of room for candy. That said, a clean recycled pasta sauce jar or large pickle jar works just as well. Just make sure it’s completely dry and free of any grease or leftover label adhesive (rubbing alcohol or a little cooking oil takes care of stubborn sticky spots).
For paint, you’ll want acrylic craft paints in the classic Halloween lineup: black, purple, forest green, and maybe a pop of orange. A mix of brush sizes is really helpful here — wider flat brushes or foam brushes for base coats, and finer detail brushes for painting the face. Foam brushes in particular are great for getting a smooth, streak-free finish on that first coat.
Beyond paint, here’s what else you’ll want to round up before you get started:
- Black felt or craft foam for the witch’s hat and brim
- Hot glue gun and glue sticks for assembling three-dimensional elements
- Googly eyes or polymer clay for sculpting expressive facial features
- Tulle, fabric scraps, or ribbon in purple and black for the skirt or collar
- Raffia, yarn, or faux hair for wild witchy tresses
- Mod Podge or clear sealant to protect your finished design from chipping
- Black pipe cleaners for creating broom details or accent pieces
- Glitter or metallic paint for adding a touch of enchanted sparkle
Lay everything out on a silicone mat or some old newspaper before you begin, and you’ll thank yourself later. Having to stop mid-project to hunt for supplies breaks the flow in the most frustrating way. And once you’re set up, give yourself permission to go off-script a little — some of the best results happen when you follow your instincts instead of sticking rigidly to a plan.
Step-by-Step Instructions for Creating Your Witch Candy Jar
Start with a clean, completely dry jar. If there’s any moisture or grease left on the surface, the paint won’t stick properly and you’ll end up frustrated. Once it’s ready, use a wide foam brush to apply a base coat of black or dark green acrylic paint to the outside of the jar. Try to keep your strokes even to avoid streaks, and let it dry fully — usually about thirty minutes, though humidity can slow things down a bit.
When the base coat is dry, it’s time for the best part: painting the face. Use a white chalk pencil or a fine brush dipped in a light color to lightly sketch out where the eyes, nose, and mouth will go before you commit with paint. A classic witch look might include big yellow or red eyes, a long crooked nose, rosy cheeks, and a wide grin full of uneven teeth. You can go cartoonish and bold, or a little more refined and subtle — there’s no wrong answer here, and a quirky face often has more personality than a perfect one anyway.
Once the face is dry, it’s time to build the hat. Cut a large circle from black felt or craft foam for the brim, then shape a triangle of the same material into a cone and hot glue it together. Glue the cone onto the center of the brim and let it set. Now comes the fun part — embellishing. A gold or yellow felt buckle, a strip of purple ribbon, or a few tiny plastic spiders and bats all look great. Once the hat is finished, hot glue it onto the jar lid at a slightly crooked angle. That little tilt makes a big difference in giving the witch her personality.
The hair might be the most expressive element of the whole project. Bundle together lengths of black, grey, or even silvery-green yarn, raffia, or doll hair, then hot glue the bundle just under the hat brim so it falls freely around the sides of the lid. Run your fingers through the strands to separate and fluff them — the wilder and more chaotic, the better. When you’re happy with how everything looks, seal the painted exterior with a coat of Mod Podge or clear acrylic sealant. This step is easy to skip but really worth doing, since it protects all your hard work from moisture and everyday handling.
Creative Variations and Customization Ideas
Once you’ve got the basic witch jar down, you’ll probably find yourself wanting to try something different. That’s where the project really gets fun. Swap out the classic black exterior for deep purple or forest green and you’ve already got something that stands out. Or try a layer of glow-in-the-dark paint — it adds a genuinely eerie quality when the lights go down and kids absolutely love it.
The witch’s look offers tons of room to get creative. Instead of a plain hat, try building an elaborate headpiece with tiny plastic ravens, miniature cauldrons, or little star and moon cutouts. You can add a tiered skirt made from torn strips of black tulle around the base of the jar to give it a more doll-like, three-dimensional look. One of my favorite ideas is attaching small polymer clay hands to the sides, as if the witch is holding the jar out to you herself. It’s a small detail, but it turns the jar into a real character rather than just a decorated container.
Making jars as gifts or party favors? Scale the whole thing down with small jelly jars or even baby food jars and fill them with individually wrapped candies. You can cluster a group of them on a decorative tray or pile them into a cauldron-shaped bowl for a display that looks like you put in a lot more effort than you actually did. Better yet, make a whole coven — several jars with different expressions, hat styles, and hair colors, each one with its own personality, grouped together like they’re up to something.
For a more grown-up aesthetic, consider going monochromatic — all black and white with silver accents for something that feels gothic and elegant rather than kitschy. Adding a line of silver hand-lettered text around the base, something like “Double, Double, Toil and Trouble” or “Beware, Ye Who Enter,” gives it a theatrical quality that feels right at home in a more sophisticated Halloween celebration. The design really is as flexible as you want it to be.
Tips for Displaying Your Witch Candy Jar
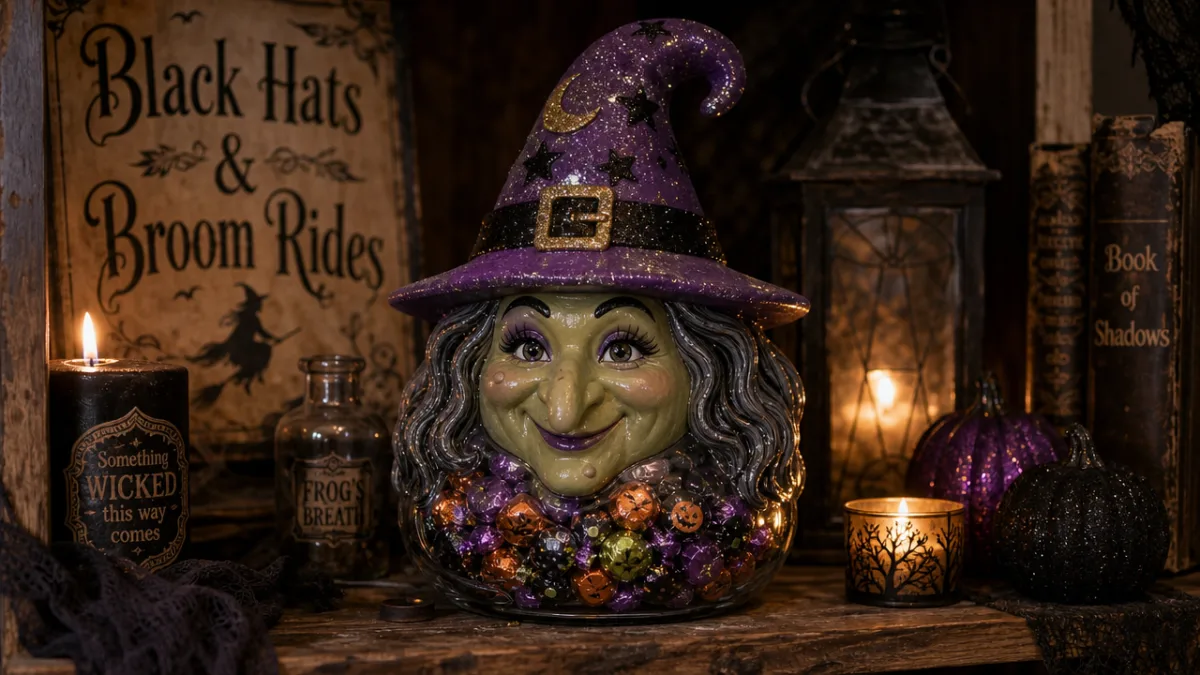
Where you put your witch jar matters more than you might think. For adults and older kids who’ll appreciate the details, somewhere at eye level works best — a side table, mantle, or kitchen counter lets people get close enough to really see the face and decorations. For trick-or-treaters, think low and accessible. A porch step or a small table near the front door means kids can spot it immediately and actually reach in for a treat without any awkward stretching.
What you put around the jar can really bring it to life. Real or faux autumn leaves in amber and burgundy tones help ground it in the season. A few battery-operated tea lights nearby cast moving shadows that do something genuinely atmospheric to the painted face — it’s one of those small touches that makes people stop and look twice. Scatter some dried herbs, mini pumpkins, or plastic gems around the base and suddenly it looks less like a jar on a table and more like a witch’s spell table. That shift from “cute decoration” to “immersive little scene” is absolutely worth the extra five minutes.
If you’ve made a set of witch jars, display them at different heights using stacked books, small wooden crates, or fabric-covered risers. This way each jar is visible and the whole arrangement reads as intentional rather than cluttered. A piece of burlap, black velvet, or even some lace fabric underneath ties everything together and makes the whole display feel thoughtfully put together.
Filling Your Witch Candy Jar and Serving Suggestions
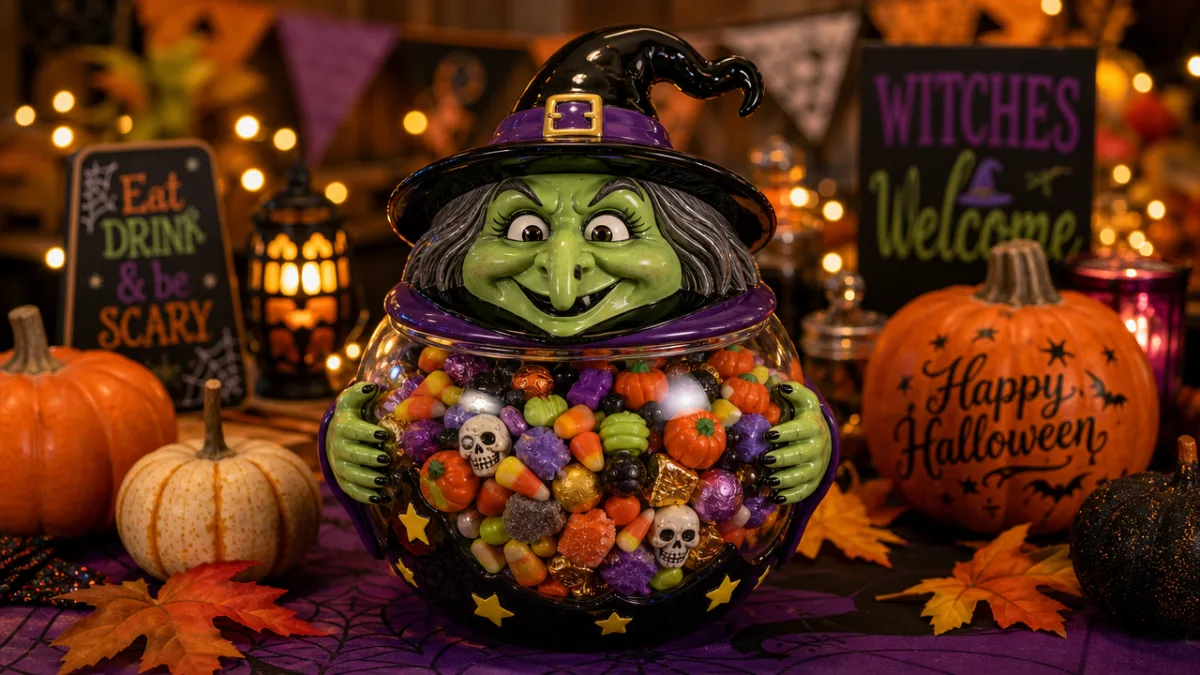
The candy you choose can be just as deliberate as the decoration itself. Classic options — chocolate bars, candy corn, gummy worms, peanut butter cups — are always a hit and fit the theme without any effort. If you want to get a little more intentional about it, look for candies whose wrappers match your jar’s color palette. Purple and black foil-wrapped chocolates look genuinely beautiful through the glass, almost like little jewels layered inside.
For a party where guests will be helping themselves throughout the evening, consider lining the inside of the jar with a piece of clear cellophane or food-safe tissue paper first. It makes cleanup so much easier and keeps things a bit more hygienic as people reach in and out. A small decorative pair of tongs or a miniature wooden scoop resting inside gives the whole setup an apothecary vibe and gently encourages people to serve themselves without pawing through every piece of candy.
You don’t have to fill it with traditional Halloween candy either. For adult gatherings, caramel popcorn, cinnamon-glazed nuts, or individually wrapped dark chocolate truffles feel a little more elevated and still look great in the jar. For kids’ parties, mix in gummy eyeballs, sour worms, and skull-shaped gummies for an assortment that’s perfectly on-theme and genuinely fun to dig through. The jar is flexible enough to work for whatever occasion you have in mind.
Preserving and Reusing Your Witch Candy Jar Year After Year
One of the best things about putting real time and care into a witch candy jar is that it doesn’t have to be a one-season thing. Unlike most Halloween decorations that end up in a trash bag by November 1st, a well-made glass jar can easily last for years. The biggest factors are using decent materials and actually sealing the painted and glued surfaces before you consider it finished. That sealant coat is doing a lot of work to keep everything intact.
When Halloween is over, empty the jar completely and wipe out the inside with a dry cloth or soft brush. Avoid water and anything harsh on the outside — you don’t want to undo the sealant. Wrap the jar loosely in acid-free tissue paper or bubble wrap, being especially careful around the hat and hair since those are the most vulnerable parts. Then tuck it into a sturdy box — ideally one kept specifically for Halloween decorations — and store it somewhere cool and dry, away from direct sunlight, which can fade the paint over time.
Each year you might find that small things need a little attention: a bit of hair that needs regluing, a fresh coat of sealant, a hat buckle that popped off. That kind of minor upkeep is just part of having handmade things, and honestly, it tends to make you more attached to them rather than less. A lot of families make bringing out the witch candy jar a little ritual of its own — the moment it reappears on the counter, Halloween season has officially started. That kind of yearly tradition, rooted in something you actually made yourself, is really what makes a craft project worth doing in the first place.








What do you think?
It is nice to know your opinion. Leave a comment.