










Crochet Kindle Sleeve Pattern: A Complete Guide to Making Your Own Book Reader Cover
Introduction to the Crochet Kindle Sleeve Project
If you’re someone who loves reading and crocheting in equal measure, making a sleeve for your Kindle or e-reader might just be the perfect project. It’s practical, it’s personal, and there’s something genuinely satisfying about protecting your favorite device in something you made with your own hands. Whether you’ve been crocheting for years or you’re still pretty new to it, this is the kind of project that feels totally doable and leaves you proud of the result.
What makes a crocheted Kindle sleeve so fun is how much room there is to make it your own. You can pick colors you love, play around with different stitch textures, and add little details like buttons or tassels that give it real personality. No two handmade sleeves will ever look exactly alike, and that’s the whole point. It’s not just a cover for your e-reader — it’s a tiny piece of craft that you’ll actually enjoy carrying around.
This guide draws on the popular Crochet Kindle Sleeve Pattern from Maria’s Blue Crayon, a well-loved corner of the crochet community known for its clear instructions and beautiful, approachable designs. Whether you’re working alongside the video tutorial or sticking to this written guide, everything you need is right here. We’ll go through every step together, from picking out yarn to finishing that last stitch.
Materials and Tools You Will Need
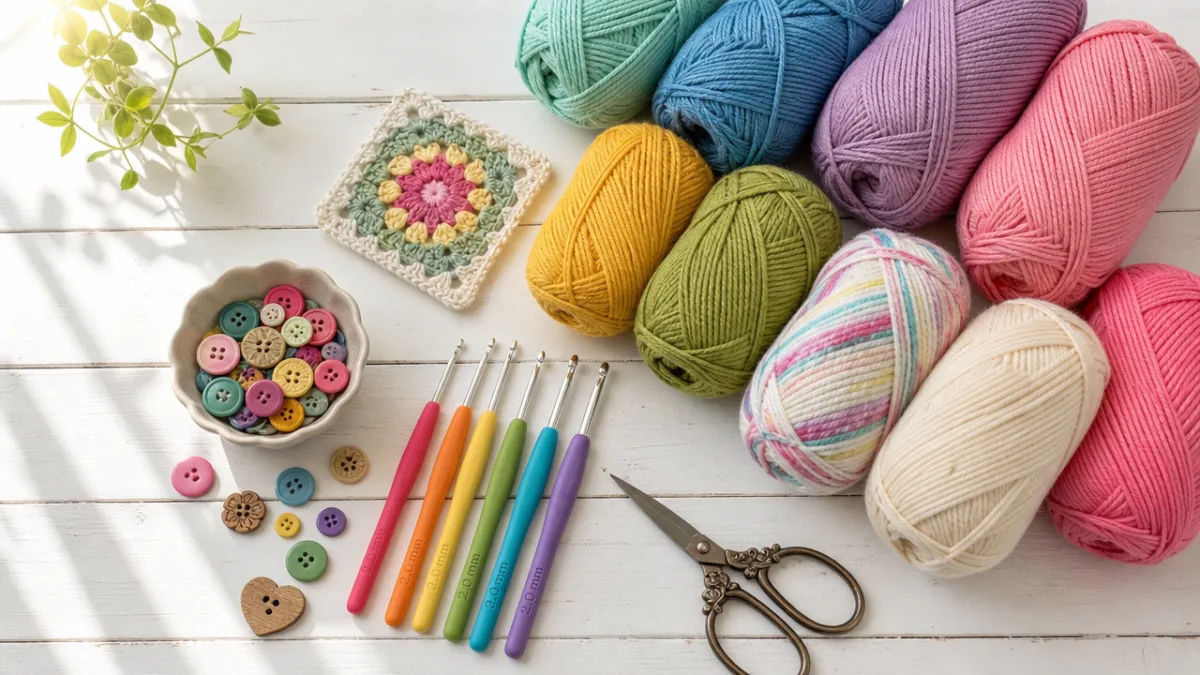
Before you start crocheting, it’s worth taking a few minutes to get everything together. There’s nothing more disruptive to a good creative flow than having to stop mid-row to hunt down your scissors. The good news is that the supply list for this project is pretty short, and there’s a decent chance you already have most of it sitting in your craft stash.
For yarn, go with a medium-weight worsted — that’s a size 4 on the yarn label. Cotton is a great pick here because it’s firm, holds its shape nicely, and does a solid job protecting your device. It also comes in a huge range of colors, which makes it fun to work with. Acrylic is another good option, especially if you want something softer or you’re keeping an eye on your budget. Both work well for this pattern.
As for tools, a 5mm crochet hook is the sweet spot for most worsted weight yarns — it’ll help you get a tight, sturdy fabric that actually does the job of protecting your Kindle. Beyond that, you just need a yarn needle for weaving in ends, scissors, and a measuring tape. If you want to add a button closure (and it does look really cute), grab a button and some matching thread too.
- Worsted weight cotton or acrylic yarn (approximately 100–150 yards depending on Kindle size)
- 5mm crochet hook
- Yarn needle for weaving in ends
- Scissors
- Measuring tape or ruler
- One decorative button (optional, for closure)
- Coordinating sewing thread and needle (if adding button)
- Stitch markers (optional, but helpful for tracking rows)
Understanding Gauge and Sizing Your Sleeve
Gauge might sound a little technical, but it’s genuinely important for a project like this — one that needs to fit a specific object. Basically, gauge is just how many stitches and rows fit within a given measurement, usually a four-inch square. If yours doesn’t match what the pattern calls for, your sleeve could end up too big or too small, which is frustrating when you’re so close to a finished project.
The easy fix is to crochet a quick swatch before diving into the main piece. Work about fifteen to twenty stitches and ten to twelve rows in whatever stitch you’re planning to use, then lay it flat without stretching and count how many stitches and rows fall within four inches. Too many stitches per inch? Try a larger hook. Too few? Go down a size. It only takes a few minutes and can save you a lot of backtracking later.
Sizing is the other piece of the puzzle. Kindle models vary quite a bit across generations, so measure your actual device before you start — height, width, and depth. Then add a small amount of ease on each side, around a quarter inch, so the sleeve fits snugly but isn’t a wrestling match every time you want to take your Kindle in or out. It’s a lot easier to tweak your starting chain than to unravel a finished piece and start over.
If your Kindle is an older or newer model that doesn’t match the standard dimensions, don’t worry. The pattern is simple enough that adjusting the stitch count is pretty painless once you understand how it’s constructed. Most sleeves are worked in rows of single or half double crochet, so adding or removing a few stitches from your foundation chain is usually all it takes. Just keep notes as you go — future you will be very grateful.
Step-by-Step Crochet Instructions
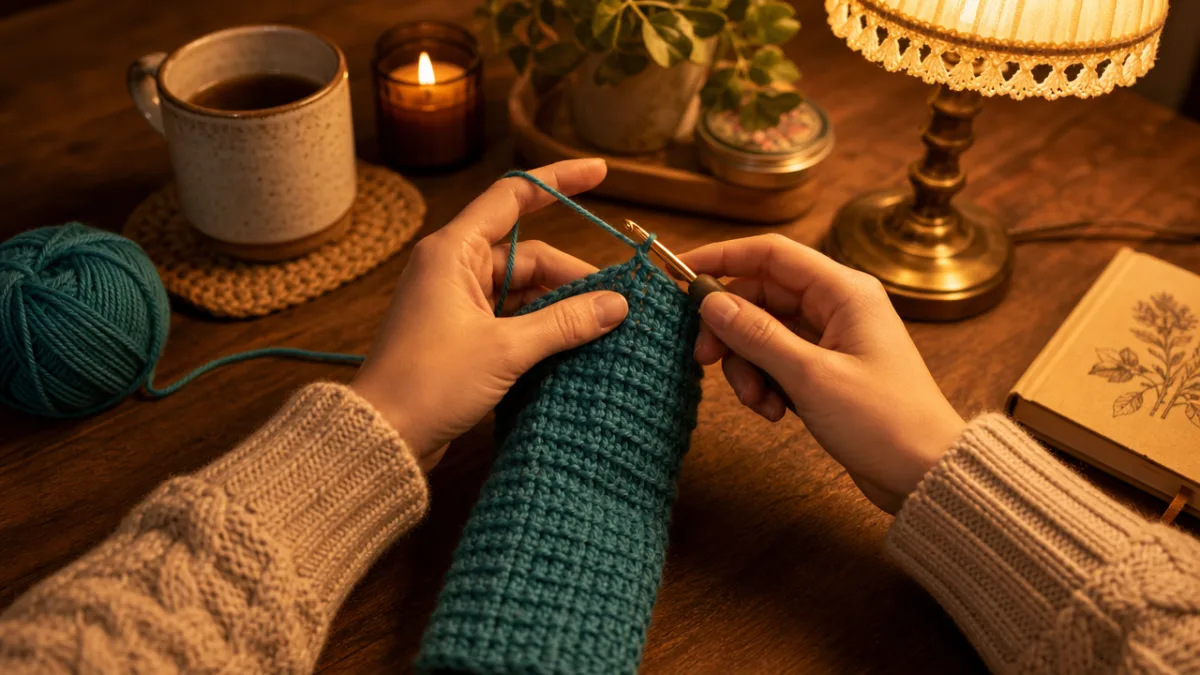
Alright, you’ve got your materials and you’ve checked your gauge — now we actually get to crochet. This pattern works from the bottom of the sleeve upward in rows, building a simple rectangle that folds into a pocket for your device. Half double crochet is the stitch of choice here because it strikes a nice balance: firm enough to protect your Kindle, but with just enough flexibility that slipping it in and out is easy. It’s also a really pleasant stitch to work — rhythmic and satisfying.
Start with your foundation chain. The number of chains you need will depend on your gauge and your device’s width, but for a standard Kindle Paperwhite you’re typically looking at somewhere between twenty-eight and thirty-two chains. Make sure the chain is relaxed — not so tight that it puckers, not so loose that it flops around. This first row really does set everything up, so it’s worth slowing down to get it feeling right before you move on.
From there, work rows of half double crochet, turning at the end of each row and working back across, until your piece measures about twice the height of your Kindle plus a bit extra for a flap closure. For most standard models, that lands somewhere around fourteen to sixteen inches of fabric before folding. Once you’re there, fold the piece in half and seam both side edges closed with a whipstitch or slip stitch, leaving the top open so your Kindle can actually get in.
- Create your foundation chain to match the width of your Kindle plus ease
- Work half double crochet rows until the piece measures twice the Kindle height plus flap length
- Fold the piece in half with wrong sides facing inward
- Seam both side edges together using a whipstitch or slip stitch
- Work a row of single crochet around the opening and flap edge for a clean border
- Add a button loop to the flap and sew a coordinating button to the front panel
- Weave in all remaining yarn ends securely with your yarn needle
Once the sides are seamed and your sleeve is starting to look like an actual sleeve, finish the edges with a single row of single crochet around the entire opening and flap. It tidies everything up and helps the fabric lay nice and flat. This is also the perfect moment to work in a button loop — just chain a few stitches at the center of the flap edge, skip the same number of stitches, then keep going as normal. Simple, functional, and it looks great.
Customization Ideas and Creative Variations
Here’s where things get really fun. Once you’ve got the basic pattern down, there’s so much room to play. Color blocking is an easy way to make a big visual impact — just work sections in two or more colors before switching. It looks modern and intentional without being complicated. Stripes are another crowd-pleaser and honestly couldn’t be simpler: just swap your yarn at the start of a new row whenever you feel like it.
Stitch texture is another great way to take your sleeve from basic to beautiful. Instead of working plain half double crochet throughout, try something like the moss stitch, a simple shell stitch, or even a scattered bobble pattern. These add visual depth and a lovely tactile quality to the surface of the sleeve. Most of these stitches aren’t much more difficult than the basics, and if you’re not sure what they’ll look like, the Maria’s Blue Crayon video is a great place to see different options before committing.
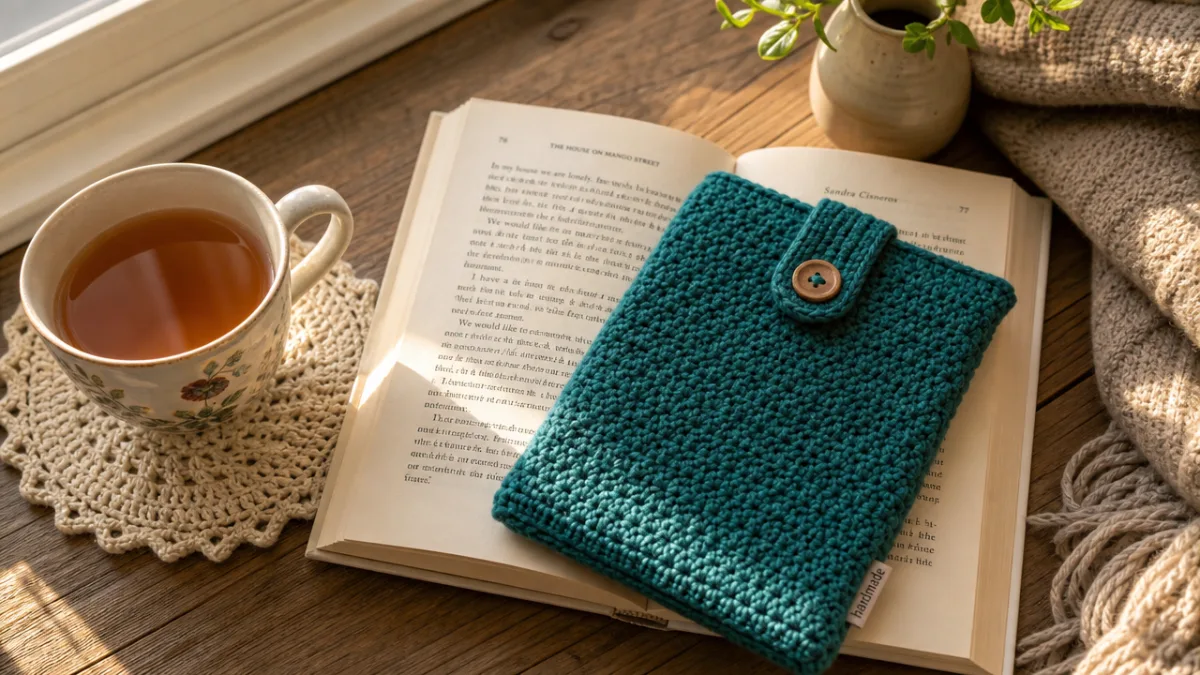
Embellishments are where you can really let your personality show. A little crocheted flower or leaf on the flap gives it a sweet, handmade charm. Embroidery thread opens up a whole world of possibilities — initials, a small motif, a quote — anything you can stitch onto the front panel. And don’t underestimate the button. A vintage find, a handmade ceramic button, or something a bit quirky can completely define the look of the sleeve. It’s a small detail that makes a big difference.
If you like making gifts, this project is a wonderful one to keep in your back pocket. You can tailor every element to the person — earthy tones and a leaf motif for someone who loves the outdoors, a clean single-color design for the minimalist in your life. Pair it with a crocheted bookmark and you’ve got a thoughtful, complete gift that didn’t take forever to make. It’s the kind of handmade present people actually use and remember.
Tips for Success and Common Mistakes to Avoid
A few practical tips can go a long way toward making this project feel smooth rather than stressful. The most common mistake — and it’s a very human one — is skipping the gauge swatch because you’re too excited to get started. Completely understandable, but a sleeve that’s even half an inch too small won’t fit your Kindle, and one that’s too roomy won’t protect it properly. Those ten minutes up front are genuinely worth it.
Tension consistency can also be tricky, especially if you’re newer to crochet. If your grip tightens up or loosens as you go, the fabric can look uneven or develop strange ripples. The fix is mostly about staying relaxed — let the yarn and hook move naturally rather than forcing them. Good lighting helps a lot too, as does taking breaks when you feel yourself tensing up. If you notice your tension shifting, pause and figure out why before carrying on.
Weaving in ends is one of those finishing steps that’s easy to rush, but it really matters for how long your sleeve holds up. Whenever you join new yarn or change colors, leave a tail of at least six inches and weave it back and forth through several stitches in different directions before you trim it. This keeps the end from working its way loose over time and unraveling your hard work. Done properly, it’s completely invisible — the hallmark of a polished finished piece.
One last tip: don’t skip blocking. It might feel like an extra step, but it makes a noticeable difference, especially with cotton yarn. Just dampen the fabric lightly, coax it into shape, and let it dry flat. To get the fit exactly right, pop your Kindle in a plastic bag and slide it inside the sleeve while it dries. The fibers relax, the tension evens out, and the whole thing just looks more finished. It’s one of those steps that feels almost magical the first time you try it.
Following the Video Tutorial and Learning from Maria’s Blue Crayon
If you’re someone who learns better by watching than reading, the video tutorial from Maria’s Blue Crayon is a fantastic companion to this written guide. There’s a real difference between reading about how to hold your yarn and actually seeing it happen in real time. Watching an experienced crocheter move through each step — the hook placement, the way the fabric builds row by row — clears up so much confusion that text alone just can’t always solve.
Maria’s Blue Crayon has earned a loyal following in the crochet community, and it’s easy to see why. The tutorials are clear and encouraging, and they don’t just tell you what to do — they explain why. That distinction matters more than it might seem. When you understand the reasoning behind each step, you’re building actual skills, not just copying movements. By the time you’ve finished this sleeve, you’ll have picked up techniques that carry over into a lot of other projects.
When you’re following along with the video, give yourself permission to go at your own pace. Pause often, rewind without hesitation, and use the playback speed controls if your platform has them. A lot of people find it helpful to watch the whole tutorial through once without picking up their hook — just to get the lay of the land — and then go back and work through it step by step on the second pass. It takes a little longer upfront but usually means fewer surprises along the way.
And if you enjoy this pattern, it’s worth sticking around on Maria’s Blue Crayon for a while. The channel covers a wide range of projects and skill levels, from simple beginner pieces to more involved colorwork and garments. Finding a teacher whose style clicks with you can really accelerate how quickly you grow as a crocheter. This sleeve is a great first step into that world — approachable enough to finish with confidence, and satisfying enough to keep you wanting more.








What do you think?
It is nice to know your opinion. Leave a comment.