










Introduction: Why a Dedicated Sewing Space Station Changes Everything
If you’ve spent any real time at a sewing machine, you know the feeling — you’re mid-project, in the zone, and suddenly you can’t find your seam ripper. Again. Or a spool of thread has rolled off the table and is now somewhere under the cabinet. It’s the kind of thing that seems minor but adds up fast. A well-organized sewing space isn’t just a nice-to-have; it’s what lets you actually sew instead of spend half your session hunting for things. That’s the whole idea behind a sewing space station — getting everything you need within arm’s reach so you can stay in the moment and keep creating.
A sewing space station is really just a thoughtfully designed system that brings storage, accessibility, and workflow together in one place. The difference between this and a bunch of random containers scattered around a craft room is intention. A real space station thinks about how you actually work — where your hands go, which tools you grab constantly, and how your supplies relate to each other during a project. When every pair of scissors, every pin cushion, and every spool of thread has a home it always goes back to, you stop wasting mental energy on logistics and start spending it on the work itself. Even big, complicated projects start to feel more manageable when your space is set up to support you.
Whether sewing is your weekend hobby or you’re running a small business from home, the principles here are the same. The time you put into setting up your space pays you back every single time you sit down to sew. This article covers the essential components of a well-designed sewing space station, practical tips for getting one set up, storage solutions worth considering, and why this kind of intentional organization can genuinely change how you feel about your craft.
The Core Components of an Effective Sewing Space Station
A functional sewing space station really comes down to a few key components that work together to keep your tools organized, visible, and easy to grab. The first — and honestly the most important — is a dedicated thread storage system. Thread comes in so many colors and weights that without some kind of system, it turns into a tangled mess surprisingly fast. Whether you go with a wall-mounted rack, a spinning tower, or a drawer unit with individual compartments, the goal is simple: you want to see all your colors at once so picking the right thread takes seconds, not a five-minute search through a pile of spools.
The second piece is small tool containment — which covers everything from seam rippers and scissors to rotary cutters, measuring tapes, marking tools, and thimbles. These are the items most likely to vanish into the chaos of a busy craft room, and yet they’re also the things you reach for over and over during any sewing session. Magnetic strips, pegboards, clear jars, and purpose-built caddies all work well for keeping small tools visible and within easy reach. The rule is simple: each tool gets one home, and it goes back there after every use.
Fabric and notion storage rounds out the essential trio. Pre-cut pieces, interfacing, bias tape, elastic, buttons, zippers — all of it needs a dedicated spot so it doesn’t turn into one big jumbled pile. Small bins, labeled drawers, and stackable containers are great for notions, while folded fabric on open shelves or rolled onto cardboard bolts keeps your yardage tidy and easy to look through. When all three of these components — thread, small tools, and notions — come together in one cohesive setup, you end up with a sewing space that actually has your back while you work.
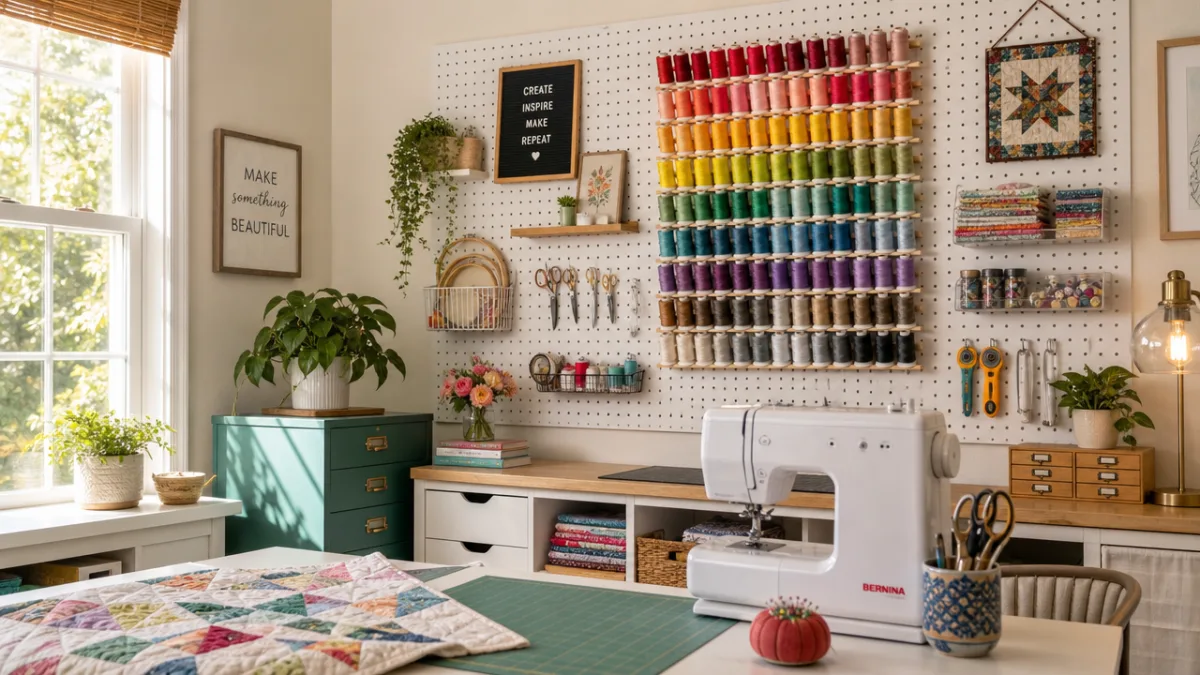
Choosing the Right Storage Solutions for Your Sewing Tools
The craft storage market has grown a lot in recent years, and there are genuinely great options now for all kinds of spaces, budgets, and organizational preferences. One of the most popular is the pegboard wall system, which lets you rearrange hooks and holders as your needs change over time. Paint it a fun color and it doubles as a piece of decor — one that keeps your tools on display and easy to grab. Pegboards are especially useful above a sewing table where you’d otherwise have a blank wall doing nothing for you.
If you’d rather have something more contained and portable, rolling carts and multi-drawer units are hard to beat. A three-tier rolling cart can hold thread on one level, small tools on another, and notions on the third — and you can wheel it wherever you need it. Multi-drawer units with clear fronts are particularly great because you can see what’s inside without opening everything, which sounds like a small thing until you realize how much time it actually saves. These come in sizes ranging from compact desktop versions to tall freestanding towers, so there’s something for pretty much every setup.
DIY solutions are another great route, especially if you enjoy putting your own stamp on your workspace. Repurposed kitchen organizers, vintage tins, mason jars, and wooden crates can all be turned into genuinely useful storage with a little creativity. Just make sure you label everything — even a beautifully organized space stops working if you can’t tell what’s in a container at a glance. Some DIY ideas that work especially well for sewing tools include:
- Mounting a tension rod inside a drawer to create hanging dividers for ribbons and elastic
- Using a tiered spice rack to display and organize thread spools by color family
- Repurposing a cutlery tray as a small tool organizer inside a dedicated sewing drawer
- Hanging a shoe organizer on the back of a door to store notions, small fabric pieces, and patterns
- Using binder clips and a wire rack to organize pattern pieces and project notes
Whether you go store-bought or DIY, the most important thing is that your storage actually fits how you work. The best system is the one you’ll stick with. Before you buy or build anything, take a little time to watch yourself sew — which tools do you reach for constantly, what tends to pile up, where do things keep disappearing? Being honest about that will point you toward solutions that fix your real problems, not just ones that look great in a craft room photo.
Setting Up Your Sewing Space Station: A Step-by-Step Approach
Setting up a well-organized sewing space station goes a lot more smoothly when you take it step by step rather than trying to tackle everything at once in one overwhelming afternoon. Start with a thorough declutter and audit of what you actually own. Go through every drawer, bin, and box in your sewing area and sort things into three piles: stuff you use regularly, stuff you use occasionally, and stuff you never use. Be honest with yourself here — fabric you’ve been holding onto for five years without a plan, duplicate tools, and anything broken or worn out should be donated, repurposed, or tossed rather than just organized into a new system where it’ll keep taking up space.
Once you know what you actually have and use, you can start thinking about your layout. Pay attention to ergonomics. The tools you reach for constantly — scissors, a seam ripper, pins, thread — should be closest to your dominant hand and at a height that doesn’t require awkward reaching or bending. Things you use less often, like specialty presser feet, interfacing, and extra bobbins, can live a little further away in a secondary zone. Think of it as concentric rings: most-used items in the inner circle, less-used items further out. It’s one of the most effective workspace organization principles out there, and it works just as well in a sewing room as it does in a professional kitchen.
Once you’ve mapped out your layout, start putting things in their designated spots. Don’t rush this part — a label stuck on crooked or a container placed just slightly out of reach will quietly annoy you every single time you go for it. Get everything set up, then actually use the space for a few sewing sessions before you make anything permanent. You might find your scissors work better on the left side of your machine, or that your most-used thread colors deserve a spot on the pegboard instead of a drawer. Give yourself room to adjust and refine as you go — that’s not failure, that’s just how good systems get built.
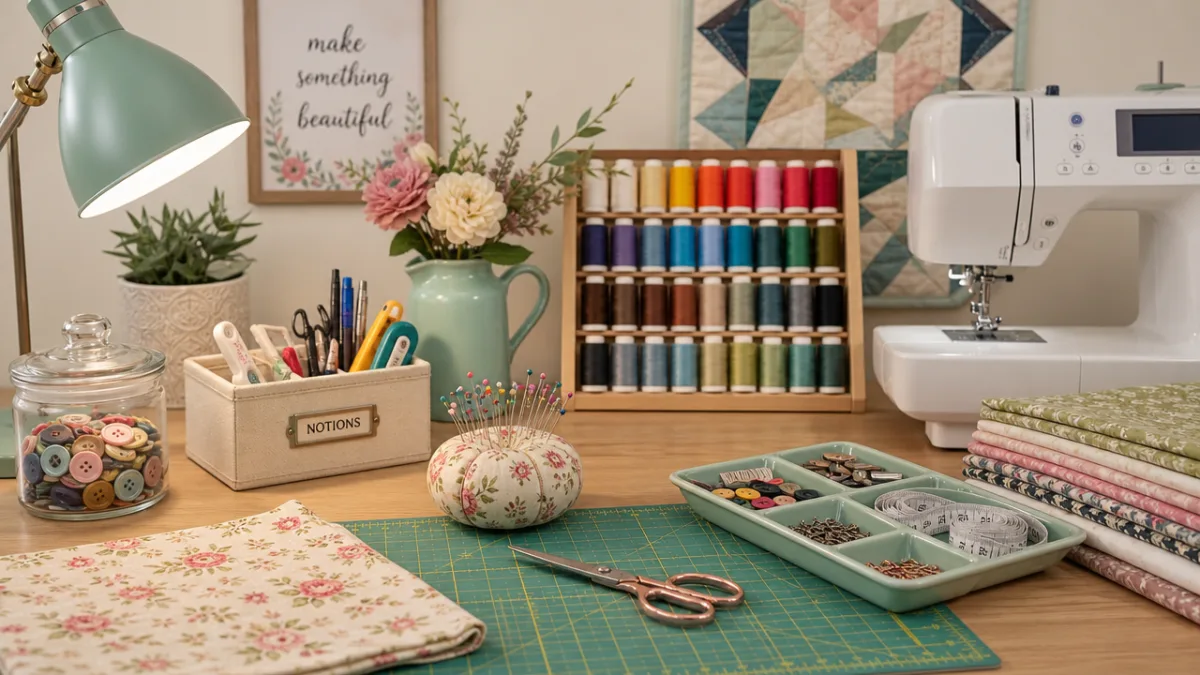
Maintaining Your Sewing Space Station for Long-Term Success
Getting your sewing space station organized feels amazing, but the real win — and the real challenge — is keeping it that way. The single most effective habit for that is what professional organizers call the “one-touch rule”: when you’re done with a tool, put it back before you move on to the next step. It sounds almost too simple, but it’s the thing that stops the slow creep of displaced items that eventually turns an organized space back into a chaotic one. It takes seconds to drop a seam ripper back in its holder or return a spool to its rack, but doing that consistently, every time, is genuinely transformative.
Regular light maintenance also makes a big difference. A ten-minute tidy at the end of each sewing session — putting away fabric scraps, coiling measuring tapes, closing drawers — keeps small messes from snowballing into big ones. A more thorough monthly or quarterly check-in lets you see whether your system is still working, restock anything running low, and tweak areas that aren’t quite right. This kind of ongoing attention to your workspace is really just an extension of the care and craftsmanship you bring to the things you make.
It’s also worth remembering that your sewing space station should grow with you. A beginner’s storage needs look very different from those of an experienced quilter working with dozens of fabrics at once, or an embroiderer with a large collection of specialty threads and hoops. Don’t hesitate to reorganize as your craft evolves. Adding new storage, repurposing old containers, reconfiguring your layout to accommodate new tools or project types — none of that means your original system failed. It means you’re growing as a maker, and your workspace is keeping up.
Key Habits That Support a Well-Maintained Sewing Space
The routines you build around your sewing space matter just as much as the physical setup. Small, consistent habits are what keep a well-organized space station actually functioning over the long haul. These are the practices worth weaving into your regular sewing routine:
- Return every tool to its designated home before beginning a new task within a project
- Do a brief end-of-session tidy before leaving your sewing space, even after short work periods
- Conduct a monthly inventory of notions and supplies to identify what needs restocking
- Review your layout quarterly and adjust storage as your projects and tools evolve
- Label new storage containers immediately rather than telling yourself you will remember what is inside
The Psychological and Creative Benefits of an Organized Sewing Space
The benefits of a well-organized sewing space station go well beyond just finding your tools faster. Environmental psychology research consistently shows that cluttered, disorganized spaces increase stress and mental load — that low-level background hum of awareness that something is out of order, even when you’re not consciously thinking about it. When your sewing room is chaotic, a slice of your mental energy is always going toward processing that disorder. An organized space clears that out, freeing your mind to actually be present in the creative work. That shift doesn’t just make sewing more enjoyable — it often leads to more focused, higher-quality results too.
There’s also a real motivational element to a space that looks and feels good. When your sewing station is tidy, well-stocked, and visually appealing, you genuinely want to spend time in it. The gap between “I want to sew” and “okay, I’m actually sewing” shrinks considerably when you’re not facing a wall of clutter you have to clear before you can start. A lot of sewists point to organizing their workspace as a turning point — the moment sewing went from something they got around to occasionally into a regular, nourishing part of their week that they actually looked forward to.
There’s also something quietly meaningful about taking care of your tools and your space. Maintaining your workspace and creating conditions where your best work can happen is a form of self-respect — a way of saying that your creative time matters. Whether you sew to relax, to express yourself, for practical reasons, or for all of the above, you deserve a space that honors the time and energy you bring to it. A thoughtfully designed and well-maintained sewing space station is one of the best investments a maker can make — not just in their tools, but in themselves.
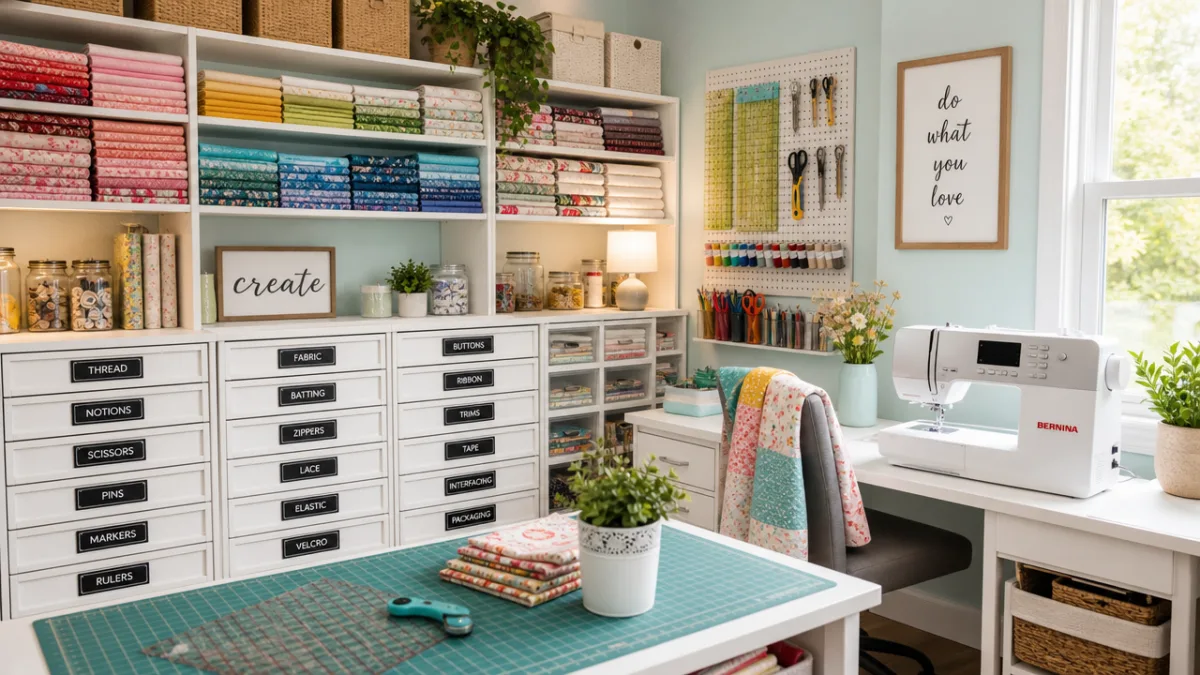
How an Organized Space Fuels Creative Momentum
Creative momentum is a fragile thing — easy to lose and sometimes hard to get back. One of the most common momentum killers in any creative practice is friction: those small snags and inefficiencies that pull your attention away from the work itself. In sewing, friction almost always comes down to disorganization — the thread that isn’t where you expected it, the rotary cutter buried under a pile of fabric, the presser foot case that seems to have walked off on its own. Each of those little interruptions costs time and energy, but more than that, each one chips away at the feeling of being in flow. A sewing space station that removes those friction points isn’t just a practical convenience — it actively supports your creative momentum, keeping you in your project instead of in your head about where things are.








What do you think?
It is nice to know your opinion. Leave a comment.