










DIY Nursery Decor: Transform Your Baby’s Room Into a Magical Haven
Welcoming a new baby into your home is one of life’s most profound and exciting milestones. Creating a nurturing, beautiful space for your little one doesn’t require a designer’s budget or professional help — with a little creativity, some basic supplies, and a whole lot of love, you can craft a nursery that is both stunning and deeply personal. DIY nursery decor has surged in popularity for good reason: it allows parents to pour their personalities into every corner of the room while saving significant money along the way.
The beauty of a do-it-yourself approach lies in the freedom it gives you. You are not limited to what’s on store shelves or constrained by someone else’s vision. Every mobile that spins above the crib, every mural painted on the wall, and every handmade pillow on the rocking chair becomes a story — a piece of your family’s beginning. These are the kinds of details that your child will grow up surrounded by, and someday, you’ll be able to say, “I made that for you before you were even born.”
This guide is designed to walk you through the most popular, most achievable, and most rewarding DIY nursery decor projects available. Whether you’re a seasoned crafter or picking up a hot glue gun for the first time, there is something here for every skill level and every style preference. From wall art and mobiles to soft furnishings and storage solutions, let’s dive into building the nursery of your dreams.
Choosing a Theme and Color Palette
Before you pick up a single paintbrush or purchase your first supply, the most important step is deciding on the overall theme and color palette for the nursery. A cohesive design foundation will make every subsequent decision easier and ensure that the finished room feels intentional and harmonious rather than scattered. Think about what kind of environment you want your baby to grow up in — something whimsical and woodland-inspired, clean and modern, nautical and adventurous, or soft and floral? Your theme will guide everything from wall colors to fabric choices to the style of decor you create.
Color psychology plays a meaningful role in nursery design. Soft, muted tones like sage green, dusty rose, warm beige, and lavender are perennial favorites because they create a calming, soothing atmosphere ideal for sleep. However, don’t be afraid to introduce gentle pops of color through accent pieces and handmade decorations. A mostly neutral room with a burst of mustard yellow or terracotta through handmade textile art can feel warm, modern, and deeply inviting. The key is balance — let one or two colors lead and use others to support and accent.
Once you have your palette and theme locked in, create a simple mood board before you begin crafting. This can be as simple as pinning color swatches and inspiration images on a physical board or using a free digital tool. Your mood board acts as a compass, keeping your projects consistent and helping you make purchasing decisions with confidence. When every project is guided by that same visual north star, the end result will be a nursery that looks thoughtfully curated and professionally designed — all by your own hands.
DIY Wall Art and Murals
The walls of a nursery are its most impactful design element, and there is an enormous range of DIY wall art projects to suit every skill level. One of the most accessible and beloved options is creating a gallery wall using a mix of framed prints, hand-lettered quotes, and simple botanical or animal illustrations. You don’t need to be an artist — free printable designs are widely available online, and even a basic watercolor wash in your nursery’s color palette, framed in a simple wooden frame, makes a beautiful, cohesive piece of wall art.
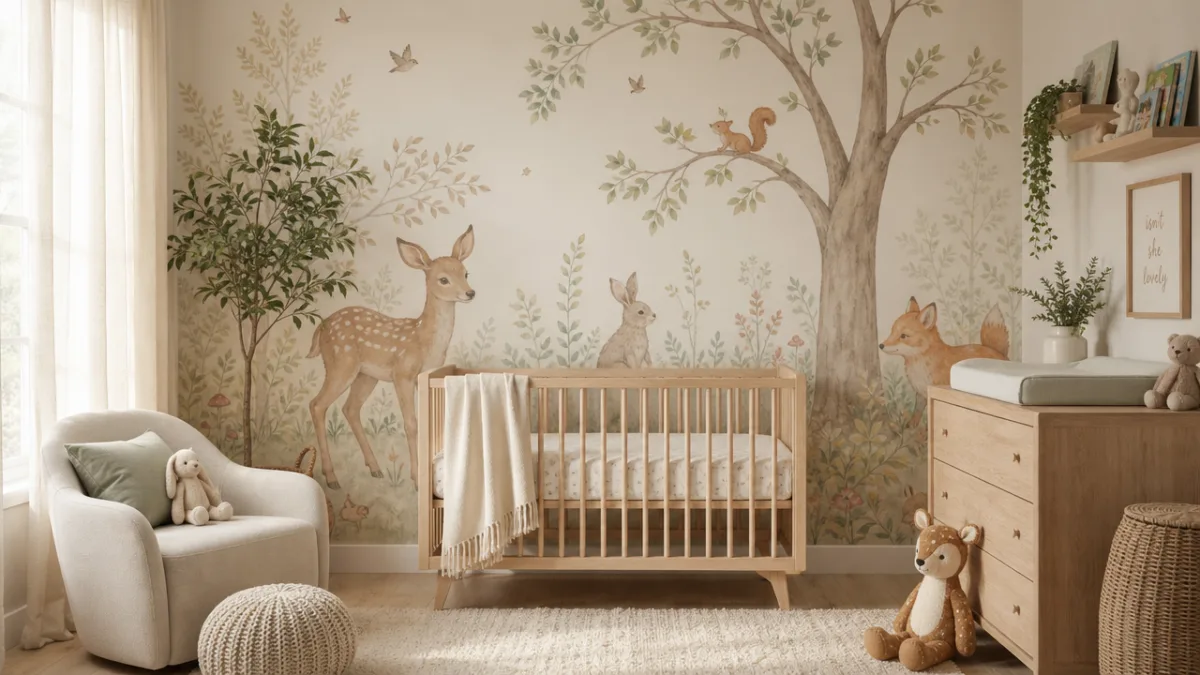
For those who are feeling more ambitious, a hand-painted mural can completely transform the nursery and become the room’s defining centerpiece. Woodland scenes with gentle trees and friendly forest animals, soft mountain ranges, or an oversized floral arrangement are all achievable for beginners with the right preparation. Start by sketching your design lightly in pencil directly onto the wall, then fill in sections with flat latex paint using a variety of brush sizes. The imperfections that come with a hand-painted mural are part of its charm — they make it uniquely yours.
Macramé wall hangings are another phenomenally popular DIY nursery decor option that requires no painting skill whatsoever. Using basic knotting techniques, you can create large, textured fiber art pieces that add warmth, dimension, and bohemian elegance to any nursery wall. Supplies are inexpensive — natural cotton rope, a wooden dowel, and a pair of scissors are essentially all you need to get started. There are countless beginner tutorials available for free online, and even a simple design featuring fringe and a few basic knots looks stunning when displayed above a crib or changing table.
Handmade Mobiles and Hanging Decorations
A mobile hanging above the crib is one of the most iconic pieces of nursery decor, and making one yourself means you can tailor it perfectly to your theme and color palette. The most popular DIY mobile styles include felt shapes, paper origami figures, wooden beads, and dried botanicals. Felt mobiles are particularly beginner-friendly — simply cut your chosen shapes (stars, moons, animals, clouds, leaves) from sheets of colored felt, attach them to lengths of thread at varying heights, and tie the threads to a wooden hoop or dowel for a finished look that is genuinely breathtaking.
Paper mobiles are another wonderful option that allows for incredible creativity. Origami cranes, folded stars, geometric shapes, or simple paper circles punched from patterned paper can all be strung together into a delicate, lightweight mobile. Use lightweight fishing line for an almost invisible suspension effect that makes the shapes appear to float in the air. Paper mobiles respond beautifully to air movement, creating a gentle, mesmerizing motion that babies love to watch and that stimulates their developing visual senses in the most delightful way.
Beyond traditional crib mobiles, consider adding other hanging decorations throughout the nursery to extend the visual interest of the space. Felt cloud garlands strung across a window, paper star clusters hung in a corner, or a simple wooden letter spelling out your baby’s name suspended from ribbon all add personality and charm. These projects are also wonderful group activities — gather your friends or family for a crafting session during your baby shower or a weekend gathering, and you’ll have both beautiful decor and cherished memories to show for it.
Soft Furnishings: Cushions, Blankets, and Crib Accessories
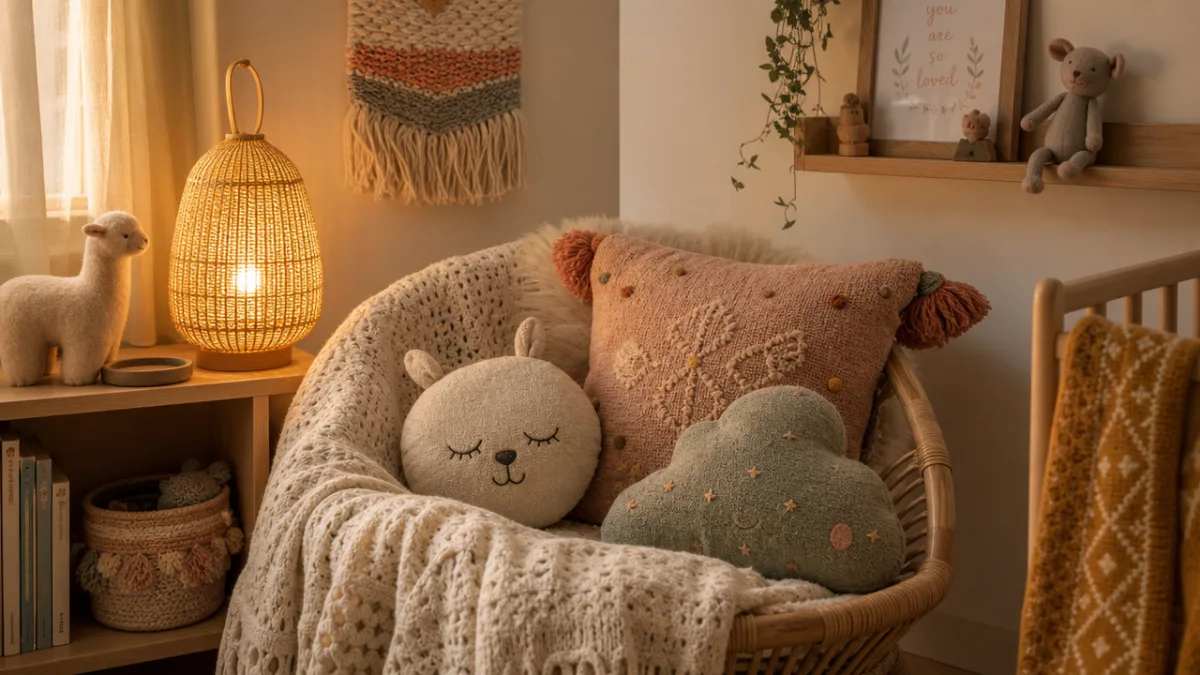
The textiles in a nursery contribute enormously to its overall warmth and comfort, and making your own soft furnishings is one of the most rewarding DIY categories of all. Even those with minimal sewing experience can create beautiful, functional pieces. Simple envelope pillow covers, for example, require only straight-line stitching and a single piece of fabric — no complicated patterns or precise tailoring required. Choose fabrics in your nursery’s color palette, or look for prints featuring your chosen theme’s motifs (little foxes, geometric triangles, clouds, or delicate botanicals) to create accent cushions for the glider or a floor seating area.
A hand-tied fleece blanket is perhaps the single most beginner-friendly soft furnishing project available and results in a genuinely useful, incredibly cozy item. All you need is two coordinating pieces of fleece fabric, a pair of scissors, and patience. Cut fringe around the edges of the layered fabrics, then tie each pair of fringe strips together in a simple knot. The result is a thick, warm, washable blanket that makes an exceptional baby shower gift as well as a beautiful nursery accessory. Choose ultra-soft, baby-safe fabrics and avoid any with small embellishments that could pose a choking hazard.
For those comfortable with a sewing machine, consider making a crib skirt, a fitted sheet set, or a changing pad cover in coordinating fabrics. These small details pull a nursery together in a way that store-bought sets simply cannot replicate, because they are chosen by you, in exactly the right colors and prints, in exactly the right sizes for your specific furniture. A set of handmade crib accessories in a gender-neutral palette of cream, sage, and soft terracotta, for instance, looks far more intentional and elevated than most commercially available options — and costs a fraction of the price.
DIY Storage Solutions and Organizational Decor
A nursery that is beautiful but completely impractical quickly becomes a source of stress rather than joy. The good news is that many of the most effective nursery storage solutions are also among the most visually appealing DIY projects you can undertake. Floating wooden shelves, for example, are relatively simple to install and create immediate visual interest on any wall. Style them with a mix of baskets for small supplies, a few carefully chosen books displayed cover-out, a small plant, and a piece of decorative art — and you have storage that doubles as a design statement.
Fabric baskets and storage bins are another highly practical and thoroughly satisfying DIY project. Using a few yards of sturdy fabric, some interfacing for structure, and basic sewing skills, you can create a set of matching storage baskets in exactly the size and color you need. These are perfect for organizing diapers and wipes on the changing table, corralling stuffed animals, holding extra blankets, or storing burp cloths within arm’s reach of the feeding chair. A matching set in your nursery’s signature fabric immediately makes the space look more cohesive and well-organized.
Labels and signage are small but mighty organizational tools that also contribute meaningfully to the nursery’s decor. Hand-lettered labels on baskets and bins, a personalized name sign above the crib, or a framed “house rules” print with gentle, loving sentiments all add layers of personality and warmth. These projects are ideal for those who enjoy hand lettering or calligraphy, but even simple block lettering in a consistent style looks polished and intentional. Consider making a set of coordinating labels using the same font, color, and material throughout to create a consistent visual language across all storage areas.
Upcycling and Budget-Friendly DIY Decor
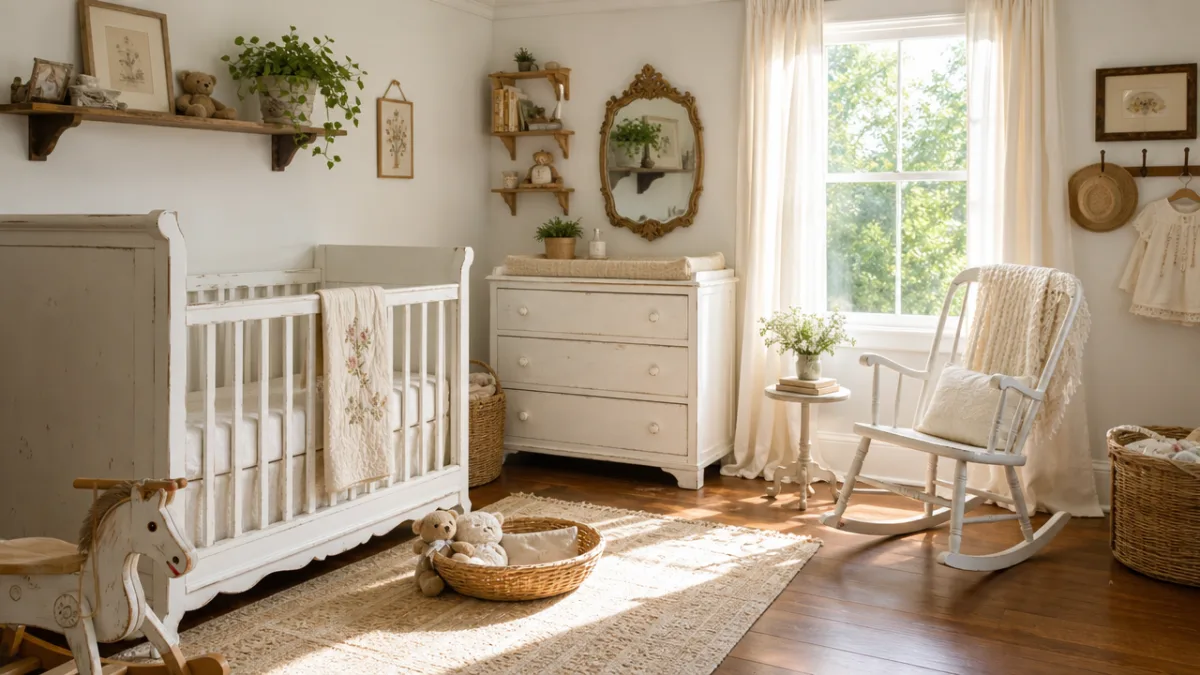
Some of the most creative and charming nursery decor projects involve giving new life to items you already own or can find inexpensively at thrift stores, garage sales, or even curbside. Upcycling is not only budget-friendly — it is also environmentally responsible and produces results that are genuinely one-of-a-kind. An old wooden dresser painted in a soft sage green and fitted with new ceramic knobs becomes a beautiful, custom piece of nursery furniture. A vintage wooden ladder, cleaned up and hung horizontally on the wall, makes a stunning display shelf for folded blankets and small decorative items.
Thrift store picture frames in mismatched sizes can be painted in a uniform color and used to create a stunning gallery wall without spending a fortune on new frames. Old mason jars, painted or wrapped in twine, make charming holders for small supplies on a shelf. Even a worn rocking chair can be transformed with a fresh coat of paint and a new cushion cover sewn from beautiful fabric. The secret to successful upcycling is seeing the potential in an item’s form rather than being distracted by its current condition — with a little imagination and effort, almost anything can be made beautiful.
When working within a tight budget, it also helps to know which DIY investments offer the greatest visual return. Statement projects like a mural, a large macramé wall hanging, or a custom name sign above the crib have disproportionate visual impact relative to their cost in time and materials. Focusing your energy and budget on one or two high-impact pieces, then filling in with simpler, less expensive accents, is a strategy that produces nurseries that look expensive and intentional while costing very little. The result is a space that feels generous, layered, and deeply personal — which is exactly what every new baby deserves.
Safety Considerations for DIY Nursery Projects
As exciting as it is to unleash your creativity in the nursery, safety must always be the primary consideration when crafting for a baby’s space. Every material you use, every item you hang, and every piece of furniture you build or modify must be evaluated with your child’s wellbeing in mind. When painting walls or furniture, always choose zero-VOC or low-VOC paints specifically formulated to be safe for indoor air quality in rooms where infants will sleep. Allow freshly painted surfaces to cure for a full two weeks with good ventilation before placing your baby in the room.
When hanging items on walls — whether art, shelves, or decorative mobiles — always use appropriate wall anchors and hardware rated for the weight of the items you are mounting. A mobile that is not properly secured above a crib poses a serious safety risk. Similarly, any decorative items placed inside or near the crib must be re-evaluated regularly as your baby grows and becomes more mobile. Items that are perfectly safe for a newborn may need to be removed once your baby can pull themselves up or reach overhead. Keeping safety at the forefront of every project ensures that your beautiful nursery remains a safe haven.
There are several specific safety guidelines that all DIY nursery crafters should keep in mind as they plan and execute their projects. These include the following considerations that protect your baby during their most vulnerable early months:
- Avoid small embellishments, buttons, or decorative elements on items within baby’s reach that could pose a choking hazard once your child becomes more mobile and curious.
- Ensure that all hanging decorations and mobiles are positioned well out of reach of the crib mattress — a minimum of 16 inches above the mattress surface is a widely recommended guideline.
- Use only non-toxic, baby-safe paints and sealants on any furniture or wooden decorations your baby may mouth or touch frequently.
- Anchor all bookshelves, dressers, and freestanding furniture to the wall using anti-tip straps to prevent tip-over accidents as your child grows and begins pulling up on furniture.
- Regularly inspect all DIY decor for signs of wear, loose threads, sharp edges, or structural weakness, and repair or remove any items that may have become hazardous over time.
With thoughtful planning and an ongoing commitment to safety, your DIY nursery will be as secure as it is beautiful. The love and care you pour into creating this space — every carefully chosen color, every hand-tied knot, every brushstroke of paint — is a physical expression of your devotion to the tiny person who will grow up within these walls. A handmade nursery is not just a decorated room; it is a labor of love made visible, and there is truly nothing more meaningful you can give your child as they enter the world.








What do you think?
It is nice to know your opinion. Leave a comment.