










Room Photoshoot: A Complete Guide to Capturing Stunning Interior Photos
Understanding the Art of Room Photography
Room photography, often called interior photography, is a specialized discipline that sits at the intersection of architecture, design, and visual storytelling. Whether you are a professional photographer working with real estate clients, a blogger documenting your home renovation journey, or a creative enthusiast looking to build a compelling portfolio, learning how to photograph interior spaces effectively can transform ordinary rooms into breathtaking visual narratives that draw viewers in and hold their attention.
At its core, room photography is about capturing the feeling and atmosphere of a space, not merely its physical dimensions. A great interior photograph communicates warmth, elegance, coziness, or drama depending on the intent of the space and the vision of the person behind the camera. This means that technical skill alone is not enough. You must develop an eye for composition, an understanding of how light behaves indoors, and a sensitivity to the subtle details that make a room feel lived-in and authentic rather than sterile and staged.
The popularity of room photoshoots has surged dramatically in recent years, largely driven by social media platforms like Pinterest and Instagram, where beautifully curated images of interiors attract millions of views and inspire countless home improvement projects. Understanding what makes these images so visually compelling is the first step toward creating your own standout room photography, whether for personal enjoyment or professional use.
Why Interior Photography Matters
Interior photography plays a vital role across a wide range of industries and creative fields. In real estate, high-quality room photographs have been shown to dramatically increase interest in property listings, with professionally photographed homes selling faster and often at higher prices than those with amateur snapshots. For interior designers, a polished portfolio of room photographs is an essential marketing tool that demonstrates their skill and aesthetic sensibility to prospective clients.
For lifestyle bloggers, content creators, and home enthusiasts, room photography serves a deeply personal purpose. It is a way of preserving and sharing the spaces they have carefully curated, inviting others into their world and inspiring them to think creatively about their own environments. The act of photographing a room also encourages a closer look at the space itself, often revealing what works beautifully and what might benefit from refinement or rearrangement.
Mastering Light: The Foundation of Every Great Room Photo
Light is arguably the single most important element in any photograph, and this is especially true in interior photography. The way light falls across furniture, bounces off walls, and creates shadows within a room determines mood, depth, and visual interest more than almost any other factor. Learning to read and work with light in an interior setting is a skill that takes time to develop but pays enormous dividends in the quality of your images.
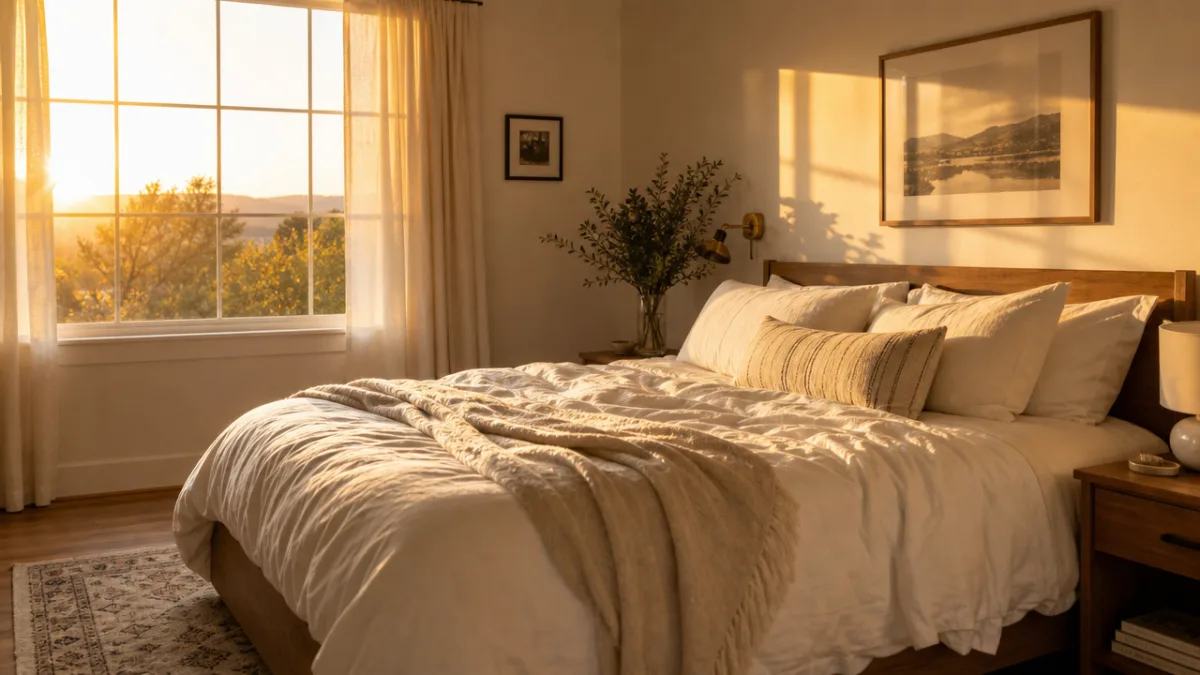
Natural light is generally considered the gold standard for room photography. Shooting during the golden hours, the soft periods shortly after sunrise and before sunset, bathes interiors in warm, flattering light that emphasizes texture and creates a sense of depth. Large windows are your best friend in this context. Position yourself to take advantage of the light streaming through them, being mindful of where it falls and what shadows it creates. On overcast days, diffused natural light can be equally beautiful, offering even illumination without harsh shadows or blown-out highlights.
Artificial lighting presents both challenges and opportunities. Interior lights such as floor lamps, pendant fixtures, and table lamps contribute to the atmosphere of a room and can create beautiful warmth and drama when incorporated into a photograph thoughtfully. However, mixing light sources with different color temperatures, such as warm incandescent bulbs alongside cool daylight, can create unwanted color casts that complicate post-processing. Learning to manage and balance multiple light sources, or choosing to shoot with only one dominant source, is an important skill to develop.
Working with Shadows and Highlights
Shadows and highlights are the dramatic language of interior photography. Deep shadows can add mystery and dimension to a room, while bright highlights draw the eye to focal points and architectural details. The key is achieving a balanced exposure that preserves detail in both the brightest and darkest areas of the frame. Many photographers use bracketing techniques, capturing multiple exposures of the same scene and blending them in post-processing to achieve a final image that reflects the full dynamic range of the interior.
Window light creates a particularly interesting challenge in room photography because windows are often the brightest elements in the frame. Shooting directly toward a window can result in a beautifully backlit silhouette effect, but it can also cause the exterior view and the interior details to be simultaneously underexposed and overexposed. HDR photography and exposure blending are widely used techniques for managing this situation and achieving images where both the room interior and the view through the window are rendered with clarity and detail.
Composition Techniques for Interior Photography
Composition is the art of arranging the visual elements within your frame in a way that is pleasing, clear, and purposeful. In room photography, strong composition helps guide the viewer’s eye through the space, highlights the most important features, and creates a sense of depth and dimension that makes a two-dimensional image feel three-dimensional and immersive. Mastering composition takes practice and intentional study, but even understanding a few foundational principles can immediately elevate the quality of your interior shots.
The rule of thirds is one of the most fundamental compositional guidelines in photography. Rather than centering your primary subject in the frame, place it along one of the two horizontal or vertical lines that divide the frame into thirds, or at one of the four intersection points of those lines. In room photography, this might mean positioning a beautiful sofa along one of these lines rather than dead center, or aligning the horizon line of a window with the upper third of the frame. This simple adjustment creates a more dynamic and visually engaging composition.
Leading lines are another powerful compositional tool in interior photography. Architectural elements such as hallways, staircases, rows of ceiling beams, or the edges of floor tiles naturally create lines that draw the viewer’s eye into the depth of the image. Positioning yourself to take advantage of these lines, allowing them to recede toward a vanishing point in the distance, adds a strong sense of perspective and makes the space feel larger and more expansive. Wide-angle lenses are particularly effective at emphasizing leading lines and creating dramatic perspectives in interior spaces.
Choosing the Right Shooting Angle
The angle from which you photograph a room has a profound effect on how it appears in the final image. Most professional interior photographers shoot from a relatively low angle, typically around waist height or slightly below, with the camera level to the floor. This approach minimizes distortion and creates a natural, human-eye perspective that viewers can easily relate to. Shooting too high or from an extreme angle can make furniture look oddly proportioned and the space feel disorienting.
Corner shots are a popular choice in room photography because they allow you to capture three walls simultaneously, giving a fuller sense of the room’s layout and dimensions. Standing in one corner and shooting toward the opposite corner creates natural depth and allows multiple furniture pieces and design elements to be included in a single frame. This technique works particularly well in smaller rooms where fitting all the key elements into a single image can be challenging from a straight-on perspective.
- Keep the camera level to avoid converging vertical lines that make walls appear to lean inward or outward.
- Experiment with multiple angles before settling on a final composition, as even small position shifts create dramatically different results.
- Consider shooting from doorways or hallways to frame the room within a natural architectural border.
- Crouch down or raise the camera slightly to see how changes in height affect the visual balance of the space.
- Use a tripod to ensure sharp images at slower shutter speeds and to replicate a precise composition across multiple test shots.
Styling and Staging Your Room for the Camera
Even the most beautifully designed room can look cluttered, flat, or uninspiring in a photograph if it is not thoughtfully styled and staged before the camera is ever raised. Room styling for photography is a distinct skill from interior design, focused specifically on how objects and arrangements will read within the constraints of a two-dimensional frame. Professional home stagers and photography stylists spend considerable time preparing rooms before shoots, and understanding their approach can dramatically improve your own interior photographs.
The first step in styling a room for photography is decluttering with an intentional eye. Remove anything that does not serve the visual narrative you are trying to create: excess decorative items, personal belongings, visible technology cables, and anything that might distract from the key design elements of the space. The goal is to create a curated version of the room that feels authentic and livable but edited to its most beautiful and essential elements. Many photographers find it helpful to photograph the room from their intended shooting angle during this process, looking at the image on their camera screen to identify distracting elements they might have missed with the naked eye.
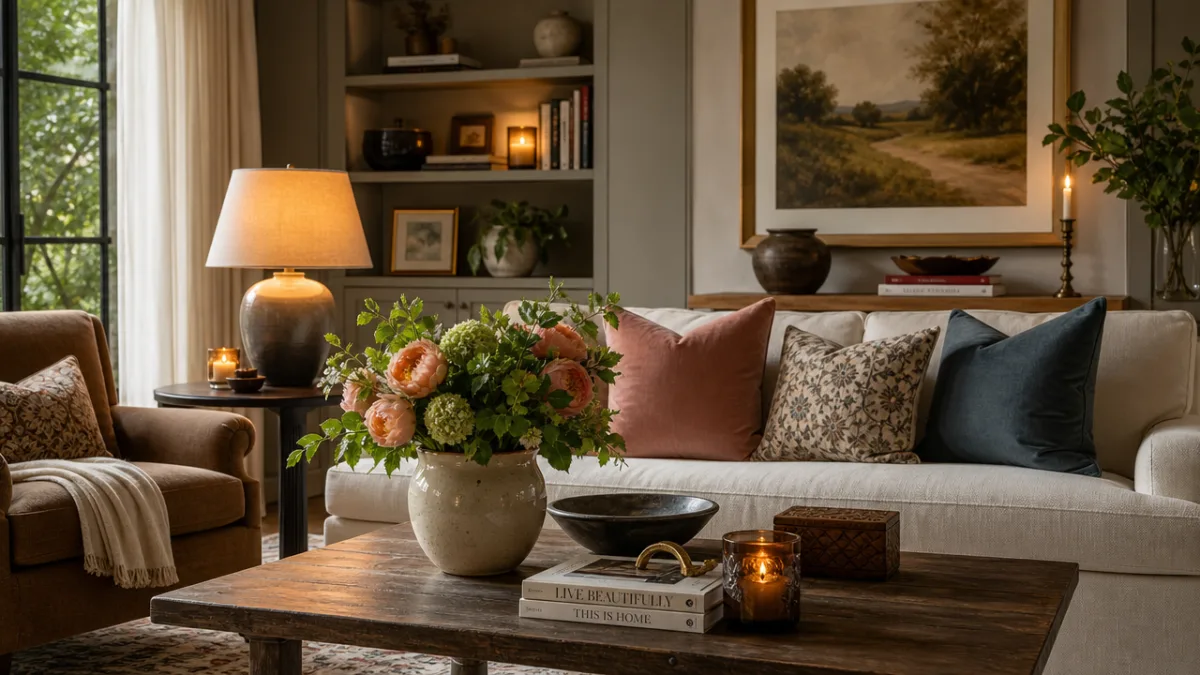
Once the room is decluttered, the styling process involves adding back carefully chosen elements that enhance the visual story. Fresh flowers bring life and color, neatly folded throws add texture and warmth, and strategically placed books or artisan objects create layers of interest. The arrangement of cushions on a sofa, the angle of a chair, and the positioning of objects on a coffee table all contribute to the overall composition of the photograph. Every element in the frame should feel intentional and serve the image in some way.
Color and Texture in Room Styling
Color plays a critical role in the visual impact of a room photograph. A cohesive color palette creates harmony and makes an image feel polished and intentional, while a clashing or overly busy combination of colors can make even a beautiful room look chaotic. When styling for photography, consider the dominant colors of the space and choose accent pieces, textiles, and decorative objects that complement rather than compete with those tones. Neutral backdrops allow accent colors to sing, while bolder rooms may benefit from more restrained styling accessories.
Texture adds depth and tactile richness to interior photographs, making them feel more engaging and luxurious. The juxtaposition of smooth and rough, soft and hard, matte and glossy surfaces creates visual interest and draws the eye through the frame. A chunky knit blanket draped over a sleek leather sofa, a rough-hewn wooden bowl on a polished marble surface, or a plush rug against hardwood flooring are all examples of texture contrast that translates beautifully in photographs. Seek out these contrasts and arrange them intentionally within your compositions.
Camera Settings and Equipment for Interior Photography
Having the right camera settings dialed in is essential for achieving sharp, well-exposed, and beautifully detailed interior photographs. While the exact settings will vary depending on the available light and the specific effect you are seeking, understanding the fundamentals of aperture, shutter speed, and ISO and how they interact in an interior environment will give you the control needed to capture consistently great images regardless of the conditions you encounter.
A wide aperture, such as f/8, is generally preferred in interior photography because it provides sufficient depth of field to keep both foreground and background elements in sharp focus. Unlike portrait photography where a shallow depth of field creates beautiful background blur, interior photography typically requires everything in the frame to be crisp and detailed. Shooting at lower ISO values, such as ISO 100 or 200, minimizes digital noise and preserves the fine details of textures and surfaces. Since this often requires longer shutter speeds in lower light conditions, using a sturdy tripod is essentially non-negotiable for professional interior work.
Wide-angle lenses are the workhorses of interior photography, allowing photographers to capture more of a space from a closer distance than a standard lens would permit. Focal lengths in the range of 16mm to 35mm are commonly used, with 24mm being a particularly popular choice for its balance between capturing expansive views and minimizing the distortion that ultra-wide lenses can introduce. Tilt-shift lenses are also used by professionals to control perspective distortion and keep vertical lines perfectly straight without the need for extensive correction in post-processing.
Post-Processing for Interior Photography
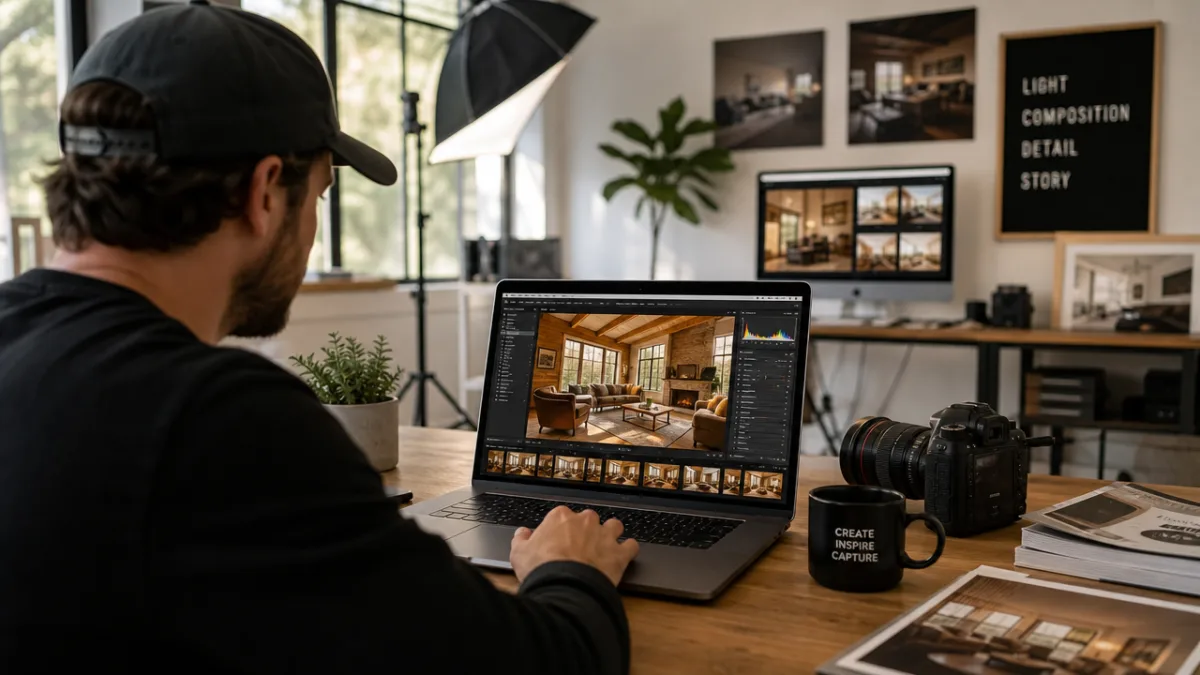
Post-processing is an integral part of the interior photography workflow and should be considered a creative tool rather than a remedial step. Software such as Adobe Lightroom and Photoshop gives photographers the ability to fine-tune exposure, color balance, and contrast, correct lens distortion, and make targeted adjustments to specific areas of an image. A well-processed interior photograph should look natural and true to the space while being polished and visually compelling.
Color correction is one of the most important post-processing tasks in interior photography. As mentioned earlier, mixed light sources can create complex color casts that need to be neutralized. Setting the correct white balance is the first step, either in-camera or during raw processing. From there, selective color adjustments can be used to warm or cool specific areas of the image, balance competing light sources, and enhance the overall tonal mood of the photograph. The goal is an image that feels warm, inviting, and true to life.
- Begin with global adjustments to exposure, highlights, shadows, whites, and blacks before moving to localized corrections.
- Use the lens correction panel to remove barrel distortion introduced by wide-angle lenses and straighten converging verticals.
- Apply careful noise reduction at higher ISO values to preserve detail while smoothing out digital grain.
- Use graduated filters or radial filters to brighten specific areas, draw attention to focal points, or balance uneven lighting.
- Export final images at the highest quality settings suitable for their intended use, whether print, web, or social media.
Building a Room Photography Portfolio and Sharing Your Work
Once you have developed your technical skills and built a body of work you are proud of, sharing that work effectively becomes the next important step. A well-curated portfolio is the most powerful tool for attracting clients, followers, or simply for building a creative community around your work. Whether you are targeting commercial clients in real estate or interior design, or building a personal brand as a lifestyle content creator, the principles of presenting your work compellingly are broadly similar.
Curate your portfolio with a ruthless but fair eye. Include only your very best images, those that demonstrate your range, your technical proficiency, and your distinctive aesthetic sensibility. It is far better to show twenty exceptional photographs than fifty mediocre ones. Group images by theme, style, or room type to make the portfolio easy to navigate and to demonstrate versatility. Every image in your portfolio should make you proud and represent the quality of work you want to be hired or known for going forward.
Pinterest is one of the most powerful platforms for sharing interior photography because its visual, image-first format is perfectly suited to the genre. Creating well-organized boards, using descriptive and searchable titles and descriptions, and pinning consistently are all key strategies for growing your presence and reach on the platform. Images that perform well on Pinterest tend to be vertical in orientation, brightly lit, and styled with a clear and aspirational aesthetic. Understanding and working within these platform preferences can help your images reach a significantly wider audience.
Growing Your Interior Photography Community
Building a community around your interior photography is one of the most rewarding aspects of sharing your work online. Engaging genuinely with the communities of other photographers, interior designers, and home enthusiasts creates relationships that can lead to collaborations, referrals, and creative growth. Comment thoughtfully on others’ work, share images that inspire you alongside your own, and participate actively in relevant online communities and groups dedicated to interior photography and home design.
Consistency is critical to growing any creative platform, and interior photography is no exception. Developing a recognizable visual style, a signature use of light and color, a preferred approach to composition, or a distinctive styling aesthetic helps your audience know what to expect from your work and builds a loyal following over time. This does not mean every image should look identical, but there should be a coherent thread of aesthetic sensibility running through your body of work that makes it immediately recognizable as yours.
Finally, never stop learning and seeking inspiration. Study the work of photographers and interior designers you admire, read books and articles on light and composition, visit beautifully designed spaces whenever the opportunity arises, and keep shooting as often as possible. Room photography, like all creative disciplines, rewards persistent curiosity and practice. Every shoot, even those that do not yield the images you hoped for, teaches you something valuable and brings you one step closer to mastering the art of capturing beautiful, evocative interior spaces that inspire and delight viewers long after the shutter clicks.








What do you think?
It is nice to know your opinion. Leave a comment.