










“`html
How to Make a Farmhouse Table: A Complete Guide to Building Your Own Rustic Centerpiece
There’s something really special about sitting down to a meal at a table you built yourself. A farmhouse table isn’t just a piece of furniture — it’s where people gather, where work gets done, and where memories are made. With its thick wooden planks, solid legs, and timeless rustic look, the farmhouse table has stayed one of the most beloved furniture styles for generations, and honestly, it’s easy to see why.
Building your own farmhouse table is a genuinely rewarding project, and it’s well within reach for beginner and intermediate woodworkers. Unlike more complicated furniture that demands fancy joinery or a shop full of specialized tools, a classic farmhouse table is built on straightforward techniques and materials you can find at any hardware store. With some patience, the right supplies, and a solid plan, you can end up with a piece that rivals what you’d see in high-end furniture stores — for a fraction of the price.
This guide walks you through every stage of the process, from picking out wood and gathering your tools to cutting, assembling, sanding, and finishing your table. Whether you’re building for a big family dining room or a cozy kitchen nook, the approach is the same. By the time you’re done reading, you’ll have everything you need to get started on a farmhouse table that’ll last for decades.
Understanding the Farmhouse Table Style
Before you grab a single board, it’s worth taking a moment to understand what actually makes a farmhouse table look and feel the way it does. The style has roots in the working traditions of rural American and European homes, where these tables were built for pure utility. They were heavy, durable, and built to handle daily life in a busy household — food prep, homework, bill-paying, hosting neighbors. Nobody was thinking about aesthetics, yet beauty showed up anyway through honest construction and good materials.
The signature features of a classic farmhouse table are thick tabletop planks with visible wood grain, chunky legs, a sturdy apron connecting everything together, and a finish that lets the wood breathe and show its character rather than hiding it. Knots, grain variation, and little imperfections aren’t problems in this style — they’re part of the charm. That actually makes the farmhouse table a pretty forgiving project for first-time builders, since you’re not chasing perfection.
Modern farmhouse tables have shifted to fit into more contemporary spaces while keeping that rustic heart. These days you’ll find them in white-painted finishes paired with natural wood tops, built from reclaimed lumber full of history, or in cleaner takes that mix modern lines with traditional proportions. Knowing which direction speaks to you will shape your material choices and finishing decisions throughout the whole build.
Choosing the Right Wood and Materials
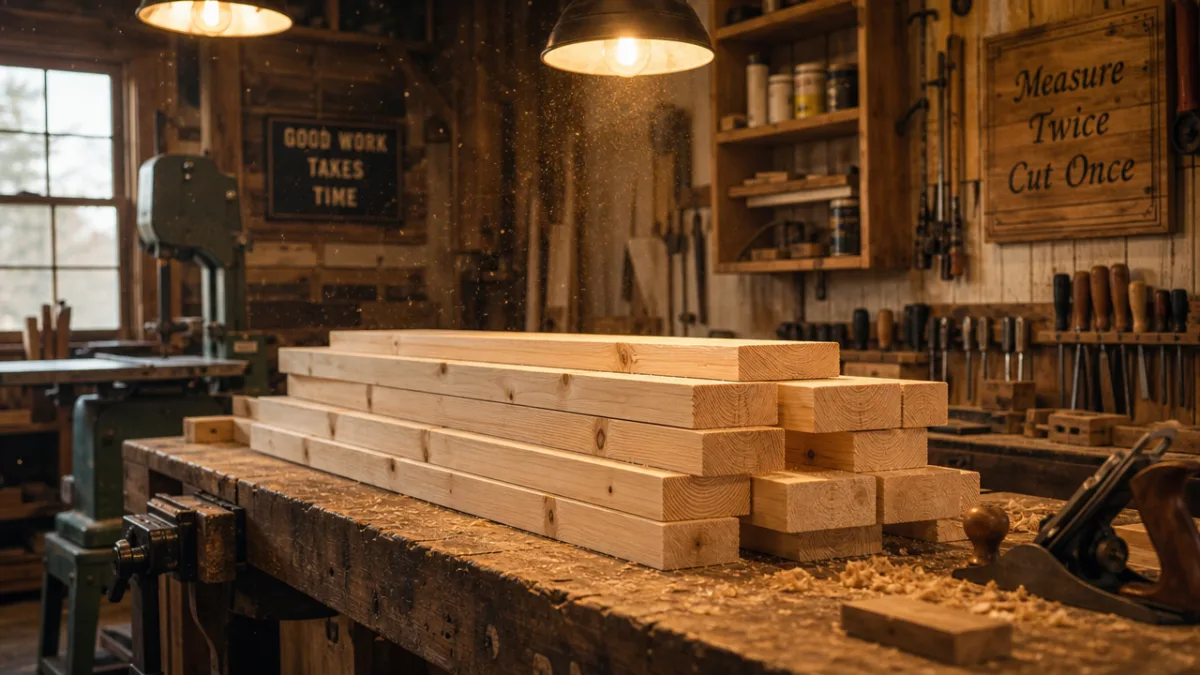
Choosing your lumber is honestly the most important decision you’ll make in this whole project. The wood you pick will determine the table’s durability, how it looks, how heavy it is, and how it takes your finish. For a farmhouse table, you want a species that’s hard enough to handle daily use but still workable enough to cut and sand without needing specialized equipment. Douglas fir, pine, poplar, and oak are all solid choices, and each one has its own personality worth thinking about.
Pine is the most traditional option and the easiest on the wallet. It’s soft enough to pick up dents over time, which actually adds to the aged character a lot of people love in farmhouse furniture. Douglas fir is a step up in durability while keeping that similar warm, golden tone. Oak is heavier and harder, more resistant to wear, and its open grain soaks up stain beautifully. Poplar lands somewhere in the middle — harder than pine but easier to work than oak, and it takes paint exceptionally well if that’s the direction you want to go.
For a standard dining table that seats six to eight people, you’re looking at a top around 36 inches wide and 72 to 84 inches long. You’ll need enough 2×8 or 2×10 boards to cover that surface, plus lumber for the legs, apron, and stretchers. Here’s a basic materials list to start from:
- Five to six 2×10 boards at 8 feet long for the tabletop
- Four 4×4 posts at 30 inches for the legs
- Two 2×4 boards at 60 inches for the long apron sides
- Two 2×4 boards at 30 inches for the short apron ends
- One 2×4 board at 60 inches for the center stretcher
- Wood glue, pocket screws, and lag bolts for assembly
- Sandpaper in 80, 120, and 220 grit
- Your chosen stain, paint, or oil finish
When you’re buying lumber, try to hand-select your boards at the store if you can. You’re looking for straight boards with minimal warping, twisting, or cupping. A few knots and some grain character are totally fine — welcome, even — but skip anything with big cracks or structural checks. Once you’ve got your wood home, let it sit inside your workspace for at least 48 to 72 hours before you start cutting. This lets it acclimate to the humidity in your space, which goes a long way toward preventing warping after assembly.
Tools You Will Need for the Build
One of the best things about a farmhouse table as a project is that you don’t need a shop packed with expensive machinery to pull it off. A lot of builders finish this project with nothing more than a circular saw, a drill, a pocket hole jig, and some basic hand tools. If you have a miter saw or table saw, great — they’ll make your cuts cleaner and faster. But they’re not deal-breakers. What really matters is that whatever tools you’re using are in good shape and that you’re comfortable and safe operating them.
A pocket hole jig is probably the single most valuable tool you can have for this build. Pocket hole joinery lets you create strong, hidden connections between boards without needing advanced carpentry skills. The jig drills an angled hole that takes a specialized screw, pulling two pieces of wood together tightly in a way that’s both solid and clean-looking. Kreg makes affordable jigs that are easy to find and genuinely easy to learn — an afternoon is all it takes. And if you catch the woodworking bug after this project, that jig will pay for itself many times over.
Here’s a full list of tools that’ll serve you well throughout the build:
- Circular saw or miter saw for crosscuts and ripping boards to width
- Drill and driver with a variety of bits
- Pocket hole jig and pocket screws
- Clamps — at least four bar or pipe clamps for glue-ups
- Tape measure and combination square
- Orbital sander or sanding block
- Paintbrushes or foam rollers for applying finish
- Safety glasses, hearing protection, and a dust mask
A quick word on safety, because it really does matter. Woodworking tools are powerful and they don’t forgive distraction. Always wear eye and ear protection when you’re cutting or sanding. Keep your blades sharp — a dull blade makes you work harder and is actually more likely to cause an accident than a sharp one. Make sure your workspace is well-lit and clear of clutter, and don’t push through a session when you’re tired. Taking these things seriously means you’ll actually enjoy the build instead of just surviving it.
Step-by-Step Assembly Instructions
With your materials and tools ready to go, it’s time to start building. The construction naturally breaks into two main stages: the base and the top. Tackling the base first gives you a solid framework to reference, and finishing it first means the glue has time to cure fully while you work on the tabletop boards. Start by cutting your leg posts to exactly the same length — this is one spot where precision really counts, because even a small difference will give you a wobbly table at the end.
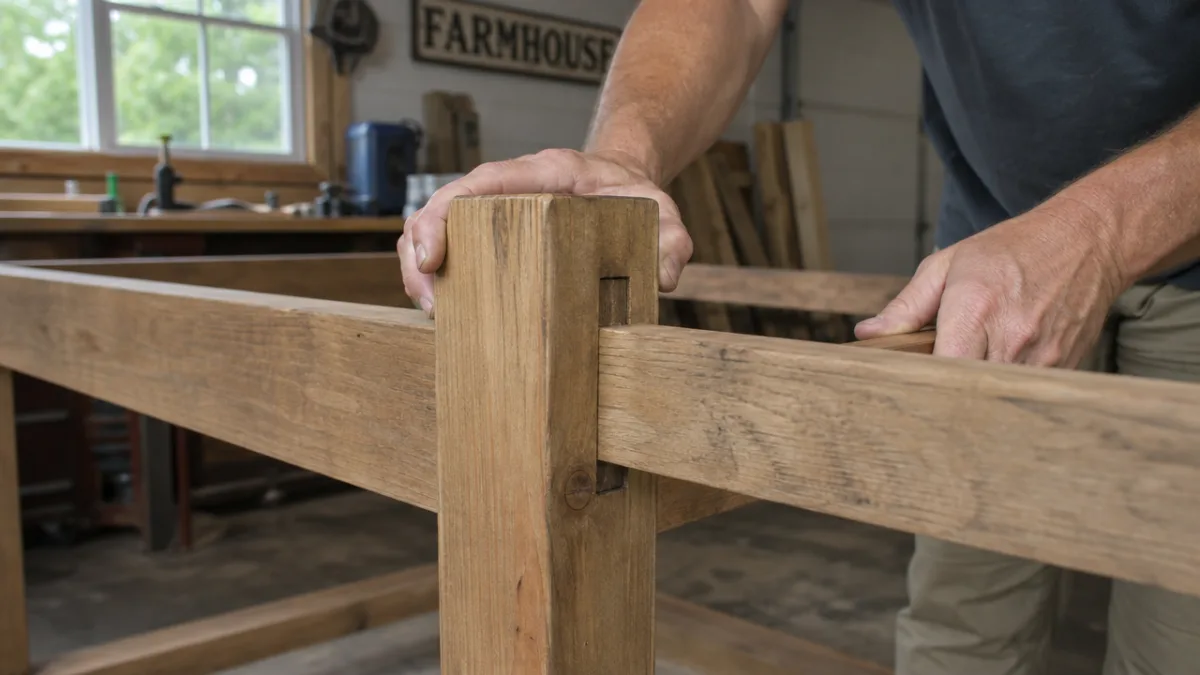
Cut your apron boards to length, then use your pocket hole jig to drill two pocket holes at each end of all four apron pieces. Put wood glue on the ends, clamp them up, and screw the apron to the inside faces of the legs to form a rectangle. Before the glue sets, check all four corners with your combination square and adjust anything that’s off. Once the base is assembled, flip it upright and see if all four legs sit flat on the floor. If one leg is slightly long, this is the moment to trim it down.
For the tabletop, lay your boards out side by side and take some time to arrange them so the grain patterns look their best together — it’s worth the few extra minutes. Apply wood glue to the long edges of each board and clamp them together tightly, using as many clamps as you have. During this stage, focus on keeping the top surface as flat as possible. Use a straightedge to check across the width and nudge your clamps around if any boards are sitting higher or lower than their neighbors. Let the glue-up cure for at least two hours, though overnight is better before you unclamp.
Once the top has cured, scrape off any dried glue squeeze-out with a chisel or scraper, then sand the whole surface starting with 80-grit paper and working your way up through 120 and then 220 grit. The transformation between that first rough pass and the final smooth finish is honestly one of the most satisfying moments in the whole build. Attach the top to the base using figure-eight fasteners or tabletop clips, which let the wood expand and contract with the seasons without cracking or warping the top.
Finishing Your Farmhouse Table
The finishing stage is where your table really comes to life, and you’ve got a lot of great options to choose from. Your finish will define the final look of the piece, protect the wood from daily wear and moisture, and determine how much upkeep the table needs over the years. If you want to let the natural wood shine through, penetrating oils like tung oil or danish oil are a favorite among woodworkers for the way they bring out the grain without building up a thick surface film. They’re also easy to apply and easy to touch up, which makes them pretty beginner-friendly.
If you’re going for a more rustic, aged look, try applying a dark walnut or ebony stain before sealing the wood. Fair warning: staining pine or fir can get a little tricky, since these species tend to soak up stain unevenly and end up looking blotchy. The fix is simple — apply a pre-stain wood conditioner following the manufacturer’s directions and let it fully penetrate before you touch the stain. Work in long, even strokes with the grain, and wipe off the excess before it dries. A second coat of stain with a light sanding in between will deepen the color and even things out.
For a painted base with a natural wood top — one of the most popular farmhouse combinations right now — prime the base thoroughly before putting on your topcoat. A good latex paint in white, cream, or soft gray creates a crisp, clean contrast against the warm wood of the top. For the tabletop itself, two to three coats of water-based polyurethane give you a hard, clear surface that holds up to spills, heat, and the general chaos of family life without yellowing over time. Just sand lightly with 220-grit paper between coats.
Once the finish is on, let it cure fully before you start using the table. Most finishes feel dry to the touch within hours, but they take much longer to reach their full hardness — polyurethane typically needs about 30 days to fully cure. During that window, treat the surface gently and don’t drag anything heavy or sharp across it. A little patience here protects all the work you’ve put in and keeps your table looking great for years down the road.
Care, Maintenance, and Customization Tips
A well-built farmhouse table is a long-term investment in your home, and a little basic care goes a long way toward keeping it looking great for generations. For everyday cleaning, a slightly damp cloth is usually all you need. Stay away from harsh chemical cleaners, bleach, or abrasive scrubbers — even tough finishes break down over time with that kind of treatment. Wipe up spills quickly, especially anything acidic like wine, coffee, or fruit juice, which can etch into a finish if you let it sit.
Every year or two, depending on how much the table gets used, it’s worth giving the top a light sanding and an extra coat of your finishing product. This is especially true for oil-finished tables, which don’t offer the same surface protection as polyurethane and really benefit from regular re-oiling to stay nourished and water-resistant. Painted bases will occasionally need a touch-up where everyday contact has worn through the paint — if you keep a small amount of your original paint on hand, it’s a five-minute fix instead of a headache.
One of the real joys of building your own furniture is that you can customize it however you like. Think about adding a lower shelf between the legs for cookbooks or table linens. You could route a subtle decorative edge profile along the perimeter of the top, or cut a gentle taper on the lower part of the legs for a slightly more refined look. Breadboard ends — perpendicular boards attached to each short end of the tabletop — are a traditional touch that helps keep the top flat over time while adding a beautiful finishing detail that quietly signals that real care went into the build.
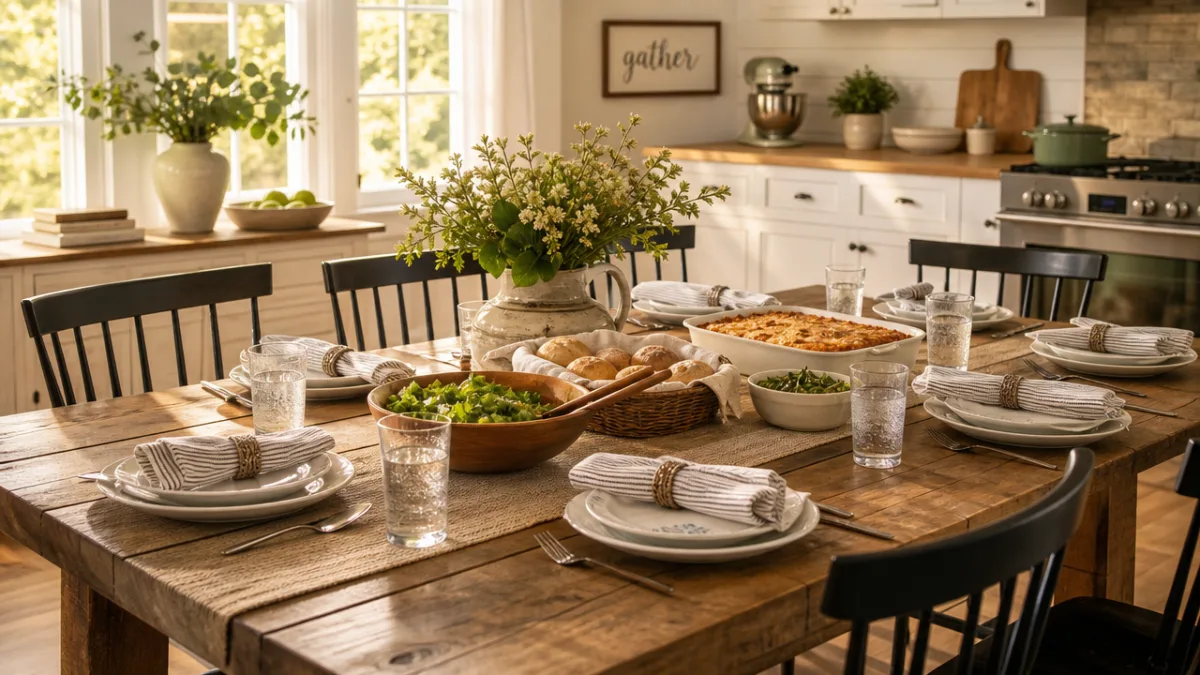
Building a farmhouse table from scratch is one of those projects that gives back way more than it asks for. Every meal shared around it, every homework session, every holiday gathering becomes a quiet reminder that you made something real — something that’ll outlast trends, hold up through the years, and maybe even pass on to the next generation. Start with good wood, take your time, and don’t stress over imperfection. The knots, the hand-sanded edges, the little variations in the grain — those are what make the table yours, and no store-bought piece in the world can replicate that.
“`








What do you think?
It is nice to know your opinion. Leave a comment.