










How to Build DIY Bookshelves for Built-Ins: A Complete Step-by-Step Guide
Introduction: Why Built-In Bookshelves Transform a Space
Built-in bookshelves are one of those home improvements that instantly elevate a room from ordinary to extraordinary. Unlike freestanding bookcases that can feel temporary or generic, built-ins carry a sense of permanence and intention that makes a space feel truly designed rather than assembled. They suggest craftsmanship, care, and a deep investment in the home itself. Whether you’re framing a fireplace, filling an awkward alcove, or lining an entire wall of your home office, built-in shelving changes the entire character of a room.
The good news is that building your own DIY built-in bookshelves is far more achievable than most homeowners believe. You don’t need to be a master carpenter or own a professional woodworking shop. With the right planning, the right materials, and a clear step-by-step approach, a motivated DIYer with basic tool experience can complete a beautiful set of built-ins over a weekend or two. The savings compared to hiring a custom cabinetry company are significant — sometimes thousands of dollars — while the satisfaction of doing it yourself is priceless.
This guide will walk you through every stage of the process, from initial planning and material selection through final installation and finishing touches. Each section includes practical advice drawn from real-world experience, including the kinds of small decisions and problem-solving moments that tutorials often gloss over. By the time you finish reading, you’ll have a thorough understanding of what the project involves, realistic expectations for the work ahead, and the confidence to pick up a tape measure and get started.
Planning Your Built-In Bookshelf Design
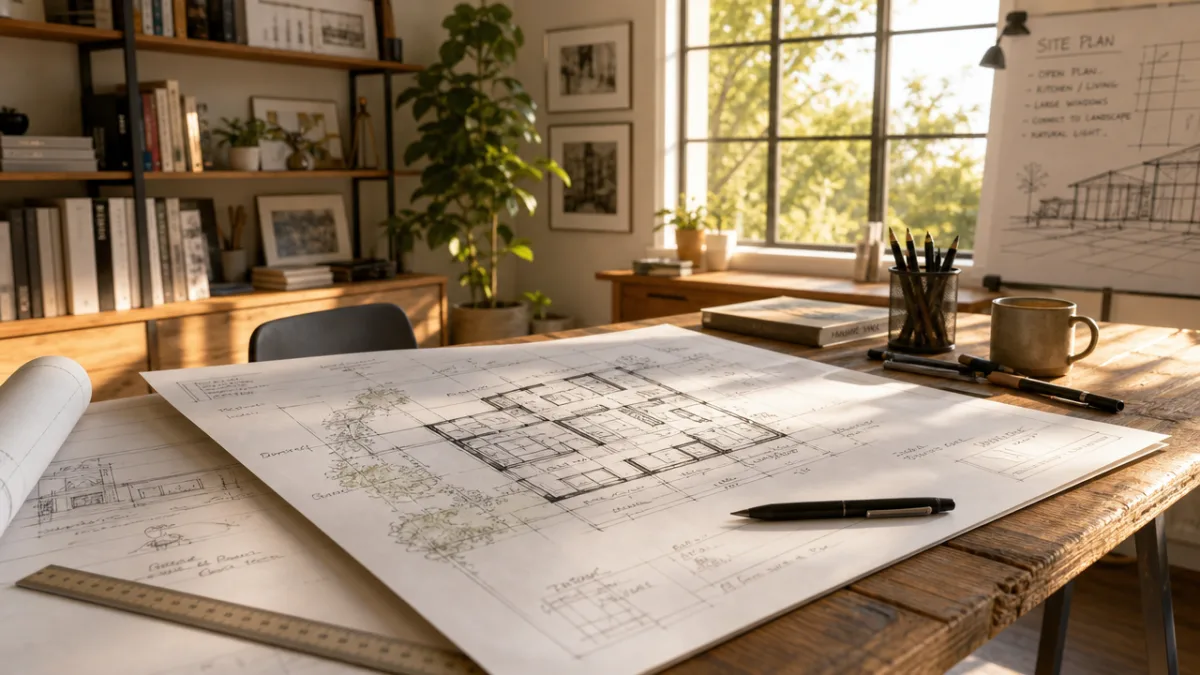
Before you cut a single board, you need a clear plan. Start by measuring your space meticulously — wall width, ceiling height, depth of any existing baseboards or crown molding, and the location of electrical outlets, heating vents, or light switches. These details will directly influence your design decisions. Use graph paper or free software like SketchUp or even Google Slides to sketch out your vision to scale. A good drawing helps you catch problems before they become expensive mistakes and gives you a reliable material list to work from.
Consider how you intend to use the shelves. Are they primarily for books, in which case adjustable shelf spacing at roughly 10 to 12 inches works well? Or will you be displaying art objects, baskets, and decorative items that need taller openings? Do you want lower cabinets with doors for concealed storage, or open shelving all the way to the floor? These functional questions should drive your aesthetic choices rather than the other way around. A beautiful built-in that doesn’t serve your actual storage needs will frustrate you every day you live with it.
Think carefully about the style of built-in that suits your home’s existing architecture. A Craftsman-style home calls for thicker face frames, simple square edges, and warm wood tones. A modern home might favor frameless construction, thin shelves, and a painted finish in a crisp white or bold color. A traditional space might benefit from decorative molding, beaded insets, and classic proportions. Looking at photos of built-ins in homes similar to yours — as you might find on a platform like Pinterest — is one of the most efficient ways to narrow down a style direction before you begin drafting your own plans.
Gathering Materials and Tools
For most DIY built-ins, the material of choice is paint-grade plywood — typically 3/4-inch cabinet-grade birch plywood for the main carcasses, shelves, and side panels. Birch plywood is strong, dimensionally stable, and sands to a smooth finish that accepts paint beautifully. It’s significantly more affordable than solid hardwood while being far more workable and consistent than lower-grade OSB or MDF for structural components. For face frames, many builders prefer solid poplar, which is inexpensive, easy to mill, and takes paint exceptionally well.
You’ll also need a handful of additional materials to complete the project properly. Pocket screws and a Kreg jig are practically essential for joining face frames quickly and cleanly. Wood glue, finish nails, iron-on edge banding for exposed plywood edges, sandpaper in grits ranging from 80 to 220, wood filler, primer, and your chosen paint are all part of the supply list. If you’re adding adjustable shelves, pick up shelf pin holes drill guides and the appropriate shelf pins. For a more polished look, you’ll want shoe molding, crown molding, and paint-grade trim to transition the built-in into the surrounding walls and ceiling.
On the tool side, a circular saw with a good straightedge guide or a track saw makes breaking down full plywood sheets manageable in a home workspace. A miter saw is invaluable for cutting face frame pieces and trim accurately. A drill, pocket hole jig, nail gun (or hammer and nail set), level, tape measure, stud finder, and a random orbital sander round out the basic kit. If you don’t own all of these, many tool rental services carry them affordably, and borrowing from a neighbor or friend for a weekend project is always worth asking about.
Building the Bookshelf Carcasses
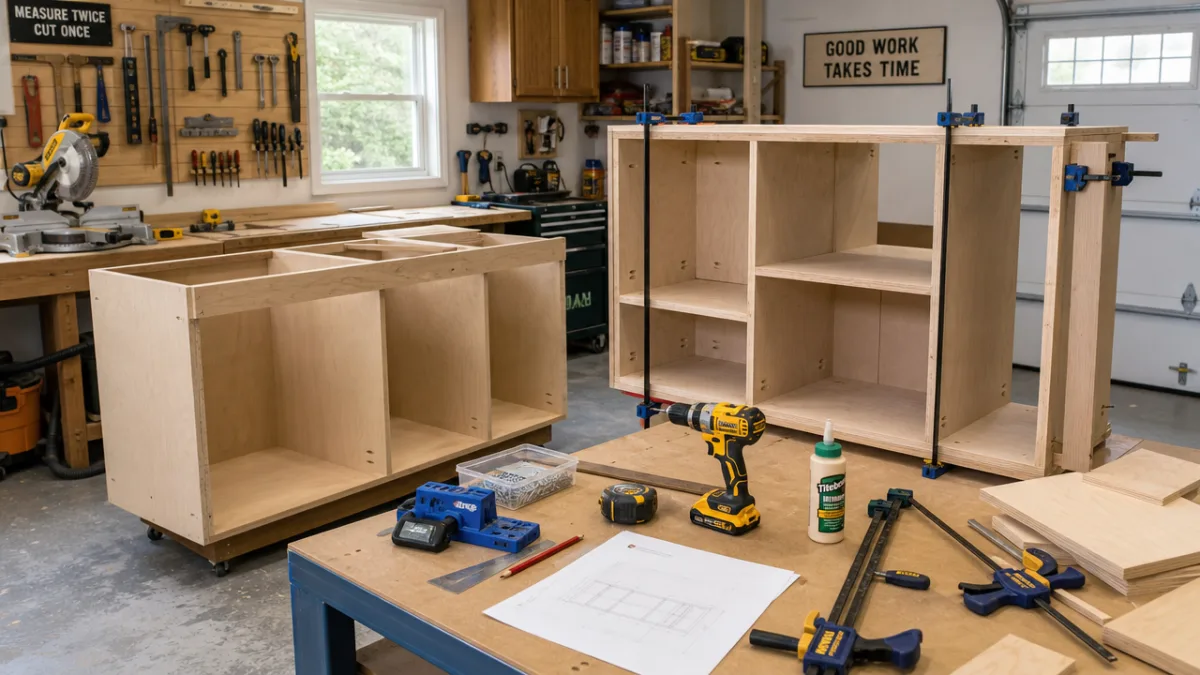
The carcass is the structural box that forms the foundation of each bookshelf unit. Start by cutting your plywood panels to size according to your plan — top, bottom, two sides, and a back panel for each unit. The back panel, often cut from 1/4-inch plywood, keeps the unit square and provides a clean backdrop for your books and décor. Label each piece with painter’s tape as you cut to keep the assembly process organized, especially if you’re building multiple units of different sizes simultaneously.
Assemble each carcass using wood glue and screws, checking for square at every stage. A simple trick is to measure diagonally from corner to corner in both directions — if both measurements match, the box is square. It sounds elementary, but a carcass that’s even slightly out of square will cause headaches when you attach the face frame and try to fit shelves. Clamps are your best friend during this stage. Let the glue set according to the manufacturer’s recommendation before moving the assembled box, and don’t rush this foundational step.
For built-ins that will sit on the floor, build a separate base or “toe kick” box from scrap plywood that’s roughly 3.5 to 4 inches tall. The carcasses sit on top of this base, raising them off the floor the same way kitchen cabinets sit on a recessed base. This approach makes leveling much easier on an imperfect floor, hides any unevenness, and gives the finished piece a grounded, furniture-like appearance. It also protects the bottom of the plywood from moisture and makes the piece look intentional and custom rather than like stacked boxes.
Installing the Built-Ins in Your Space
Installation is where the project becomes real, and also where careful planning pays off most visibly. Begin by snapping a level line on the wall at the height of your base, then secure the toe kick boxes to the floor and to one another. Use a stud finder to locate the wall studs behind your installation area, and mark them clearly — you’ll need them for anchoring both the base and the carcasses. Shimming is almost always necessary on real walls and floors, which are rarely as perfectly level and plumb as a drawing assumes. Keep a bag of composite shims handy throughout the installation day.
Set each carcass in place on the base, checking for level front-to-back and side-to-side before securing anything permanently. Screw adjacent carcasses together through their side panels, then screw through the backs into the wall studs for a secure anchor. This step is non-negotiable for safety — an unsecured bookshelf tall enough to reach a ceiling can become a serious tipping hazard, especially in homes with children. Once all the carcasses are in place and secured, stand back and confirm everything looks plumb and aligned before moving on to the face frames.
Attaching the face frames is one of the most satisfying moments in the entire project. The face frame consists of vertical stiles and horizontal rails that cover the raw front edges of the plywood carcasses, giving the built-in its finished, furniture-grade appearance. Glue and nail the face frame to the front edges of the carcasses, using clamps to hold everything tight while the glue sets. Take care to keep the face frame flush with the inside edges of the carcass openings so that shelves and doors will operate smoothly. Once the frame is attached, the whole project transforms before your eyes.
Adding Shelves, Trim, and Finishing Touches
With the carcasses installed and face frames attached, you’re ready to add the adjustable shelves. Drill shelf pin holes using your drill guide jig, spacing them at consistent intervals — typically every inch or inch and a half — along the inside of each bay. Take time to make sure the rows of holes are level with each other across the unit, or your shelves will sit at a tilt. Cut your shelf boards to fit snugly inside each bay, apply iron-on edge banding to their front edges, and trim the banding flush with a sharp utility knife and a quick pass of sandpaper. Drop the shelf pins in at your desired heights and set the shelves in place.
Now comes the trim work, which is what separates a good DIY built-in from a great one. Start at the bottom with shoe molding or quarter round to cover the gap between the toe kick and the floor. Work your way up to crown molding at the ceiling junction, which is the trickiest trim cut you’ll make — take your time with the miter saw angles, test-fit before nailing, and use caulk generously to fill any small gaps. Side trim pieces along the walls blend the built-in into the room so it appears as though it always belonged there. This integration is the hallmark of true built-in style.
Before painting, fill every nail hole, screw head, and seam with paintable wood filler or spackle. Sand everything smooth once the filler dries — don’t skip this step, as paint amplifies rather than hides surface imperfections. Apply a coat of high-quality bonding primer, sand lightly with 220-grit once dry, then apply two or more coats of your chosen paint in a satin or semi-gloss finish, which is more durable and easier to wipe clean than flat paint. Use a high-density foam roller for large flat surfaces and a quality angled brush for the trim and face frames. Patience in the painting phase makes an enormous difference in the final result.

Styling and Organizing Your New Built-In Bookshelves
Once your built-ins are complete and the paint has cured for at least 24 to 48 hours, the fun part begins: styling your new shelves. The key to built-ins that look intentional and magazine-worthy rather than cluttered is a balance of books, decorative objects, and open negative space. Resist the urge to fill every inch immediately. Instead, group items in odd numbers — threes and fives tend to feel more natural to the eye than symmetrical pairs — and vary the heights within each grouping to create visual rhythm.
Books are obviously a natural fit, but how you arrange them matters. You can organize them by color for a striking visual effect, by genre or subject for practical retrieval, or with some lying horizontally in stacks topped by small objects for variety. Mixing books with framed photos, small plants, sculptural objects, and baskets for concealed storage gives built-ins a lived-in warmth that empty or purely utilitarian shelves lack. The lower cabinets, if you included them, are ideal for hiding media equipment, board games, extra linens, or anything you’d rather not have on display.
Lighting is the final upgrade that takes built-in bookshelves from functional to spectacular. Battery-operated puck lights or hardwired LED strips installed inside the top of each bay create a warm glow that highlights your objects and makes the entire wall feel intentional, even theatrical, in the evenings. If you planned ahead during construction and roughed in wiring, you may have recessed or adjustable spotlights above or integrated into the shelving. Even without electrical work, clip-on shelf lights or small picture lights mounted to the top shelf create an enormous visual impact for very little cost or effort.
Common Mistakes to Avoid and Tips for Success
Every experienced DIYer will tell you that mistakes are part of the process — the goal is to make small, recoverable ones rather than large, costly ones. The most common error in built-in projects is inadequate planning before the first cut. Skipping the detailed drawing phase, failing to account for baseboard or crown molding depth, or underestimating material quantities leads to mid-project trips to the hardware store, awkward fits, and rushed decisions that compromise the final quality. Spending two extra hours planning saves ten hours of corrective work later.
Another frequent pitfall is working too quickly through the installation and trim stages. Built-ins look simple in finished photos, but the process of shimming, leveling, and scribing pieces to fit against imperfect walls demands patience. If you force a carcass into place before it’s truly level, everything built on top of that mistake compounds. Similarly, rushing the paint preparation — skipping primer, skimping on filler, painting over unsanded surfaces — produces results that look DIY in the worst sense. Commit fully to each stage before moving on, and the accumulated care shows in the finished work.
Finally, don’t underestimate the value of asking for a second pair of hands at key moments. Maneuvering full sheets of plywood, holding carcasses in place while you drive screws, and managing long trim pieces during a miter cut are all significantly easier and safer with a helper. Many people tackle built-in projects solo and succeed, but a friend or family member for even a few hours during the installation day reduces frustration, improves accuracy, and makes the whole experience more enjoyable. DIY projects are ultimately about building something with your own effort — and that effort is even better shared.








What do you think?
It is nice to know your opinion. Leave a comment.