










How to Build a Twisty Table: A Complete Step-by-Step Guide
Introduction to the Twisty Table
The twisty table is one of the most visually striking pieces of furniture you can build at home. With its elegant spiraling legs and sculptural presence, this table transforms an ordinary room into something that feels genuinely designed and intentional. Whether you place it in a living room as a side table, use it as a plant stand, or feature it as a conversation piece in a reading nook, the twisty table never fails to draw attention and spark curiosity from anyone who encounters it.
What makes this project particularly rewarding is that it sits at a satisfying intersection of accessibility and artistry. You do not need to be a master woodworker with decades of experience to pull this off. With the right tools, a bit of patience, and a willingness to follow each step carefully, even a motivated beginner can produce a result that looks like it came from a boutique furniture studio. The twisting effect is achieved through a clever combination of lamination, strategic cuts, and a slow glue-up process that rewards careful preparation.
Before diving into the build itself, it helps to understand what you are actually creating from a structural standpoint. A twisty table typically features three or four legs that have been shaped to appear as though they spiral from the floor up to the tabletop. This is not a true spiral cut through solid wood — that would be enormously difficult and wasteful — but rather a carefully engineered illusion created by gluing together strips of wood at precise angles, then shaping and finishing the whole assembly. Once you grasp this concept, the entire project becomes much more manageable and approachable.
Materials and Tools You Will Need
Choosing the right materials is the foundation of any successful woodworking project, and the twisty table is no exception. For the legs, you will want to use a hardwood that holds detail well and takes finish beautifully. Popular choices include oak, walnut, maple, and cherry. Each brings its own character to the finished piece. Walnut offers rich, dark tones and a fine grain that makes the twisting effect especially dramatic. Oak is more affordable and widely available, while maple provides a lighter, cleaner look that suits modern interiors particularly well.
For the tabletop, you have more flexibility. A solid wood panel, a piece of live-edge slab, plywood with a hardwood veneer, or even a glass or stone top can all work beautifully depending on the aesthetic you are going for. The key is to make sure the top complements the legs without competing with them. Because the legs are already the visual star of the show, a simple, clean tabletop often works best. Consider the weight of your chosen material as well, since a very heavy top could put unnecessary stress on the leg joints over time.
In terms of tools, you will need the following to complete this project efficiently and safely.
- Table saw or circular saw for ripping wood into strips
- Miter saw for precise angle cuts
- Band saw or jigsaw for shaping curved profiles
- Router with a roundover or profile bit for finishing edges
- Clamps — many of them, ideally at least eight to twelve
- Random orbital sander and sandpaper in grits from 80 through 220
- Wood glue, preferably a slow-set variety to allow adjustment time
- Measuring tape, combination square, and marking gauge
- Safety equipment including eye protection and hearing protection
Having everything prepared and organized before you begin will save you a tremendous amount of frustration. Woodworking projects stall most often not because of skill deficits but because of poor preparation. Lay out all your materials, sharpen or replace any dull blades, and make sure your workspace is clean, well-lit, and large enough to move freely around your work surfaces. A good build session starts with a good setup, and the twisty table will demand your full focus once the glue-up process begins.
Preparing Your Wood and Making the Leg Segments
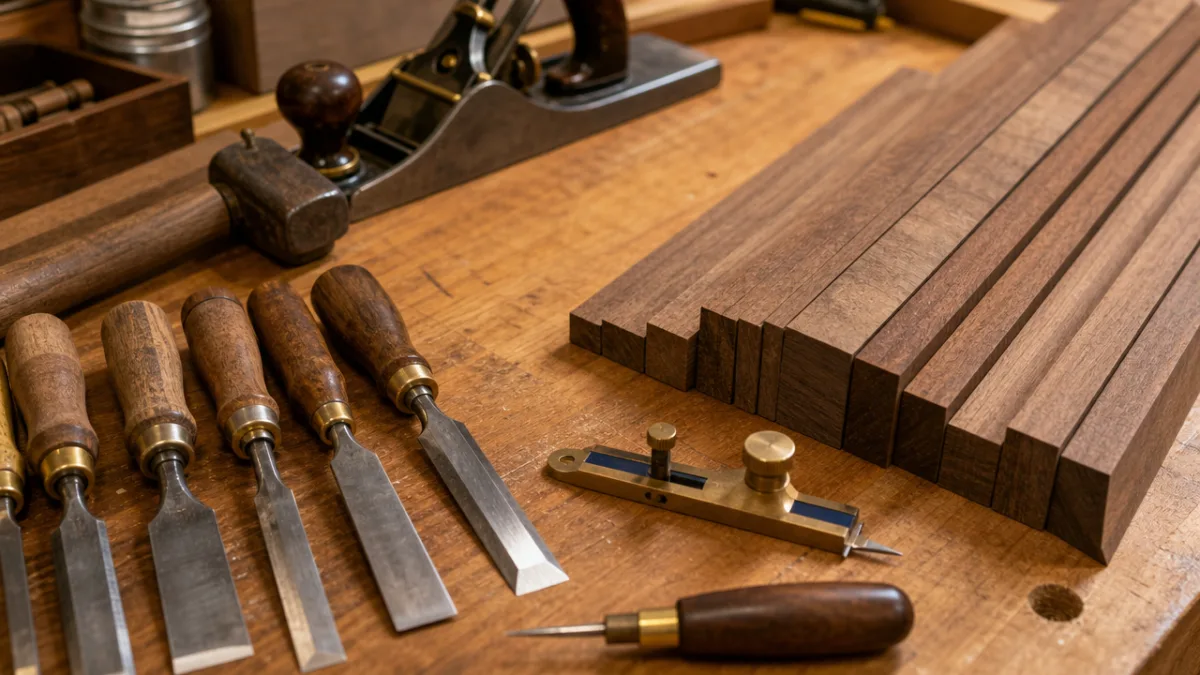
The legs of a twisty table are built up from multiple strips of wood laminated together at offset angles to create the spiral illusion. Begin by ripping your chosen hardwood into strips roughly three-quarters of an inch wide and three-quarters of an inch thick. You will need enough strips to build each leg, and a typical leg uses between six and nine strips depending on the final diameter you want. Cut all your strips to the same finished leg height — commonly between 24 and 30 inches for a side table — plus a couple of extra inches to allow for squaring and trimming after assembly.
The critical step here is the angle offset. Rather than gluing the strips together in a perfectly aligned stack, each successive strip is rotated slightly before gluing, typically by around five to eight degrees per layer. This progressive rotation is what creates the visual spiral as you look from the base of the leg upward to the top. Mark reference lines on each strip before you begin your glue-up so you can maintain consistent rotation angles throughout the process. A bevel gauge set to your chosen angle will help you position each strip quickly and accurately during the fast-paced glue-up.
Practice your glue-up sequence before applying any actual adhesive. Lay all your strips out in order, simulate the clamping process, and make sure you understand exactly how each piece fits against the next. Using a slow-setting wood glue gives you more working time, which is especially valuable when you are managing multiple pieces at once and trying to maintain precise angular offsets. Apply glue evenly across the mating faces of each strip, press them firmly together with the appropriate rotation, and clamp the whole assembly securely. Leave the legs in clamps for a minimum of eight hours, though overnight is strongly preferred for full cure.
Once your glued leg blanks have fully cured, remove the clamps and inspect each one for any gaps, misalignments, or squeeze-out that needs addressing. Light squeeze-out along the glue lines is normal and desirable — it tells you the joint was under sufficient pressure. Use a sharp chisel or card scraper to remove any hardened glue from the surface before moving on to shaping. At this stage, your legs will look like rough, angular multi-piece assemblies, but you should already be able to see the beginning of the spiral geometry that will define the finished piece.
Shaping, Sanding, and Refining the Legs
Shaping the legs from their rough laminated blanks into smooth, refined spiraling columns is the most satisfying phase of this entire project. Begin by taking your glued leg blanks to the band saw and cutting away the corners to bring each leg closer to a cylindrical or tapered cylindrical profile. Work slowly and stay well outside your final line at this stage — you can always remove more material, but you cannot add it back. Rotating the blank gradually as you feed it through the saw produces a faceted surface that is much easier to finish than deep angular corners.
Once the rough band saw shaping is complete, move to a spindle sander or use a combination of hand rasps and files to refine the shape further. This is where the spiral really begins to emerge in its full visual glory. As you remove material and smooth the transitions between your glued strips, the angular offset between layers resolves into a smooth, flowing twist that runs the entire height of the leg. Take your time here — rushing through this phase with overly aggressive tool passes can tear grain and create surface defects that are difficult to repair later.
After the rasps and files have brought you to a refined shape, begin your sanding sequence. Start with 80-grit paper to address any remaining tool marks or high spots, then progress through 120, 150, 180, and finally 220-grit for a surface that is ready for finishing. Sand with the grain wherever possible, and use a light sanding around the spiral transitions to blend everything seamlessly. By the time you finish sanding your legs, they should feel smooth and consistent to the touch, and the spiral pattern should be crisply defined and visually compelling from every angle.
- Use 80-grit to remove tool marks and flatten any ridges
- Progress through 120 and 150-grit to refine the surface
- Finish with 180 and 220-grit for a pre-finish ready surface
- Sand lightly between finish coats with 320-grit for best results
- Always sand with the direction of the grain to avoid scratches
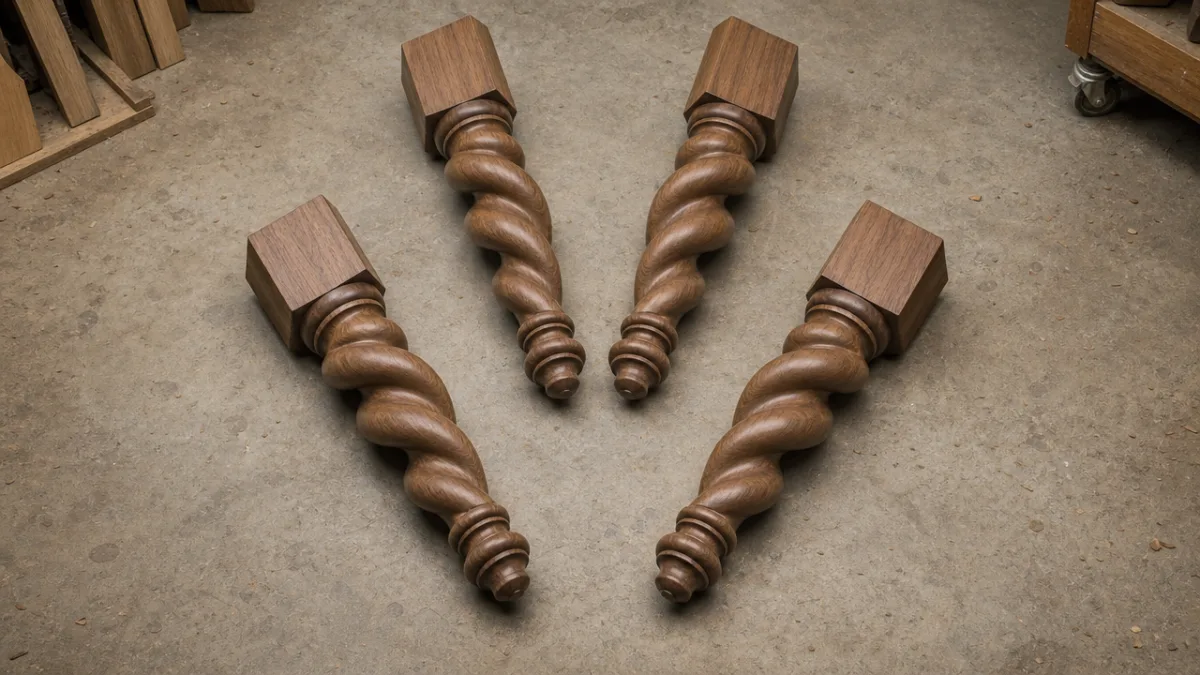
Once all four legs are shaped and sanded, stand them upright side by side and compare them carefully. Small variations in profile, taper, or spiral angle are normal and even desirable in handmade work, as they add character and authenticity to the piece. However, if one leg looks dramatically different from the others, now is the time to make corrections before assembly. Use a straightedge and calipers to check for major discrepancies in diameter or length, and address anything significant before moving on to building the base structure.
Assembling the Base and Attaching the Tabletop
With your four finished legs ready, the next step is building the base structure that will hold them together and support the tabletop above. A common approach for a side table is to use a simple apron system — four horizontal rails that connect adjacent legs at a consistent height near the top of the leg assembly. This apron creates both structural rigidity and a visual frame for the tabletop. Mill your apron pieces from the same species of wood as the legs for a cohesive look, and cut mortise and tenon joints or use sturdy pocket screws depending on your tooling and experience level.
Before gluing the base together, dry-fit the entire assembly to check for square, consistent leg spacing, and correct apron height. Clamp everything together without glue, flip the assembly upside down on a flat surface, and measure diagonally from corner to corner. If both diagonal measurements are equal, the base is square. If they differ, apply gentle racking pressure to the longer diagonal while the clamps are still loose, then re-tighten once square is achieved. This dry-fit session also gives you a chance to test how the finished base will look and catch any alignment issues before glue makes everything permanent.
When you are satisfied with the dry fit, break the assembly apart and apply glue to all your joints. Reassemble the base methodically, clamping each joint in sequence while monitoring for square throughout the process. Let the base cure completely before removing the clamps — again, overnight is the safest choice. Once cured, you can add wooden buttons, figure-8 fasteners, or tabletop connectors along the inside of the apron rails to allow for wood movement when attaching a solid wood top. This is an important detail that prevents cracking and warping over time as the wood responds to seasonal humidity changes.
Attaching the tabletop is the final structural step. Position the top centered on the base and mark the fastener locations through the apron connectors. Pre-drill the tabletop to prevent splitting, then drive your screws or bolts to secure the top firmly without over-tightening. If you are using a stone or glass top, consider having a glazier drill mounting holes for threaded inserts, or use a clear construction adhesive formulated for stone or glass. Check that the top sits flat and level on the apron, and make any minor adjustments before the adhesive sets or before final tightening of the mechanical fasteners.
Finishing and Final Touches
The finish you choose for your twisty table will dramatically affect both its appearance and its longevity, so this decision deserves careful thought. For a natural, low-sheen look that highlights the wood’s inherent beauty and the visual drama of the spiral, a penetrating oil finish such as Danish oil or a hardwax oil product is an excellent choice. These finishes soak into the wood fibers rather than building a film on top, which means they are easy to apply, easy to repair, and produce a result that feels like wood rather than a plastic coating.
For a more durable, protective finish — particularly important if the table will see heavy use or be placed in a high-traffic area — consider a water-based or oil-based polyurethane. Apply thin coats with a high-quality synthetic brush or a foam applicator, sanding lightly between coats with 320-grit sandpaper. Three coats of polyurethane will build an excellent protective film that resists scratches, spills, and everyday wear. Wipe the final coat with 0000 steel wool or a fine abrasive pad to cut the sheen slightly and produce a smooth, professional result that feels refined rather than plasticky.
After the finish has fully cured according to the manufacturer’s instructions, attach self-adhesive felt pads to the bottom of each leg to protect your floors. These small pads make a significant practical difference, especially on hardwood floors where even light furniture can cause scratches over time. Check that all four feet make solid contact with the floor and that the table does not rock. Minor rocking can be addressed by trimming a small amount from the tallest leg using a hand plane or a disc sander until the table sits stable and level without any movement.
Take a moment to inspect the entire finished piece under good lighting, looking along every surface for any blemishes, uneven finish coverage, or areas that might benefit from a touch-up. Fine dust nibs in the finish can be addressed with a gentle rub of 0000 steel wool followed by a coat of paste wax buffed to a soft sheen. Small scratches or thin spots in the finish can be spot-repaired with a careful brush application of additional finish coats, feathered carefully into the surrounding area. The goal at this stage is perfection, or at least your best honest approximation of it.
Styling and Placement Ideas for Your New Twisty Table
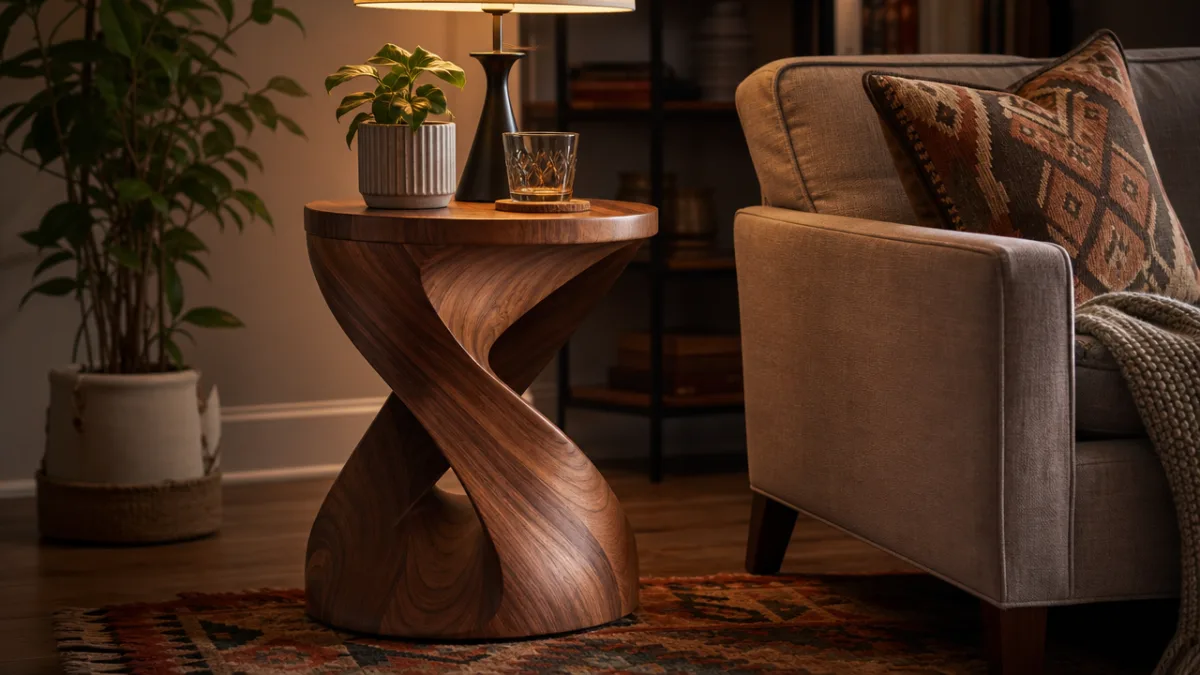
Now that your twisty table is complete, the fun of actually living with it begins. This type of table works especially well as a side table beside a sofa or armchair, where it can hold a lamp, a glass of water, or a small stack of books within easy reach. The sculptural legs make it interesting even when the surface is completely bare, which means it does not need to be decorated to justify its presence in a room. In fact, some of the most effective placements are the ones where the table has ample negative space around it so the leg design can be fully appreciated from multiple angles.
As a plant stand, the twisty table is practically unbeatable. A trailing plant or a lush potted fern placed on top creates a beautiful visual dialogue between natural organic form above and crafted geometric spiral below. Consider placing the table near a window where both the plant and the wood grain will benefit from natural light. The light moving across the spiral legs at different times of day will create constantly shifting shadow patterns that add a dynamic, almost kinetic quality to the piece throughout the day.
If you are building multiple twisty tables — which many builders end up doing once they master the technique — consider creating a matched set with subtle variations. Two tables at slightly different heights flanking a sofa create a layered, intentional look. Three tables nested in descending order of size make a striking grouping in a corner. You might also experiment with different wood species for each table, allowing the natural color variation between walnut, maple, and oak to create visual variety across a matched set that still reads as unified because of the shared spiral design language.
Finally, do not overlook the potential of this project as a gift or a commissioned piece. Once word spreads among friends and family that you built a twisty table, you are very likely to receive requests for more. The skills you developed during this build — precision lamination, careful shaping, and thoughtful finishing — transfer directly to a wide range of other furniture and decorative woodworking projects. Your twisty table is not just a beautiful object; it is proof of your expanding capability as a woodworker and a maker, and every person who asks about it is an opportunity to share the joy of building something with your own hands.








What do you think?
It is nice to know your opinion. Leave a comment.