










Handmade DIY Garden Bench: A Complete Guide to Building Your Own Outdoor Seating
Why Build Your Own Garden Bench?
There is something deeply satisfying about sitting on a piece of furniture you built with your own hands. A handmade DIY garden bench is more than just a place to rest — it is a statement of craftsmanship, creativity, and personal investment in your outdoor space. Whether you have a sprawling garden or a compact patio, a custom bench can transform the way you experience your yard, providing both function and beauty tailored exactly to your needs and aesthetic preferences.
When you purchase a garden bench from a store, you are limited by what manufacturers decide to produce in terms of size, style, and material. Building your own removes those limitations entirely. You can choose the exact dimensions to fit a specific spot, select wood species that match your existing outdoor furniture, or incorporate decorative details like carved armrests or inlaid tile accents. The result is something genuinely unique that no amount of money can buy off a shelf.
Cost is another compelling reason to go the DIY route. A comparable quality garden bench from a furniture retailer can easily run several hundred dollars, sometimes well over a thousand for hardwood or teak options. With basic lumber from your local hardware store and a modest set of tools, you can construct a durable, attractive bench for a fraction of that price. The savings are real, and the skills you develop carry forward into future projects around the home and garden.
The Joy of Personalizing Your Outdoor Space
Beyond the practical benefits, building a garden bench allows you to put your personal stamp on your outdoor environment. You might choose a classic slatted design that echoes Victorian park benches, a rustic farmhouse style using reclaimed barn wood, or a sleek modern design with clean lines and minimal ornamentation. The paint or stain color, the hardware finish, and even the cushion fabric you eventually add all contribute to an outdoor seating area that feels distinctly yours rather than borrowed from a catalog.
Many people find that undertaking a project like this brings a meditative quality to their weekend. The rhythm of measuring, cutting, sanding, and assembling encourages focus and patience in a way that few digital activities can match. Children can often be involved in age-appropriate steps like sanding or painting, making the bench a family heirloom with a story attached to it. Years from now, pointing to that bench and saying “we built that together” carries enormous sentimental value.
Finally, a handmade bench demonstrates sustainability in action. By choosing responsibly sourced lumber, using reclaimed materials, or applying non-toxic finishes, you make environmentally conscious choices that mass-market furniture rarely allows. You control the supply chain, eliminate unnecessary packaging waste, and create something built to last rather than designed for planned obsolescence. In a world increasingly aware of consumption habits, building your own garden bench is a small but meaningful act of intentional living.
Materials and Tools You Will Need
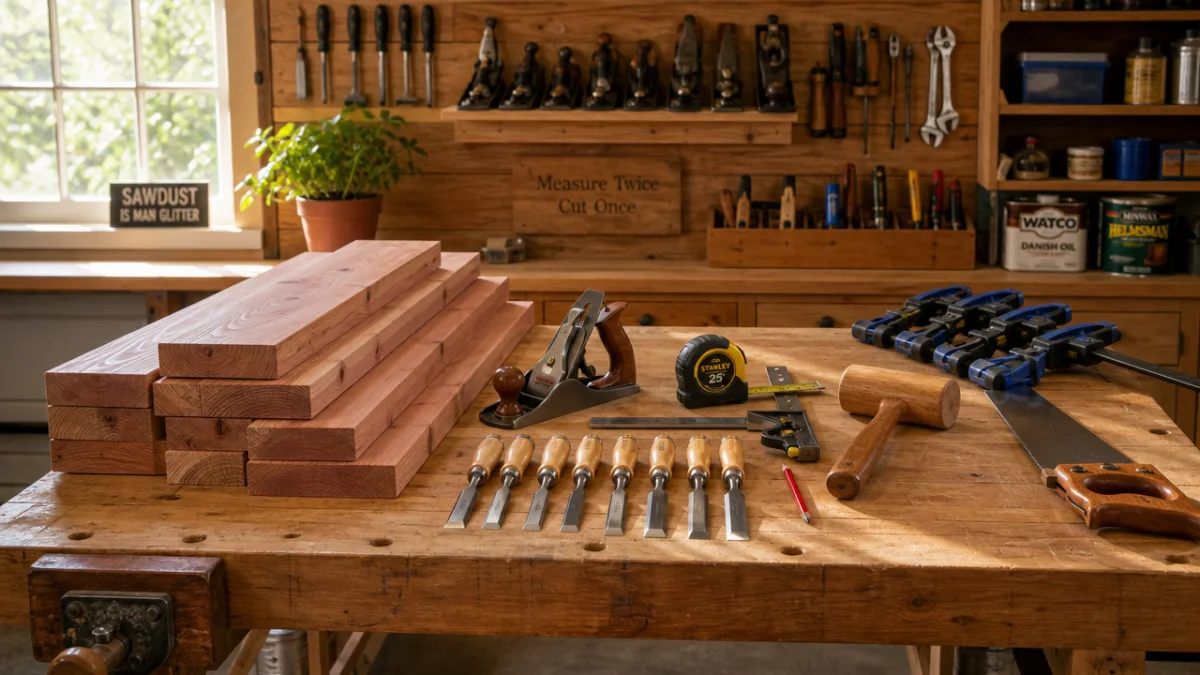
Before you make your first cut, it pays to gather everything you need so the project flows without interruption. For a standard garden bench roughly five feet wide and eighteen inches deep, you will need approximately thirty to forty linear feet of lumber. The most popular choices for outdoor furniture are cedar, redwood, and pressure-treated pine, all of which offer good resistance to moisture and insects. Cedar is particularly beloved for its natural oils that repel decay, its pleasant aroma, and its relatively light weight, making it easier to handle during construction.
For hardware, stainless steel or galvanized screws and bolts are essential. Ordinary steel fasteners will rust quickly when exposed to rain and humidity, creating unsightly stains and eventually compromising the structural integrity of your bench. Use deck screws in lengths appropriate to the thickness of your lumber, typically two and a half to three inches for most joints. If your design includes legs braced with carriage bolts, pick up matching washers and nuts, and consider a weatherproof wood glue for added joint strength before you drive any fasteners.
In terms of tools, you do not need a fully equipped woodworking shop to complete this project successfully. A circular saw or miter saw will handle most of your cuts cleanly. A drill and driver are indispensable for boring pilot holes and driving screws. A sander — whether orbital or belt — will save you enormous time smoothing surfaces compared to doing it by hand. A tape measure, speed square, clamps, and a pencil round out the essentials. If you have access to a pocket hole jig, it can make certain joints much cleaner, but it is by no means required.
Choosing the Right Lumber Grade and Species
Walking into a lumber yard can feel overwhelming with so many options available, but for a garden bench you can simplify your decision considerably. Look for lumber labeled as “Select” or “No. 1” grade, which means fewer knots and straighter grain, making it easier to work with and more attractive when finished. Avoid boards with large knots in structural members like legs and support rails, as knots create weak points that can fail under the weight of regular use. Inspect each board by sighting down its length to check for warping or twisting before you purchase.
If budget is a primary concern, construction-grade pressure-treated lumber is widely available and genuinely durable for outdoor use. Modern pressure-treated wood uses far less toxic compounds than older formulations, making it safer for garden environments. However, it tends to be heavier and may require more time to dry before accepting paint or stain evenly. Allow pressure-treated lumber to dry for at least a few weeks after purchase before applying any finish, or look for kiln-dried treated options at specialty lumber yards.
Reclaimed wood is an exciting option that adds immediate character and history to your bench. Old barn wood, salvaged porch decking, or even thick hardwood planks from demolished structures can all find a second life as garden seating. The weathered texture and natural silver-gray patina of aged wood is impossible to replicate artificially and gives a reclaimed bench an instant sense of place in the garden. Just be sure to check reclaimed lumber for protruding nails, rot, or pest damage before incorporating it into your build, and sand cut ends thoroughly to avoid splinters.
Step-by-Step Construction Guide
Start by cutting all your pieces to length before assembly begins. This “cut list” approach lets you double-check dimensions, dry-fit components together, and catch any measurement errors before glue or screws are involved. For a basic bench, you will typically cut two side frames, a front apron rail, a back apron rail, and multiple seat slats. Label each piece with painter’s tape and a marker as you cut it so you always know exactly where it belongs in the assembly sequence.
Assembling the side frames is usually the first structural step. Each frame consists of two legs connected by horizontal rails — one near the top and one closer to the ground for bracing. Clamp the pieces firmly before driving screws, and use a speed square at every corner to confirm you are working at true ninety-degree angles. A frame that is even slightly out of square will cause problems as you add more components, so take your time here and measure diagonally across each frame to confirm the measurements are equal, which confirms squareness.
Once both side frames are assembled and any glue has cured, connect them with the front and back apron rails. These horizontal members tie the structure together and give it rigidity against racking side to side. Clamp everything in place, check that the assembly sits level on a flat surface, then fasten the rails permanently. At this stage your bench will already start to look recognizable, which provides a satisfying sense of progress. Take a moment to check all joints and tighten any hardware before moving on to the seat slats.
Installing Seat Slats and Finishing Details
Seat slats are the most visible part of your bench and deserve particular care. Space them evenly across the top of the frame, leaving a small gap between each one — typically a quarter to three-eighths of an inch — to allow rainwater to drain and wood to expand seasonally without buckling. A simple spacer cut from a scrap of plywood makes maintaining consistent gaps easy and fast. Pre-drill pilot holes through each slat before driving screws to prevent the wood from splitting, especially near the ends of boards where splitting is most common.
With all slats secured, move to sanding the entire bench thoroughly. Begin with a coarser grit around 80 or 100 to smooth any rough spots, mill marks from the saw, or slight height differences between adjacent slats. Progress through 120 grit and finish with 150 or 180 grit for a surface that is smooth to the touch and ready for finishing. Pay special attention to the top edges of the seat slats and any exposed corners, rounding them slightly so the bench is comfortable against the backs of legs and feels polished rather than raw.
Before applying any finish, wipe the entire bench down with a tack cloth or slightly damp rag to remove all sanding dust. Any dust left on the surface will get trapped under your finish coat and create a rough, uneven texture. Apply your chosen outdoor finish — whether that is an exterior stain, a clear sealer, or exterior paint — according to the manufacturer’s directions, working in a shaded area on a dry day. Most outdoor finishes benefit from two or three coats, with light sanding between coats for the smoothest possible result.
Finishing and Weatherproofing Your Bench
The finish you apply to your garden bench is not merely cosmetic — it is the primary defense against the elements that will determine how long your bench lasts without maintenance. Unfinished wood left outdoors will begin to gray and check within a single season, and moisture infiltration can lead to decay much sooner than the wood’s natural lifespan would suggest. A quality finish creates a barrier against water, UV radiation, and fungal growth, dramatically extending the life of your project and preserving its appearance.
Oil-based penetrating finishes like teak oil or danish oil are popular for outdoor furniture because they soak into the wood fibers rather than sitting on top as a film. This means they will not peel or crack the way a surface coating can, though they do require more frequent reapplication — typically once or twice a year. They enhance the natural grain beautifully and give wood a rich, warm glow. For cedar or redwood, a penetrating oil finish is often considered the best way to showcase the wood’s inherent color and character.
Film-forming finishes such as spar varnish or exterior polyurethane create a harder, more durable surface layer that is highly resistant to water and abrasion. These take more time to apply correctly, requiring careful surface preparation and controlled drying conditions, but the protection they offer is superior in high-moisture environments. If your bench will sit in a location exposed to heavy rainfall or is near a sprinkler system, a film-forming finish may be the more practical long-term choice despite the extra effort involved in its initial application.
Ongoing Maintenance to Extend Bench Life
Even the best finish needs attention over time. Establish a simple annual maintenance routine that begins each spring with a thorough inspection of the bench. Look for any cracking, peeling, or discoloration in the finish, any signs of rust around fasteners, and check that all joints remain tight and structurally sound. Catching small problems early — a loose screw here, a small area of finish wear there — prevents them from developing into larger structural issues that require significant repair or even complete rebuilding of sections.
Cleaning the bench regularly also extends its life considerably. Dirt, pollen, and organic debris that accumulates on wood surfaces can hold moisture and provide a substrate for mold and mildew to develop. A gentle scrub with a brush, mild soap, and water, followed by thorough rinsing and drying, is usually all that is needed to keep surfaces clean. Avoid pressure washing wood furniture at high settings, as the force can raise the grain and damage the finish, creating more maintenance work rather than less.
If you live in a region with harsh winters, consider storing your bench under a covered area or bringing it indoors during the months of heaviest snow and ice. Repeated freeze-thaw cycles are particularly hard on wood joints and finishes, and a bench stored out of the worst weather will need far less attention in spring. At minimum, invest in a fitted outdoor furniture cover made from breathable fabric that sheds water while still allowing moisture vapor to escape, preventing the condensation buildup that promotes rot.
Design Variations and Creative Inspiration
Once you have mastered the fundamentals of a straightforward garden bench, a world of creative variation opens up. One of the most popular adaptations is the storage bench, where the seat lifts on hinges to reveal a waterproofed compartment inside the base. This is ideal for storing small garden tools, cushions, or children’s outdoor toys in a way that keeps them accessible but protected from weather. The construction adds some complexity — you will need to frame a box rather than an open base — but the functionality makes the extra effort worthwhile for many gardeners.
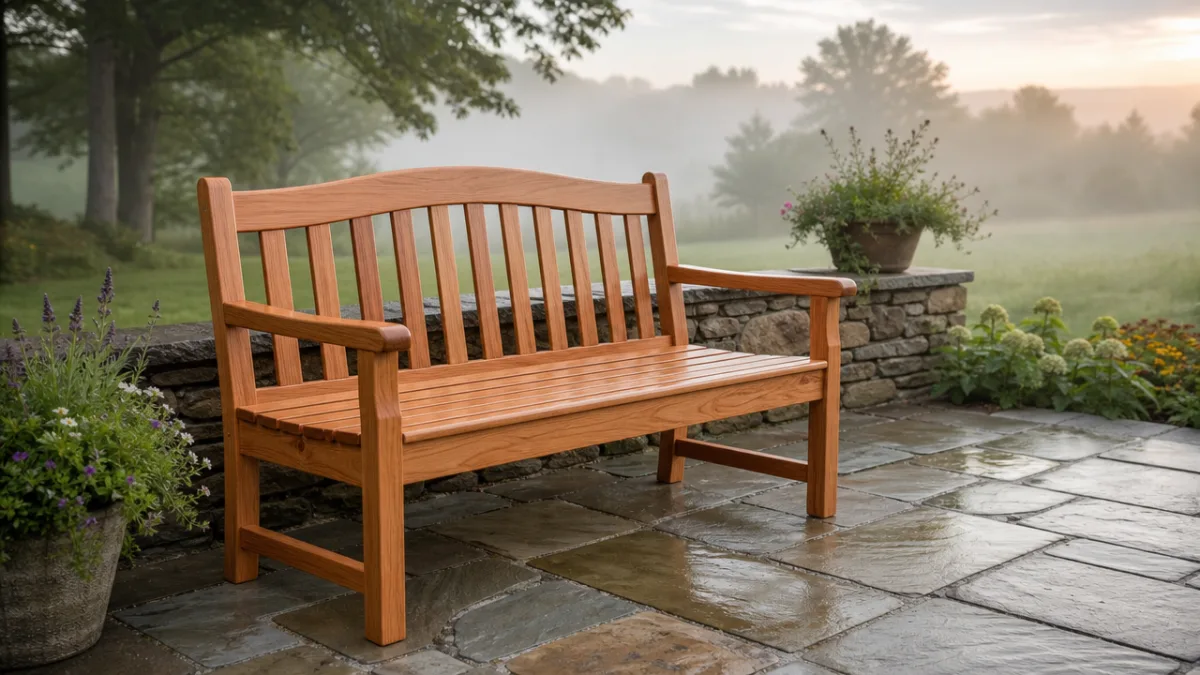
Another beautiful variation is the curved-back bench, which adds visual sophistication and genuine ergonomic comfort compared to the upright or slightly angled back of a basic design. Achieving a gentle curve requires either steam bending individual back slats, cutting a gentle arc into horizontal back rails with a jigsaw, or using thin strips of flexible wood laminated together over a form. Each technique has its own learning curve, but the result is a bench that invites people to lean back and linger rather than perching upright on the edge of the seat.
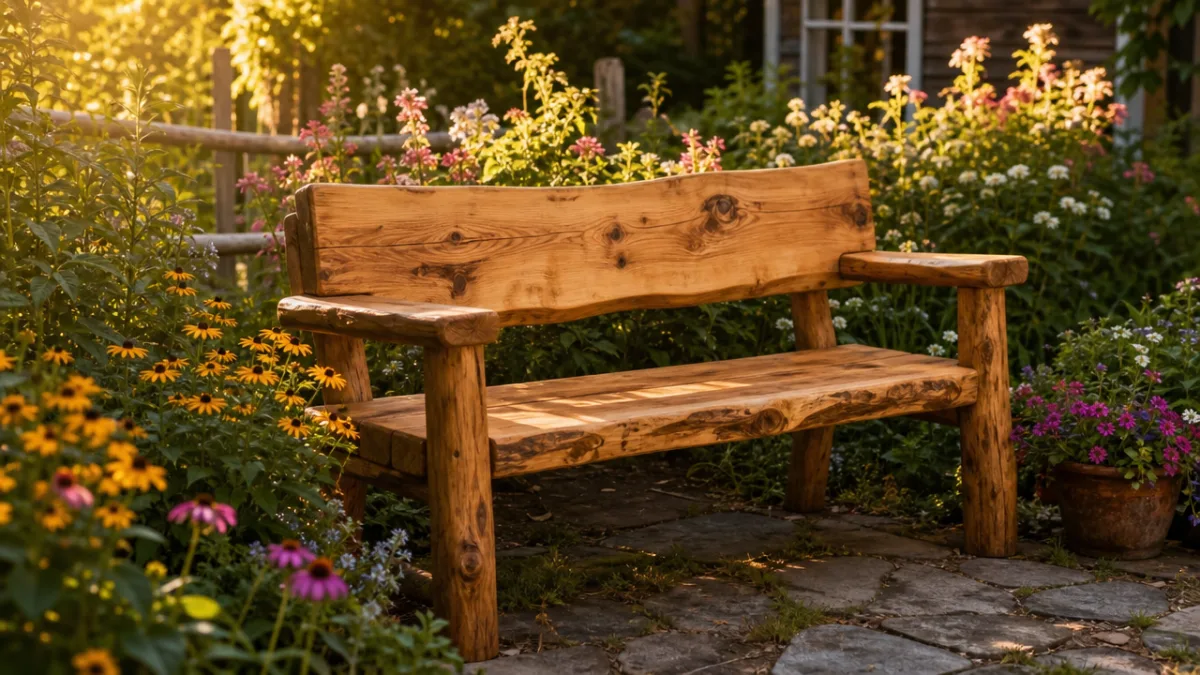
For those drawn to rustic or natural aesthetics, a log bench made from a single thick slab or from sections of felled tree trunks creates extraordinary visual impact with minimal woodworking required. The natural edge of a live-edge slab seat, supported on rustic log-section legs, looks completely at home in a woodland garden or naturalistic landscape planting. These designs let the organic character of the material do the decorative work, requiring less refinement and precision than milled lumber projects while achieving a beauty that feels genuinely wild and authentic.
Incorporating Your Bench into the Garden Design
The placement of your bench within the garden has as much effect on the overall experience as the bench’s design itself. Consider situating your bench to take advantage of a particularly beautiful view within the garden — a flowering border, a water feature, or a specimen tree — so that sitting on it always feels like a reward. Alternatively, placing the bench where it will receive morning sun makes it an inviting spot for early coffee or quiet reading before the day begins, while a shaded position under an arbor or pergola becomes a cool retreat during hot summer afternoons.
Surrounding plantings can make a bench feel like a destination rather than simply a piece of furniture. Low-growing herbs planted along the path leading to the bench release fragrance as you brush past them. Climbing roses or clematis trained over an arch framing the bench create an enclosure that feels intimate and romantic. Tall grasses or shrubs planted behind the bench provide a natural backdrop and a sense of enclosure that is psychologically comfortable, the way humans have always preferred to sit with their backs protected and their view open to the space ahead.
Finally, consider adding small details around the bench that enhance its role as a garden destination. A flat stone or gravel pad beneath the bench prevents legs from sinking into soft soil and keeps the area tidy. A small side table made from a matching material gives you a place to set a drink or a book. A solar-powered lantern mounted nearby extends the usability of your bench into evening hours, turning it into the perfect spot to watch the garden transition from day to dusk. These finishing touches transform a simple piece of outdoor furniture into the heart of your garden experience.








What do you think?
It is nice to know your opinion. Leave a comment.