










Home Theater Ideas: How to Design the Perfect Room for Movie Night
Choosing the Right Space for Your Home Theater
The foundation of any great home theater begins with selecting the ideal room in your house. Not every space is created equal when it comes to cinematic immersion, and making the right choice upfront will save you considerable time, money, and frustration down the road. Basements are often considered the gold standard for home theaters because they naturally block outside light, offer better sound insulation from the rest of the house, and tend to stay cooler — a welcome trait during long movie marathons. However, any dedicated room with the right modifications can become a truly spectacular viewing environment.
When evaluating potential spaces, pay close attention to the room’s dimensions and shape. A rectangular room is generally preferred over a square one because square rooms create standing sound waves that muddy audio quality. Ideally, your room should be at least 15 feet wide and 20 feet long to comfortably accommodate a large screen, proper seating rows, and the acoustic breathing room that makes surround sound truly shine. Ceiling height also matters — a minimum of 8 feet is recommended, and 9 to 10 feet is even better if you plan to install a projector with an elevated throw angle.
Windows and natural light are two of the biggest enemies of a great home theater experience. Even the most advanced 4K projector or high-end display will struggle against ambient sunlight washing out its image. If your chosen room has windows, plan for heavy blackout curtains, motorized shades, or even permanent window treatments that seal completely. Similarly, consider the room’s proximity to noisy areas of the home — kitchens, laundry rooms, and garages can introduce distracting sounds that break immersion at the worst possible moments. A little strategic planning at this stage pays enormous dividends once the popcorn is popped and the lights go down.
Display Technology: Projectors vs. Large-Format TVs
Once you have your space locked in, the next major decision is your primary display, and this choice will shape nearly every other decision that follows. The two dominant options are a large-format television — typically 75 inches or larger — and a projector paired with a dedicated projection screen. Each approach has distinct advantages, and the right answer depends on your room’s characteristics, your viewing habits, and your budget. A large-format TV offers superior brightness, incredible contrast ratios (especially with OLED technology), and relatively simple installation. You simply mount it, connect your devices, and you are ready to watch.
Projectors, on the other hand, offer something that no flat-panel television can match: the ability to fill an entire wall with a cinematic image. A quality 4K laser projector paired with a 120-inch or even 150-inch acoustically transparent screen transforms your living space into something that genuinely rivals a commercial cinema. Laser projectors in particular have surged in popularity because they eliminate the need for bulb replacements, deliver consistent brightness over their lifespan, and often feature short-throw designs that allow placement close to the screen — a major advantage in rooms with limited depth. Short-throw and ultra-short-throw projectors have opened up home theater possibilities for rooms that would have been unsuitable just a few years ago.
If you choose the projector route, screen selection is equally important. Options range from fixed-frame screens to motorized drop-down screens that retract elegantly into the ceiling when not in use. Acoustically transparent screens are a premium option that allows you to place your center channel speaker directly behind the screen — just as in a real movie theater — so dialogue appears to come from the on-screen action rather than from a speaker sitting below or beside the image. For TV-based setups, consider an anti-glare or matte finish display if your room cannot be fully darkened, as these greatly reduce reflections from ambient light sources and make daytime viewing far more comfortable.
Surround Sound: Building an Immersive Audio System
Experienced home theater enthusiasts will tell you that sound is actually more important than picture quality for overall immersion. You can watch a film on a modest screen and still feel completely transported if the audio is powerful, accurate, and enveloping. Conversely, the most stunning 8K image in the world feels flat and lifeless if it is accompanied by mediocre stereo speakers. Investing seriously in your audio system is one of the most impactful decisions you can make, and it is an area where incremental spending tends to deliver highly noticeable improvements in the actual experience.
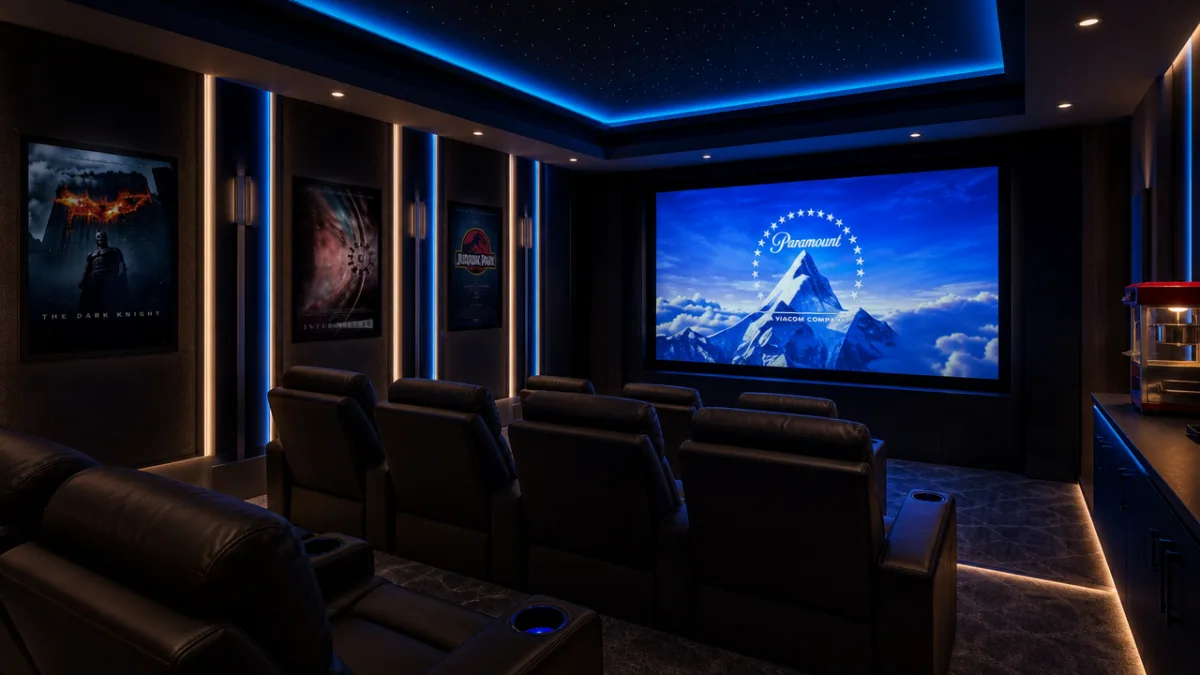
The most popular configurations for home theaters are 5.1, 7.1, and the increasingly mainstream Dolby Atmos-enabled setups, which add overhead sound channels for a three-dimensional audio experience. A standard 5.1 system includes a center channel, left and right front speakers, two surround speakers, and a subwoofer. A 7.1 system adds two additional surround channels for improved rear-stage envelopment. Dolby Atmos setups — often labeled 5.1.2, 7.1.4, and so on — incorporate upward-firing speakers or ceiling-mounted speakers that bounce or project sound from above, creating a hemisphere of audio that places you inside the action rather than simply in front of it.
Speaker placement is a science unto itself, and getting it right makes a measurable difference in sound quality. Your center channel should be positioned as close as possible to the horizontal center of your screen, either directly below, above, or — if using an acoustically transparent screen — directly behind it. Front left and right speakers should form a triangle with your primary listening position, ideally angled inward at approximately 22 to 30 degrees. Surrounds should be placed at ear level or slightly above, positioned to the sides or slightly behind the main seating area. Your subwoofer placement requires some experimentation, as low-frequency bass behaves differently in every room — a technique called the “subwoofer crawl” involves placing the sub at your listening position, playing bass-heavy content, and slowly walking the room’s perimeter until you find the spot that sounds best, which is where you then place the subwoofer.
Acoustic Treatment: The Secret Weapon of Great Home Theaters
Room acoustics are the most frequently overlooked element of home theater design, and they are responsible for more sonic disappointment than almost any other factor. A room with poor acoustics will undermine even the most expensive speaker system, introducing muddy bass, harsh high frequencies, and a smeared, indistinct soundstage that lacks the precision and impact of a properly treated space. Sound waves bounce off hard parallel surfaces — walls, floors, ceilings, and glass — creating reflections that arrive at your ears slightly after the direct sound from your speakers, blurring the audio image and making dialogue harder to understand. The good news is that acoustic treatment does not have to be expensive, and thoughtful room design can solve most of these problems without a single panel of specialized foam.
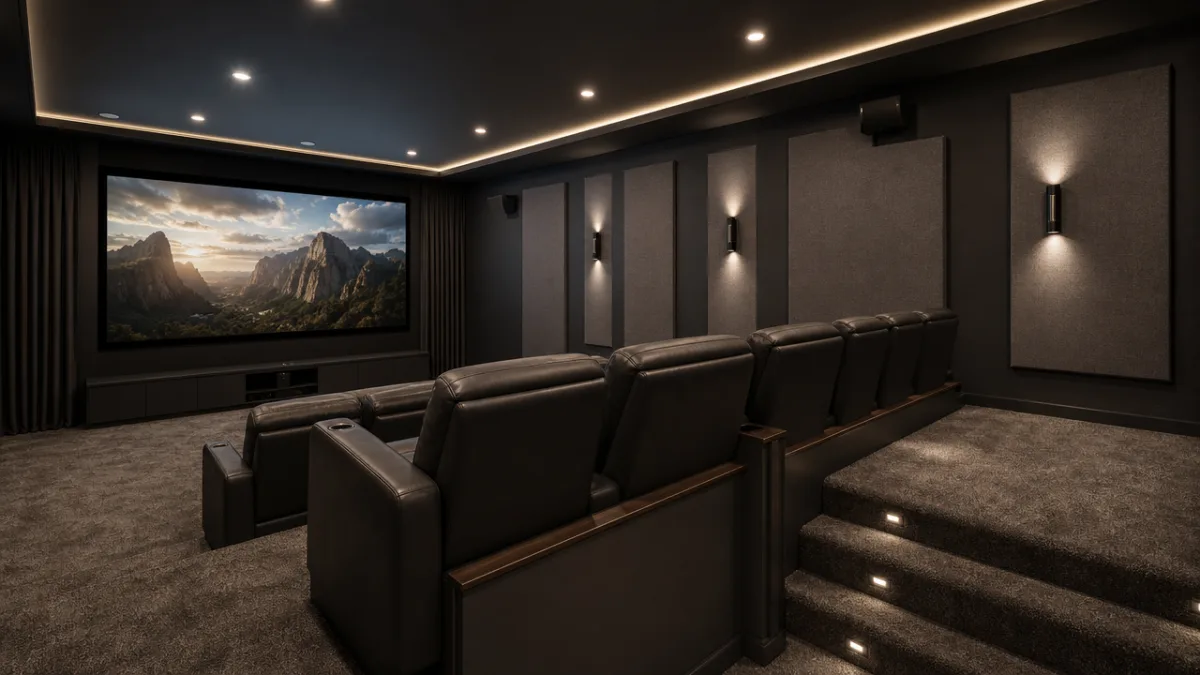
Acoustic treatment falls into two broad categories: absorption and diffusion. Absorptive materials — thick curtains, upholstered furniture, carpet, wall panels filled with dense mineral wool or acoustic foam — soak up sound energy and prevent excessive reflections. Diffusive surfaces, such as irregular bookshelves filled with books of varying sizes or purpose-built diffuser panels, scatter sound in multiple directions rather than absorbing it, which preserves a sense of spaciousness and liveliness in the room while still controlling harmful reflections. The ideal home theater uses a combination of both, typically with more absorption in the front half of the room and more diffusion in the rear half to maintain a sense of openness behind the listening position.
Bass traps deserve special attention because low-frequency sound is the most problematic in most rooms. Bass waves are long and powerful, and they accumulate in room corners — where three surfaces meet — creating resonant peaks that make certain bass notes boom unnaturally while others seem to disappear. Placing large cylindrical or wedge-shaped bass traps in the four floor-to-ceiling corners of your room will dramatically tighten and improve the overall sound, particularly from your subwoofer. Thick mineral wool panels positioned at the primary reflection points — the spots on the side walls and ceiling where sound from your speakers first bounces toward your listening position — will further improve clarity and imaging. These treatments can be wrapped in attractive fabric that complements your theater’s visual design, making them a decorative asset rather than an eyesore.
Seating and Layout: Designing for Comfort and Performance
Your home theater can have a world-class display and a reference-grade audio system, but if the seating is uncomfortable or poorly positioned, the experience will fall short. Seating selection and layout deserve serious attention, both for the practical comfort of your guests during extended viewing sessions and for the acoustic and visual performance of the room. The primary seating position — often called the “sweet spot” — is where the room’s acoustics and the screen’s viewing angle converge for the optimal experience, and your layout should place your best seats squarely in that zone.
Dedicated home theater recliners have become remarkably sophisticated products, with options ranging from manual recliners to fully motorized power recliners with integrated USB charging ports, adjustable headrests, and even built-in heating and massage functions. Tiered seating — where a second row of seats is elevated on a raised platform behind the first row — is a popular layout for larger rooms because it improves sightlines for rear viewers and creates that authentic cinema feel. When planning your rows, leave generous spacing between them: a minimum of 48 inches from the back of one row to the front of the next is standard, though 54 to 60 inches is far more comfortable and allows easy passage without requiring other viewers to stand.
The distance between your seating and your screen is determined by a combination of screen size and display technology. For projector setups, a common guideline is to sit at a distance of approximately 1.5 times the screen’s diagonal measurement for 4K content, which places you close enough to appreciate the resolution’s fine detail without seeing individual pixels. For a 120-inch screen, that suggests a primary viewing distance of roughly 15 feet. For flat-panel displays, manufacturer guidelines and personal preference play a larger role. Once your seating position is established, consider adding a small riser or stepped platform for second-row seating, integrating in-floor LED strip lighting for safe navigation in a darkened room, and installing convenient cup holders and side tables so guests can settle in without interrupting the experience.
Lighting, Ambiance, and the Finishing Touches
Lighting design is what separates a truly professional home theater from a room that simply has a big screen and some speakers. Thoughtfully designed lighting serves multiple purposes: it sets the mood before and after viewing, allows safe navigation in a darkened room, and can even subtly enhance the perceived contrast and depth of your display. The goal is to have complete control over every light source in the room, from bright “house lights” used during setup and intermissions to near-total darkness for serious viewing, with a range of intermediate settings for each scenario. Smart lighting systems make this effortless, allowing you to trigger different scenes with a single button press or even a voice command.
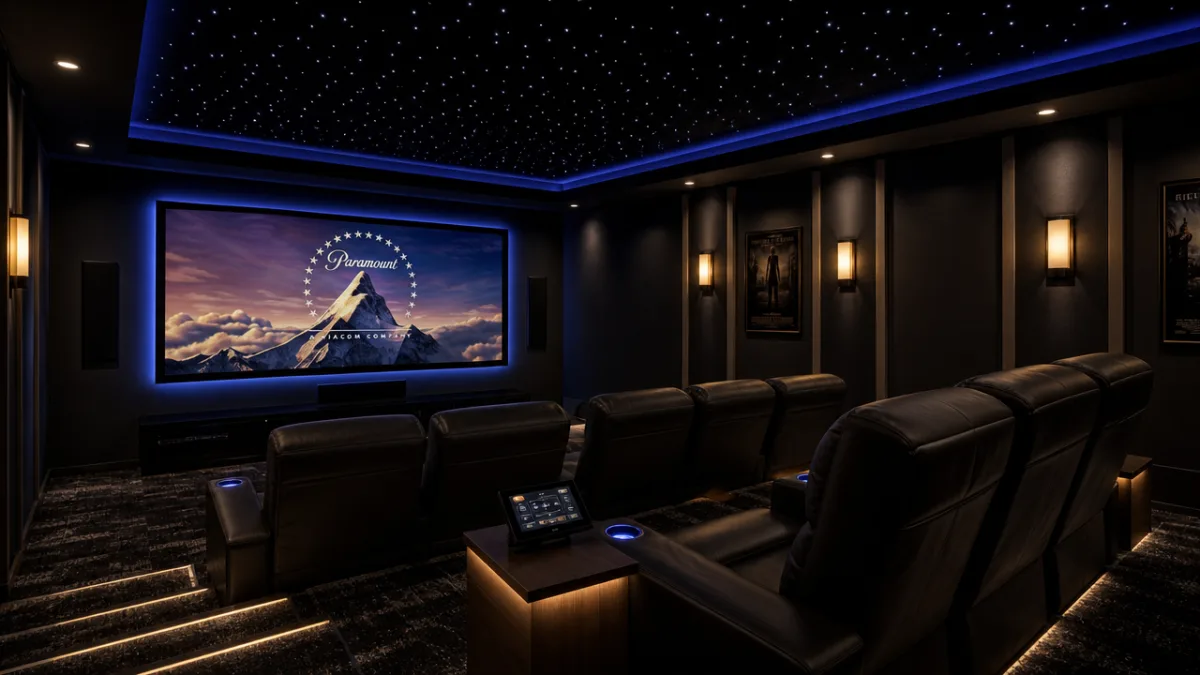
Bias lighting — placing LED strips behind your display or screen — is one of the most impactful and affordable lighting upgrades you can make. When calibrated to emit a neutral white light at approximately 10 to 15 percent of your screen’s peak brightness, bias lighting reduces eye strain during extended viewing, makes the on-screen image appear to have deeper contrast and richer colors, and gives the entire room a distinctly cinematic atmosphere. Many enthusiasts use smart LED strips that can be synchronized with the on-screen content, dynamically shifting color and intensity to match the scene’s palette — a feature that creates a genuinely immersive halo effect around your display and extends the visual experience beyond the screen’s edges.
The finishing touches that elevate a home theater from functional to spectacular include details like a dedicated media closet or equipment rack to house all your components neatly out of sight, acoustic ceiling tiles or a coffered ceiling design that looks elegant while managing reflections, star-ceiling fiber optic kits that transform a plain ceiling into a twinkling night sky, and themed wall art or custom panel designs that reinforce the cinematic atmosphere. Do not overlook practical considerations like adequate ventilation for heat-generating equipment, a separate dedicated electrical circuit for your audio and video components to prevent interference from other household appliances, and high-quality cable management to keep the space looking polished. When all these elements come together — the right room, the perfect display, enveloping audio, optimized acoustics, comfortable seating, and masterful lighting — the result is a space that makes every movie night feel like a genuine event worth looking forward to all week.
- Blackout curtains or motorized shades to eliminate ambient light interference during viewing.
- A universal remote or smart home integration to control lighting, audio, and video from a single device.
- Dedicated electrical circuits for AV equipment to prevent noise and interference from other appliances.
- A mini-fridge or snack station built into a side cabinet so refreshments are always within reach.
- Soundproofing the door with a heavy solid-core door and acoustic door sweep to prevent sound from disturbing the rest of the house.
- Fiber optic star ceiling kit to add a magical, immersive atmosphere above the seating area.
- Proper cable management including in-wall conduit runs to keep the room looking clean and professional.








What do you think?
It is nice to know your opinion. Leave a comment.