










Easy and Affordable Home DIY to Elevate Your Space: Build Your Own At-Home Bar
There’s something genuinely satisfying about having friends over and casually gesturing toward a bar setup you built with your own hands. A home bar turns an ordinary room into the kind of place people actually want to hang out — somewhere the conversation keeps going long after the drinks are poured. And the best part? You don’t need to hire anyone, gut your living room, or know how to use a table saw. With a solid plan, some reasonably priced materials, and a couple of free weekends, you can build something that looks like it cost a whole lot more than it did.
DIY home projects have exploded in popularity over the last few years, and a home bar is one of the most rewarding you can take on. It’s not like repainting a room or hanging a shelf — this is a functional piece that genuinely improves how you live in your home. It gives your entertaining supplies a real home, creates a dedicated spot for mixing drinks, and adds a level of personality that most rooms are honestly missing. Whether your taste runs rustic, modern, or somewhere in between, there’s a version of this project that fits.
This guide covers everything you need to plan, build, and style your own bar without spending a fortune. From picking the right spot in your home to the small finishing details that make everything look intentional and polished, there’s practical advice at every step. The goal isn’t just to hand you a set of instructions — it’s to help you look at your space with fresh eyes and see what’s already there waiting to become something great.
Choosing the Right Location for Your Home Bar
Before you buy a single thing, the most important decision you’ll make is where the bar actually goes. Location shapes everything — the size, the layout, how naturally it fits into the room. Walk through your home slowly and look at it like you’re seeing it for the first time. That blank wall in the living room, the awkward corner by the dining table, the underused nook in your finished basement, even a closet you never quite figured out — any of these could become a really great bar with some thoughtful planning.
It’s also worth thinking practically about utilities. A wet bar with running water means staying close to existing plumbing, which usually puts you near a kitchen or bathroom wall. But a dry bar — which is what most DIYers build, and honestly the smarter starting point — doesn’t need any plumbing at all. You just need a nearby outlet for a mini fridge, a wine cooler, or some lighting. That flexibility is a big deal, because it means your bar can go almost anywhere you want it.
Think about how people actually move through your space during a party, too. The bar should be easy to get to without creating a logjam every time someone wants a refill. Corner setups are great for this — they keep the bar tucked out of the main flow while still feeling open and welcoming. Wall-mounted bars are another smart option for smaller rooms, since they make a big visual impact without eating up much floor space.
Planning Your Design and Setting a Realistic Budget
Once you’ve landed on a spot, it’s time to sketch out what you’re building and what it’s going to cost. You don’t need design skills for this — a rough hand-drawn sketch with some measurements is plenty to get started. Just map out the key pieces: the bar counter, the shelving or back bar, the base cabinets or frame, and any extras like pendant lights, a footrest rail, or a tile backsplash.
Setting a budget before you start shopping is genuinely important, and not just for the obvious reason of not overspending. It keeps the project fun. It’s very easy to fall in love with premium materials and watch the costs climb before you’ve bought a single board. The good news is that some of the best-looking home bars are built almost entirely from budget sources — IKEA hacks, upcycled furniture, reclaimed wood from salvage yards, and cabinets picked up at a Habitat for Humanity ReStore are all legitimate paths to a bar that looks anything but cheap.
For a solid DIY dry bar, expect to spend somewhere between two hundred and eight hundred dollars depending on materials and scale. You can come in well under that with salvaged pieces, or go higher if you want butcher block countertops, quartz, or custom tile. Either way, make a simple list of every component with its estimated cost, then add a ten to fifteen percent buffer for surprises. Getting this organized upfront saves a lot of frustration later.
Gathering Your Materials and Tools
With your design sketched out and a budget in hand, it’s time to pull together everything you’ll need. For a basic DIY bar, the materials list is pretty manageable — nothing you can’t find at a standard home improvement store. A wall-mounted shelving bar might only call for floating shelves, wall anchors, a level, and some stain or paint. A more substantial cabinet-based build will add lumber, plywood, pocket screws, wood glue, and sandpaper to the mix.
These are the materials that come up again and again across different bar builds and are worth getting on your list early:
- Plywood sheets or pre-built base cabinets for the bar frame and lower storage
- A countertop surface such as butcher block, a reclaimed wood slab, a laminate sheet, or poured concrete
- Open shelving boards or a hutch unit for back bar display
- Wood stain, paint, or polyurethane finish depending on your aesthetic
- Cabinet hardware including hinges, pulls, and drawer slides if applicable
- LED strip lighting or small pendant lights for ambiance
- A compact refrigerator or wine cooler if your space and budget allow
- Decorative tile, beadboard, or shiplap for a backsplash or accent panel
On the tool side, you really don’t need a full workshop to pull this off. A drill and some bits are essential. A circular saw or miter saw helps if you’re cutting lumber, though many hardware stores will make the cuts for you if you show up with your measurements. A level is non-negotiable for anything going on the wall. Beyond that, a tape measure, a sanding block or orbital sander, a paintbrush or foam roller, and a stud finder will get you through most of the build. If you’re missing something, ask a neighbor, rent from a hardware store, or check if your local library has a tool lending program — more of them do than you’d expect.
Building the Bar Step by Step
The actual building process is a lot less scary than it looks from the outside, especially once you’ve broken it down into manageable stages. Start by prepping your space properly — clear everything out, patch any wall damage, clean up the floor, and mark your stud locations if you’re anchoring to the wall. This prep work isn’t glamorous, but skipping it is probably the most common mistake DIYers make, and it almost always causes problems down the line.
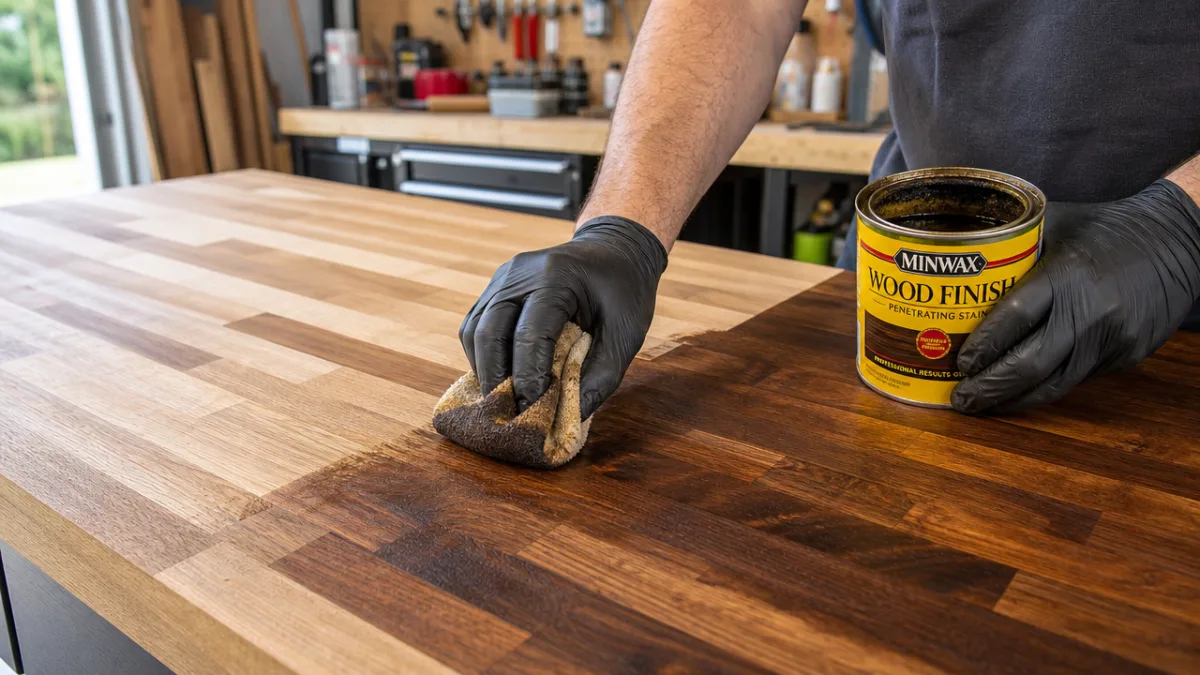
If you’re building a cabinet-based bar, put your base units together first and get them level on the floor before you touch the wall. IKEA’s SEKTION and KALLAX units are popular choices here because they’re affordable, sturdy, and come in enough sizes to work with almost any space. Once the cabinets are leveled and positioned, anchor them to each other and to the wall. Then comes the countertop, which honestly does more to define the look of the whole bar than anything else. Butcher block is a classic choice for good reason — it’s warm, easy to work with, and relatively forgiving. But a thick laminate countertop can look surprisingly polished at a fraction of the price.
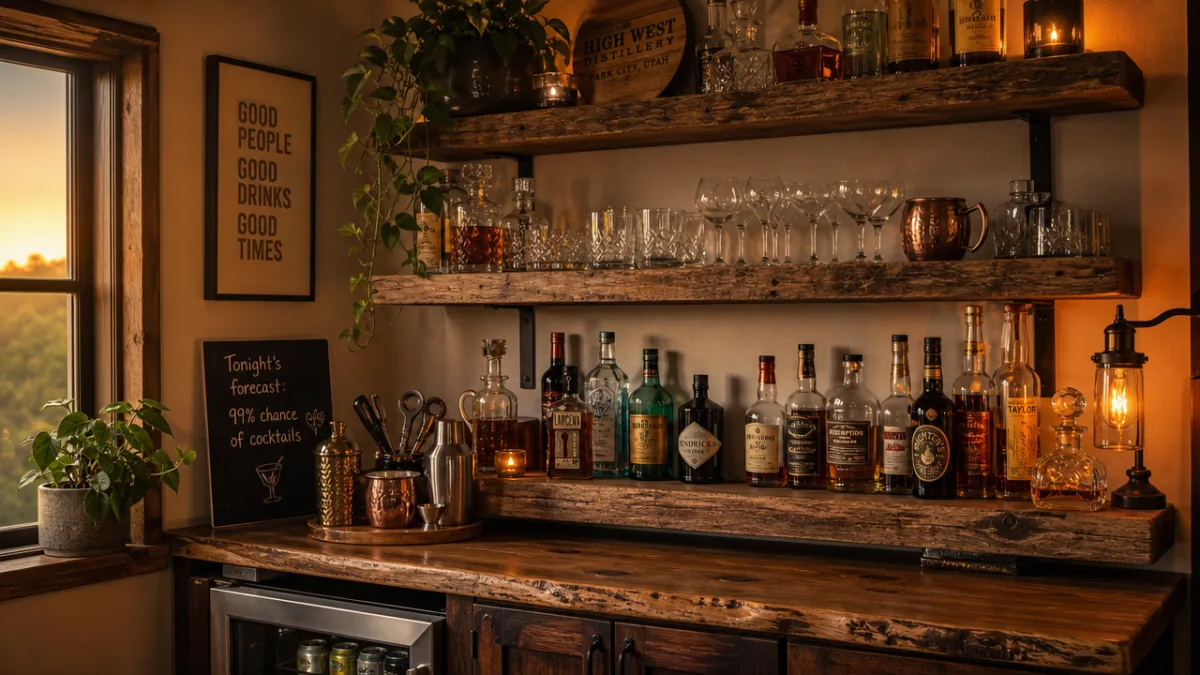
The back bar shelving is where your bar really gets its personality. Open floating shelves are the most popular option because they let you put your bottles, glassware, and decorative pieces on full display in a way that’s easy to change up whenever you feel like it. Use heavy-duty brackets rated for at least twice the weight you’re planning to put on them, and anchor into studs — not just drywall — for anything that’s going to hold real weight. Vary the shelf heights so you’ve got room for tall bottles at the bottom and shorter glasses above, and leave the top shelf for something a little unexpected: a trailing plant, a piece of artwork, or a vintage find that makes the whole bar feel like yours.
Finishing Touches That Elevate the Entire Look
The gap between a bar that reads as a DIY project and one that looks like it was professionally designed almost always comes down to the finishing details. These are the small things that move a build from functional to genuinely beautiful, and most of them are surprisingly inexpensive. Start with finish consistency — every wood surface in your bar, whether that’s the cabinet frames, the shelving, or any decorative trim, should get the same treatment. When everything matches, the whole piece reads as intentional rather than assembled from parts.
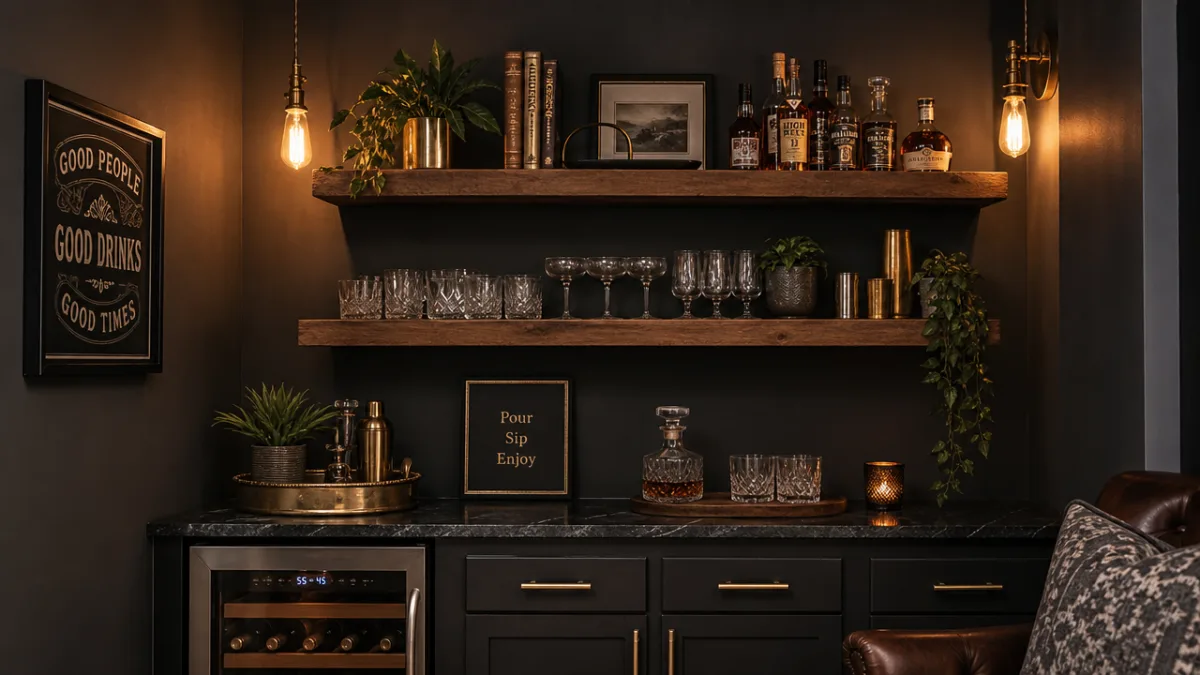
Lighting is probably the single biggest impact you can make for the money. LED strip lights under the shelves cast a warm glow across your bottles and glassware that makes everything look more considered and polished. A couple of small pendants hung above the counter add an architectural quality that signals this space was designed, not just built. Dimmer switches are worth the small added cost because they let you shift the bar from bright and practical when you’re setting up to warm and atmospheric when people actually arrive. The right lighting makes even a modest bar feel like somewhere you actually want to be.
Hardware is another place where a small investment pays off in a big way. Switching out basic pulls for something with more character — matte black industrial handles, brushed brass knobs, sleek chrome bars — costs very little but changes the whole vibe of the bar. A footrest rail made from copper pipe or black iron pipe adds an authentic touch and is genuinely easy to install with basic fittings from any hardware store. And if you want to add one detail that really pulls the whole thing together, consider a small section of tile, pressed tin, or beadboard behind the shelving as a backsplash. It adds texture and visual depth in a way that’s hard to achieve otherwise, and even a total beginner can knock it out in an afternoon.
Stocking and Styling Your Bar for Maximum Impact
Building the bar is one half of the project. Stocking and styling it is the other half — and it’s what turns a piece of furniture into something people actually remember. Start with the practical side: figure out which spirits, wines, and mixers you actually reach for. A good home bar doesn’t need to cover every category of alcohol. In fact, five to eight quality bottles you genuinely like is far more impressive than a packed shelf full of things nobody touches. Choose bottles you find visually interesting since they’re on display, and arrange them with the tallest toward the outside and shorter ones toward the middle for a look that feels balanced and thought-out.
Glassware is one of those elements people consistently underestimate. A matching set of rocks glasses, highballs, and wine or champagne flutes arranged cleanly on a shelf creates an instant sense of polish. You don’t need to spend a lot — home goods stores and thrift shops often have attractive options at very reasonable prices, and a cohesive collection of one style will always look better than a random assortment. A set of bar tools displayed in a leather or copper bar roll, or grouped in a small decorative container, adds both function and a bit of visual personality to your countertop.
The last layer is the decorative stuff that makes the bar feel like it belongs in your home rather than like it could belong in anyone’s. A small potted plant or some fresh greenery softens what can otherwise be a fairly hard-edged space. A framed cocktail poster, a piece of bar-themed art, or even a small chalkboard for drink specials adds character and a sense of playfulness. A tray or lazy Susan on the counter keeps your most-used tools and mixers contained and the surface looking organized. Add a candle or two, a small stack of cocktail books, and maybe a string of Edison bulb lights, and you’ve got a bar that people will find themselves gravitating toward every time they come over.
Maintaining Your Bar and Keeping It Fresh Over Time
One thing people don’t always think about when they build a home bar is the ongoing maintenance — and while it’s not a lot of work, it does require a bit of consistent attention to keep things looking good. Unlike most furniture, a bar gets handled regularly: bottles moved around, glasses pulled out and put back, tools and mixers shifted constantly. A quick weekly wipe-down of the counter with the right cleaner for your surface keeps buildup from sneaking up on you. For wood surfaces like butcher block, occasional re-oiling with food-safe mineral oil keeps the wood conditioned and protected against moisture over time.
Every couple of months, take a few minutes to reorganize the shelves. Move bottles that are getting low toward the front so you actually use them, consolidate the ones that are nearly empty to free up display space, and take a look for anything that might need a small repair or touch-up before it turns into a bigger issue. A little container of your original paint or stain stored somewhere accessible makes those touch-ups quick and nearly invisible.
Most importantly, think of your bar as something that gets to grow with you. Swap in some seasonal decorations around the holidays. Add a new set of glasses when you get into a new type of cocktail. Upgrade the lighting a bit when the budget allows. The great thing about building something yourself is that you know exactly how it works, which means you can change it, improve it, or expand it any time you feel like it. Your home bar isn’t just a finished project — it’s an ongoing reflection of how you like to live and how you like to welcome people into your home.








What do you think?
It is nice to know your opinion. Leave a comment.