










DIY Shelves: Build Your Own Beautiful Storage Solutions Inspired by Irene Dalmases
There is something deeply satisfying about building your own shelves from scratch. Whether you are working with a compact apartment or a sprawling home, DIY shelving gives you the freedom to create storage that perfectly fits your space, your aesthetic, and your budget. Inspired by the creative vision of Irene Dalmases, this guide will walk you through everything you need to know to design and build shelves that are both functional and beautiful.
Why DIY Shelves Are Worth the Effort
The case for building your own shelves is stronger than many people realize. When you purchase shelving from a big-box store, you are limited to standard sizes, finishes, and configurations that may not suit your walls or your lifestyle. DIY shelves, on the other hand, can be tailored to the exact centimeter, allowing you to fill awkward alcoves, work around radiators, or create a dramatic floor-to-ceiling display that simply does not exist in any catalogue. This level of customization is one of the most compelling reasons to pick up a saw and get to work.
Beyond the practical benefits, there is a significant financial advantage to building your own shelves. High-quality shelving from designer furniture brands can cost hundreds or even thousands of dollars for a single unit, whereas the raw materials for a comparable DIY version might cost a fraction of that price. Solid pine boards, affordable metal brackets, or lengths of reclaimed wood can all be transformed into stunning shelving systems with the right technique and a little patience. For those who love beautiful interiors but are working within a realistic budget, DIY is often the smartest path forward.
There is also an emotional dimension to handmade furniture that should not be overlooked. Every shelf you build carries a story — the Saturday morning you spent sanding the wood, the small miscalculation you corrected with a creative solution, the moment you stepped back and saw it hanging level for the first time. This connection to your home deepens when you have personally crafted the objects within it. Irene Dalmases understood this well, and her approach to DIY shelving reflects a philosophy where the process is just as meaningful as the finished product.
Planning Your Shelving Project: Measurements, Materials, and Layout
Before you pick up a single tool, the most important step is planning. A well-planned shelving project will save you time, money, and frustration during the build. Start by measuring your wall space carefully — height, width, and depth — and consider what you will actually be storing on the shelves. Books are heavy and require robust support. Decorative objects are lighter and allow for more delicate shelving styles. Kitchenware sits best on deeper shelves, while bathroom items often look cleanest on narrow floating ledges. Understanding your use case shapes every decision that follows.
Material selection is one of the most consequential choices you will make. Solid wood boards such as pine, oak, or poplar offer a warm, natural look and are strong enough for most household applications. Plywood is an excellent alternative — it is dimensionally stable, resists warping, and can be painted or veneered to achieve a wide variety of finishes. MDF (medium-density fiberboard) is smooth and takes paint beautifully, making it ideal for a clean, modern look, though it is heavier and less moisture-resistant than solid wood. Irene Dalmases frequently favors natural wood tones that bring warmth and texture to a room without overwhelming the surrounding decor.
Layout planning goes beyond simply deciding where shelves will hang. Consider the visual weight of the arrangement — a single long shelf creates a very different effect than a cluster of staggered floating shelves at different heights. Think about sight lines from across the room and how the shelves will interact with furniture below them. Sketching a rough layout on paper, or using a free room-planning tool online, can help you visualize the finished result before committing to drilling into your walls. A little time spent at this stage pays enormous dividends when the project comes together seamlessly.
Essential Tools and Supplies You Will Need
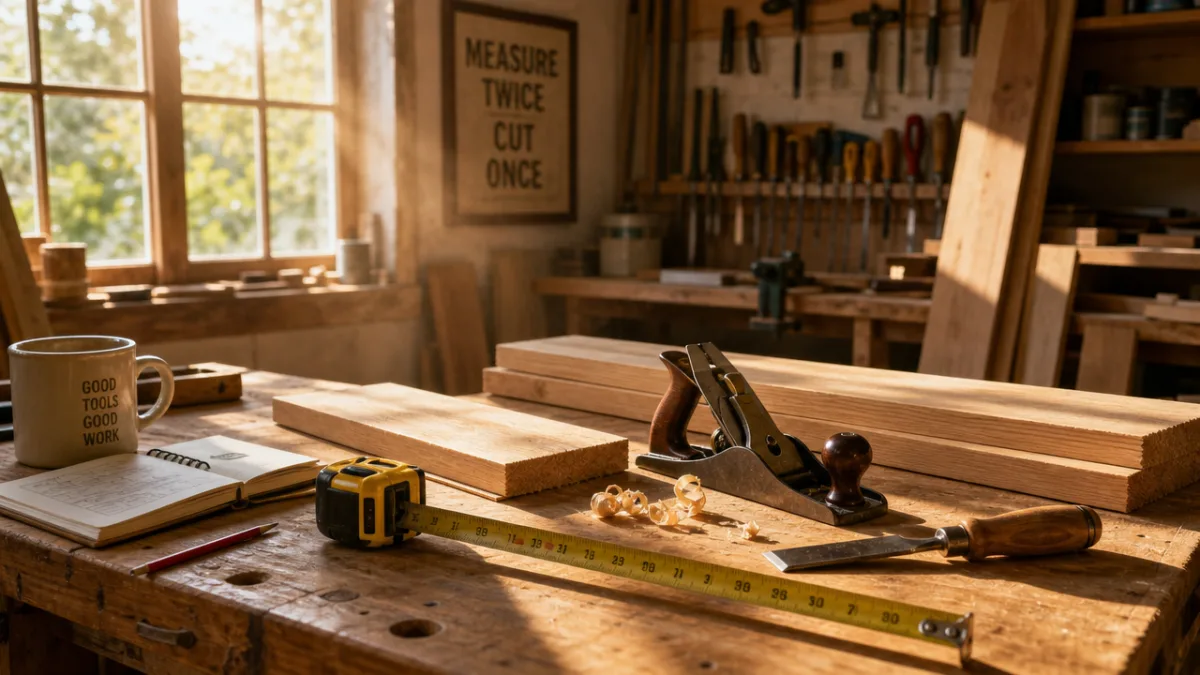
One of the barriers that keeps many people from attempting DIY shelves is the assumption that you need an elaborate workshop full of expensive equipment. In reality, a modest set of tools is sufficient for most shelving projects. A cordless drill is absolutely essential — it handles pilot holes, driving screws, and installing wall anchors with ease. A level ensures your shelves hang straight, which is non-negotiable if you want the finished result to look professional. A tape measure, pencil, and a stud finder round out the core toolkit that will see you through the majority of shelving builds.
Beyond the basic tools, a few additional supplies will significantly improve your results. Sandpaper in several grits — from coarse 80-grit for shaping to fine 220-grit for finishing — is important for achieving a smooth surface before applying any stain or paint. Wood filler allows you to hide screw holes and small imperfections. A good quality brush or foam roller makes applying finish easier and cleaner. If you plan to cut your own boards rather than having them cut at the lumber yard, a circular saw or miter saw will give you clean, accurate cuts that make assembly much simpler.
For mounting, the type of hardware you choose will depend on your wall type and the weight you plan to place on the shelves. Here is a quick overview of the most common options:
- Keyhole brackets: Concealed and clean-looking, ideal for lighter floating shelves where a minimalist aesthetic is desired.
- Metal L-brackets: Strong, versatile, and available in a huge range of sizes and finishes, suitable for heavier loads and open shelf styling.
- Shelf pins and tracks: Allow for adjustable shelf height, which is particularly useful in bookcases or pantry shelving where needs may change over time.
- French cleats: A woodworking favorite that distributes weight evenly and allows shelves to be repositioned without redrilling, making them excellent for garage or studio use.
- Toggle bolts: Essential when studs are not available in the right position, allowing secure mounting into drywall alone for moderate weight loads.
Choosing the right mounting system from the beginning will prevent the frustrating and potentially damaging experience of a shelf pulling away from the wall. Always err on the side of stronger hardware than you think you need, especially if children or pets are in the home. Structural safety should always take priority over aesthetics, and fortunately there are beautiful hardware options available at every price point that make function and style perfectly compatible.
Step-by-Step Guide to Building and Installing Your Shelves
Once your planning is done and your materials are gathered, the build process can begin in earnest. Start by cutting your boards to length if they have not already been cut. Always measure twice and cut once — this cliché exists because it is genuinely good advice. If you are cutting wood at home, clamp the board securely before making any cuts, and use a guide or fence to ensure the cut is perfectly straight. A clean, square cut at each end of your shelf board will make everything that follows much easier and will give the finished piece a professional appearance.
Sanding is the next step and should not be rushed. Begin with a medium-grit sandpaper to remove any mill marks or rough spots from the lumber, then progress to a finer grit for the finishing pass. Sand in the direction of the wood grain to avoid scratching the surface. Pay particular attention to the edges and corners — a slight rounding of sharp edges not only looks more refined but also prevents splinters and makes the shelf safer to use. After sanding, wipe the surface down with a slightly damp cloth to raise the grain, allow it to dry, and then do a final light sanding with your finest grit before applying any finish.
Applying your chosen finish is one of the most enjoyable parts of the project because this is where the wood truly comes to life. A clear oil finish, such as Danish oil or linseed oil, brings out the natural grain and warmth of wood beautifully while offering good protection. Stains allow you to shift the color of the wood to complement your existing furniture. Paint — particularly a matte or eggshell latex — creates a clean, contemporary look that works well in modern interiors. Apply finish in thin, even coats and allow each coat to dry fully before adding the next. Two to three coats will typically give you a durable, attractive result.
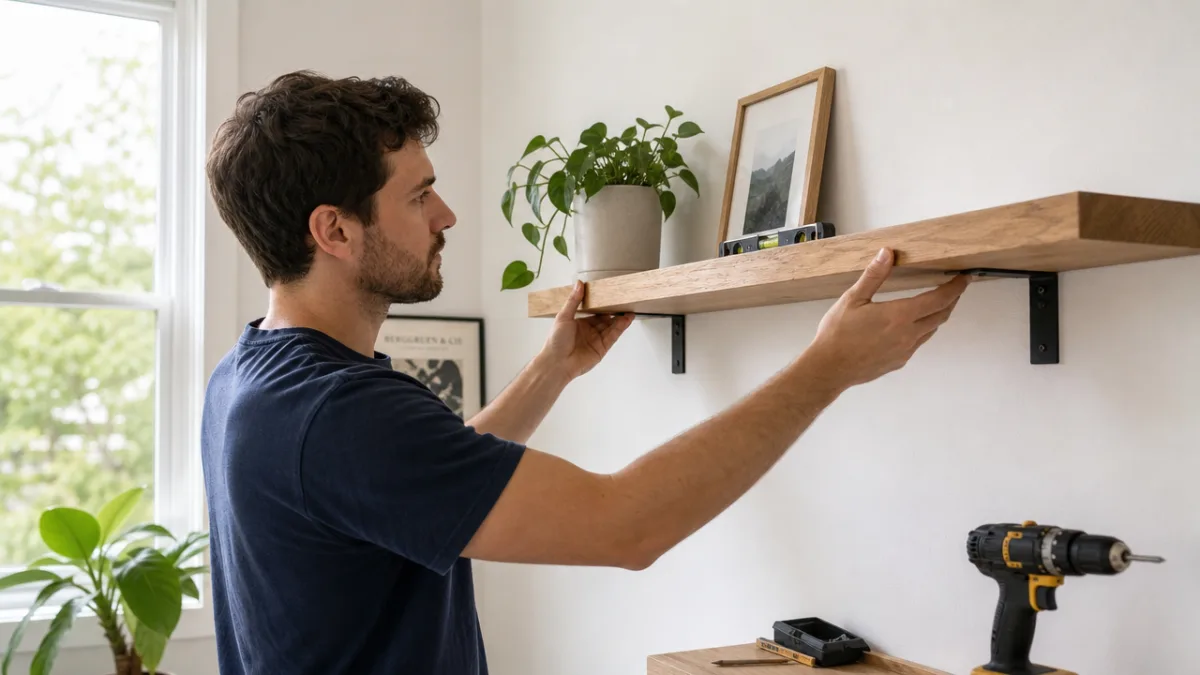
Installation begins with locating your wall studs using a stud finder and marking their positions lightly with a pencil. Studs are typically spaced sixteen inches apart in standard frame construction. Where possible, drive your mounting screws directly into studs for the strongest possible hold. Use your level constantly throughout the installation process — checking horizontally, vertically, and diagonally where relevant. Pre-drill pilot holes before driving any screws to prevent splitting the wood or cracking drywall. Finally, place your shelf on its brackets or cleats and give it a gentle wiggle to confirm it is firmly seated before loading it with any objects.
Finishing Touches and Styling Your New Shelves
The physical installation of your shelves is only the beginning of the creative process. How you finish and style those shelves will determine whether they become a quiet background element or a genuine focal point of the room. The first decision is whether to paint or stain the wall behind floating shelves a different color from the rest of the room, which can create a beautiful framed effect that draws the eye and makes the shelves look intentional and designed rather than simply functional. Even a small rectangle of bold color or textured wallpaper behind a set of shelves can transform the look entirely.
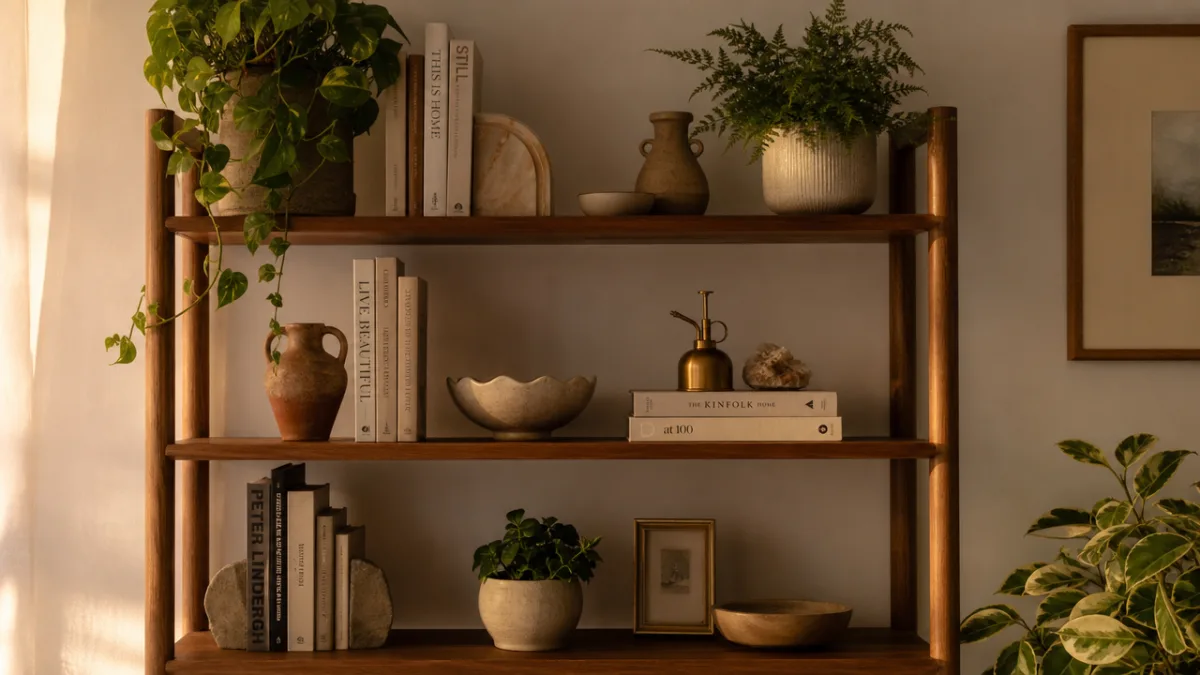
Styling shelves is an art form in itself, and Irene Dalmases demonstrates a particularly thoughtful approach in her work. The key principle is balance — not symmetry, which can feel rigid and impersonal, but visual balance, where different types of objects of varying heights and textures offset one another in a way that feels harmonious. A tall vase on one side might be balanced by a cluster of smaller objects on the other. Books stacked horizontally can serve as a platform to display a small plant or decorative object above them. Negative space — areas left deliberately empty — is as important as the objects themselves, giving the eye somewhere to rest.
Consider using a mix of object types when styling your shelves. Combining practical items like books or baskets with purely decorative pieces such as ceramics, sculptures, or framed photographs creates a shelf display that feels lived-in and genuine rather than staged. Plants are particularly effective on shelves because they introduce organic shape, color, and life into what might otherwise be a static arrangement. Trailing plants like pothos or string of pearls look especially beautiful cascading down from a higher shelf, adding softness and movement to the composition.
Lighting should not be neglected when it comes to shelving. Small LED strip lights installed under each shelf illuminate the shelf below and create a warm, ambient glow that looks beautiful in the evening and draws attention to your displayed objects. Battery-powered puck lights are a tool-free alternative that can be positioned wherever they are most useful. For a more dramatic effect, a single adjustable picture light or wall sconce positioned near an important shelf can create the kind of warm, focused illumination that makes everyday objects look like works of art.
Creative DIY Shelf Ideas to Inspire Your Next Project
Once you have mastered the basics of shelf-building, a whole world of creative variations opens up. One of the most visually striking approaches is the ladder shelf — a freestanding structure that leans against the wall and features shelves at staggered heights supported by two angled side rails. Ladder shelves require no wall mounting at all, making them ideal for renters or anyone who is reluctant to drill into their walls. They can be built from simple wooden dowels and boards, or assembled from metal pipe for an industrial aesthetic that is enormously popular in contemporary interiors.
Rope shelves are another wonderfully simple DIY project that yields impressive results with minimal materials. A thick rope — manila, cotton, or jute all work beautifully — is threaded through holes drilled near each corner of a wooden board and knotted below to hold the board in place. Multiple boards can be stacked on a single length of rope to create a hanging shelf unit that sways gently and adds a playful, nautical quality to any room. These shelves work especially well in children’s rooms, boho-style living spaces, and anywhere that benefits from a touch of casual, organic charm.
For a more architectural approach, consider building a full wall of built-in shelving that wraps around a doorway, frames a fireplace, or fills an entire room from floor to ceiling. Built-ins require more planning and skill than floating shelves, but they also have a profound effect on a room, making it feel custom-designed and dramatically increasing its apparent value. The process involves constructing a simple box frame from plywood or MDF, attaching it firmly to the wall and floor, and then adding shelves, trim, and paint to create what looks like bespoke joinery. The result is almost indistinguishable from professionally installed cabinetry at a fraction of the cost.
Here are some additional creative ideas worth exploring as your DIY shelving skills develop:
- Hairpin leg shelves: Attach slender metal hairpin legs to the underside of a thick wooden slab to create a shelf that doubles as a small console or side table, blending storage and furniture in one elegant piece.
- Crate shelves: Wooden crates, either new or vintage, can be arranged in a grid and mounted to the wall to create modular storage that is both rustic and functional.
- Branch shelves: A thick, attractive branch from a fallen tree, cleaned and sealed, can be mounted horizontally on the wall and used to hang smaller shelves or display objects from hooks, bringing the outdoors inside in a striking way.
- Corner shelves: Triangular shelves fitted into room corners make brilliant use of space that is often wasted, creating cozy nooks for plants, books, or collections.
- Pegboard systems: A sheet of pegboard painted in a bold color and mounted to the wall provides an infinitely reconfigurable storage surface with hooks, small shelves, and containers that can be rearranged at any time without tools.
Whatever direction your DIY shelving project takes, the spirit behind it remains consistent with the philosophy that Irene Dalmases embodies in her work — a belief that beautiful, functional spaces are accessible to everyone willing to invest a little time, creativity, and care. Shelves are one of the most transformative additions you can make to a home, and when they are built by your own hands, they carry a personal significance that no shop-bought alternative can replicate. The tools are available, the materials are affordable, and the skills are entirely learnable. Your next project is waiting to begin.








What do you think?
It is nice to know your opinion. Leave a comment.