










14 Creative Garden Edging Ideas That Will Make Your Garden Stand Out
Why Garden Edging Matters More Than You Think
Garden edging is one of those things that works hard in the background without ever asking for any credit. A neatly edged bed tells anyone walking past that someone genuinely cares about this space — it’s a bit like a clean collar on a casual shirt. That one small detail pulls the whole look together and makes your garden feel deliberately designed rather than just, well, happened upon.
But edging isn’t just about looks — and most gardeners figure this out pretty quickly. Without a proper border, lawn grass will creep into your flower beds like an uninvited guest who just won’t leave, competing with your plants for water and nutrients. A good edge slows that invasion down significantly, which means fewer hours spent on your knees untangling grass roots from perennial stems. Over a full growing season, that’s a meaningful amount of time saved.
There’s also the mulch problem. Good mulch costs real money, and watching it wash across the lawn after a rainstorm is genuinely annoying. A solid edge keeps it where it belongs — protecting roots, holding in moisture, and doing its job. When you think about it that way, edging isn’t really an optional finishing touch. It’s an investment that pays you back every single season.
Natural and Organic Edging Options for an Earthy Aesthetic
If your garden leans toward the wild, romantic, or cottage side of things, natural edging materials have a warmth and charm that manufactured products just can’t replicate. Log slices cut from fallen branches — or sourced from a timber yard — can be pressed vertically into the soil to create a lovely rustic border. They gradually weather to a soft silvery grey that sits beautifully among the greens and browns of a naturalistic planting scheme. And when they eventually break down, they add organic matter back into your soil, which is a genuine bonus.
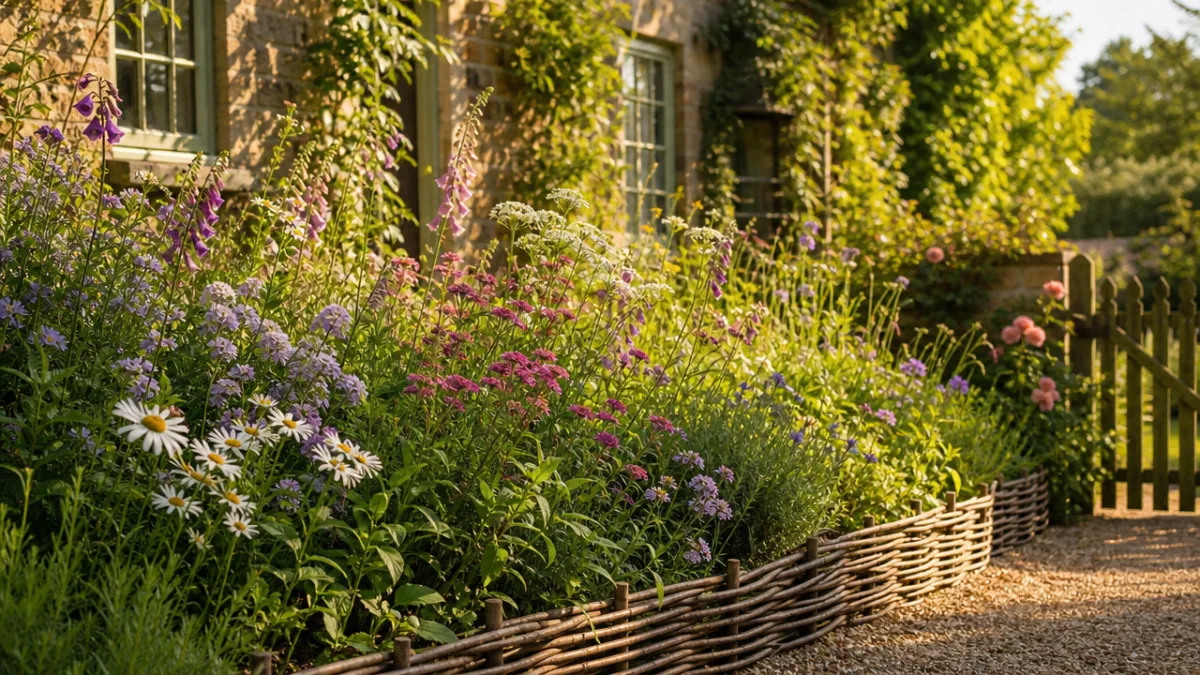
Woven willow or hazel hurdles are another traditional option with a long and respectable history in European cottage gardens. Flexible young branches are woven between upright stakes to create low, decorative borders with a surprising amount of elegance. This technique — wattle fencing — has been used in kitchen gardens for centuries, and it pairs particularly well with herb beds, vegetable patches, or a cottage border full of foxgloves, hollyhocks, and sweet peas. It’s biodegradable, sustainably sourced, and looks like it grew there.
Living edges are arguably the most romantic choice of all. A continuous ribbon of low-growing plants — boxwood, lavender, thyme, or dwarf mondo grass — creates a border that changes with the seasons and feels alive in a way no hard material can. Lavender is especially wonderful: a line of silvery green that erupts into purple flower spikes in summer and fills the whole garden with fragrance on warm afternoons. It does need clipping to stay crisp, but honestly, many gardeners find that kind of work more meditative than chore-like.
Stone and Brick Edging for a Timeless, Durable Look
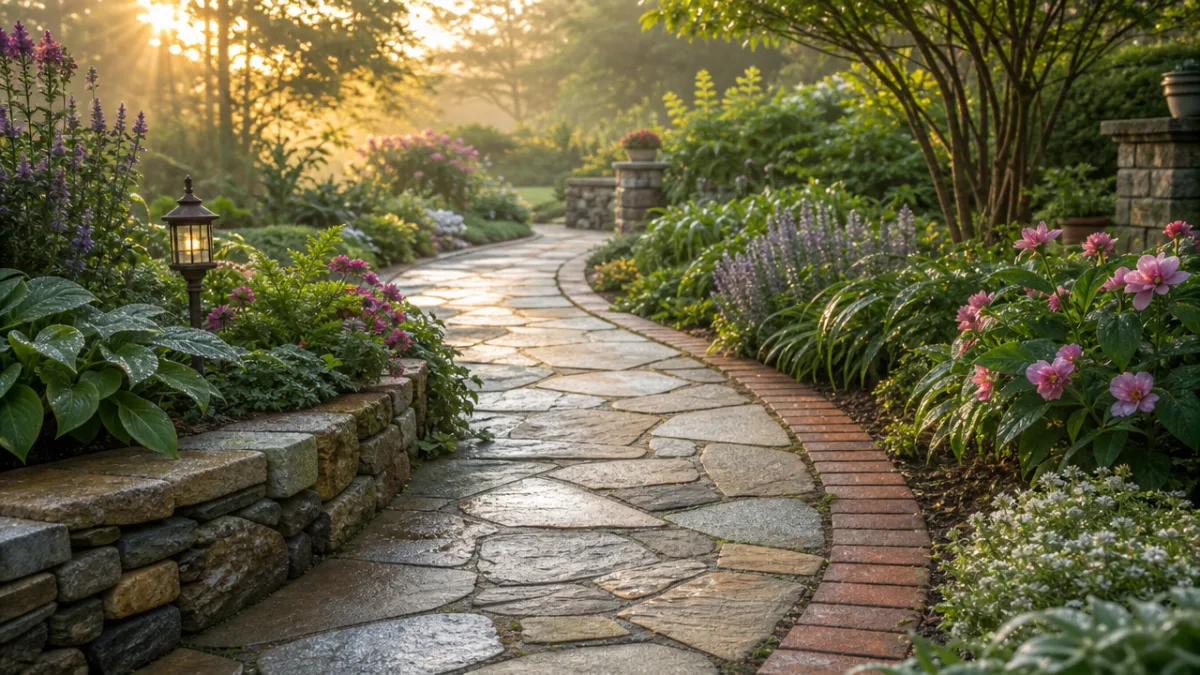
Stone has been used in gardens for thousands of years, and there’s a good reason it keeps showing up. Whether you go with flat flagstone set on its side, smooth river cobbles pressed into the soil, or irregular fieldstone stacked loosely as a dry border, natural stone brings a sense of permanence and authenticity that synthetic materials simply can’t fake. It doesn’t fade, warp, crack in frost, or leach anything nasty into your soil — which makes it about as low-risk a long-term investment as you’ll find.
Brick offers a slightly more formal version of that same mineral quality. Reclaimed bricks from old buildings are especially appealing — the subtle color variation and worn surface texture give even a brand-new bed an instant sense of history. You can set them horizontally in a single or double row, stand them upright in a soldier course, or angle them in the classic sawtooth pattern that’s been a staple of formal gardens for over a hundred years. Each arrangement gives you a noticeably different result, so it’s worth laying a few out dry before you commit to anything permanent.
Concrete pavers and manufactured stone edging blocks sit comfortably in the middle ground between natural materials and modern practicality. They come in a huge variety of shapes, colors, and textures, and they’re engineered to be consistent in size, which makes installation much more forgiving — especially if you’re new to this. Many interlock or stack together in ways that resist frost heave better than loose individual pieces. If you love the look of stone but need to keep costs manageable, manufactured options are often a genuinely good compromise.
Whatever stone or brick you use, good soil preparation makes all the difference. Dig a trench along your border line, deep enough to bury at least a third of the edging material below grade — this stops it shifting and tipping over time. A thin layer of sand or gravel at the bottom improves drainage and gives you something easy to adjust for leveling. Take your time getting the first section right, because everything after it will follow that lead, and a wobbly edge is exactly the kind of thing you’ll notice every single day.
Metal Edging for a Modern and Minimalist Statement
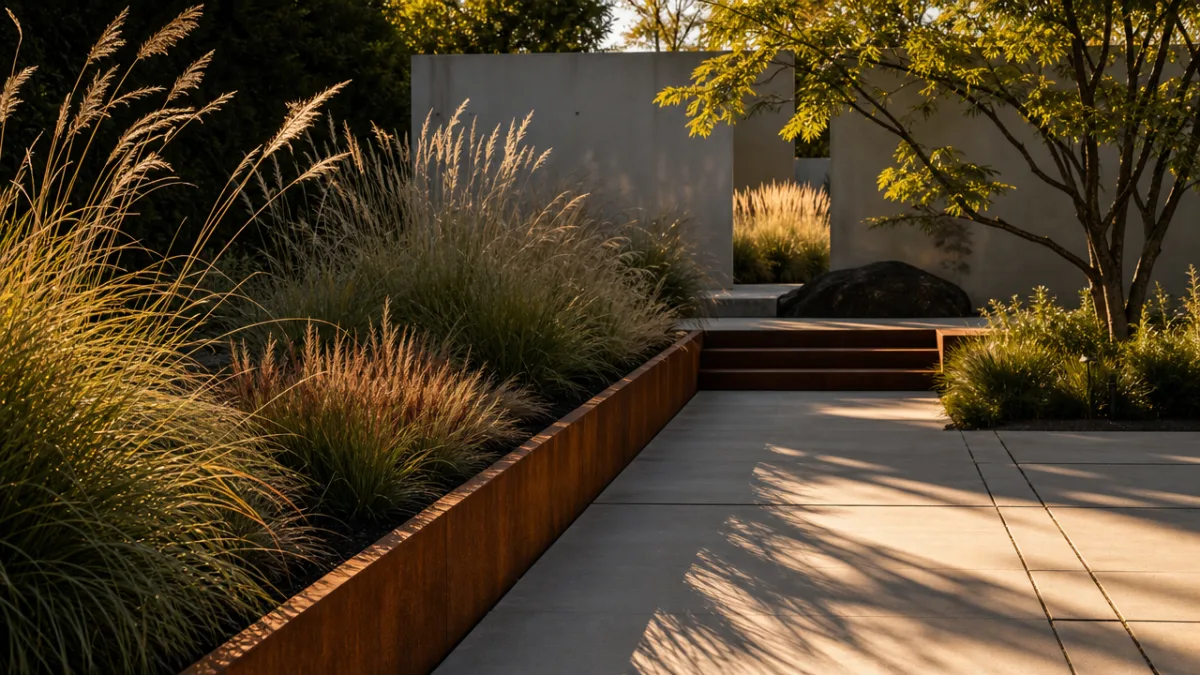
Corten steel has become something of a signature material in contemporary garden design, and it’s easy to see why. Left out in the weather, it develops that distinctive warm rust-colored patina that stabilizes and actually protects the metal underneath. The rich ochre and sienna tones it takes on look stunning against ornamental grasses and dark hardwood mulch — the kind of combination that makes people stop and ask who designed your garden.
Galvanized steel edging strips take things in a cleaner, more industrial direction. These slim, flexible strips are driven into the ground and practically disappear at ground level when you step back and look — which is exactly the point. With no visual bulk competing for attention, the plants themselves take over. It’s the approach a lot of professional garden designers gravitate toward when they want precise geometry without any decorative distraction getting in the way.
Aluminum is worth a close look too, especially if you garden in a wet climate or near the coast. It’s lightweight, genuinely corrosion-resistant, and bends easily around curves without kinking — a real advantage when you’re working with the kind of fluid, naturalistic bed shapes that are popular right now. The silvery-grey tone is understated rather than showy, which means it works with almost any planting combination. Many aluminum products are also made with recycled content, which matters to a lot of gardeners thinking about the broader footprint of their outdoor projects.
Recycled and Upcycled Edging for the Creative Gardener
One of the genuinely exciting shifts in garden design lately is how enthusiastically people are embracing upcycled and repurposed materials as edging. Old wine bottles, particularly ones with interesting shapes, can be pressed neck-down into the soil to create a glittering, jewel-colored border that catches light in ways no manufactured product ever could. Blue, green, and brown glass looks especially magical in the early morning when low sun angles hit the dew on the curves of each bottle. It costs almost nothing, and it keeps glass out of the recycling stream — which is a real bonus.
Vintage terracotta chimney pots, salvaged roof tiles laid on edge, old railway sleepers, reclaimed roof slates, even stacks of vintage tin cans — all of these have found new lives as garden edging in the hands of creative gardeners. The secret to making upcycled materials look intentional rather than chaotic is consistency. Pick one type of found object and commit to it along an entire bed. A continuous line of matching salvaged slates reads as a considered design choice. A jumble of five different unrelated materials, however charming each piece might be on its own, tends to look like you ran out of ideas halfway through.
Wooden pallets might be the most versatile low-budget upcycling option out there. Individual planks can be cut to length and pressed vertically into the soil for a simple picket-style edge, or full pallet sections can be treated with exterior stain or linseed oil and used as low retaining walls on gently sloping beds. One important thing to know: when you’re sourcing pallets, always look for the HT stamp, which means heat-treated rather than chemically treated. Chemically treated wood can leach substances into your soil that you really don’t want near food crops or the organisms living in your beds.
Once you start looking at everyday objects through a garden-design lens, the possibilities genuinely are endless. Vintage enamelware in a tidy row, sections of terracotta drainage pipe stood on end, smooth river stones gathered on a coastal walk — any of these can become edging that carries personal meaning and tells something true about who you are as a gardener. That’s where functional design tips over into self-expression, and that’s when gardens start to get really interesting.
Installation Tips and Maintenance Advice for Lasting Results
No matter what material you land on, how carefully you install it will determine whether your border still looks sharp three years from now or starts to look tired before the first season is out. Before you pick up a spade, mark your line. A garden hose is perfect for curved borders — you can nudge it around until the flow is exactly right. For straight runs, stretch a string tightly between two stakes and follow that rather than trusting your eye. Even tiny deviations compound over distance, and a wavy straight edge is one of those things you won’t be able to stop seeing once you notice it.
Getting the depth right matters just as much. Edging that sits too high above soil level looks clunky and becomes a trip hazard. Too low, and it loses its visual purpose and stops containing mulch effectively. A good rule of thumb is to aim for roughly one-third of any rigid edging buried below grade and two-thirds visible above — enough anchorage to resist frost movement and lateral pressure, while still giving you a clear, clean line between lawn and bed.
It’s also worth being honest with yourself about ongoing maintenance before you commit to a material, because the differences between options are significant:
- Natural stone and brick — Occasionally needs releveling after a hard frost cycle, but otherwise remarkably low-maintenance. Moss between the stones is a matter of taste — some people love it, others scrub it off with a stiff brush and diluted vinegar.
- Metal edging — Once corten has fully patinated, it needs nothing. Galvanized and aluminum products are essentially maintenance-free for the life of the installation.
- Wooden edging — An annual coat of exterior wood oil or stain will slow weathering noticeably. You can leave it to grey naturally if you prefer, but it’ll deteriorate faster in persistently damp conditions.
- Living plant borders — The most time-intensive option by far. Expect to clip two or three times a season, plus occasional feeding to keep the edge looking crisp and the plants healthy.
- Upcycled materials — Entirely depends on what you’ve used. Glass needs nothing. Metal objects may eventually need rust treatment. Painted wood will need repainting as the finish weathers.
One last thing that’s easy to overlook: the transition where your edging meets the adjacent surfaces. Where it meets a lawn, a narrow mowing strip — a band of gravel, flat stone, or bare soil — lets your mower wheel run along the edge without scalping the turf or damaging the edging. Where it meets a path or patio, make sure any height change is gradual enough to step over safely in low light. These small finishing details are what separate a garden that looks properly done from one that’s almost there.
Choosing the Right Edging for Your Garden Style and Budget
The best edging is ultimately the one that actually fits your garden — its character, your climate, and what you’re willing to spend. A formal garden with clipped hedges and symmetrical beds calls for the precision of brick or dressed stone. A wild naturalistic meadow looks far better with a simple log border or a living edge of low grasses that echoes the informality of everything around it. Dropping a sleek corten steel strip into a cottage garden full of rambling roses and self-seeded foxgloves creates a visual tension that never quite settles, no matter how beautifully each element looks on its own.
Be realistic about budget too, because the spread between materials is wide. Running roughly from cheapest to most expensive: upcycled and found materials, pressure-treated timber, concrete pavers, manufactured stone, natural stone, brick, and then fabricated corten or aluminum from specialist suppliers. That said, the cheapest material installed sloppily will always look worse than a mid-range option put in with genuine care. And don’t forget to budget for tools and soil preparation — the hidden costs of installation supplies catch a lot of first-time gardeners off guard.
The most useful advice, though? Just start. A surprising number of gardeners spend years researching the perfect edging solution while their beds keep bleeding into the surrounding lawn. Even a simple trench edge — a clean vertical cut made with a spade along the bed perimeter, refreshed a couple of times a season — is dramatically better than nothing. It costs you nothing but an hour of your time and a flat spade, and it will make your garden look noticeably more cared-for almost immediately. From there, you can explore permanent materials at whatever pace your budget and enthusiasm allow, gradually building toward the garden you actually have in your head.








What do you think?
It is nice to know your opinion. Leave a comment.