










DIY Kitchen Wall Art: Transform Your Cooking Space with Creative Handmade Decor
Why Kitchen Wall Art Matters More Than You Think
The kitchen is often called the heart of the home, and for good reason. It’s where families gather every morning over coffee, where children do homework while dinner simmers on the stove, and where some of the most meaningful conversations happen between people who love each other. Yet despite all this significance, kitchen walls are frequently left bare or decorated with generic store-bought prints that carry no personal meaning. Adding thoughtful, handmade wall art to your kitchen is one of the most impactful changes you can make to elevate the entire feel of the space without spending a fortune or undergoing a major renovation.
There is a psychological dimension to the spaces where we cook and eat that many interior designers understand but homeowners often overlook. When your kitchen walls reflect your personality, your sense of humor, your cultural background, or your love of food and gathering, the act of cooking itself becomes more enjoyable. Studies in environmental psychology suggest that people perform routine tasks with greater satisfaction and creativity when their surroundings feel personal and meaningful. A hand-lettered quote about cooking, a botanical print of your favorite herbs, or a whimsical illustration of a beloved family recipe can subtly but powerfully shift how you feel every time you step into the room.
DIY kitchen wall art also offers something that commercial decor simply cannot provide: authenticity. When you create something yourself, it carries the energy of your effort, your choices, and your creativity. Guests will immediately notice and comment on pieces that look intentional and personal rather than mass-produced. Beyond aesthetics, making your own art is genuinely satisfying. It provides a creative outlet outside of work and daily responsibilities, and the finished product becomes a source of quiet pride every time you glance at it while washing dishes or waiting for water to boil.
Gathering Your Materials and Planning Your Design
Before you pick up a paintbrush or download a font for a hand-lettering project, it pays enormously to spend some time in the planning phase. Walk into your kitchen and really look at the walls. Consider the color palette of your cabinets, countertops, and backsplash. Think about the lighting conditions throughout the day — does the kitchen get warm afternoon sun or is it lit primarily by overhead fluorescents? Does the overall style lean modern and minimalist, farmhouse cozy, boho eclectic, or something uniquely your own? The answers to these questions will shape every material and design decision you make, so it’s worth taking notes or snapping a few photos of the space before you begin.
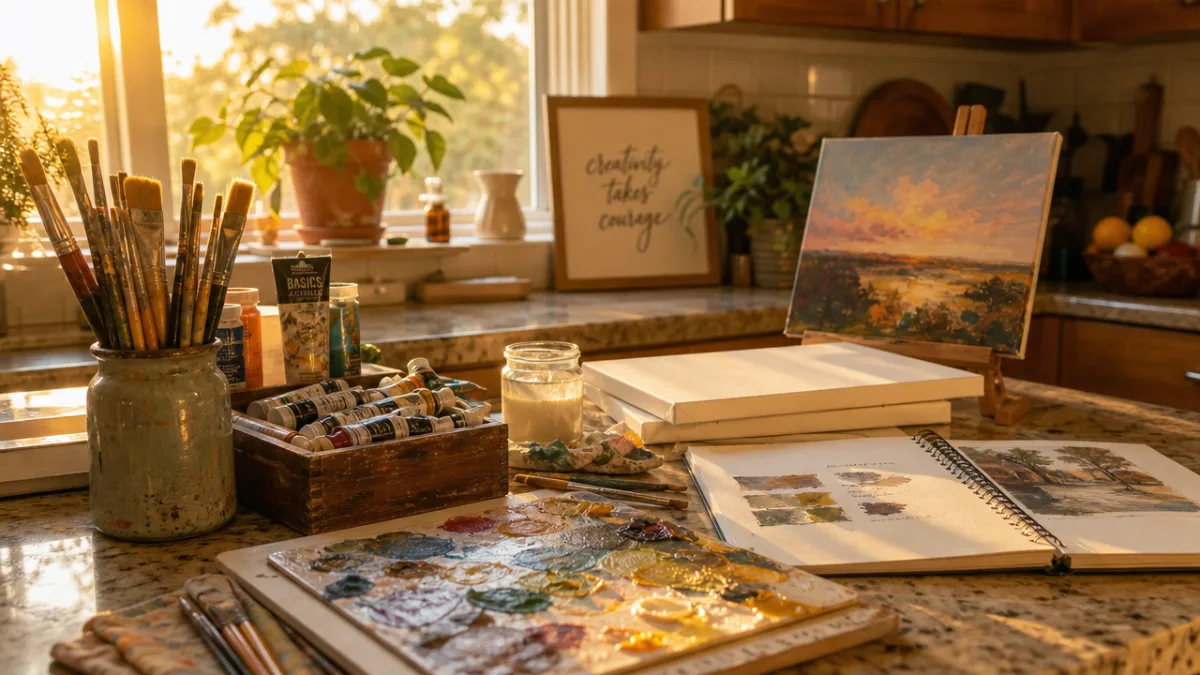
The good news about DIY kitchen wall art is that the materials required are almost universally affordable and widely available. A trip to a craft store or even a dollar store can yield an impressive array of supplies. Depending on the style of art you want to create, you might consider acrylic paints in a range of colors, watercolor sets, chalk markers, wooden boards or plaques, stretched canvas in various sizes, picture frames (new or thrifted), washi tape, fabric scraps, air-dry clay, or even chalkboard paint. If you’re planning to create something more graphic or typographic, a home printer and some quality cardstock can get you remarkably far, especially when paired with a nice frame.
Planning the layout of your wall display is just as important as planning the individual pieces. A single large piece can make a bold statement above a breakfast nook or kitchen table. A gallery wall of smaller frames can fill an awkward empty stretch of wall between cabinets. Leaning framed art on a shelf or countertop edge is a low-commitment option that lets you swap pieces out easily with the seasons or your mood. Before you commit to nailing holes in the wall, try cutting paper templates in the sizes of your frames and taping them up temporarily to preview the arrangement. This simple step saves a surprising amount of frustration and plaster patching.
Consider the following materials as a starter list for most DIY kitchen wall art projects:
- Acrylic or watercolor paints in food-inspired tones like terracotta, sage green, mustard yellow, and cream
- High-quality picture frames in coordinating finishes such as black metal, natural wood, or antique gold
- Stretched canvas in sizes ranging from 5×7 inches for small accent pieces to 16×20 inches for statement works
- Paintbrushes in a variety of sizes including fine-tip liners for lettering and broad flats for backgrounds
- Pencils, rulers, and painters tape for planning and masking straight lines
- Transfer paper or a light box for tracing designs if you prefer not to freehand
- Mod Podge or a similar sealant to protect finished pieces from kitchen humidity and splashes
Five Beginner-Friendly DIY Kitchen Wall Art Ideas
One of the most beloved and timeless approaches to kitchen wall art is the hand-lettered food quote. Think of something that captures the spirit of your kitchen: a line from a favorite cookbook author, a saying passed down from a grandparent, or a simple sentiment like “Good food, good mood” written in flowing script. You don’t need to have professional calligraphy skills to make this work. Start by printing your chosen quote in a font you love, then use transfer paper to trace it lightly onto your canvas or wood surface. From there, you can trace over the pencil marks with a paint pen, brush, or fine-tipped marker. The result looks polished and intentional even if your freehand lettering is a work in progress.
Botanical herb prints are another endlessly versatile option that feels both artistic and thematically perfect for a kitchen. Fresh herbs like rosemary, basil, thyme, sage, and lavender have beautifully graphic shapes that translate naturally into illustration. You can paint these from life, trace photographs, or even use the herbs themselves by coating them lightly with paint and pressing them directly onto paper or canvas for a nature print effect. A series of three or four small botanical prints in simple matching frames creates an elegant, coordinated display that feels sophisticated without requiring any advanced art skills. Choose a consistent color palette — perhaps black ink on cream paper, or muted greens on a warm white background — to unify the series.
Chalkboard art is a particularly practical and charming choice for kitchens because it can be changed as often as you like. You can purchase a ready-made chalkboard frame, or create your own by painting any flat surface with chalkboard paint and adding a frame around it. Use chalk markers rather than traditional chalk for cleaner lines and more vibrant color. Your chalkboard can serve as a weekly menu board, a space for a rotating favorite quote, a seasonal greeting, or simply a spot for a beautiful illustration of whatever fruit or vegetable is in season. The interactivity and flexibility of chalkboard art makes it especially well-suited to the kitchen’s ever-changing rhythm.
Food and ingredient illustrations painted directly onto wooden cutting boards that are no longer used for food prep create charming, rustic pieces with tremendous visual warmth. Sand the surface lightly, apply a thin base coat of white or cream paint, and then paint a simple illustration of a vegetable, fruit, or kitchen item directly onto the wood. Hang the board by a leather cord or a piece of jute twine threaded through the existing handle hole. A set of three or four boards of varying sizes hung at different heights creates a layered, artisanal display that looks like something you’d find in a high-end farmhouse kitchen. Seal the painted surface well to protect it from kitchen moisture.
For those who enjoy a more graphic, modern aesthetic, abstract color block art made with painters tape and acrylic paint delivers maximum visual impact with minimal technical skill required. Use tape to mask off geometric shapes — rectangles, triangles, or asymmetric blocks — on a stretched canvas and then fill each section with a carefully chosen color from your kitchen’s existing palette. Remove the tape while the paint is still slightly wet for the cleanest lines. Layer colors, overlap shapes, or leave sections of the raw canvas visible for textural contrast. The beauty of abstract art is that there is no wrong answer, which makes it genuinely freeing for first-time painters who worry about making mistakes.
Intermediate Techniques to Elevate Your Kitchen Art
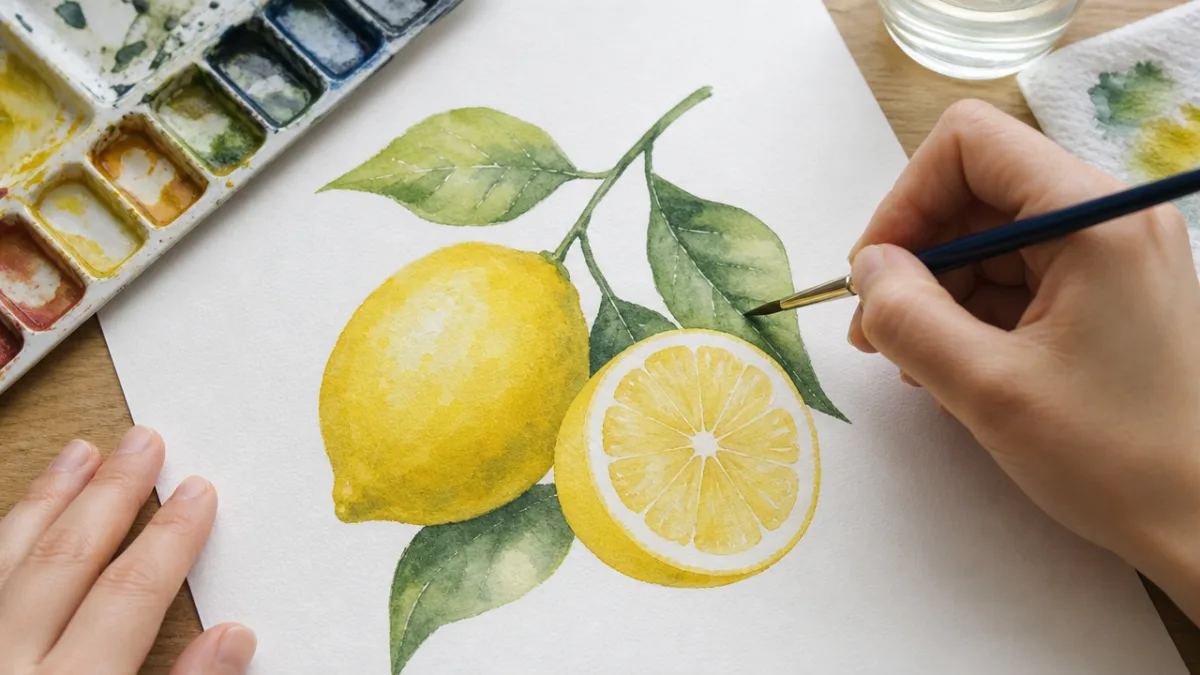
Once you have a few beginner projects under your belt and feel comfortable with basic techniques, it’s deeply rewarding to push your skills into slightly more challenging territory. One excellent next step is learning the fundamentals of watercolor painting as it applies to food illustration. Watercolor has a soft, translucent quality that renders fruits, vegetables, and herbs with a luminous beauty that other mediums struggle to match. The key to successful watercolor food illustration is working wet-on-wet for soft, blended backgrounds and then building up detail with drier brushwork once the base layer is fully dried. Start with simple subjects like a single lemon cut in half, a bunch of radishes, or a ripe tomato before working up to more complex compositions.
Block printing is another intermediate technique that opens up exciting possibilities for creating repeating patterns or bold graphic prints perfect for the kitchen environment. You can carve simple designs — a lemon slice, a herb sprig, a coffee cup — into a soft carving block using linocut tools available at most craft stores. Once your design is carved, roll printing ink over the block with a brayer and press it firmly onto paper, fabric, or canvas. Misregistrations and slight imperfections in block printing are part of its handmade charm rather than flaws to be corrected. A series of block-printed designs on matching paper mounted in coordinating frames makes for a highly professional-looking display that most visitors will assume came from an expensive boutique shop.
Decoupage offers a uniquely layered and textural approach to kitchen wall art that is highly adaptable to different styles. By adhering torn or cut pieces of paper — pages from old cookbooks, food magazine cutouts, vintage recipe cards, or decorative tissue paper — to a canvas or board using Mod Podge, you can create collage-style pieces with incredible depth and visual richness. Seal every layer thoroughly as you build the piece up, and finish with multiple coats of a matte or glossy top coat. The kitchen theme lends itself beautifully to this technique because there is such an abundance of relevant source material: vintage seed packets, old menu illustrations, handwritten recipes, botanical engravings, and food-themed ephemera are all perfect candidates.
For the particularly adventurous crafter, exploring resin art for kitchen wall pieces opens up a world of glassy, jewel-toned possibilities. Pressed herbs, dried citrus slices, or even decorative spices can be suspended in clear resin poured into a frame or mold, creating wall pieces that look almost edible in their beauty. Resin work requires careful attention to ventilation, proper mixing ratios, and temperature conditions, but the results are genuinely spectacular and completely unique. A resin panel featuring dried lavender, pressed thyme, and a sprig of rosemary embedded in amber-tinted clear resin would be a breathtaking focal point above a kitchen shelf and would hold up beautifully to the environment for years.
Styling and Displaying Your Kitchen Wall Art Effectively
Creating beautiful art is only half the equation — how you display it makes an enormous difference to the final visual impact. The principles of good art display in a kitchen are not fundamentally different from those in any other room, but the kitchen environment does introduce some specific considerations. Avoid placing art too close to the stove or any area where steam, grease, or heat is concentrated, as these can damage even well-sealed pieces over time and will certainly accumulate grime. The best placement for kitchen wall art tends to be on walls adjacent to or across from the cooking area: above a breakfast table, along a dining nook wall, between the refrigerator and a doorway, or on the wall above open shelving.
When hanging multiple pieces together, consistency in one element creates cohesion while variation in other elements creates visual interest. For example, if all your frames are the same finish — all black, all natural wood, or all white — you can vary the sizes, orientations, and content of the art inside them significantly without the gallery wall looking chaotic. Conversely, if your art pieces are all very similar in style and subject matter, varying the frame shapes and sizes adds dynamism to the arrangement. The most important thing is to avoid mixing too many competing variables at once: similar frames with wildly different art works; very different frames benefit from more cohesive art content.
Lighting your kitchen wall art intentionally can transform its impact dramatically. If your kitchen has any under-cabinet lighting or pendant fixtures nearby, consider how that light falls on your art during evening hours. Small battery-operated picture lights that attach directly to the tops of frames are an inexpensive and installation-free way to spotlight a favorite piece without any electrical work. During the day, art placed on walls that receive natural light will have a living, shifting quality as the light moves throughout the hours — something that adds genuine warmth and vitality to a kitchen space. Reflective or metallic elements in your art, such as gold leaf accents or glossy resin finishes, will interact particularly beautifully with changing light.
Don’t underestimate the power of layering art with other objects on shelves and ledges. Leaning a framed print against the backsplash behind a row of cookbooks, propping a small botanical illustration against a jar of wooden spoons, or hanging a piece of art on the side of an open cabinet rather than on an open wall are all ways to integrate your handmade art into the functional life of the kitchen rather than keeping it entirely separate from the working elements of the space. This integrated approach feels less like a formal gallery and more like a curated, lived-in space where art and daily life comfortably coexist — which is ultimately the ideal atmosphere for any kitchen.
Seasonal Updates and Keeping Your Kitchen Art Fresh Over Time
One of the distinct advantages of DIY kitchen wall art over expensive purchased pieces is the ease and affordability of updating your display as seasons change, tastes evolve, or you simply feel ready for something new. Developing a small collection of interchangeable pieces that can rotate in and out of your frames throughout the year keeps the kitchen feeling dynamic and seasonally connected. Spring might call for cherry blossom prints and soft pastel color palettes; summer invites bold citrus illustrations and tropical botanical references; autumn is perfect for warm terracotta tones and harvest-inspired imagery; winter welcomes deep jewel tones, candlelit warmth, and imagery of warming foods like soups, bread, and mulled wine.
Creating a seasonal rotation also means that you’re always working on something new, which keeps your creative skills developing over time. What begins as a simple traced-and-painted quote in year one might evolve into a fully illustrated, multi-element composition by year three as your confidence and technique grow. Keep your older pieces rather than discarding them — they make excellent gifts for friends and family who admire them, and looking back at earlier work is a genuinely satisfying reminder of your creative growth. Many people who begin making kitchen wall art as a purely decorative exercise find that it becomes a meaningful ongoing creative practice that enriches their daily life in ways that extend well beyond home decor.
Sustainability is another dimension worth considering as you build your collection over time. Thrift stores and garage sales are treasure troves of frames in excellent condition that need only a coat of spray paint to be unified with your existing display. Old cutting boards, barn wood scraps, and reclaimed wooden frames all make beautiful substrates for painted or printed art. Using materials thoughtfully — buying only what you’ll genuinely use, repurposing whenever possible, and choosing water-based paints and finishes rather than solvent-based ones — means that your creative practice has a minimal environmental footprint while still producing pieces of genuine beauty and lasting value.
Sharing your process and finished pieces with others, whether through social media, with neighbors and friends, or by gifting pieces to people you love, creates a ripple effect of creative inspiration that extends far beyond your own kitchen walls. When you share a process photo of a botanical print in progress or post the finished gallery wall arrangement you’ve been working toward for months, you give others permission and encouragement to try their own hand at making something beautiful. The community that forms around DIY home decor and handmade art is genuinely generous, supportive, and full of people who love to share techniques, source materials, and creative ideas — joining that community, even loosely, enriches the whole experience of making.
Budget Breakdown and Making the Most of Every Dollar
One of the most compelling arguments for DIY kitchen wall art is the remarkable disparity between cost and outcome. A quick browse through any home decor retailer or online marketplace will reveal that even modestly sized art prints sell for anywhere from thirty to several hundred dollars, and larger statement pieces can easily run into the thousands. By contrast, a stretched canvas, a set of acrylic paints, and a few brushes can be acquired for under twenty dollars during a craft store sale, and that same set of supplies can yield multiple finished pieces. When you factor in the additional satisfaction of having made something yourself, the value proposition of DIY art is essentially unbeatable.
To stretch your budget as far as possible, consider the following cost-saving strategies that experienced DIY artists rely on regularly. Buying supplies in small quantities initially lets you experiment without over-committing to materials that may not suit your style. Once you identify the techniques and materials you genuinely love, buying in slightly larger quantities per supply run brings the per-unit cost down considerably. Signing up for email lists at major craft retailers is a reliable way to receive regular coupons — most craft chains regularly offer discounts of 40 to 50 percent on a single item, which adds up to substantial savings over time especially on more expensive supplies like quality brushes, large canvases, or specialty paints.
Consider organizing a crafting session with friends or neighbors who are also interested in making kitchen art. When a group of people pools their supplies, shares techniques, and works together on projects, the per-person cost drops dramatically while the experience gains an invaluable social dimension. Potluck crafting sessions where everyone brings a different type of supply — one person contributes frames, another brings paint, another provides specialty papers — create an environment of creative abundance and community that produces not only beautiful finished pieces but lasting memories. The act of making something with others in a kitchen, surrounded by good food and conversation, is itself a perfect tribute to what kitchens are fundamentally for.
Here is a realistic budget breakdown for a beginner’s kitchen gallery wall featuring five pieces:
- Five assorted frames (thrifted and spray painted): approximately $10 to $15 total from a local thrift store, plus $5 for a can of spray paint in your chosen finish
- Acrylic paint set (12 basic colors): approximately $8 to $12 from a craft store, often on sale or with a coupon
- Set of five mixed-size canvases: approximately $12 to $18 for a multipack, frequently discounted
- Paintbrushes (starter set of 6 to 10 brushes): approximately $8 to $15 depending on quality
- Matte Mod Podge for sealing: approximately $6 to $8 for an 8-ounce bottle that will last through many projects
The total investment for a complete beginner kitchen gallery wall using these estimates comes to between $49 and $73, which is less than the cost of a single mid-range art print from most retail sources. And unlike a purchased print, your handmade collection is one of a kind, deeply personal, and a reflection of your own creative vision. As you continue making and refining your art, the cost per piece drops further because your existing supply collection grows, your skills improve, and you waste less material on experiments that don’t pan out. Kitchen wall art made by your own hands is, in every sense that matters, priceless — and getting started costs almost nothing at all.








What do you think?
It is nice to know your opinion. Leave a comment.