










“`html
DIY Backyard Gym: Build Your Ultimate Outdoor Fitness Space on a Budget
Turning your backyard into a real, working gym might be one of the best home projects you ever take on. You ditch the monthly membership fees, cut out the commute, and suddenly you can work out whenever you feel like it — outside, in the fresh air, in a space that’s actually built around your goals. Whether your yard is huge or you’re working with a tight corner, a DIY backyard gym is absolutely doable if you go in with a decent plan.
Outdoor and home gyms have exploded in popularity over the last few years, and honestly, it makes a lot of sense. There’s something genuinely different about training outside. Sunlight gives you a vitamin D boost, fresh air helps you breathe better through hard sets, and there’s none of that crowded-gym anxiety hanging over your head. When you build your own space, you get all of that — plus full control over what you spend.
This guide walks you through the whole process, from figuring out your space and budget all the way through picking equipment, laying flooring, weatherproofing, and keeping everything in good shape long-term. By the time you’re done reading, you’ll have a solid roadmap to build a gym that’ll hold up for years without costing a fortune or needing a contractor.
Planning Your Space and Setting a Realistic Budget
Before you buy a single thing, take a walk around your yard and actually measure the space you’re willing to give over to a gym. Think about how much lawn, garden, or play area you want to keep, and work around that. Honestly, even a 10-by-12-foot patch is enough to build a solid training zone that handles strength work, cardio, and mobility — so don’t stress if you’re working with less than you’d like.
When it comes to budget, it’s easier to think in tiers. A bare-bones setup built around bodyweight tools, resistance bands, and a few free weights can come together for as little as $300 to $500. Step up to a mid-range build — power rack, barbell, weight plates, rubber flooring — and you’re probably looking at $1,500 to $3,000. Go all-in with weatherproof equipment, a shade structure, and mirrors, and you might spend up to $5,000, but even that beats most gym memberships over five years, usually by a wide margin.
One thing a lot of people skip and later regret: check your local zoning rules and any HOA guidelines before you start building anything permanent. Some areas require permits for shade structures, pergolas, or concrete slabs over a certain size. Finding this out early saves you real headaches — and real money — down the line. Add any permit timelines to your project schedule so you’re not scrambling when you’re finally ready to build.
Sketching Your Layout
Once you know your space and your budget, sketch out a rough layout. You can do this on paper or use a free online floor plan tool. Try to define zones for different kinds of training — a lifting area, a cardio zone, a stretch and mobility corner, and somewhere to stash gear. Keeping things organized from the start makes training flow much more naturally and keeps the space from turning into a chaotic pile of equipment.
Pay attention to where the sun hits your yard and when. If your main lifting area catches morning shade, summer workouts get a lot more bearable. If you’re planning to add a shade sail or pergola, spend a day watching how the sun moves across your yard — it’s worth the extra thought. Also, take stock of where your exterior outlets are. Running an extension cord across wet grass is a pain and a safety hazard, so thinking through your electrical access early makes everything easier later.
Choosing the Right Flooring for Your Outdoor Gym
Flooring might be the most important structural decision you make for your outdoor gym, and it’s also one of the most commonly overlooked. Good flooring protects your joints, keeps equipment from sinking into soft ground, gives you traction when things get wet, and helps anchor heavier gear. Get it wrong and you’re dealing with injuries, worn-out equipment, and a muddy mess every time it rains.
Rubber flooring is the go-to choice for outdoor gyms, and it’s earned that reputation. Interlocking rubber tiles in half-inch or three-quarter-inch thickness absorb impact well, handle moisture without issue, and hold up to UV exposure over time. If you want to save money without sacrificing much quality, horse stall mats — yep, the kind made for actual horses — are a cult favorite in the home gym world. A standard 4-by-6-foot mat runs about $40 to $60, weighs around 100 pounds, and is nearly indestructible under normal training conditions.
If you want something that looks a bit more polished, poured rubber or artificial turf over a compacted gravel base can give your space a commercial-gym feel without the commercial-gym price tag. Turf in particular is great for sled pushes, agility drills, and anything functional. Whatever you go with, make sure your base surface is level and drains well. A slight slope with compacted gravel underneath your flooring keeps water moving away instead of pooling under your mats, which is where mold and bad smells come from.
Flooring Options at a Glance
- Horse stall mats: Affordable, durable, and widely available at farm supply stores. Best for lifting platforms and heavy equipment zones.
- Interlocking rubber tiles: Easy to install and replace individually, ideal for covering larger areas with a clean, uniform appearance.
- Artificial turf: Excellent for functional training, looks great, drains well, and is soft underfoot during bodyweight movements.
- Poured rubber: The most professional-looking option, but requires professional installation and carries a higher upfront cost.
- Concrete slab: A permanent, low-maintenance base that works well under rubber matting but requires significant upfront work and potentially permits.
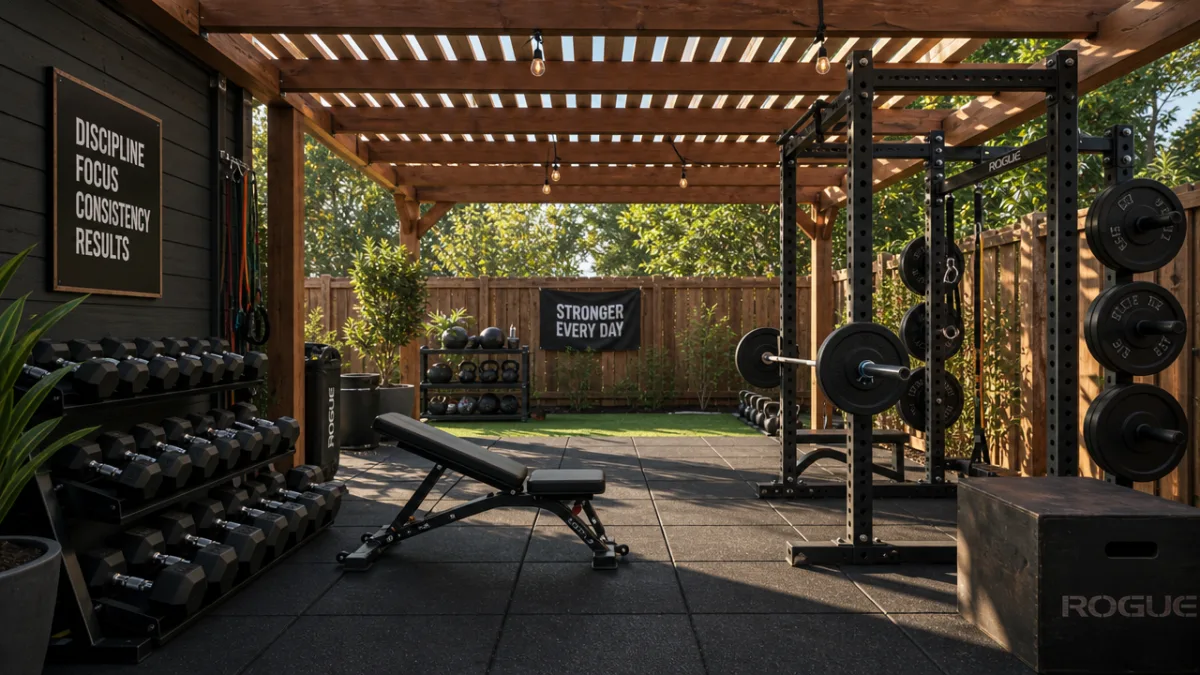
Selecting Equipment That Maximizes Versatility and Value
Equipment is where people tend to either make really smart choices or spend way too much on stuff they’ll never use. It’s tempting to recreate every machine from your old commercial gym, but that road leads to overspending, a cluttered space, and a gym that feels more like a storage unit than somewhere you actually want to train. The better approach is to lean into versatility — buy things that work for a lot of different movements rather than single-purpose machines that eat up space and collect dust.
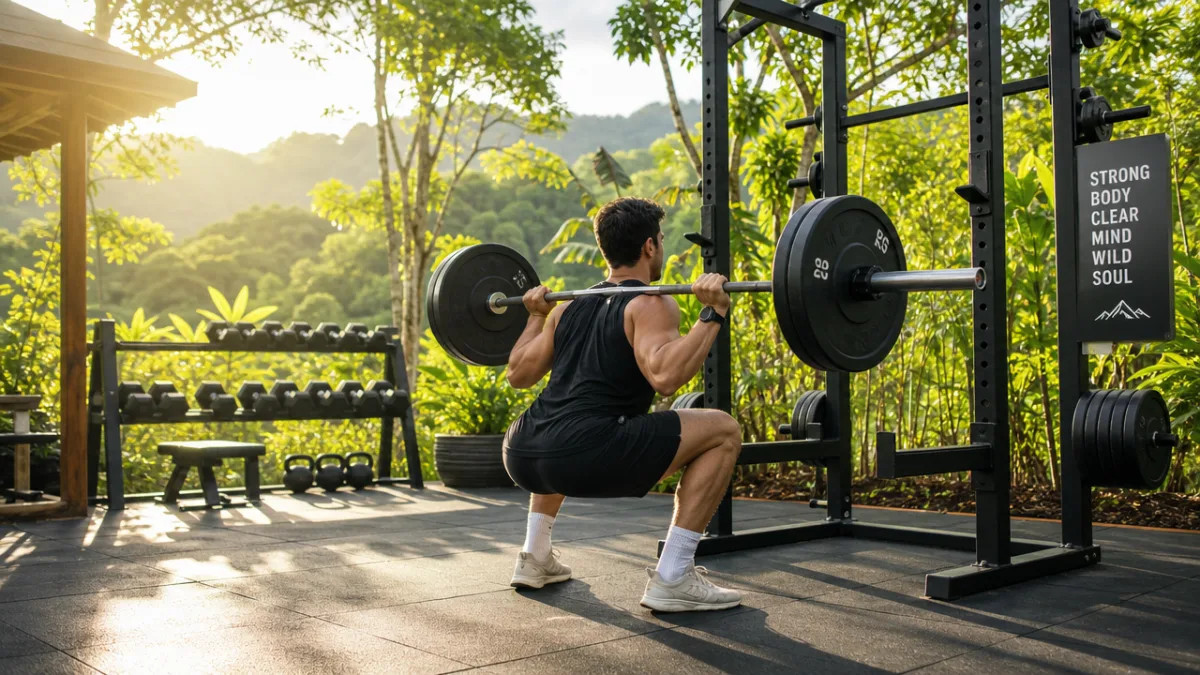
A power rack or squat stand is the natural centerpiece of any strength-focused setup. You can find decent budget options around $300, and higher-end rigs can run past $2,000 — there’s a lot of middle ground. For outdoor use, look specifically for powder-coated or galvanized finishes that’ll resist rust. Add a quality Olympic barbell, a set of bumper plates (they’re more durable than iron plates and safer to drop), and a solid flat bench, and you’ve got everything you need for every major compound lift.
From there, resistance bands, kettlebells, and a pull-up bar give you a ton of variety for not much money and almost no space. A set of kettlebells ranging from 16 to 32 kilograms covers an enormous range of movements — swings, Turkish get-ups, goblet squats, single-arm presses, you name it. Resistance bands are perfect for warm-ups, mobility work, and adding banded resistance to barbell movements. When shopping for any outdoor equipment, look for commercial-grade or corrosion-resistant options wherever you can. Standard consumer gear tends to deteriorate pretty quickly once it starts living outside.
Budget Equipment Priorities by Fitness Goal
- Strength and muscle building: Power rack, Olympic barbell and bumper plates, adjustable dumbbells, flat/incline bench.
- Cardio and conditioning: Jump rope, battle ropes, kettlebells, weighted sled or prowler.
- Functional fitness and crossfit-style training: Pull-up rig, gymnastic rings, plyo boxes, medicine balls.
- Flexibility and recovery: Foam rollers, yoga mat, mobility bands, lacrosse balls for myofascial release.
Building Shelter and Managing Weather Exposure
Weather is probably the biggest practical challenge with any outdoor gym. Sun, rain, wind, and temperature swings can beat up your equipment, make training miserable, and slowly but surely convince you to stop using the space at all. Getting some shelter in place protects your gear and genuinely changes how many days a year your gym actually feels usable.
A shade sail or retractable awning is one of the most budget-friendly ways to get overhead coverage. Heavy-duty shade sails can span a large area for just a few hundred dollars when strung between posts, a fence, and your house. They cut a significant amount of UV, bring down surface temperatures on hot days, and handle light rain reasonably well. If you want something more substantial, a freestanding pergola or prefabricated metal carport kit gives you real four-season protection in most climates and can usually be assembled without professional help — which is why they’re so popular with serious outdoor gym builders on a mid-range budget.
Beyond overhead cover, think about wind and privacy too. A simple lattice panel with outdoor fabric or some climbing plants can block wind, reduce distractions, and make the whole space feel more like your own. In colder climates, a small outdoor-rated electric space heater can meaningfully extend your training season. In hot ones, a portable misting fan or a good shade setup makes the difference between a gym you use every day and one that sits empty from June through August.
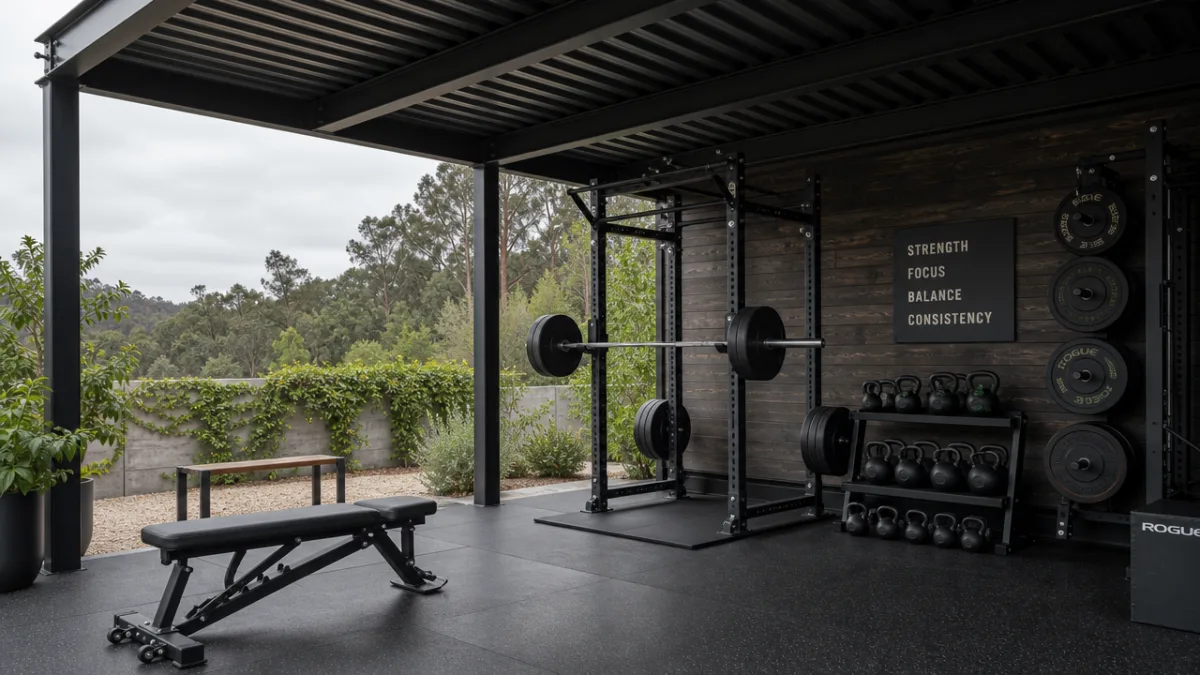
Weatherproofing Your Equipment
Even with a shelter overhead, your equipment needs some regular attention. Wipe down barbells and weight plates after each session and give them a light coat of 3-in-1 oil every so often to keep surface rust from taking hold. If the factory finish on your rack or pull-up bar starts to chip or wear through, touch it up with outdoor-rated paint or clear coat before moisture gets a chance to work its way in. Smaller items like dumbbells, kettlebells, and bands will last much longer if you store them in a weatherproof box or garden shed when you’re not training.
Anything wooden — plyo boxes, lifting platforms with wood cores — needs to be sealed with exterior wood sealant before it goes outside, and resealed once a year after that. Untreated wood soaks up moisture, swells and shrinks with the seasons, and eventually rots, cracks, or falls apart. Use pressure-treated lumber for any framing, and coat any exposed wood surfaces with a high-quality exterior polyurethane or epoxy. Do it right and those pieces can easily last a decade or more with minimal upkeep.
Adding Finishing Touches to Maximize Motivation and Safety
The gap between a gym that’s just functional and one you actually love training in usually comes down to the small stuff. You don’t need to spend a lot — some good lighting, a place to fill your water bottle, a Bluetooth speaker, and maybe a bit of personality on the walls can completely change how a space feels. Motivation isn’t unlimited, and your environment matters more than most people realize when it comes to keeping a routine going month after month.
Outdoor-rated string lights or LED strip lighting along the eaves of a pergola make early morning and evening sessions actually pleasant when natural light is scarce. A hose bib or small outdoor sink nearby means you can fill water bottles and rinse things off without walking back into the house every five minutes. A weather-resistant shelf or pegboard on a fence or wall keeps bands, jump ropes, foam rollers, and other small accessories off the floor and within easy reach. That kind of organization makes the space easier to train in and a lot easier to keep clean.
Safety is just as important and shouldn’t be an afterthought. Anchor your power rack securely to the floor or a concrete base — an unanchored rack under a heavy load can tip, and that’s a serious injury waiting to happen. Always set your safety bars or spotter arms at the right height before you lift alone. Keep a first aid kit somewhere visible and accessible. If kids or pets have access to your backyard, a simple gate or lock on the gym area keeps them away from heavy equipment when you’re not around. And before you finalize your layout, make sure there’s a clear path out of the gym in case of an emergency.
Maintenance Schedule to Keep Your Gym in Peak Condition
- After every session: Wipe down barbells, dumbbells, and benches with a dry or lightly oiled cloth. Return all equipment to its designated storage location.
- Weekly: Sweep or hose down rubber flooring, check resistance bands for signs of cracking or wear, inspect rack hardware for looseness.
- Monthly: Lubricate barbell sleeves and knurling, inspect wooden components for moisture damage, check anchoring points on all fixed structures.
- Seasonally: Reapply sealant to wooden surfaces, touch up any rust spots on metal equipment, inspect shade structures for UV or wind damage, reorganize storage to remove any items that have been damaged beyond safe use.
At the end of the day, building a backyard gym is an investment in your health, your time, and your day-to-day quality of life. Every morning you walk out your back door and train without a commute, a crowded locker room, or someone hogging the squat rack is a small win that adds up fast. Plan it well, choose your equipment thoughtfully, and keep up with maintenance, and you’ll have a space that earns its place in your life for many years of solid training.
“`








What do you think?
It is nice to know your opinion. Leave a comment.