










76 DIY Wall art Ideas for Those Blank Walls: Transform Your Space with Creativity
Why Blank Walls Are a Canvas Waiting to Happen
There is something quietly unsettling about a blank wall. You move into a new space, arrange the furniture, fluff the cushions, and then you look up and see that vast, empty expanse staring back at you. It feels unfinished, like a sentence that trails off without a period. The good news is that blank walls are not a design failure — they are an open invitation, a canvas stretched and primed and waiting for you to make your mark on it in a way that feels completely your own.
DIY wall art has exploded in popularity over the past decade, and for excellent reason. Creating your own pieces gives you total control over color, scale, texture, and mood in a way that mass-produced prints simply cannot match. When you make something yourself, it carries a story — the afternoon you spent experimenting with watercolors, the weekend you learned to macramé, the afternoon light that was just right when you finally got that abstract pour painting to behave the way you wanted it to. That narrative becomes part of your home.
Beyond the personal satisfaction, DIY wall art is genuinely budget-friendly. A gallery wall of custom pieces that would cost hundreds of dollars at a boutique home decor shop can often be assembled for a fraction of the price using materials from a craft store, thrift shop, or even your own recycling bin. The key is knowing where to start, which styles suit your space, and which techniques are achievable for your skill level. This guide walks you through 76 ideas organized into helpful categories so you can find your perfect project without feeling overwhelmed.
Abstract and Paint-Based Wall Art Projects
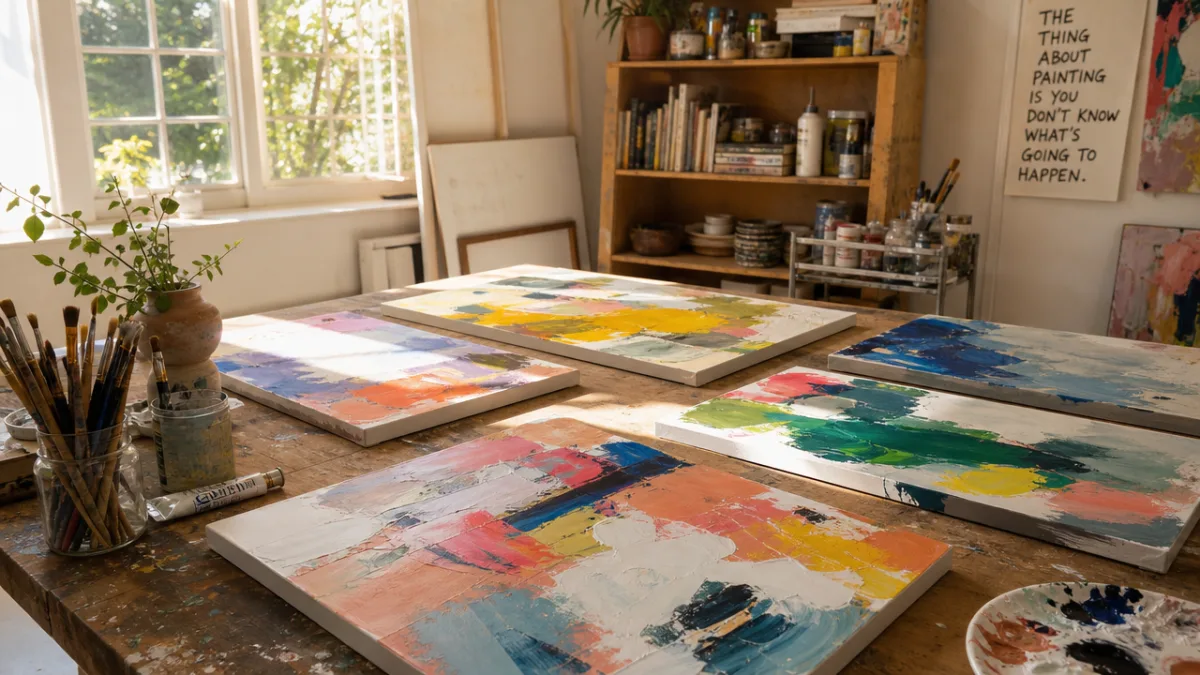
Abstract painting is perhaps the most freeing category of DIY wall art because there are no rules about what the finished piece should look like. Acrylic pour painting — where you mix thinned acrylic paint with a pouring medium and let it flow across a canvas — creates stunning, organic patterns that look genuinely professional. The technique relies on the interaction of colors and gravity rather than artistic skill, which makes it wonderfully accessible. Each pour is unique, meaning your finished piece is truly one of a kind in the most literal sense possible.
Beyond pouring, there are dozens of ways to create compelling abstract art with paint. Palette knife painting produces bold, textured surfaces with a sculptural quality that catches light beautifully. Tape-resist painting uses masking tape to create crisp geometric shapes, then removes the tape to reveal clean lines against painterly backgrounds. Watercolor washes applied in loose, overlapping layers create dreamy, ethereal pieces that suit bedrooms and reading nooks perfectly. Even sponge printing, a technique many of us associate with elementary school art class, produces sophisticated results when done with thoughtful color choices and a considered composition.
If you want to try paint-based wall art but feel intimidated by a blank canvas, start with a black-and-white palette. Limiting yourself to two colors removes a significant layer of decision-making and forces you to focus on shape, line, and texture instead. Some of the most striking abstract pieces ever made use only two tones, and the discipline of a restricted palette often produces more cohesive, gallery-worthy results than an exuberant explosion of every color you own. Once you feel comfortable, you can gradually introduce a third accent color to add warmth or drama.
Other paint-based ideas worth exploring include stencil art on canvas or directly on walls, color-block canvases using painter’s tape for perfect geometric edges, ombre gradient paintings that drift from one hue to another, and negative space florals where the background color becomes as important as the subject. String painting — pressing paint-soaked string onto paper or canvas and dragging it in patterns — creates surprisingly sophisticated results with an almost marbled quality that works beautifully in groupings of three or five pieces.
Textile and Fiber Arts for Warm, Dimensional Walls
Textile wall art brings something to a room that paint on canvas simply cannot: warmth, softness, and a dimensional tactility that invites you to reach out and touch it. Macramé has experienced a massive resurgence and for very good reason — the craft requires only basic knot knowledge and a few supplies, yet produces pieces of genuine visual complexity and beauty. A large macramé wall hanging can anchor an entire room the way a piece of furniture does, drawing the eye and defining the space around it. With just cotton rope, a wooden dowel, and a handful of knot tutorials, you can create something extraordinary.
Woven wall hangings are another fiber art option that offers incredible creative range. Using a simple lap loom or even a DIY cardboard loom, you can weave pieces that incorporate different textures, colors, and materials including yarn, fabric strips, feathers, dried botanicals, and metallic threads. The process is meditative and relatively forgiving — unlike knitting or crochet, weaving allows you to see your work building in real time and make adjustments as you go. Finished weavings have an artisanal quality that reads as both handmade and sophisticated, striking a balance that is genuinely difficult to achieve in any other medium.
Embroidery hoops displayed as wall art offer another charming textile option that suits a wide range of interior styles. Stretched in a wooden hoop with colorful thread designs, embroidery feels fresh and modern despite being an ancient craft. You can find beginner-friendly patterns for botanicals, abstract geometric designs, celestial motifs, and even typographic pieces that turn meaningful words or quotes into tactile art. Grouping several hoops of different sizes creates a gallery wall effect with tremendous visual warmth. The combination of the natural wood hoop and the soft thread palette suits everything from rustic farmhouse interiors to modern Scandinavian-inspired spaces.
Beyond macramé, weaving, and embroidery, consider fabric panels stretched over wooden frames, appliqué pieces that layer fabric shapes into landscapes or abstract compositions, or dip-dyed fabric panels that hang from a dowel like a painted scroll. Punch needle art — a technique that uses a looped needle to push yarn through a backing fabric — creates plush, rug-like textures that are visually striking and deeply satisfying to make. Quilted wall art, using traditional patchwork patterns in modern colorways, bridges the gap between heritage craft and contemporary design with great elegance.
Paper and Print-Based Wall Art on a Budget
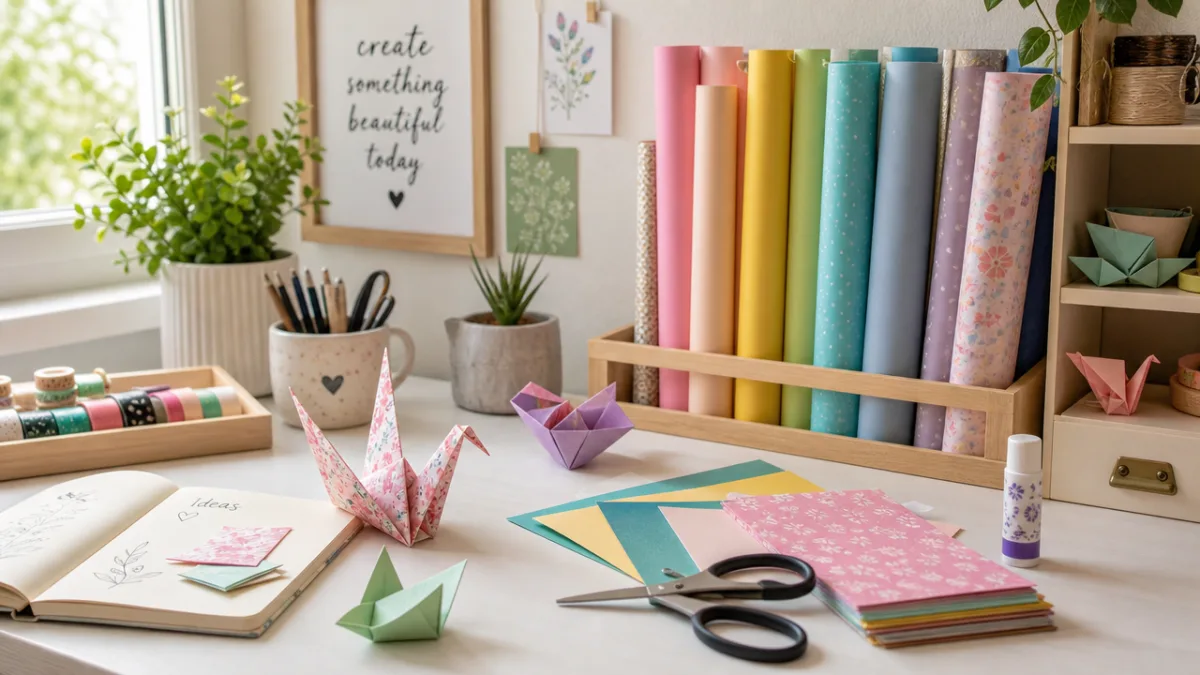
Paper is one of the most versatile and underrated materials in the DIY wall art toolkit. The range of things you can do with paper — from origami-inspired sculptural installations to simple printed downloadable artwork — spans every skill level and budget imaginable. Printable wall art, in particular, has democratized home decor in a remarkable way. Thousands of artists sell digital download files that you can purchase, print at home or at a print shop, frame, and hang for a total cost of just a few dollars. The result is a beautifully designed, professionally illustrated piece of art that looks as though it came from a high-end gallery.
Beyond printables, paper itself is a wonderful sculptural material. Paper fan walls — made from folded tissue paper, kraft paper, or patterned scrapbook paper — create dramatic, three-dimensional installations that are completely customizable in terms of color and scale. Origami wall art, where individual folded figures are mounted on canvas or arranged directly on a wall, creates an architectural quality that is genuinely eye-catching. Paper quilling, the art of rolling and shaping thin strips of paper into intricate designs, produces pieces of astonishing delicacy and detail despite requiring only basic tools and readily available materials.
Newspaper and magazine collage is another paper-based approach with a long and distinguished artistic pedigree stretching back to Picasso and the Cubists. Tearing or cutting images, text, and patterns from printed materials and layering them on canvas or board creates visually complex pieces rich with texture and meaning. You can work with a specific color palette, culling only pages that fit your chosen scheme, or let the randomness of found materials guide the composition. Either approach yields work that is genuinely unique and surprisingly personal, reflecting the materials available to you in your specific time and place.
Nature-Inspired and Botanical Wall Art Ideas
Nature has always been one of the most enduring sources of inspiration for wall art, and bringing natural materials directly into your DIY projects creates pieces with an organic vitality that manufactured materials struggle to replicate. Pressed flower and botanical art is one of the most beautiful and accessible options in this category. By pressing flowers, leaves, ferns, and grasses between the pages of heavy books for several weeks, you create flat botanical specimens that can be arranged on paper or fabric, placed under glass in a frame, and displayed as delicate, museum-quality artwork. The results are genuinely breathtaking and completely free if you have access to a garden or even a park.
Driftwood and branch installations bring a sculptural, organic dimension to walls that painted or printed art cannot match. A single large piece of driftwood, hung horizontally on a wall, becomes a statement piece in a coastal or Japandi-inspired interior. Smaller branches can be arranged in geometric patterns, woven with string or yarn, or used as hanging rods for other pieces of art. Gathering your own materials from hikes, beaches, or your own backyard adds another layer of personal meaning, and the slight imperfections and weathering of natural wood give these installations a character that no factory-produced object can truly imitate.
Dried botanicals — bundles of dried flowers, seed heads, grasses, and herbs — can be arranged in frames or attached directly to walls to create stunning natural installations. Pampas grass, eucalyptus, dried citrus slices, and preserved moss all work beautifully in wall-mounted compositions. A framed collection of dried botanicals arranged with intention has the gravitas of a natural history museum display while feeling warm and personal at the same time. These pieces also have the advantage of longevity, maintaining their beauty for years with very little maintenance, and they bring a subtle fragrance to a room that adds another sensory dimension to the aesthetic experience.
For a more graphic botanical approach, consider leaf printing directly onto fabric or paper using natural pigments or acrylic paint. Simply coat the surface of a leaf with a thin, even layer of paint and press it firmly onto your chosen surface to create a perfect print of every vein and edge. Repeating this process with different leaves, colors, and arrangements produces botanically accurate artwork with a handmade warmth. Cyanotype printing — a photographic process that uses sunlight and special chemicals to create blue-and-white silhouette prints of botanicals — is another nature-forward technique that produces strikingly beautiful results and has become increasingly popular as an accessible DIY art form.
Gallery Walls and Mixed-Media Installations
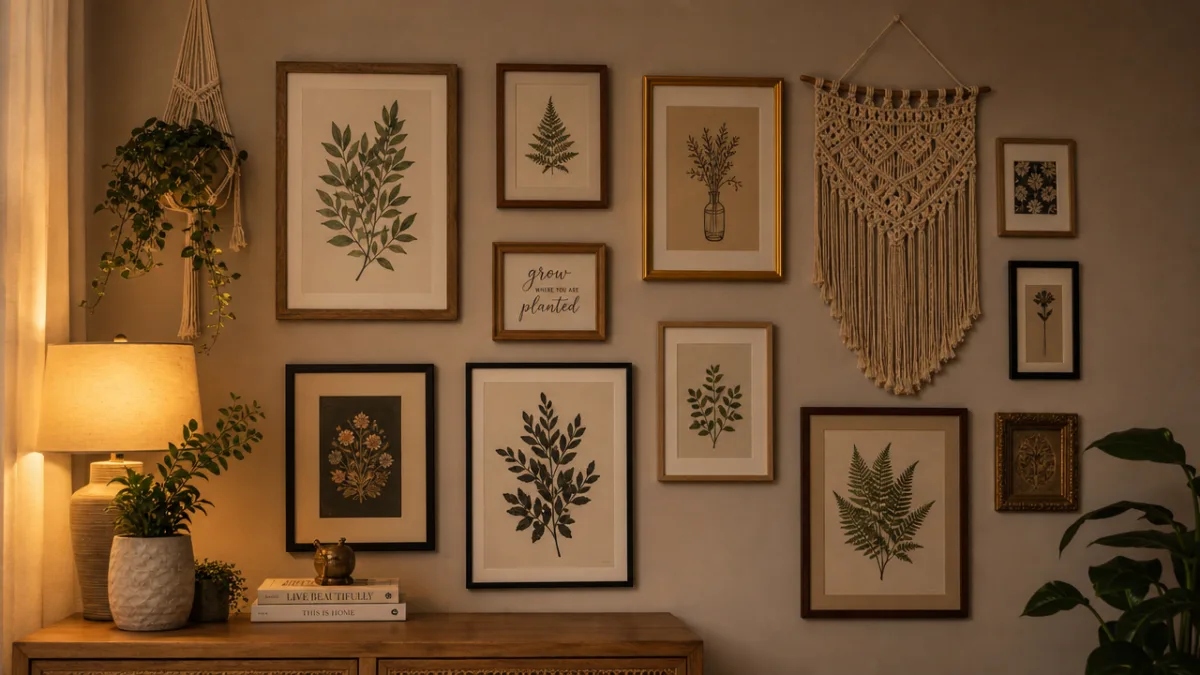
A gallery wall is one of the most impactful things you can do with an empty expanse of wall space, and when assembled from DIY pieces, it becomes a genuine self-portrait of your tastes, experiences, and creativity. The key to a successful gallery wall is thoughtful curation and an organizing principle — whether that is a consistent frame style and color, a unified palette across all the pieces, a shared theme like travel or botanicals, or a mix of sizes arranged in a carefully considered asymmetric layout. Spending time arranging your pieces on the floor before committing to the wall saves enormous frustration and allows you to experiment with composition freely.
Mixed-media wall installations push beyond flat artwork to incorporate three-dimensional objects into a wall composition. Shadow boxes displaying meaningful collections — seashells from a favorite beach, ticket stubs from significant concerts, pressed botanicals from a wedding bouquet — turn personal ephemera into art. Vintage mirrors of different shapes and sizes grouped together create a gallery wall effect with the added bonus of reflecting light and making a room feel larger. Woven baskets arranged in clusters on a wall bring texture and warmth in the same way textile art does, but with an architectural quality that suits both bohemian and modern interiors with equal success.
Incorporating lighting into your wall art installation takes the concept to an entirely different level. LED string lights woven through a macramé piece or wound around a branch installation add warmth and drama that transforms the piece from daytime decor to evening ambiance. Clip-on picture lights above framed art create a gallery-like atmosphere that elevates even a simple piece. Neon-style LED signs — now available in flexible, bendable forms that can be DIY-shaped into letters or simple shapes — make bold graphic statements and have become a signature element of contemporary interiors that feel both playful and deliberately designed.
The most successful DIY wall art, regardless of technique or material, shares one essential quality: intentionality. A single handmade piece hung thoughtfully in the right spot, at the right height, in a frame that complements both the art and the room, will always outperform a wall covered haphazardly with pieces that don’t speak to each other or to the space they inhabit. Take time to consider scale — the art should be in proportion to the wall and the furniture around it. Consider lighting, both natural and artificial. Consider the colors already present in the room and how your new art will dialogue with them. When you approach your blank wall not as a problem to be solved but as an opportunity to be embraced, the results will always exceed your expectations.
Getting Started: Tips, Tools, and Creative Confidence
The single biggest obstacle between most people and their first DIY wall art project is not skill, budget, or time — it is the fear of beginning. There is a peculiar anxiety that attaches itself to creative projects, a voice that insists the result must be perfect before you have even picked up a paintbrush or untangled a length of cotton rope. The antidote to this paralysis is to lower the stakes deliberately. Start with inexpensive materials, work on a small scale, and give yourself explicit permission to make something imperfect. Some of the best art in history began as an experiment that went wrong in exactly the right way.
A basic toolkit will serve you well across most DIY wall art disciplines. For paint-based projects, a set of quality acrylic paints in primary colors plus black and white, a few canvas boards in different sizes, and a selection of brushes including flat, round, and palette knife styles will get you started. For textile work, a ball of natural cotton rope, a wooden dowel, and access to basic knot tutorials covers macramé fundamentals entirely. For paper-based projects, a good cutting mat, a sharp craft knife, and a bone folder for clean folds are invaluable investments that will serve you across dozens of projects over many years.
Consider the following organizing principles when planning your first wall art project. First, identify the wall you want to fill and measure it carefully — knowing the dimensions helps you plan appropriate scale. Second, identify the dominant colors in the room and decide whether you want your art to harmonize with them or provide deliberate contrast. Third, consider the mood you want the space to convey: serene and minimal, warm and layered, bold and graphic, or soft and organic. These decisions will naturally guide you toward the right techniques and materials without requiring any formal design training.
- Start small and work up to larger pieces as your confidence grows — a set of three small canvases is less intimidating than one large one and creates built-in variety.
- Visit thrift stores and estate sales for inexpensive frames, which can be spray-painted to match your desired aesthetic for very little cost.
- Use painter’s tape liberally when working with paint — it is the single best tool for achieving clean lines and protecting areas you don’t want to paint.
- Photograph your work in progress as well as the finished piece — the process shots often reveal interesting alternative directions you can explore in future projects.
- Join online communities for the specific technique you are exploring — the DIY art community is extraordinarily generous with tips, feedback, and encouragement.
The relationship between a person and their home is one of the most intimate and ongoing creative collaborations of a lifetime. Every piece of art you choose or create for your walls is a statement about who you are, what you value, and how you want to feel when you move through your own space. DIY wall art amplifies that relationship because the art itself is the result of your hands, your time, and your creative vision — not a product selected from a catalog to approximate a feeling, but the actual feeling made tangible and hung on the wall. Those blank walls are not waiting to be covered; they are waiting to be brought to life by exactly the person who lives with them.








What do you think?
It is nice to know your opinion. Leave a comment.