










18 Simple DIY Canvas Wall Hangings To Brighten Any Room
There is something deeply satisfying about creating art with your own hands and then watching it transform the walls of your home into something personal and alive. Canvas wall hangings have become one of the most beloved DIY projects for decorators at every skill level, offering a perfect blend of accessibility and creative freedom. Whether you are a seasoned crafter or someone picking up a paintbrush for the very first time, the process of making your own canvas art is far less intimidating than it might initially seem. With the right guidance, a modest collection of supplies, and a little inspiration, you can produce pieces that look entirely professional and feel entirely you.
The appeal of DIY canvas wall hangings goes beyond aesthetics. There is a meaningful difference between a print purchased at a big-box store and something you made yourself, even if both end up looking beautiful on the wall. Handmade art carries the energy of its creation — the decisions you made, the colors you chose, the afternoon you spent experimenting. That intangible quality is what makes a house feel like a home. This article walks you through everything you need to know to create stunning canvas wall hangings across a wide range of styles, from abstract brushwork to geometric precision to soft botanical designs.
We have gathered inspiration from 18 simple yet striking DIY canvas wall hanging ideas, organized into practical sections that cover technique, design approach, materials, and styling. Each idea has been selected because it is genuinely achievable for a home crafter without professional training, while still producing results that are visually compelling and room-transforming. By the end of this guide, you will have a thorough understanding of what makes canvas wall art work, and you will likely be itching to grab a brush and get started.
Getting Started: Choosing Your Canvas and Supplies
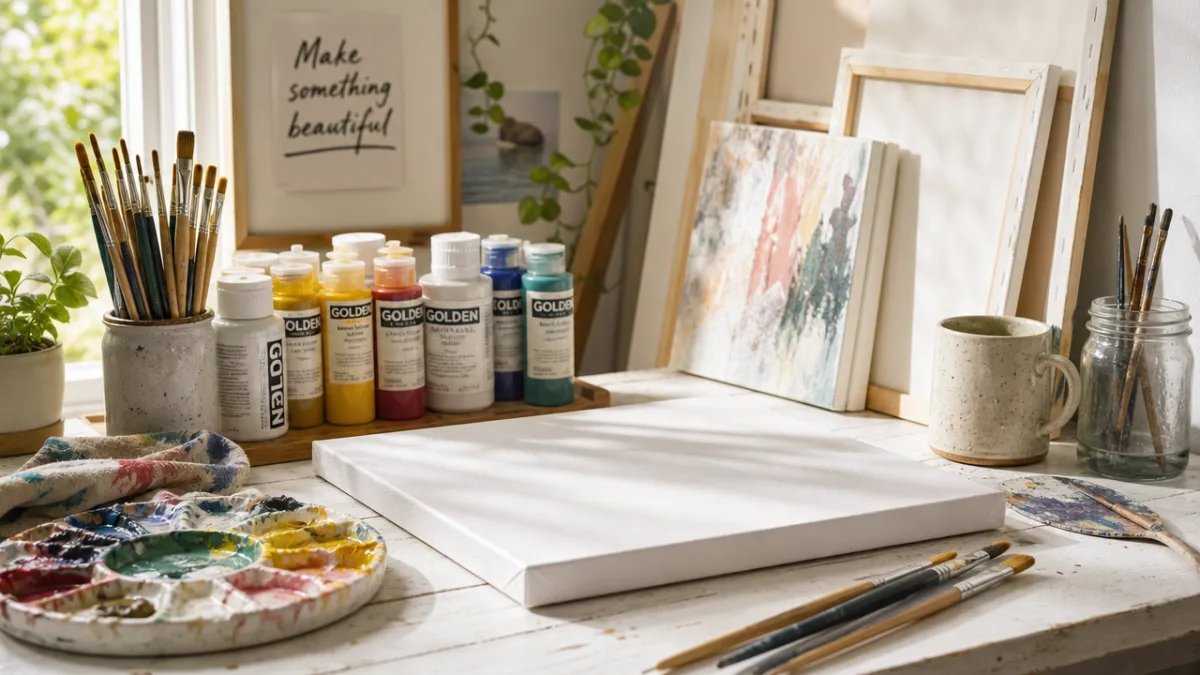
Before you can paint a single stroke, you need to make thoughtful decisions about your materials. The canvas itself is the foundation of everything, and not all canvases are created equal. Stretched canvases — those pre-mounted on wooden frames — are the most popular choice for wall hangings because they are rigid, ready to hang, and available in an enormous range of sizes at most craft stores. Canvas panels, which are flat boards covered in canvas material, are another option that tends to be more affordable and easier to store, though they require a frame or other hanging solution. For beginners, a mid-weight stretched canvas in a size between 11×14 and 16×20 inches offers a forgiving surface that is large enough to make an impact without being overwhelming.
Your choice of paint will significantly shape the outcome of your project. Acrylic paints are by far the most recommended option for DIY canvas work because they dry quickly, clean up with water, layer beautifully, and come in a vast array of colors. They are also highly versatile — thin them with water for a watercolor effect, or apply them thick for bold, textured strokes. If you are interested in a softer, blendable look, oil paints can produce gorgeous results, but they require significantly longer drying times and the use of solvents for cleanup. Watercolor paints on canvas are possible but require a special primed surface, as standard canvas does not absorb water-based pigment in the same way watercolor paper does.
Beyond paint and canvas, a thoughtfully assembled toolkit will make your experience far smoother and more enjoyable. Essential supplies include a selection of flat, round, and fan brushes in various sizes, a palette or disposable palette pad for mixing colors, painter’s tape for clean geometric edges, a jar of water and paper towels for brush care, and a palette knife for mixing or applying paint directly to canvas. Optional but highly useful additions include a spray bottle to keep acrylics workable while you paint, a gesso primer for extra tooth on your canvas surface, and a finishing varnish to protect your completed artwork. Investing a little time in assembling these tools before you begin will save you significant frustration mid-project.
Abstract and Fluid Art: Where Creativity Flows Freely
Abstract canvas art is one of the most liberating forms of DIY wall decor because it operates without rigid rules about correctness or precision. The goal is not to replicate something from the real world but to express feeling, movement, and color in a way that resonates visually. Among the most popular abstract approaches for home crafters is fluid or pour painting, a technique in which acrylic paint is thinned to a liquid consistency and poured across the canvas in layered streams. The paint flows, blends, and creates organic patterns that are impossible to fully predict or control — and that unpredictability is precisely what makes each piece unique. With just a handful of colors and a canvas tilted at various angles, you can produce swirling, marble-like designs that look extraordinarily sophisticated.
Another accessible abstract approach involves bold brushwork and gestural mark-making. Rather than planning every detail in advance, you work intuitively — sweeping wide brushes across the canvas, layering colors while they are still wet, scraping through paint with a palette knife to reveal the layers beneath. This style draws heavily on the techniques of Abstract Expressionists like Franz Kline and Helen Frankenthaler, but scaled down for a living room wall rather than a gallery. The key to making gestural abstract painting feel intentional rather than accidental is maintaining a consistent color palette. Choose two or three colors that work harmoniously together, and allow yourself to experiment freely within that constraint. The result will feel cohesive and deliberately designed even when the brushwork is loose and spontaneous.
For those who want structure within abstraction, geometric abstract painting offers a wonderful middle ground. Using painter’s tape, you can create clean-edged shapes — triangles, rectangles, chevrons, and diamonds — that you fill with solid blocks of color or gradient washes. This technique requires patience in the taping process but is genuinely achievable for beginners, and the results have a graphic, modern quality that works beautifully in contemporary interiors. Removing the tape to reveal crisp lines beneath is one of the most satisfying moments in any craft project. A simple triangle composition in earthy terracotta, cream, and sage, for example, can anchor an entire room’s color story and feel as considered as anything purchased from a high-end home decor shop.
Botanical and Nature-Inspired Canvas Art
Nature has always been one of the most enduring sources of inspiration for home decor, and botanical canvas art continues to trend strongly across interior design styles ranging from boho to Scandinavian minimalism to maximalist jungle aesthetics. Painting simple leaf shapes, stems, and floral forms on canvas requires far less technical skill than you might expect, especially when you approach the subject in a stylized rather than photorealistic way. A single large monstera leaf rendered in deep emerald green on a cream background, for instance, makes a stunning statement piece that photographs beautifully and complements almost any color scheme. The trick is to keep your shapes bold and graphic rather than fussy and detailed, letting the negative space of the background do as much visual work as the painted subject itself.
Botanical prints can also be created without painting skills at all, through a technique called leaf printing or nature stamping. This approach involves coating actual leaves, flowers, or ferns with paint and pressing them directly onto the canvas to transfer their impression. The results capture the intricate vein patterns and organic silhouettes of real plant material with a fidelity that would be extremely difficult to achieve by hand. Layering multiple leaf prints in varying sizes and colors creates depth and richness, and you can experiment endlessly with different plant materials to achieve different effects. Eucalyptus, fern fronds, oak leaves, and herb branches like rosemary all produce beautiful prints, and the process is engaging enough to make it an excellent project to do with children as well as adults.
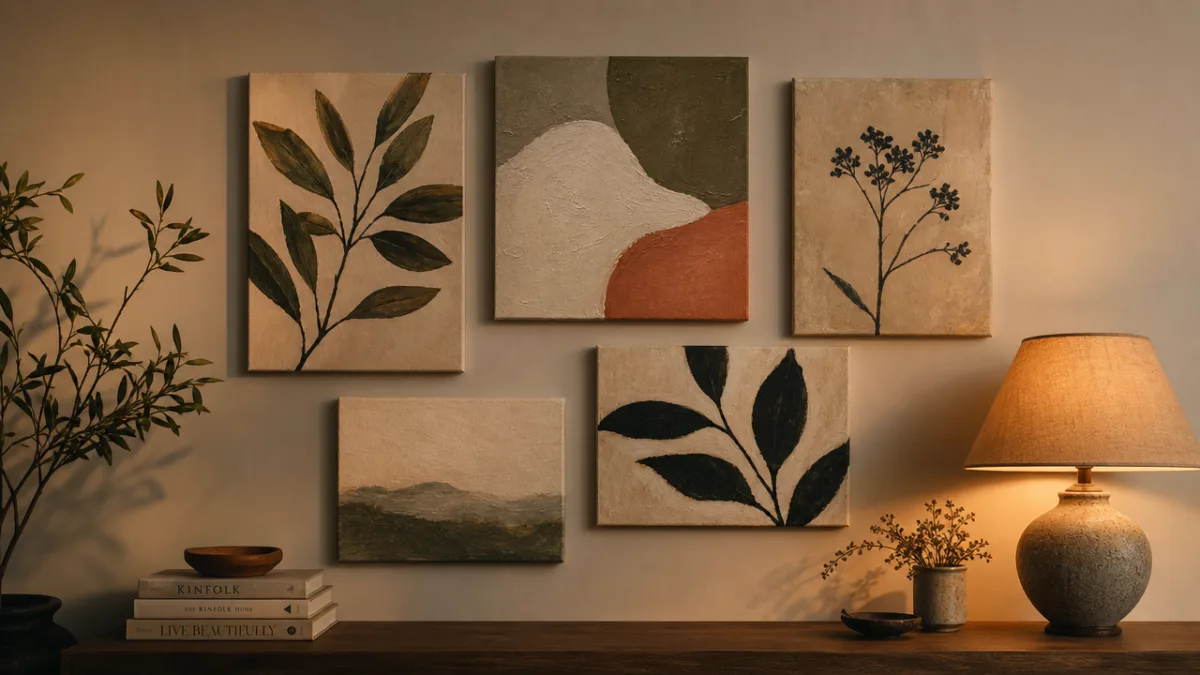
Watercolor-style botanicals — even when executed in acrylics thinned with water — have a particular softness and romance that makes them especially well-suited to bedrooms, bathrooms, and reading nooks. The key to achieving that characteristic watercolor bloom is to work on a slightly damp canvas, applying thin washes of color and allowing them to spread and blend naturally at the edges. Soft peonies, delicate cherry blossom branches, and trailing ivy are all excellent subjects for this technique. Creating a series of three or four matching botanical canvases in the same palette and hung as a grouped arrangement is one of the most effective ways to create a cohesive gallery wall that feels curated and intentional while remaining entirely within a beginner’s skill set.
Typography and Quote Art on Canvas
Words have remarkable power to shape the emotional atmosphere of a room, and hand-lettered or stenciled quote art on canvas remains one of the most requested DIY wall hanging styles. The beauty of this approach is that you are entirely in control of both the message and the aesthetic — you can choose a line of poetry that has personal meaning, a single word that captures your household’s values, or an abstract typographic composition that prioritizes visual rhythm over legibility. For those who do not feel confident in their freehand lettering, printable stencils offer a reliable path to clean, professional-looking results. Print your chosen text at the desired size, transfer it to the canvas using graphite paper or a chalk transfer technique, and then paint within the traced lines with a fine brush or paint marker.
The relationship between the lettering style and the background treatment is what elevates typography canvas art from functional to truly beautiful. A bold, blocky sans-serif word painted in matte black on a raw, unprimed canvas has an entirely different feeling than the same word rendered in flowing script over a softly washed watercolor background. Consider the overall mood you want to create in the room and let that guide your choices. For a calm, spa-like bathroom, a single word like “breathe” in pale blue-grey script on a white canvas with soft gold leaf accents creates a gentle, meditative focal point. For a bold, energetic home office, a motivational phrase in large, confident black lettering on a bright accent color canvas sets an entirely different tone.
You can also create visually interesting typography canvas art by playing with negative space, layering text at different scales, or combining lettering with simple painted backgrounds or graphic elements. One particularly effective technique involves painting the entire canvas a deep, rich color — navy, forest green, or burgundy — and then applying the text in a metallic gold or silver paint marker or paint pen. The contrast between the dark ground and the luminous lettering creates a jewel-box effect that feels luxurious and atmospheric. Hanging such a piece above a fireplace mantle, a headboard, or a console table instantly gives those spaces a sense of curated intention that is hard to achieve with store-bought decor alone.
Textured and Mixed Media Canvas Hangings
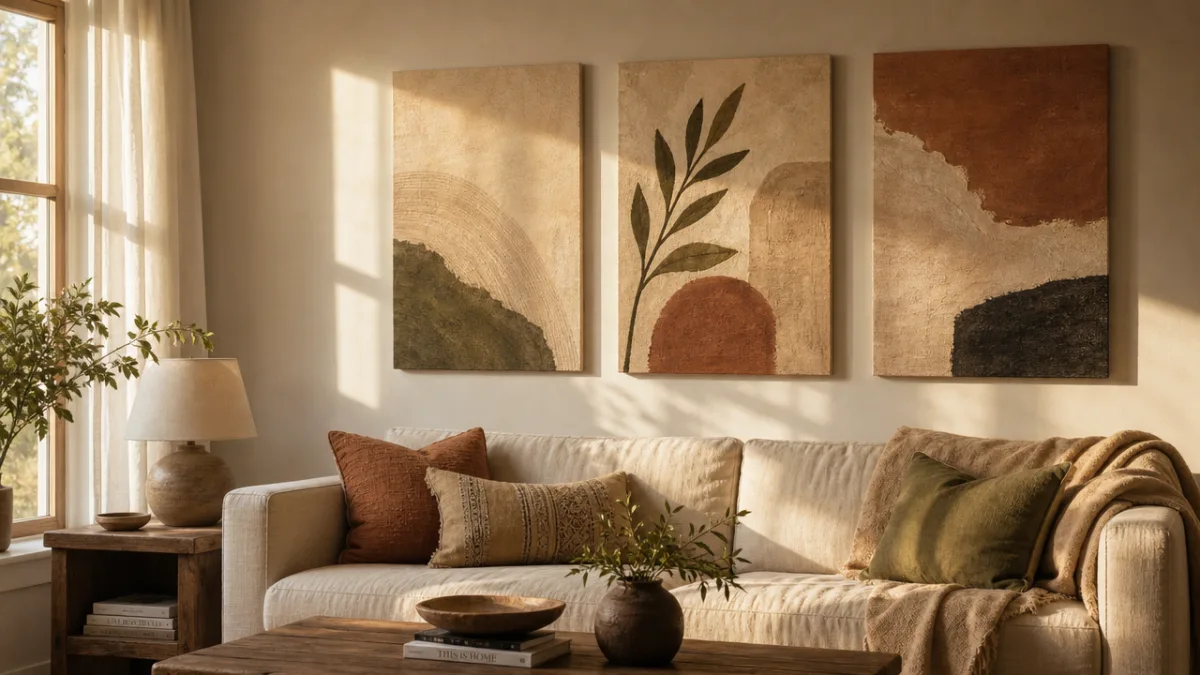
Some of the most visually arresting DIY canvas wall hangings move beyond paint alone to incorporate texture, dimensional elements, and mixed materials. Adding physical texture to a canvas surface before or during painting can produce effects that catch and hold the eye in a way that flat painted surfaces simply cannot. One of the most accessible methods is applying a layer of modeling paste or textured gel medium to the canvas before you paint, creating a raised surface that adds depth and shadow. You can drag a comb, palette knife, or even a fork through the wet medium to create patterned ridges, or build up organic, sculptural forms that give the finished piece a sense of weight and materiality. Once dry and painted over, these textured surfaces respond beautifully to dry brushing techniques that highlight the peaks while leaving the valleys in shadow.
Mixed media approaches open up an even broader range of creative possibilities. Incorporating collage elements — torn paper, fabric scraps, tissue paper, or even natural materials like dried flowers, twine, or seeds — into a painted canvas creates pieces of remarkable richness and complexity. The process typically begins with adhering your collage elements to the canvas using gel medium or a strong craft glue, building up layers and allowing the composition to develop organically before adding paint over and around the collaged areas. This technique is particularly forgiving because the layered, complex surface makes it easy to correct mistakes and refine the composition as you go. The finished pieces have an artisanal, handcrafted quality that photographs beautifully and tends to reward close inspection in a way that simpler, flatter pieces do not.
Gold and silver leaf accents represent another dimension of mixed media canvas work that has become extremely popular in DIY decor communities. Applying metal leaf — available in genuine gold, silver, and copper as well as far more affordable imitation varieties — to areas of a painted canvas creates a luminous, reflective quality that changes with the light throughout the day. The process is more accessible than it sounds: apply a thin, even coat of size (a specialized adhesive) to the areas you want to gild, allow it to reach the correct tack, and then gently press sheets of leaf onto the surface, burnishing lightly and brushing away the excess. The irregular, slightly distressed quality of hand-applied leaf is part of its charm, giving the finished piece an artisan quality that machine-printed metallic effects can never quite replicate. Combined with deep, saturated paint colors, metal leaf accents create canvas wall hangings of extraordinary visual impact.
Displaying and Styling Your Finished Canvas Art
Creating beautiful canvas wall hangings is only half the story — the way you display and arrange them in your home determines how much impact they ultimately make on the space. Single statement pieces work best when given adequate breathing room on a wall, hung at eye level with sufficient space above and below to allow the eye to settle comfortably. The standard guideline for hanging art is to position the center of the piece at approximately 57 to 60 inches from the floor, which corresponds roughly to average eye level. However, this rule is meant to be broken thoughtfully: art hung above a sofa, headboard, or console table should be sized and positioned to relate to that furniture piece, typically with the bottom of the canvas sitting four to eight inches above the top of the furniture.
Gallery walls — groupings of multiple canvas pieces arranged on a single wall — offer one of the most dynamic ways to display your DIY creations, and the fact that you have made the pieces yourself gives you perfect control over creating a cohesive collection. When planning a gallery wall arrangement, lay all your pieces on the floor first and experiment with different configurations before committing to any holes in the wall. Aim for a mix of sizes and orientations while maintaining a consistent overall color palette or theme across the pieces. The spacing between frames or canvases should remain relatively consistent — typically two to three inches — to create a sense of order within the visual variety. A gallery wall of handmade botanical prints, for instance, creates a lush, immersive effect in a hallway or stairwell that would cost a small fortune to replicate with purchased art.
Beyond traditional hanging methods, consider how your canvas wall hangings might be integrated with other decorative elements for a more layered, styled effect. Leaning canvases on shelves or mantlepieces alongside books, plants, and ceramics creates a casual, lived-in look that feels current and relaxed. Hanging multiple canvases at different heights using macramé or leather cord adds a bohemian, artisanal quality to the display. You might also rotate your DIY pieces seasonally, bringing forward the warm, earthy tones of autumn and the fresh greens of spring as the year progresses. The fact that you made these pieces yourself means you are free to change, update, repaint, or replace them as your taste and your home evolve — a creative freedom that purchased decor can never offer.
Tips for Beginners: Building Confidence and Skills
Starting any new creative practice comes with a learning curve, and DIY canvas painting is no exception. The single most important piece of advice for beginners is to release the expectation of perfection from the very first project. The goal of early canvas work is exploration and experimentation, not the production of masterpieces. Give yourself permission to make canvases that do not turn out the way you imagined — because those pieces often teach you more than the ones that come easily. The great advantage of acrylic paint on canvas is that you can paint over anything that is not working and start again on the same surface once the paint has dried. This forgiving quality means that no canvas is ever truly ruined, only in progress.
Building a small but focused reference library of techniques and styles you find inspiring will help you develop your visual vocabulary more quickly than attempting to work from scratch each time. Pinterest boards, art instruction YouTube channels, and books on specific techniques — acrylic painting, watercolor effects, mixed media collage — are all excellent resources that can accelerate your development significantly. However, the key is to use these references as starting points rather than templates to copy exactly. Allow yourself to be influenced by what you see, but push toward making each piece your own by introducing your chosen colors, adjusting proportions, and incorporating elements that reflect your personal taste. Over time, those choices accumulate into a recognizable artistic sensibility that is entirely yours.
Finally, consider the social dimension of DIY canvas making as a source of both motivation and development. Sharing works in progress and finished pieces with a community of like-minded crafters — whether in person at a local craft group or online through social media and DIY platforms — provides encouragement, feedback, and fresh inspiration that can be genuinely transformative. Seeing how other people approach the same techniques you are learning, and receiving kind, constructive responses to your own work, creates a positive feedback loop that sustains creative momentum through the inevitable moments of frustration. The DIY canvas art community is, by and large, an extraordinarily welcoming and generous one, and connecting with it can make the entire journey from beginner to confident creator feel both faster and far more joyful.








What do you think?
It is nice to know your opinion. Leave a comment.