










Custom Size Garden Gate: Your Complete DIY Wood Fence Door Build Guide
Why Build Your Own Custom Garden Gate?
There is something deeply satisfying about walking through a garden gate you built with your own hands. Unlike store-bought options that come in standard sizes and generic styles, a custom-built wooden garden gate allows you to tailor every dimension, material choice, and decorative detail to your specific property and personal taste. Whether your fence opening is an awkward width or you simply want a gate that matches your home’s character, the DIY route puts you in complete control of the outcome.
Beyond the aesthetic appeal, building your own gate is often significantly more affordable than purchasing a pre-made unit or hiring a contractor. Quality wooden gates from garden centers can cost hundreds of dollars, and custom carpentry work even more. With a thoughtful plan, a modest collection of hand and power tools, and lumber from your local home improvement store, you can construct a sturdy, attractive gate for a fraction of that cost. The savings become even more pronounced when you need multiple gates for different sections of your property.
Perhaps most importantly, a DIY garden gate can be built to last. When you select the lumber yourself, you can choose species known for weather resistance such as cedar, redwood, or pressure-treated pine. You control the quality of the joinery, the hardware you install, and the finish you apply. The result is a gate engineered specifically for your climate, your soil conditions, and the level of use it will receive daily. This guide will walk you through every stage of that process from initial measurements to the final coat of sealant.
Planning, Measuring, and Choosing Your Materials
Every successful DIY gate project begins long before a single board is cut. The planning phase is where critical decisions are made that will affect how well your gate fits, how long it lasts, and how good it looks when finished. Start by measuring your fence opening carefully, taking measurements at the top, middle, and bottom of the gap, because fence posts are rarely perfectly parallel over time. Use the narrowest measurement as your baseline width and subtract approximately half an inch on each side to allow the gate to swing freely without binding.
When selecting your lumber, cedar is widely regarded as the best all-around choice for garden gates because it is naturally resistant to rot, insects, and moisture without requiring pressure treatment chemicals. Redwood offers similar properties with a richer color tone. If budget is a primary concern, pressure-treated pine is an economical alternative that will hold up well outdoors provided you let it dry thoroughly before painting or staining, as freshly treated lumber has a high moisture content that causes finishes to peel prematurely. Whatever species you choose, look for boards that are straight, free of large knots, and have consistent grain patterns.
Hardware selection deserves as much attention as the lumber itself. Heavy-duty gate hinges are non-negotiable, as undersized hinges are the leading cause of sagging gates. For a standard residential gate, use three hinges rather than two, with the third positioned in the center to distribute the load more evenly. Your latch mechanism should match the gate’s purpose: a simple barrel bolt works for a decorative garden entry, while a keyed lock or heavy-duty drop rod is more appropriate for a security perimeter. Stainless steel or hot-dipped galvanized hardware will resist rust far better than standard zinc-plated options in outdoor environments.
Understanding Gate Anatomy and Design Options
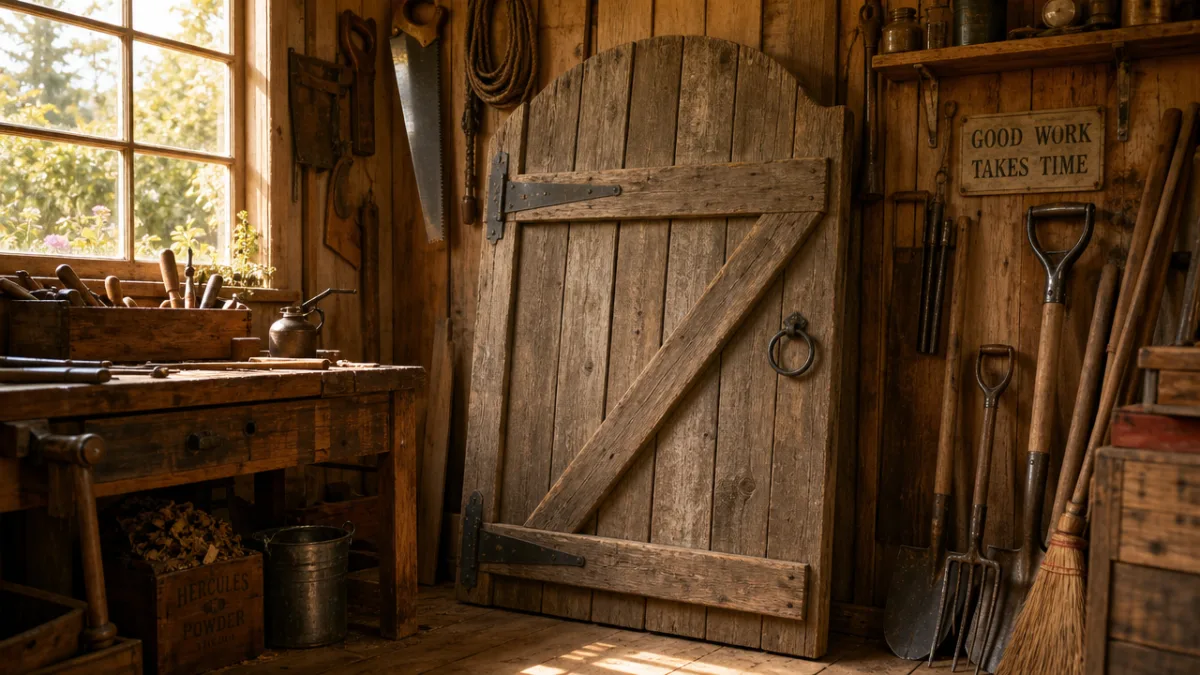
A well-built wooden gate is more than a collection of vertical boards held together. Understanding its structural components helps you make intelligent decisions about design and construction sequence. The primary vertical boards that form the face of the gate are called stiles when they run along the outer edges and pickets or infill when they fill the center. Horizontal boards that tie the face boards together and provide rigidity are called rails. Most residential gates use a minimum of two rails, positioned near the top and bottom, though taller gates benefit from a third rail in the center.
The element that prevents a gate from racking, which is the gradual diagonal warping that causes corners to drop and the gate to drag on the ground, is a diagonal brace. This brace must run from the bottom hinge corner up to the top latch corner to work correctly. This direction is not arbitrary. The brace is working in compression when oriented this way, pushing against the weight of the gate rather than pulling against it. Many amateur-built gates fail prematurely because this brace was installed in the wrong direction or omitted entirely. A simple Z-brace or W-brace frame is the most common and effective solution for residential wooden gates.
Design options for the face of your gate are nearly limitless. A flat-top picket gate with evenly spaced vertical boards offers a classic, tidy appearance that suits most fence styles. An arched top adds elegance and can be achieved by tracing a gentle curve onto your top rail before cutting with a jigsaw. Alternating board heights create visual rhythm, while a solid board gate with no gaps provides maximum privacy. Decorative elements such as routed edges, carved panels, or inset lattice sections can transform a functional gate into a genuine focal point for your garden entrance. Sketch your preferred design on paper before cutting anything, and note all dimensions clearly.
Step-by-Step Construction Process
With your materials gathered and your design finalized, construction can begin. Start by building the inner frame, which consists of your two or three horizontal rails and two vertical stiles cut to the finished height of the gate. Lay these pieces on a flat surface, such as your garage floor or a pair of sawhorses with a sheet of plywood across them, and assemble them into a rectangle. Check that the assembly is square by measuring diagonally from corner to corner in both directions; the measurements should be identical. Clamp the corners firmly before fastening, using exterior-grade screws or galvanized nails and adding a quality exterior wood glue to every joint for additional strength.
Once the frame is square and the fasteners are set, add your diagonal anti-sag brace. Cut the brace board so that it fits snugly from the inside bottom corner of the hinge side to the inside top corner of the latch side. Mark the angles carefully with a speed square and cut them on a miter saw or with a circular saw. Secure the brace with screws driven at an angle through the brace and into the rails, and consider adding metal connector plates at each end for maximum security. At this point you have a structurally sound frame that should not rack under normal use.
Attach your face boards to the completed frame one at a time, working from one side to the other. Spacers cut from scrap wood help you maintain consistent gaps between boards if your design calls for them. Use two screws per board at each rail, pre-drilling to prevent splitting, and keep all boards aligned along a common baseline at the bottom. Once all face boards are attached, use a circular saw or jigsaw to trim the entire top of the gate in a single pass if you want a perfectly straight or uniformly curved top edge. Sand all surfaces with 80-grit sandpaper followed by 120-grit to prepare the wood for finishing, paying special attention to end grain, which absorbs moisture most readily.
Before hanging the gate, mount your hinges and test-fit the latch hardware. Mark the hinge positions on both the gate and the fence post with a pencil, then use a chisel to cut shallow mortises if you want the hinges to sit flush with the surface, or simply surface-mount them if appearance allows. Have a helper hold the gate in position while you drive the first screws into the post, then check that the gate swings freely and sits at the correct height before completing all fasteners. Make small adjustments by adding shims behind the hinges as needed. Hang the latch last and verify that it engages reliably from both sides of the gate.

Finishing, Sealing, and Weather Protection
A beautiful gate that is not properly finished will deteriorate quickly regardless of how well it was built. Wood exposed to outdoor conditions without protection will gray, crack, and eventually rot as moisture repeatedly penetrates and then evaporates from the fibers. The first line of defense is a high-quality exterior primer applied to all surfaces including the end grain, the back face, and the areas around every screw hole. End grain is particularly vulnerable because it draws water into the wood like a straw, so some builders apply two coats of primer specifically to these areas before the general priming process.
Your choice of topcoat will significantly influence both the appearance and the longevity of the finish. Exterior paint offers the widest color range and generally provides excellent protection when applied in two coats over a primed surface, but it will eventually peel and require stripping and repainting every several years. Exterior stain penetrates the wood fibers rather than forming a surface film, which means it will not peel or blister, instead fading gradually and accepting a fresh coat without stripping. Clear sealers and water repellents are the easiest to apply and reapply but offer the least protection against UV degradation, causing wood to gray even when moisture absorption is prevented.
For cedar and redwood, a semi-transparent penetrating stain or a clear oil finish often produces the most attractive result by letting the natural grain and color show through while still offering meaningful protection. Apply finish in mild, dry weather when temperatures are between 50 and 90 degrees Fahrenheit and no rain is forecast for at least 24 hours. Allow each coat to dry completely according to the manufacturer’s instructions before applying the next. After the initial finishing, plan to inspect the gate every spring and apply a fresh topcoat wherever the finish shows signs of wear or bare wood is visible. A small amount of preventive maintenance each year will keep your gate looking sharp for a decade or more.
Adjustments, Troubleshooting, and Long-Term Maintenance
Even a well-built gate may require adjustment over time as posts settle, wood swells with seasonal moisture changes, or hardware loosens with repeated use. A gate that drags on the ground or fails to latch properly is not just annoying; it can damage the hinges, the latch, and the gate frame itself if left unaddressed. The most common issue is sagging, which causes the latch side of the gate to drop. Before assuming the gate itself has failed, check whether the hinge-side post has shifted. A leaning post is far more often the root cause than a structural failure in the gate.
If the gate has genuinely sagged due to a weakened diagonal brace or stretched hinge mortises, the fix is straightforward. Tighten all hinge screws first, replacing any that spin freely with longer screws of the same diameter that bite into fresh wood. If the diagonal brace has come loose from its connections, re-secure it with new screws and consider adding metal angle brackets at each joint for reinforcement. For gates that have twisted or warped significantly, it may be necessary to remove the face boards on one half, re-square the inner frame using bar clamps, and then reattach the face boards with the frame held in its corrected position.
Annual maintenance should become a simple seasonal ritual that keeps small problems from becoming expensive repairs. Each spring, walk the gate through its full range of motion and listen for creaking that might indicate dry or corroded hardware. Apply a penetrating lubricant such as a silicone spray or a dry graphite lubricant to hinge pins and latch mechanisms; avoid petroleum-based greases that attract dirt and gum up over time. Check all screws for tightness and look carefully at the base of the gate where it sits closest to the ground, as this area accumulates moisture and organic debris that accelerate decay. Clearing leaves and soil from around the gate’s bottom edge after every rain is one of the simplest and most effective maintenance habits you can develop.
- Inspect and tighten all hinge and latch hardware each spring before heavy use season begins.
- Touch up exterior finish wherever bare wood is visible, focusing especially on end grain and the lower third of the gate.
- Clear debris from around the gate base to prevent moisture accumulation and accelerated rot at ground level.
- Lubricate all moving metal parts including hinge pins, latch bolts, and any spring mechanisms with an appropriate outdoor lubricant.
- Check fence posts for movement or lean, as post problems are the most common hidden cause of gate alignment issues.
- Sand and re-finish any areas where the surface coat has cracked, blistered, or peeled before moisture penetrates the wood beneath.
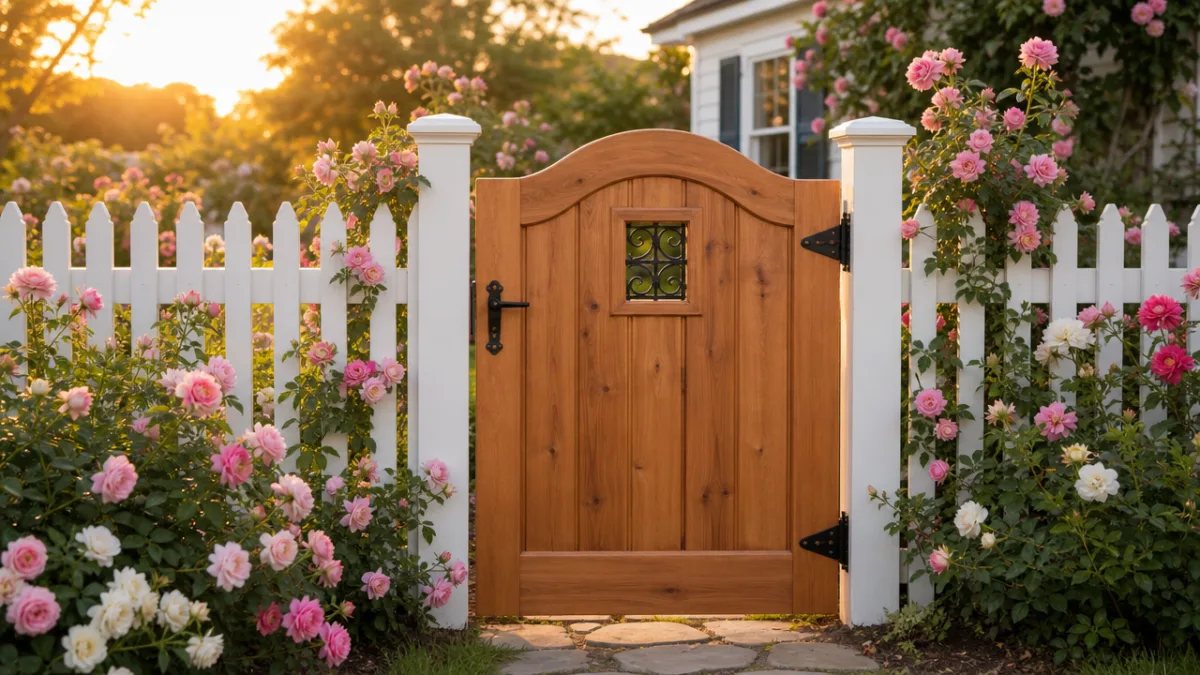
With consistent attention to these basic maintenance tasks, a well-built wooden garden gate can easily last twenty years or more, weathering seasons of use while continuing to function smoothly and look attractive. The investment of time you make now in building it correctly and the small investment of time you make each year in caring for it will pay dividends far beyond the gate itself, contributing to the overall curb appeal and property value of your home. More than that, every time you pass through a gate you built with your own hands, there is a quiet pride in knowing exactly what it is made of and exactly how well it was made.








What do you think?
It is nice to know your opinion. Leave a comment.