










Wooden Pallet Garden Bar: Build Your Ultimate Outdoor Entertainment Space
Introduction: Why a Pallet Garden Bar is the Perfect DIY Project
There’s something genuinely exciting about turning a pile of beat-up wooden pallets into the coolest spot in your backyard. A pallet garden bar gives you that perfect mix of rustic charm and real practicality — a proper place to host friends and family without dropping thousands on outdoor furniture. It’s no surprise this kind of project has taken off with DIYers everywhere. Pallets are easy to find, often free, and when you treat them right, they’re remarkably tough.
The money savings are great, but honestly the best part is being able to build something exactly the way you want it. Every dimension, finish, and little feature can be tailored to your space and your style. Got a big sprawling garden? A compact city patio? A cozy deck? A pallet bar can work with any of them. And that natural wood grain brings a warmth and character to any outdoor setting that no store-bought bar — however expensive — can really match.
The other thing worth saying is that this project is genuinely doable for anyone. You don’t need years of carpentry experience to end up with something you’re proud of. With the right tools, a clear plan, and a free weekend, even a complete first-timer can build a pallet bar that looks great and holds up well. This guide walks you through every stage, from tracking down the best pallets to the finishing touches that make the whole thing feel like yours.
Sourcing and Selecting the Right Pallets
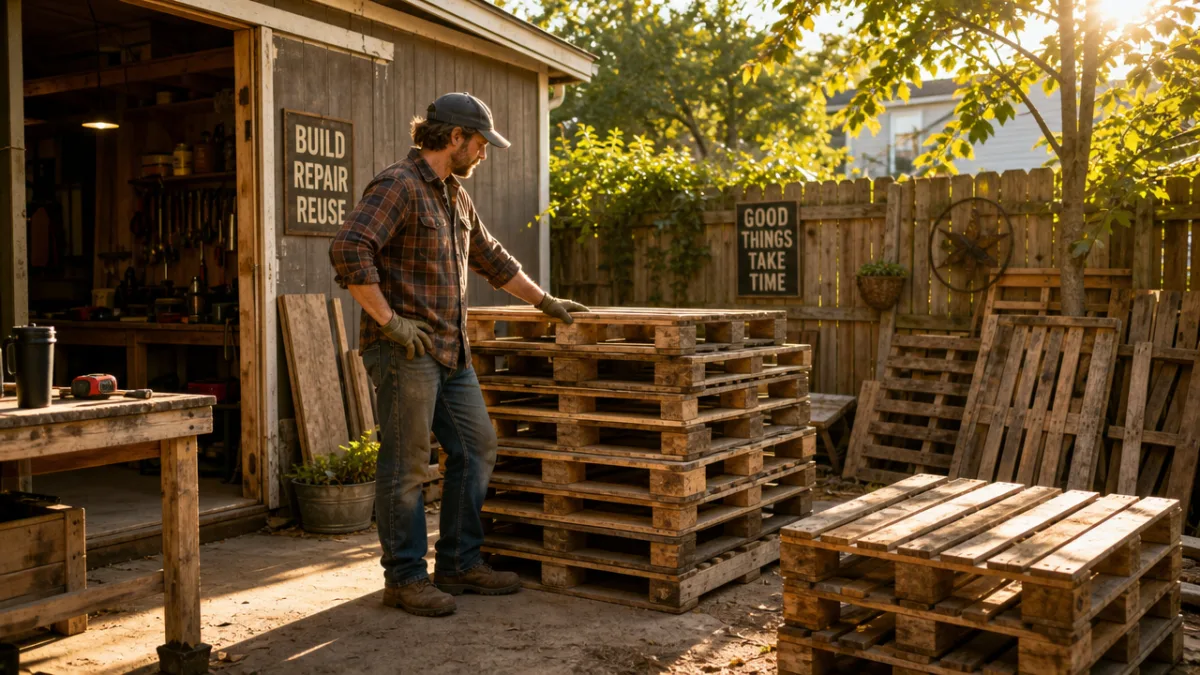
Here’s the thing about pallets — they’re not all the same, and picking the right ones is honestly the most important part of this whole project. The first thing you need to check is the heat treatment stamp. You’re looking for “HT” marked on the wood, which means the pallet was treated with heat rather than chemicals. What you want to avoid is anything stamped “MB,” which stands for methyl bromide, a pesticide you really don’t want in a piece of furniture you’re going to be leaning on all summer. Heat-treated pallets are safe, clean, and solid.
Once you’ve confirmed the stamp, give each pallet a proper once-over. Look for rot, deep staining, dodgy smells, cracked boards, or anything that’s warped badly enough to make assembly a headache. A bit of color variation between boards is totally fine — it actually adds to the handmade look. But structurally weak boards will let you down over time, so be ruthless about setting those aside.
As for where to find them, you’ve got plenty of options. Grocery stores, hardware shops, garden centers, furniture warehouses, and local manufacturers all tend to have more pallets than they know what to do with and are usually happy for someone to take them away. Online classifieds and community groups are worth checking too. For a standard garden bar you’ll usually need somewhere between six and ten pallets depending on how big you’re going, so grab a few extras — some boards won’t make the cut once you look closely.
Tools, Materials, and Preparation
Getting your tools sorted before you start will make the whole build a much more enjoyable experience. A circular saw or reciprocating saw handles the cutting, and your power drill will probably be in your hand more than any other tool throughout the project. A rubber mallet is great for nudging pieces into place without wrecking the wood, and a belt sander or orbital sander is essential for getting surfaces properly smooth. Don’t underestimate the measuring tape, carpenter’s square, and spirit level either — they’re what keep everything straight and even.
Beyond the pallets, you’ll need some additional materials to pull everything together. Exterior-grade screws in a couple of different lengths give the structure the strength it needs to handle years outdoors. Wood filler tidies up any gaps or knot holes before you finish. A good exterior primer followed by your chosen paint, stain, or sealant is what stands between your bar and the weather. For the countertop, reclaimed timber looks brilliant, but composite decking board or even ceramic tiles set in a timber frame are great options if you want something more polished.
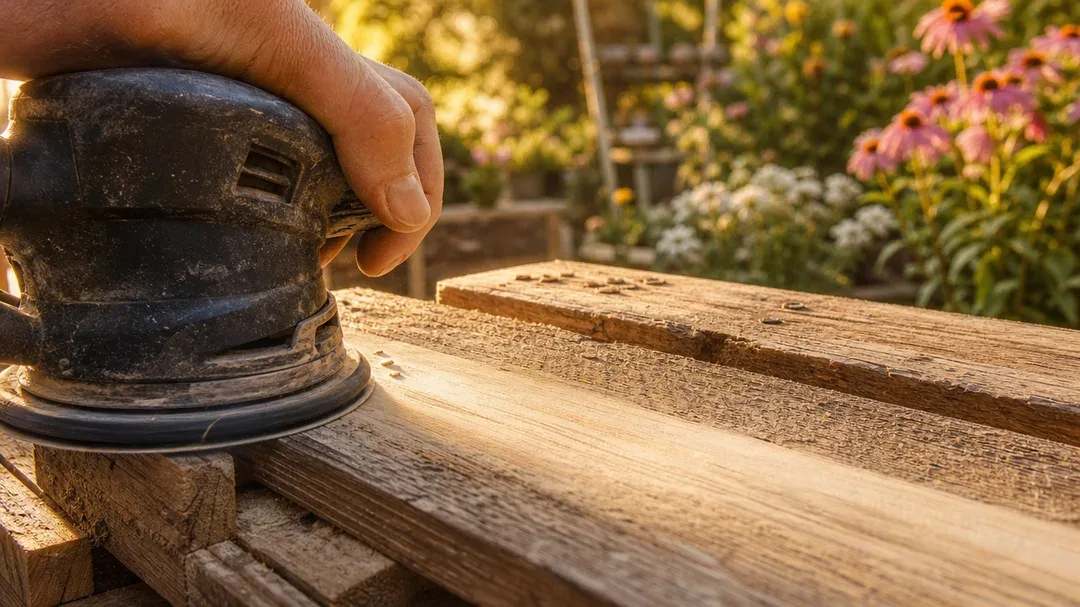
Prep work is one of those steps beginners often want to skip, but please don’t — it makes a huge difference. Sand all the surfaces that will be visible or touched, starting around 80 grit and working up to 120 or 150. Pull out any protruding nails or staples, and make sure you give the end-grain sections a generous coating of primer or sealant, since those cut ends soak up moisture far faster than the rest of the wood and are usually the first thing to go. An extra hour or two here pays off every single time you look at the finished bar.
Step-by-Step Construction Guide
Start with a sketch. Nothing fancy — just a rough drawing that shows your intended height, width, and depth. A comfortable bar height for standing is usually somewhere between 100 and 110 centimeters, with a depth of around 40 to 50 centimeters giving you good workspace without eating up too much patio space. Note how many pallets you’ll need for the base, any shelving you want, and the countertop. It takes maybe twenty minutes and saves you from making expensive mid-build mistakes.
For the base, stand your pallets vertically and drive exterior screws through the shared edges to join them together. Two or three pallets make up the main front face, with more on the sides for depth and stability. Once the shell is together, add horizontal supports across the interior — cut from spare pallet boards or bought timber — to stop the whole thing from racking. This is also the stage to close off any open sections and fit internal shelving for glasses, bottles, and whatever else you want to store.
The countertop gets the most wear, so it deserves extra care. Reclaimed timber planks cut to size look fantastic and suit the pallet aesthetic perfectly. Sand them until they’re genuinely smooth, apply a generous coat of exterior decking oil or varnish, and let it cure completely before fixing the top down from underneath with screws. That way the top surface stays clean and screw-free, which looks much more finished. At least two topcoats of sealant will give you solid protection against spills and whatever the weather throws at it.
- Foundation check: Before fixing the countertop, make sure the base sits level — use shims under the feet if needed to get rid of any wobble.
- Shelf installation: Cut pallet boards to fit inside the base frame and screw them onto your horizontal supports at whatever heights work for your bottles and glassware.
- Countertop attachment: Pre-drill pilot holes to avoid splitting the wood, and use stainless steel or hot-dipped galvanized screws so they won’t rust on you.
- Optional additions: A towel rail along the front, cup hooks under the shelves, or a small wine rack made from dowel rods between uprights are all simple upgrades that make the bar much more usable.
When the structure is together and the countertop is fixed, take a step back and give everything a proper look. Check every joint, run your hands over the surfaces for any rough spots you missed, and push down firmly on the counter to make sure nothing flexes or shifts. If there’s any movement, add screws or tuck a diagonal brace inside the structure where it won’t show. A bit of time here means you can pile it high with bottles, glasses, and guests without a second thought.
Finishing, Painting, and Weatherproofing
This is the stage where things really start to look exciting. If you love the natural look of the wood, a clear or lightly tinted exterior decking oil in two or three coats will bring out the grain beautifully while giving it good weather resistance. Left to age, the wood will develop a lovely silvery patina, or you can keep it warm and golden with a fresh oil coat each spring. A penetrating wood stain is another great option if you want richer color while still letting the wood’s texture come through.
If you want to make more of a style statement, exterior chalk paint or masonry paint in just about any color opens up a lot of possibilities. Deep forest green, navy, charcoal, and classic white all look brilliant against garden planting and suit most outdoor furniture styles. The key with pallet wood is always to prime first — the surface is rough and absorbent enough to eat through topcoat paint without it, leaving you with patchy coverage that won’t last. Two topcoats in a satin or eggshell finish give you good coverage and a surface that’s easy to wipe down.
Weatherproofing before the bar’s first season outdoors isn’t optional if you want it to still look good in a few years. Don’t just focus on the visible surfaces — pay attention to the undersides, internal faces, and anywhere boards meet, since those joints are where moisture loves to sneak in. A flexible exterior sealant or caulk in any visible gaps stops water from pooling and causing rot. Fitting rubber or plastic feet on the base lifts it just enough off the ground to allow airflow and dramatically reduces the chance of the bottom boards rotting from sitting in contact with wet paving or soil.
Personalizing Your Garden Bar with Accessories and Decor
Once the finish is cured, this is genuinely the fun part — making the bar feel like yours. String lights are probably the single most effective thing you can add: they completely change the atmosphere after dark and turn any evening in the garden into something that feels a bit special. Solar fairy lights threaded along the back of the bar, around a pergola overhead, or through nearby planters need no wiring at all. LED rope lights tucked under the countertop overhang create a great underglow that looks really striking once the sun goes down.
Practical accessories built into the structure make a real difference to how the bar actually works. A bottle opener mounted to the front face means no more frantic searching when it matters most. A rail of S-hooks under a shelf keeps bar tools within easy reach. A chalkboard panel on the back of the bar — painted MDF or a ready-made board — lets you write up your cocktail menu, guests’ names, or just a cheerful greeting that sets the mood before anyone’s even poured a drink.
Planting is one of the best ways to help the bar feel like it belongs in the garden rather than just sitting in it. Small herb pots along the top of the bar give you fresh mint, basil, and rosemary right where you need them — great for drinks and genuinely useful. Trailing plants like nasturtium or lobelia at either end spill downward in a lovely curtain of color, and a climbing plant trained up a trellis panel behind the bar will give you a lush green backdrop that only gets better season by season.
- Lighting: Solar string lights, LED rope lighting, or battery-powered lanterns create a welcoming atmosphere with no complicated electrical work involved.
- Signage: A personalized bar name sign — painted by hand or laser-cut from wood — gives the space a proper identity and always gets people talking.
- Seating: Pallet-built bar stools with cushioned tops are a natural companion to the bar and can be made from leftover offcuts from the main build.
- Cooling solutions: A zinc bucket of ice for drinks, or a compact outdoor bar fridge tucked inside the base, keeps everything perfectly cold on a warm afternoon.
- Shade structure: A simple pergola, a sail shade stretched between posts, or a market umbrella through a hole in the countertop makes the bar usable even on the hottest days.
Maintenance, Longevity, and Seasonal Care
A well-built pallet bar that’s looked after properly can easily last many years, but like any outdoor timber structure, it needs a little attention each season to stay in good shape. At the start of each year, give it a proper check — look for cracked boards, any surface mold, and spots where the finish has worn away and left bare wood exposed. Catching those things early and giving them a quick sand and a fresh coat of oil or paint takes far less effort than dealing with serious deterioration down the line.
Over winter, especially in colder climates, a few simple steps can make a real difference to how long your bar lasts. Moving it under cover — a garage or outbuilding — during the coldest months is ideal if you can manage it. If that’s not practical, a well-fitting breathable outdoor furniture cover will do a good job of protecting against frost and moisture while still letting air circulate so you don’t get condensation building up. Bring any potted plants and decorative accessories indoors before the first frost, and a final coat of decking oil or exterior varnish before winter gives an extra layer of protection when the weather is at its worst.
Day to day, keeping the bar clean through the entertaining season is what preserves both its look and its hygiene. Wipe the countertop down after each use so spills don’t work their way into the finish, and brush off any debris, leaves, or dirt from the shelves and inside the base. For stubborn stains or patches of mildew, a diluted exterior wood cleaner scrubbed in and thoroughly rinsed off will sort the surface out without damaging the finish underneath. Keep on top of it all and your pallet garden bar won’t just survive a few summers — it’ll become one of those things in your garden that gets better, and more loved, with every year that passes.








What do you think?
It is nice to know your opinion. Leave a comment.