










DIY Popsicle Stick Crafts: A Complete Guide to Ice Cream Stick Projects
Introduction to Popsicle Stick Crafting
Popsicle sticks — you probably know them as ice cream sticks or craft sticks — are honestly one of the most underrated crafting materials out there. Whether you’ve been making things with your hands for years or you’re just starting to dip your toes into DIY projects, these little wooden sticks have a way of surprising you with how much you can do with them. Picture frames, miniature furniture, elaborate little buildings — the possibilities really do just depend on how far you want to take it.
Part of what makes this hobby so great is just how easy it is to get started. You can pick up a pack of hundreds of sticks at any craft store, dollar store, or online for just a couple of dollars. That makes it a perfect hobby for families, teachers, or anyone who wants something genuinely satisfying to do without spending a lot of money on supplies. And honestly, the low cost takes a lot of pressure off — if something doesn’t turn out right, you can just try again without feeling bad about it.
There’s also something really nice about using sticks you’ve already eaten the ice cream off of. Instead of tossing them in the trash, you’re giving them a second life. Plenty of crafters save their used sticks over weeks or even months before starting a bigger project, which turns the whole thing into a slow, mindful practice. It’s crafting that starts long before you even sit down at the table.
Essential Materials and Tools You Will Need
Before you jump into your first project, it’s worth taking a few minutes to get everything together. The sticks themselves come in standard, jumbo, and mini sizes, and having a mix of them on hand is helpful because different projects call for different dimensions. Go ahead and grab more than you think you’ll need — mistakes happen, and extras are never wasted.
After the sticks, your most important supply is glue. Regular craft glue or white PVA glue works fine for lighter projects and is completely safe for kids. But if you’re building anything structural — a little house, a bridge, a piece of furniture — a low-temperature hot glue gun is going to be your best friend. It sets in seconds and holds really well. Just keep a close eye on kids around hot glue, or look for a low-temp model made specifically for younger crafters.
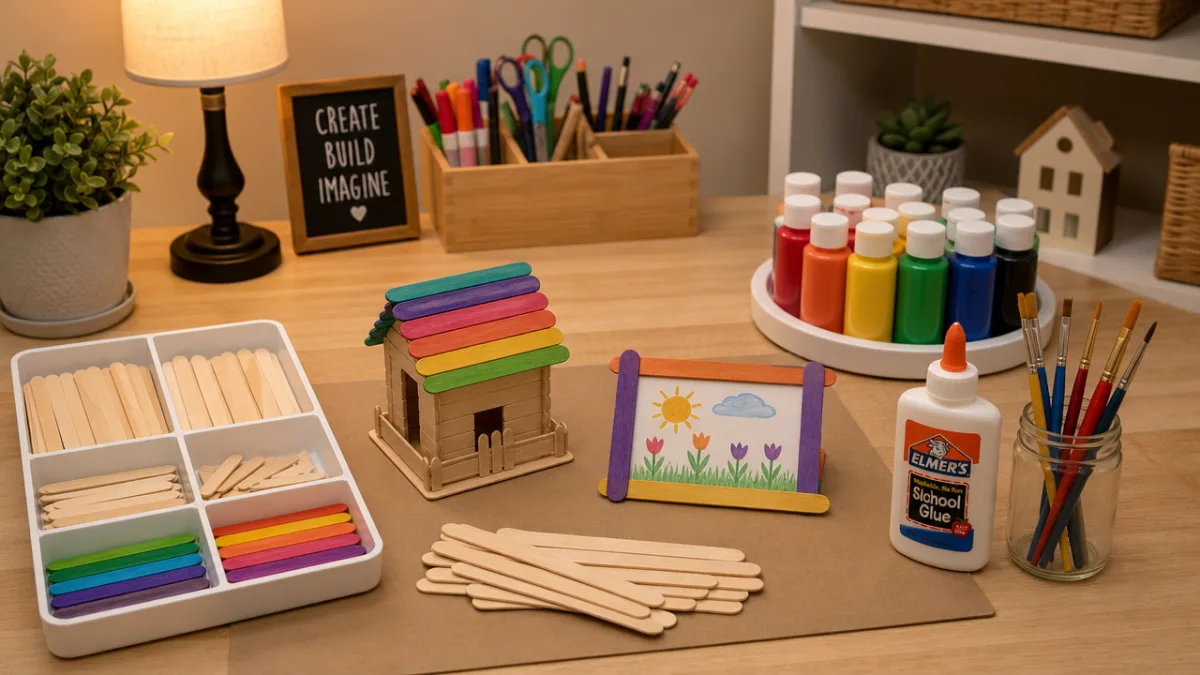
Beyond that, here’s what’s worth having in your workspace before you get started:
- Acrylic paints and a range of brush sizes, so you can handle both fine details and broader areas
- Fine and medium grit sandpaper for smoothing out any rough or splintery edges
- Scissors and a craft knife for cutting sticks down to the lengths you need
- A ruler and pencil for measuring and marking before you cut
- Mod Podge or a clear sealant to protect your finished pieces
- Fun extras like glitter, ribbon, twine, buttons, and adhesive gems for decoration
- Clothespins or binder clips to hold joints together while the glue sets
It’s also worth setting up your workspace properly before you start. Lay down some newspaper, a plastic sheet, or a silicone mat to protect your table from glue drips and paint. Make sure you have decent lighting — it makes a real difference when you’re working on small details — and keep some water and paper towels close by for quick cleanups. A tidy, well-organized space just makes the whole experience more enjoyable, and you’ll probably find that you craft better when things aren’t cluttered around you.
Beginner-Friendly Popsicle Stick Projects
If you’re just getting started, it makes sense to pick projects that let you practice the basics without getting overwhelmed. The classic popsicle stick picture frame is a perfect first build. Lay four sticks in a square or rectangle, overlapping at the corners, and glue them together. Once that’s dry, add a second layer slightly offset from the first for a bit more depth and strength. Paint it however you like, add some decorations, and stick a magnet or hanging hook on the back. It’s simple, but the result is genuinely charming.
Popsicle stick bookmarks are another great beginner project, and they make really thoughtful handmade gifts. Trim a stick to the length you want, then decorate it with paint, markers, washi tape, or stickers. You can paint little animals, characters, or just go abstract — whatever feels right to you. Kids can knock these out almost entirely on their own, which makes them great for building a sense of independence and creative confidence. Finish with a coat of Mod Podge so the decoration holds up through everyday use.
For something a little more functional, try making popsicle stick coasters. Line up sticks side by side, then glue two sticks across the top and bottom, perpendicular to the others, to hold them in place. Once everything is dry, sand the surface smooth, paint or stain it however you like, and seal it with a waterproof varnish so it can actually handle a wet glass. These are a great housewarming gift, and you can customize them with monograms, geometric patterns, or paint effects like sponging or stamping to suit any style of home.
Intermediate Projects: Structures and Home Decor
Once you’ve got the basics down, things get a lot more interesting. Building a miniature log cabin is one of those projects that’s been a rite of passage for popsicle stick crafters for good reason — it teaches you to think ahead, work patiently, and understand how structures hold themselves together. Start with a rough sketch on paper: the floor plan, the wall height, the angle of the roof. Then start stacking sticks horizontally in a log-cabin pattern, gluing each layer before adding the next. For the roof, arrange sticks over a triangular gable at whatever pitch looks right. The finished result has a real warmth and personality to it.
If you’d rather make something practical, popsicle stick wall organizers are a surprisingly satisfying intermediate project. A small mail holder or key rack built from sticks and fitted with a few hooks or clips can genuinely earn its place in your entryway or kitchen. Paint it to match your decor, add a little lettering if you want, and mount it on the wall. There’s something especially good about using something every day that you built from scratch — and people are always a little amazed when they find out it’s made from ice cream sticks.
Decorative wall art panels are another great step up in complexity. Arrange sticks in geometric patterns — chevrons, herringbone, a mandala — and you’ll end up with something that looks genuinely sophisticated. Paint individual sticks in coordinating colors before you put them together, or stain them in different shades for a natural wood-toned effect. Mount the finished piece on a backing board or hang it directly on the wall. These panels fit beautifully into modern farmhouse, bohemian, or Scandinavian interiors, and most people won’t believe you made them out of craft sticks.
Advanced Popsicle Stick Builds: Engineering and Architecture
If you’re the kind of person who loves a real challenge, this is where popsicle stick crafting starts to feel like something else entirely. Building a weight-bearing bridge is one of the most iconic challenges in the hobby — it’s been a staple of school engineering classes forever, and for good reason. The whole puzzle is figuring out how to make something as strong as possible using only sticks and glue. You’ll want to think about structural concepts like triangulation, tension, and load distribution. You don’t need an engineering degree — just spend some time looking at truss bridge designs online and you’ll have plenty to work with.
Miniature furniture is another frontier that separates serious popsicle stick builders from casual crafters. Chairs, tables, beds, sofas — all of it is achievable if you’re willing to be precise about measuring and cutting. This kind of work really pushes your skills, because the tolerances are tight and even small inconsistencies show up in the finished piece. A lot of crafters use miniature furniture to furnish dollhouses or build diorama scenes. Paint the pieces in realistic wood tones, add tiny fabric upholstery cut from scraps, throw in some miniature accessories, and the results can look genuinely museum-worthy.
And then there are the builds that are in a category of their own — a working Ferris wheel, a geodesic dome, a detailed model of a famous building. Projects like these can take weeks or months and might use thousands of sticks. They require careful planning, precise execution, and the patience to work through structural problems as they come up. But the finished results are truly something to behold, and it’s hard to describe the feeling of completing one. Plenty of crafters document these big builds on social media, where they tend to inspire a lot of well-deserved admiration.
Creative Painting and Finishing Techniques
How you finish a project makes an enormous difference. The same build can look like a quick craft or a polished piece of art depending on how much attention you give to the painting and finishing. Acrylic paint is the most popular choice because it sticks well to wood, dries fast, and comes in just about every color imaginable. For the smoothest results, do two thin coats instead of one thick one, letting each layer dry completely before adding the next. A light sanding between coats gives you a surface that looks and feels like something from a proper woodworking shop.
If you’d rather let the wood speak for itself, staining is a beautiful alternative to paint. Gel stains are especially beginner-friendly — they’re easy to control and pretty forgiving. Brush a little on with a foam brush, wipe off the excess with a cloth, and let it dry. You can layer different stain colors for depth, or combine staining with selective painting to highlight certain parts of the design. The result is warm and organic in a way that paint often isn’t, and it’s a style that sells really well at craft markets.
There are plenty of other finishing techniques worth trying too:
- Decoupage: Cut up patterned paper, napkins, or tissue paper and adhere them to stick surfaces with Mod Podge for a layered, intricate look that’s much easier than it appears.
- Distressing: After painting, lightly sand the edges and raised areas to reveal the natural wood underneath, giving your piece a vintage or shabby-chic character.
- Stamping: Rubber stamps and ink pads let you add patterns, words, or images to a painted surface before sealing — a great way to add detail without needing to freehand anything.
- Burnt wood effect: Carefully applied heat from a candle flame or a wood burning tool creates a charred, rustic texture that looks really striking on certain builds.
- Washi tape accents: Strips of decorative washi tape can add color and pattern in minutes, with zero artistic skill required — a lifesaver when you want something to look finished quickly.
One step a lot of beginners skip — and then regret — is sealing the finished project. A clear acrylic sealer in matte, satin, or gloss protects everything from moisture, dust, and the wear that comes with regular handling. Spray sealers give you a nice even coat and are very convenient, while brush-on options like Mod Podge let you work more carefully around details. If your project is going outside or into a humid room like a bathroom, make sure you reach for a waterproof outdoor sealant. It’s a small step that makes a big difference in how long your work holds up.
Popsicle Stick Crafts for Kids and Educational Settings
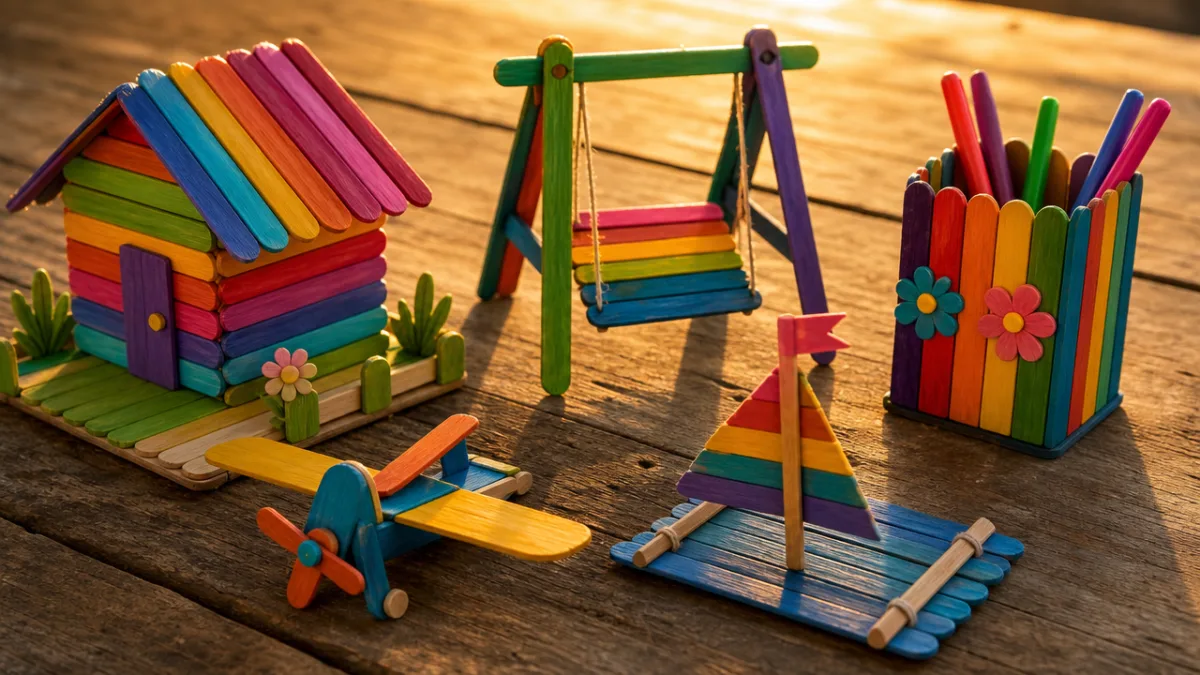
Popsicle stick crafts are particularly well-suited to kids, not just because they’re fun, but because they quietly build real skills along the way. For little ones aged three to six, something as simple as decorating individual sticks with paint and stickers, or gluing them into basic shapes, gives great practice for fine motor control and hand strength. These early activities build the coordination and patience that make more complex tasks easier down the road.
For school-aged kids, popsicle stick projects fit naturally into all sorts of subjects. In math, you can use sticks to physically build geometric shapes, explore fractions by breaking them into equal parts, or just practice measuring and comparing lengths hands-on. In science, bridge-building challenges introduce concepts of force, load, and material properties in a way that sticks in the memory far better than reading about them in a textbook. History lessons can come alive when kids build model log cabins, Roman aqueducts, or ancient temples out of these simple sticks.
When crafting with kids, a bit of preparation goes a long way toward keeping things enjoyable:
- Use washable, non-toxic craft glue rather than a hot glue gun for children under ten
- Pre-cut sticks to the lengths you’ll need so younger kids don’t have to handle craft knives
- Lay out protective coverings over the workspace before you open anything up
- Focus on the process and the experimentation, not just whether the finished product looks “right”
- Let kids make their own design choices — the whole thing is more meaningful when it’s theirs
- Display what they make somewhere visible so they can feel genuinely proud of it
Group projects are where things get really special. Challenge a group of kids to build the tallest tower, the strongest bridge, or a model of their school using only sticks and glue, and watch what happens. They’ll negotiate, argue, laugh, try things that don’t work, and eventually figure it out together. Those are exactly the kinds of experiences — the collaboration, the creative problem-solving, the shared victory at the end — that stay with kids long after the glue has dried.








What do you think?
It is nice to know your opinion. Leave a comment.