










Introduction to Modern Privacy Screens
A modern privacy screen is one of the most versatile and rewarding projects a homeowner or DIY enthusiast can undertake. Whether you are looking to create a secluded outdoor retreat, divide an open-plan living space, or simply add a striking architectural element to your garden or patio, a well-designed privacy screen can accomplish all of these goals simultaneously. Unlike fences or walls, privacy screens offer a blend of functional separation and aesthetic appeal that can transform any space into something truly remarkable.
The appeal of building your own privacy screen lies in the ability to tailor every detail to your specific needs and taste. Store-bought dividers rarely match the exact dimensions of a space, and they almost never reflect the personal style of the people who live there. When you build your own, you control the materials, the finish, the height, the spacing of slats or panels, and the overall design language. This level of customization ensures that your privacy screen feels like a natural extension of your home rather than an afterthought.
Modern privacy screens draw inspiration from a wide range of architectural traditions, from the clean horizontal lines of mid-century modernism to the warm organic textures of Japanese timber design. What unifies these diverse influences is a commitment to simplicity, quality materials, and intentional construction. This article will walk you through everything you need to know to plan, design, and build your own modern privacy screen, from selecting the right lumber to applying the finishing touches that will keep it looking beautiful for decades.
Why Modern Design Principles Matter
Modern design is not simply about aesthetics; it is about solving problems elegantly. When applied to a privacy screen, modern principles push you to consider how the structure will interact with light throughout the day, how it will weather over the seasons, and how it will complement the existing lines of your home or garden. A thoughtfully designed screen does not just block sightlines; it creates atmosphere, filters light in interesting ways, and adds depth to a space that might otherwise feel flat or exposed.
Proportions are critically important in modern design. The ratio of solid material to open space in your screen will determine how much privacy you actually achieve, how much airflow passes through, and how heavy or light the structure feels visually. A screen with tightly spaced vertical slats will feel more enclosed and formal, while one with wider horizontal boards and generous gaps will feel open and relaxed. Understanding this relationship before you begin building will save you significant time and effort during the planning phase.
Planning Your Privacy Screen: Dimensions, Purpose, and Placement
Before purchasing a single board or driving a single screw, you need to have a clear and detailed plan. Begin by asking yourself exactly what purpose the screen will serve. Are you blocking the view from a neighbor’s upper window? Creating a windbreak around an outdoor dining area? Defining a zone within a large open garden? Each of these goals will lead you to different decisions about height, width, material density, and structural approach. Taking the time to answer these questions thoroughly will prevent costly mistakes later in the build.
Measurement is the foundation of any successful woodworking project, and privacy screens are no exception. Walk the perimeter of your intended installation area with a tape measure and record every relevant dimension: the total linear footage the screen must cover, the height required to achieve the desired level of privacy, the distance from any structures or property lines, and the condition of the ground where posts will be installed. If the ground is soft or subject to frost heave in winter, your post depth and footing strategy will need to account for that. Accurate measurements at this stage translate directly into a cleaner, more professional result.
Consider the orientation of your screen relative to the sun. A screen running east to west will cast long shadows in the morning and evening but allow overhead light throughout the day. One running north to south will create a shaded zone on one side throughout the afternoon, which may be exactly what you want for a seating area but problematic for a garden bed. Think through how the sun moves across your property at different times of day and different seasons before committing to a final placement. This kind of thoughtful site analysis is what separates a functional screen from a truly excellent one.
Choosing the Right Height and Width
For most residential privacy applications, a height of six to eight feet strikes the right balance between effectiveness and visual weight. A screen shorter than six feet will fail to block sightlines from most seated or standing positions, while one taller than eight feet may require additional structural reinforcement and could feel oppressive rather than sheltering. If your goal is to create a cozy, enclosed outdoor room, leaning toward the upper end of this range will give you the enclosed feeling you are after. If you simply want to interrupt a direct sightline without creating a wall-like effect, something closer to six feet will feel much more open and welcoming.
Width is largely dictated by the space you are working with, but there are design considerations here too. A single continuous screen panel that runs uninterrupted across a long distance can look monotonous and impose a very heavy visual presence. Consider breaking long runs into sections separated by posts or small planter boxes. This modular approach also makes the project more manageable from a construction standpoint, since you can build and install one section at a time rather than wrestling with an unwieldy single unit.
Selecting Materials for a Modern Privacy Screen
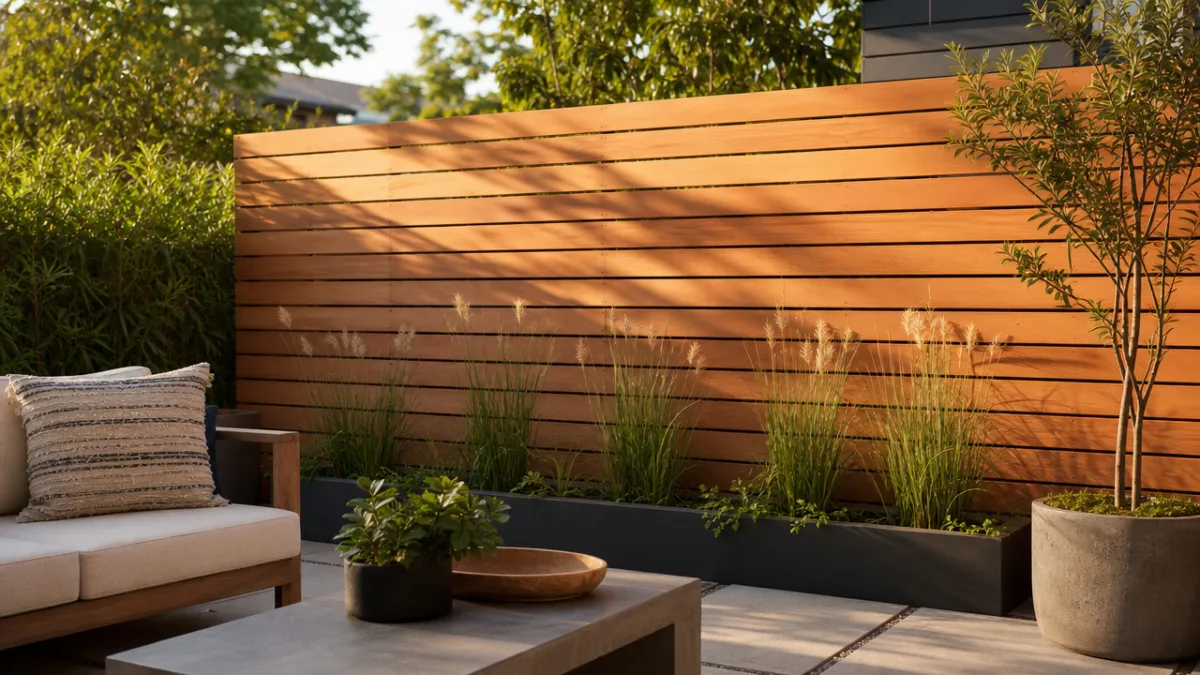
Material selection is arguably the single most important decision you will make in this entire project. The material determines the screen’s longevity, its maintenance requirements, its visual character, and its overall cost. For a truly modern aesthetic, the most popular choices are cedar, redwood, pressure-treated pine, black steel, and composite decking boards. Each material has a distinct set of advantages and trade-offs, and the right choice will depend on your climate, your budget, and the look you are trying to achieve.
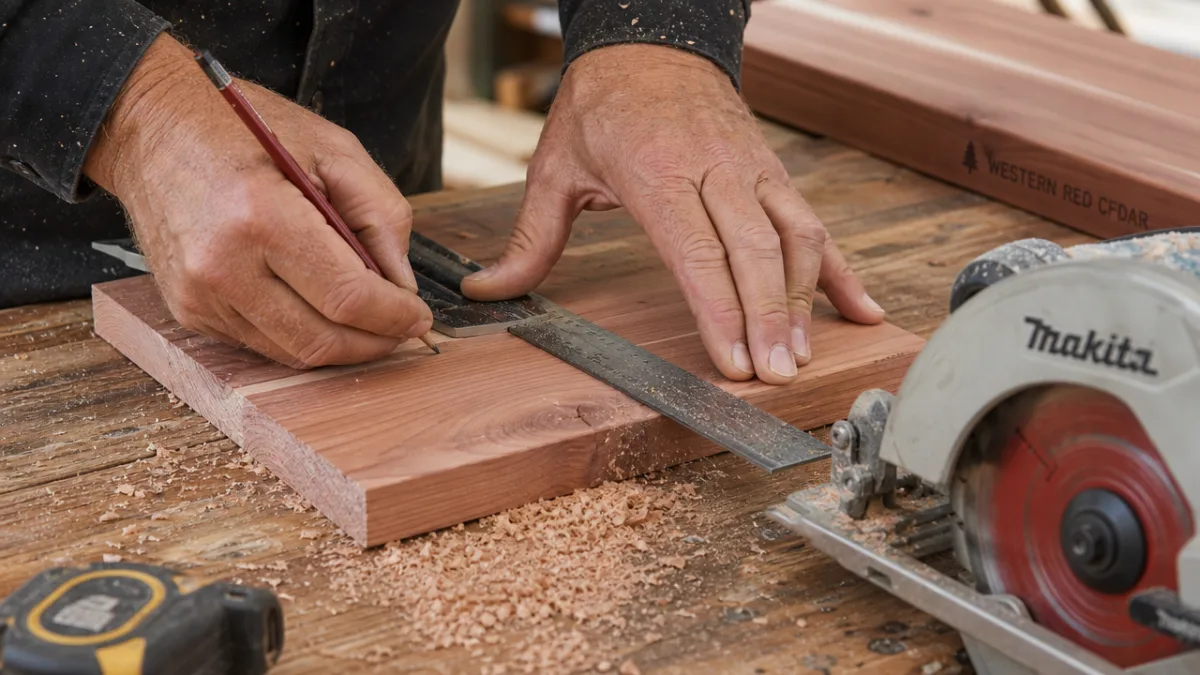
Cedar is widely regarded as the gold standard for outdoor wood projects, and for good reason. It is naturally resistant to rot, insects, and moisture without any chemical treatment, and it ages beautifully to a soft silver-gray patina if left untreated, or can be maintained with oil or stain to preserve its warm reddish-brown color. It is lightweight, easy to work with standard woodworking tools, and holds fasteners well. The main drawback is cost: cedar is significantly more expensive than pine in most markets, and high-grade clear cedar with few knots commands a premium price that can add up quickly on a large project.
Pressure-treated pine is a more economical alternative that offers excellent rot and insect resistance thanks to the chemical preservatives forced into the wood during manufacturing. Modern pressure-treated lumber uses safer copper-based preservatives compared to the older arsenic-based formulas, making it appropriate for residential use. However, pressure-treated wood tends to be heavier, more prone to warping and checking as it dries after treatment, and has a greenish tint that some people find unattractive. Allowing it to dry thoroughly before finishing and choosing kiln-dried pressure-treated material when available will help minimize these issues.
Steel and Composite Options
Black powder-coated steel is gaining enormous popularity in modern privacy screen design because it delivers a crisp, architectural quality that wood simply cannot replicate. Steel panels can be laser-cut with intricate geometric patterns or left as solid sheets, and the powder coating provides exceptional weather resistance. The primary challenges are cost and installation complexity: steel panels are heavy, require professional welding or specialized hardware to assemble, and can become extremely hot in direct summer sun, making them less ideal for screens adjacent to seating areas.
Composite decking boards, originally developed as a low-maintenance alternative for deck surfaces, have found a second life as privacy screen infill material. Made from a mixture of wood fiber and recycled plastic, composite boards resist rot, fading, and insect damage with virtually no maintenance beyond occasional cleaning. They are available in a wide range of colors and grain patterns that convincingly mimic natural wood. For homeowners who want the look of wood without the commitment of annual sealing or staining, composite infill boards combined with steel or aluminum posts represents one of the most practical modern privacy screen configurations available.
Step-by-Step Construction Guide
With your plans finalized and your materials selected, it is time to begin the actual build. Organize your construction process into clear phases so that each step builds logically on the one before it. Attempting to rush through the process or skip steps to save time almost always results in problems that are far more time-consuming to correct later. A well-sequenced approach will keep your project on track and ensure that the finished screen is structurally sound and visually polished.
The tools you will need for a standard wood privacy screen include a circular saw or miter saw for cutting boards to length, a drill driver with a selection of drill bits and driver bits, a post hole digger or rented power auger for setting posts, a level (both a standard four-foot level and a small torpedo level are useful), a chalk line for marking layout, clamps for holding boards in position while you fasten them, and safety glasses and hearing protection. Having all of your tools organized and ready before you begin will make the work flow much more smoothly.
Follow these general construction phases in order for the best results:
- Phase 1 – Layout and Post Setting: Mark post locations with stakes and string line, ensuring they are perfectly aligned. Dig holes to a depth of at least one-third the post height, plus an additional six inches for gravel drainage at the bottom. Set posts in concrete, check for plumb in both directions with a level, and brace them in position until the concrete cures fully, which typically takes 24 to 48 hours.
- Phase 2 – Frame Construction: Once posts are set and solid, attach horizontal rails between them at the top, middle, and bottom of the panel area. These rails provide the structural backbone to which your infill boards or slats will be attached. Use galvanized or stainless steel fasteners throughout to prevent rust staining.
- Phase 3 – Infill Installation: Attach your chosen infill material to the rails, working from one end to the other and using a consistent spacer block to maintain even gaps between boards. Check your work frequently with a level to ensure boards are not drifting out of alignment.
- Phase 4 – Finishing: Sand any rough edges, fill fastener holes if desired, and apply your chosen finish — whether oil, stain, paint, or sealant — to protect the wood and achieve your intended aesthetic.
Post Setting and Structural Considerations
The posts are the backbone of your privacy screen, and getting them right is absolutely non-negotiable. Undersized posts, posts set too shallow, or posts that are not perfectly plumb will compromise the entire structure. For a six-to-eight-foot screen, use 4×4 or 6×6 posts depending on the panel width and wind exposure at your site. Wider panels and windier locations call for larger, more deeply set posts. In regions with significant frost, posts must extend below the frost line to prevent heaving, which can be 36 inches or more in cold northern climates.
Post base hardware offers an alternative to concrete-set posts in some situations. Surface-mounted or in-ground post bases allow posts to be replaced easily if they ever rot at the base, and they keep the bottom of the post above the soil surface where moisture accumulation is greatest. However, post bases do add to the overall cost and require a solid existing concrete surface or careful installation into new concrete footings. For most freestanding privacy screens built on natural ground, the traditional concrete-set post method remains the most reliable approach.
Finishing Touches and Long-Term Maintenance
The quality of your finish will determine how long your privacy screen continues to look its best and how much maintenance it requires over the years. Bare cedar or redwood can be left to weather naturally and will develop a beautiful silver-gray color over two to three seasons. This is a perfectly valid aesthetic choice and requires virtually no maintenance beyond an occasional cleaning with a mild detergent and water. However, if you prefer to maintain the warm, golden color of fresh-cut cedar, you will need to apply a penetrating oil or UV-resistant stain every one to two years, depending on your climate and sun exposure.
Painted finishes are also a compelling option for modern privacy screens, particularly when the screen is meant to complement the trim color of a nearby structure. A solid exterior-grade paint in charcoal, black, white, or any other color can give the screen a bold, graphic presence that reads as very intentional and contemporary. The trade-off is that paint requires more preparation work upfront — priming, careful application, and proper drying time between coats — and will eventually peel or chip, requiring more involved maintenance than a simple re-oiling.
Plan your long-term maintenance schedule at the outset so that it does not catch you by surprise. Wood privacy screens should be inspected annually for signs of rot, especially at the base of posts and at any horizontal surfaces where water can pool. Tighten or replace any fasteners that have worked loose, and touch up any areas where the finish has worn away before moisture has a chance to penetrate. Addressing small issues promptly will prevent them from becoming large structural problems and will extend the useful life of your screen significantly.
Enhancing Your Screen with Plants and Lighting
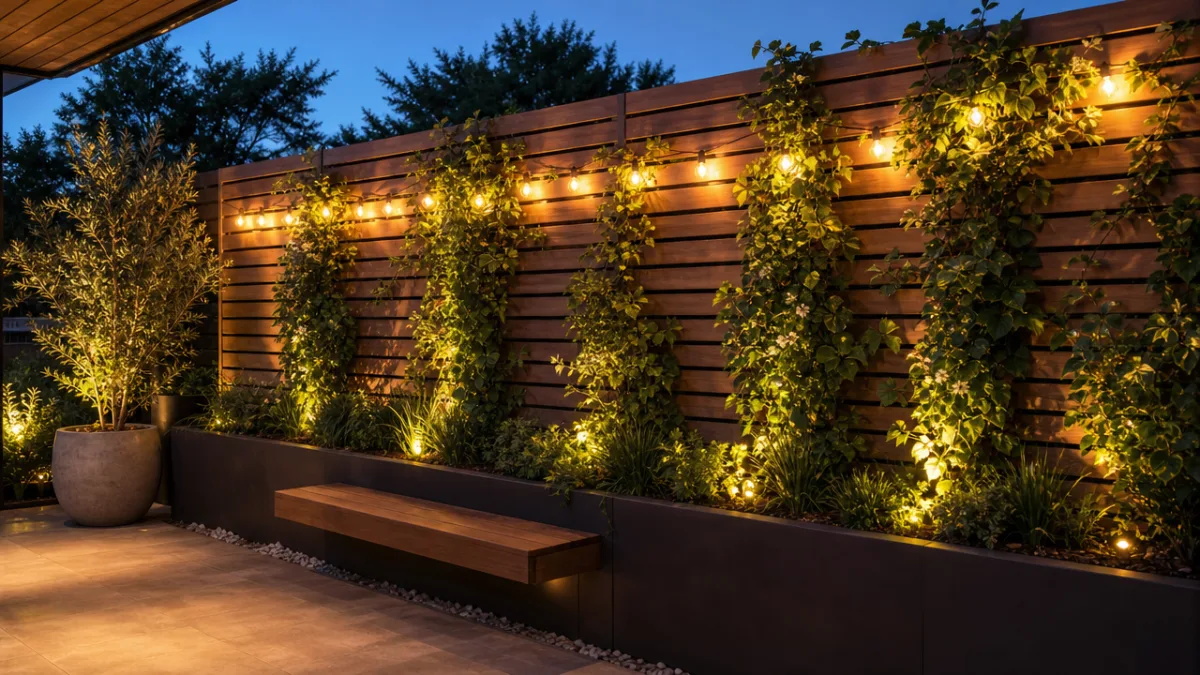
A privacy screen does not have to stand alone as a purely architectural element. Integrating climbing plants such as jasmine, clematis, wisteria, or climbing roses can soften the visual impact of the structure and create a living, breathing wall of greenery and flowers. Install a simple wire trellis on the screen’s face or use cup hooks to string horizontal wires that give plants something to grip. Within a single growing season, many vigorous climbers can cover a substantial portion of the screen, adding fragrance, color, and wildlife habitat to your outdoor space.
Lighting is another powerful way to elevate the impact of your privacy screen from functional to genuinely beautiful. String lights draped along the top edge create a warm, festive atmosphere for evening entertaining. Surface-mounted exterior wall sconces attached directly to the posts provide task lighting for reading or dining outdoors. For a more subtle effect, consider low-voltage landscape lights aimed upward at the face of the screen to create a dramatic wash of light that highlights the texture of the wood grain or the geometry of the slat pattern after dark.
Consider adding built-in planters at the base of the screen or attaching small wall-mounted planter boxes directly to its face. These can be filled with herbs, succulents, trailing flowers, or any other plants that suit your climate and taste. Built-in planters also help anchor the base of the screen visually, giving it a grounded, permanent quality that makes it feel like a true architectural feature rather than a temporary addition to the space. With the right combination of planting and lighting, your modern privacy screen will become the focal point of your outdoor living area and one of the most rewarding projects you have ever completed.








What do you think?
It is nice to know your opinion. Leave a comment.