










Why Raised Beds Are the Smartest Choice for Your Garden
Raised garden beds have taken off in a big way among backyard growers, and honestly, it’s not hard to see why. Whether you’ve been gardening for decades or you’re staring at a patch of dirt wondering where to even begin, raised beds give you a controlled, forgiving setup that stacks the odds in your favor. The biggest perk? You’re not stuck dealing with whatever sad soil your yard came with. Instead of wrestling with compacted clay or nutrient-stripped ground, you get to start fresh and fill your beds with exactly the mix your plants are going to love.
The practical day-to-day benefits are just as real. That raised frame means you’re not bent over at the waist or kneeling in the mud every time you need to pull a weed or check on your tomatoes — something that makes a huge difference if your back has ever staged a protest mid-garden session. Even a bed that sits just 10 to 12 inches off the ground takes a surprising amount of strain out of routine tasks like planting, watering, and harvesting.
Drainage is another area where raised beds really shine. Water moves freely through the loose, open growing medium inside the frame, so roots stay well-aerated even after a heavy downpour — no waterlogged soil, no root rot. The soil also heats up noticeably faster in spring, which can add several weeks to either end of your growing season. Put it all together and you’ve created a little microenvironment that most plants find basically ideal, which tends to show up as faster growth and better yields than you’d ever get from a traditional in-ground plot.
Choosing the Right Materials for Your DIY Raised Bed
One of the first real decisions you’ll face is what to build your frame out of, and it’s worth taking a minute to think it through. Lumber is by far the most common choice — it’s affordable, easy to find, simple to cut and assemble, and it looks right at home in a garden. That said, not all wood holds up equally once it’s sitting against moist soil season after season. You want something that can handle that environment without warping, cracking, or quietly rotting away on you.
Cedar is the material most experienced builders reach for, and for good reason. Its natural oils repel insects and fight off rot, which translates to a lifespan of ten to twenty years even in constant contact with damp earth. Douglas fir is a budget-friendlier alternative, though you’re looking at more like five to seven years before it starts showing its age. Redwood is excellent if you happen to have easy access to it. One thing to watch out for: older pressure-treated lumber treated with CCA contained arsenic and is a hard pass for food gardens. Modern pressure-treated wood using ACQ is considered safe by most gardening organizations, but if you’re growing vegetables and want zero doubt, stick with untreated cedar.
Wood isn’t your only option, though. Galvanized steel beds have gotten really popular lately — they look sharp, require almost no upkeep, and can easily last twenty years or more. Composite lumber made from recycled plastic and wood fiber is another solid pick if you want the look of wood without any of the rot concerns. And if you’re thinking more permanently, concrete blocks, stone, or brick all make beautiful, long-lasting beds that also happen to hold heat well and help keep your soil temperature stable through the season.
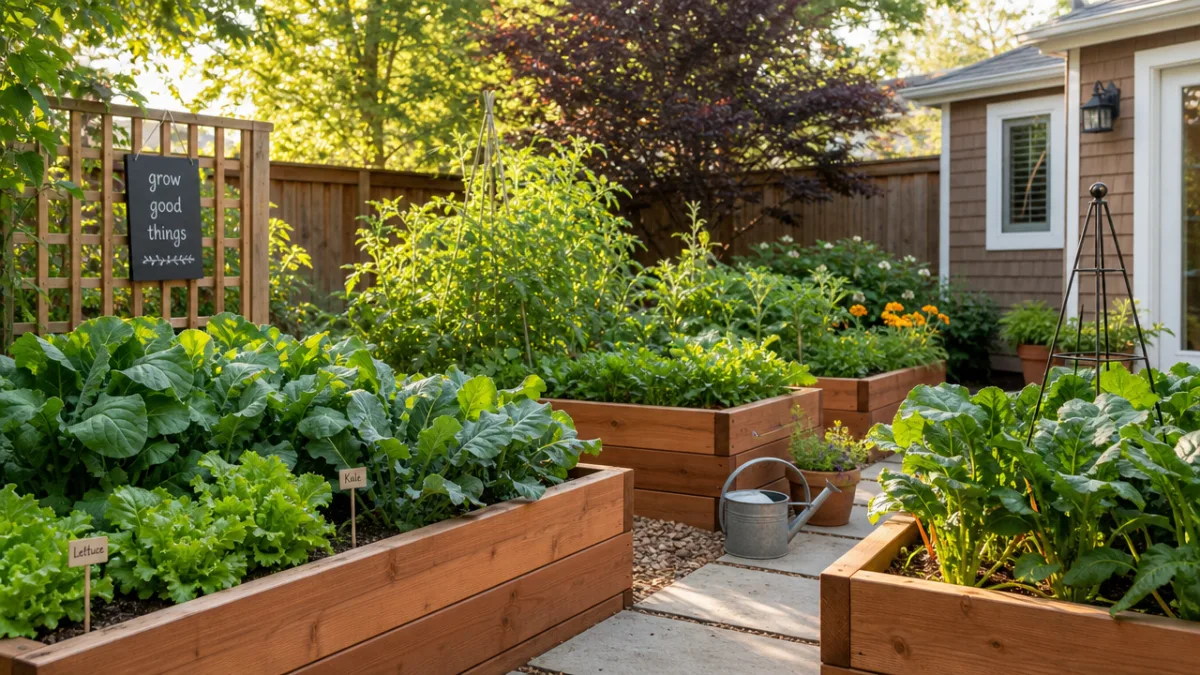
Tools and Supplies You Will Need Before You Start
Before you make your first cut, do yourself a favor and get everything together ahead of time. Running to the hardware store halfway through because you’re missing one screw is the kind of thing that turns a fun afternoon project into a frustrating one. The good news is that building a basic raised bed doesn’t require a workshop full of specialized equipment — most of what you need is probably already in your garage, and anything else is cheap and easy to pick up.
Here is a list of the core tools you will need for a standard raised bed build:
- Circular saw or hand saw for cutting lumber to length
- Power drill with screwdriver bits for driving screws
- Measuring tape for accurate dimensions
- Carpenter’s square for ensuring right angles at corners
- Level for making sure your bed sits evenly on the ground
- Pencil or marking tool for noting cut lines on lumber
- Mallet or rubber hammer for adjusting position without damaging wood
- Safety glasses and work gloves for personal protection
For hardware, you’ll want exterior-grade screws — not the interior drywall kind, which will rust out fast once they’re exposed to the elements. For standard 2×6 or 2×8 boards, 3-inch screws are usually the right call. If you want to put down a weed barrier along the bottom, a roll of landscape fabric or even just some flattened cardboard boxes both work well and break down naturally over time without messing with your soil. For bigger beds, corner brackets or metal mending plates are a worthwhile addition if you want extra rigidity at the joints.
Optional but Helpful Add-Ons
Depending on what you’re hoping to grow and how hands-off you’d like your maintenance to be, a few optional extras can make a real difference. A simple drip irrigation system running along the base of your plants conserves water and keeps foliage dry, which cuts down on disease. If you bend some PVC pipe into hoops along the sides of the bed, you’ve got an instant support structure for row cover fabric or bird netting whenever you need it. And if squirrels, voles, or moles are a known problem in your area, stapling a layer of half-inch hardware cloth across the bottom of a taller bed before you fill it is one of those things you’ll be very glad you did the first time a critter would otherwise wipe out your carrots overnight.
Step-by-Step Instructions for Building a Standard Raised Bed
Here’s the thing about building a raised bed: it’s genuinely one of the more satisfying DIY projects you can take on, and most people knock it out in a single afternoon with no real carpentry background. The classic starter size is a 4-foot by 8-foot bed standing about 10 to 12 inches tall. The 4-foot width is deliberate — it lets you reach the middle from either side without ever having to step in and compact the soil. The 8-foot length gives you a generous planting area while keeping the whole structure solid and manageable without needing extra support along the sides.
Follow these steps to build your standard raised bed from start to finish:
- Cut your lumber to length. For a 4×8 bed using 2×6 boards, you’ll need two boards at 8 feet and two at 45 inches (that shorter length accounts for the thickness of the end boards). Want a deeper bed? Just stack two layers of boards on top of each other.
- Choose and prepare your site. Clear away any grass or debris, then use a level to confirm the ground is reasonably flat. A slight slope is fine, but anything dramatic will cause the frame to twist and water to collect unevenly on one end.
- Assemble the frame. Stand the shorter end boards up vertically and attach the long side boards to their outer faces, using two or three screws at each corner and predrilling to avoid splitting the wood. Keep your carpenter’s square handy and check every corner as you go.
- Position the bed and check for level. Set the assembled frame in its final spot and lay a level across both the width and the length. Add or remove soil beneath the frame until everything is sitting flat.
- Lay down your weed barrier. Cover the entire floor of the bed with cardboard or landscape fabric, overlapping the edges generously so weeds can’t sneak through the seams.
- Fill with your growing medium. A tried-and-true blend is one-third compost, one-third peat moss or coconut coir, and one-third coarse vermiculite or perlite — commonly called Mel’s Mix after the gardener who made it famous. Fill to within an inch or two of the top of the frame.
- Water thoroughly and allow to settle. Give the bed a deep soaking after filling and let it settle for a day before planting. Top it off with more mix as needed to bring the level back up.
Once your bed is filled and settled, you can plant right away — no waiting, no prep work beyond what you’ve already done. That’s one of the genuine joys of building with a custom soil mix: it’s ready to go from day one. If you want to see results quickly, start with transplants; if you’re happy to wait a bit, direct sow from seed according to your local planting calendar. Either way, don’t be surprised when things take off faster than you expected. That loose, fertile mix tends to produce some pretty enthusiastic plants.
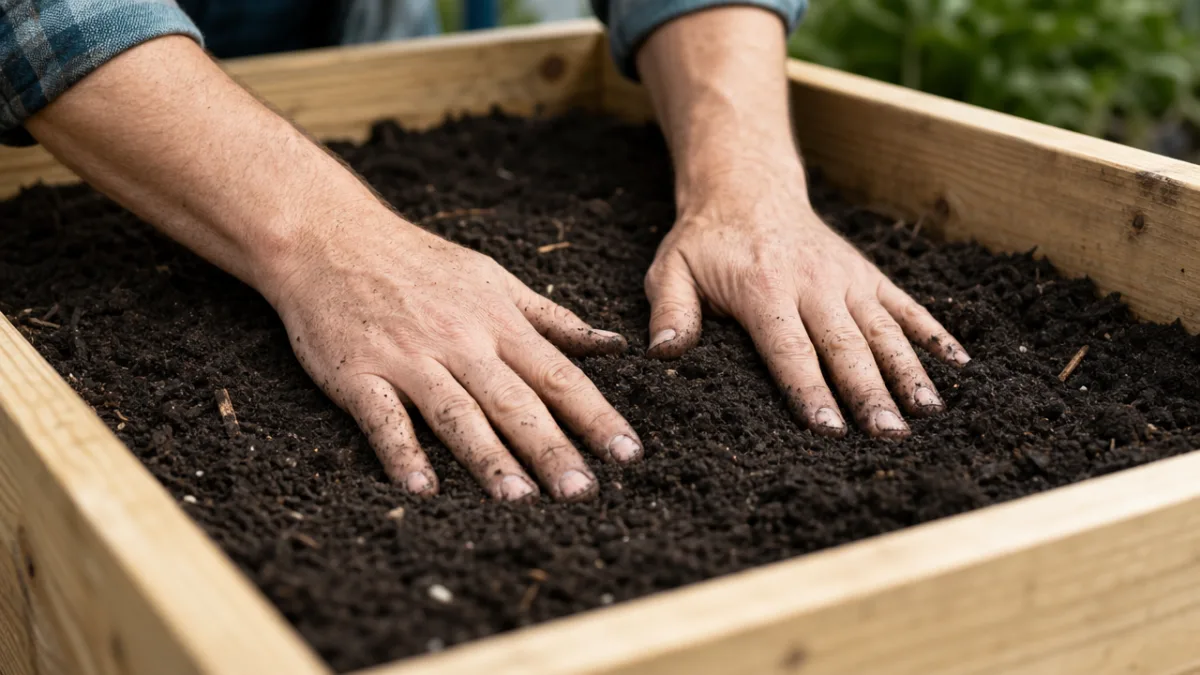
Filling and Amending Your Raised Bed for Maximum Productivity
If there’s one place not to cut corners when building a raised bed, it’s the soil. What you fill the bed with matters more than almost anything else, and it’s also the mistake most beginners make. You’re starting with a blank slate here — no native soil to work with and improve over time — which means whatever you put in the bed is entirely what your plants have to work with. Cheap or poorly balanced fill leads to disappointing results even when everything else is done right.
What you’re going for is a mix that’s loose and fluffy, rich in organic matter, holds onto moisture without getting waterlogged, and is full of the microbial activity that feeds plant roots. Plain topsoil from a garden center usually doesn’t cut it on its own — it compacts, drains poorly, and often lacks the nutrients that vegetables in particular really need. A good blend of compost for nutrition and biological life, paired with something like peat moss or coconut coir for structure and moisture retention, and rounded out with perlite or vermiculite for airflow, hits all the right notes at once. The result is a growing medium that stays loose and productive year after year, especially if you add a little fresh compost each spring to replenish what your plants have used.
Some settling and compaction is normal as organic matter breaks down over the season, so plan to top your beds with two to three inches of compost each spring. Rather than deep tilling, work it gently into the top few inches with a hand fork — deep digging disrupts the fungal networks that are quietly doing a lot of good work in your soil, and it also brings dormant weed seeds up to where they can sprout. Over time, a well-managed raised bed actually gets better every year rather than worse, especially if you rotate crops, tuck in a cover crop over winter, and keep the surface mulched between plantings.
Recommended Soil Amendments by Plant Type
It’s also worth tweaking your mix a bit based on what you’re growing. Heavy feeders like tomatoes, peppers, squash, and corn appreciate extra compost or a slow-release organic fertilizer worked into the planting hole when you put them in the ground. Root crops like carrots, beets, and parsnips need room to push downward, so beds dedicated to these benefit from a slightly sandier, looser mix — bump up the perlite or coarse sand percentage a bit. Leafy greens and most herbs are pretty easygoing and do well in a standard balanced mix, though a light nitrogen boost midseason keeps them lush and productive even as summer heats up.
Maintenance, Seasonal Care, and Long-Term Success
One of the things people love most about raised beds once they’ve been growing in them for a season is how little fuss the beds themselves require. No tilling, fewer weeds, and fewer of the ground-level pest problems that come with traditional gardening. That said, a little consistent attention goes a long way — the gardeners who get the best results over many years are the ones who do a few small things regularly rather than neglecting the beds and then scrambling to fix problems.
Watering tends to be the most frequent task, especially in summer. Because raised beds drain so well, the top few inches can dry out faster than you might expect — which matters most when you have young seedlings or freshly transplanted starts getting established. Checking soil moisture daily during warm weather is a smart habit, and if you want to mostly automate this, a simple drip system on a timer is one of the best investments you can make. It delivers water right to the root zone more efficiently than overhead watering anyway, and it frees you up considerably. Keeping the soil surface mulched with a few inches of straw, wood chips, or shredded leaves also helps a lot — it slows moisture loss and keeps roots from cooking during heat waves.
When the season winds down, a little end-of-year tidying sets you up really well for the following spring. Pull out spent plants and add them to your compost pile, chopping up any thick stalks to speed things along. In colder climates, consider seeding a cover crop of clover, winter rye, or hairy vetch — these protect the soil over winter, reduce erosion, and add organic matter when you turn them under in spring. Legume options like clover even pull nitrogen from the air and deposit it into the soil, which your spring crops will thank you for. If cover cropping feels like a step too far for now, simply top the bed with a thick layer of compost before winter sets in and let it be. Earthworms and soil microbes will work it in on their own, and you’ll come back to beds that are in great shape when planting time rolls around again.

Extending Your Season With Simple Structures
One of the more exciting things raised beds make possible is pushing your growing season significantly further in both directions without a huge amount of extra effort or expense. You’re already ahead of the game since raised bed soil warms up weeks earlier than in-ground soil in spring. Drop a cold frame on top — basically a hinged lid made from old window sashes or polycarbonate panels — and you’ve created a little greenhouse effect that can move your planting date three to four weeks earlier than you’d otherwise manage. On the fall side, a few flexible PVC hoops bent across the bed and draped with lightweight row cover fabric can shield your crops from light frosts and keep you harvesting fresh greens and root vegetables well into November in many parts of the country, long after most gardens have called it a season.








What do you think?
It is nice to know your opinion. Leave a comment.