










Easy D.I.Y. Container Fountain: Transform Your Outdoor Space with a Stunning Water Feature
There is something undeniably magical about the sound of trickling water in a garden or on a patio. A DIY container fountain brings that soothing ambiance directly to your outdoor living space without the enormous cost and complexity of installing a traditional pond or built-in water feature. With just a few affordable materials, a little creativity, and a free afternoon, you can create a beautiful, functional fountain that becomes the centerpiece of your backyard, balcony, or garden bed. Whether you are a seasoned crafter or a complete beginner, this project is wonderfully approachable and endlessly customizable.
Container fountains have surged in popularity among home gardeners and outdoor decorating enthusiasts for very good reason. They require no permanent installation, can be moved seasonally, and can be assembled in nearly any style to complement your existing décor. From rustic terracotta pots stacked in tiers to sleek modern glazed ceramics, the design possibilities are virtually limitless. The core mechanism remains the same across all variations: a small submersible pump recirculates water from a reservoir through a spout or series of containers, creating continuous, peaceful water movement that enhances the atmosphere of any outdoor setting.
This comprehensive guide will walk you through every step of building your own container fountain from scratch. We will cover the materials you need, how to choose the right containers, the waterproofing process, pump installation, planting options to dress up your fountain, and ongoing maintenance tips to keep your water feature looking and sounding its best season after season. By the end, you will have all the knowledge and confidence you need to bring this rewarding project to life in your own outdoor space.
Gathering Your Materials and Tools
Before you begin assembling your container fountain, it is essential to gather all of the necessary materials and tools so that the build process goes smoothly from start to finish. The most important item is a submersible water pump, which can be found at most garden centers, hardware stores, or online retailers for a very reasonable price. Look for a pump rated for the volume of water your containers will hold, keeping in mind that a pump with adjustable flow settings gives you greater control over the final appearance and sound of your fountain. A pump that is too powerful can splash water outside your containers, while one that is too weak may not create a satisfying flow.
In addition to the pump, you will need flexible plastic tubing sized to fit the pump’s outlet, waterproof sealant or pond liner paint for treating porous containers, and silicone caulk for sealing any drilled holes. You will also need a drill with a diamond-tipped or masonry drill bit if your chosen containers are ceramic, terracotta, or stone. Other helpful supplies include aquatic plants or decorative rocks to add visual interest, a level for ensuring your stacked containers sit evenly, and waterproof outdoor extension cord or a GFCI outlet nearby to power the pump safely. Having everything laid out before you start saves time and prevents frustrating mid-project trips to the hardware store.
The following is a handy checklist of the core materials you will want to have on hand before starting your build:
- Submersible water pump with adjustable flow settings
- Clear flexible plastic tubing (sized to match pump outlet)
- Two or three containers of varying sizes (terracotta, ceramic, glazed pots, or barrels)
- Waterproof pond sealant or Flex Seal spray
- Silicone aquarium-safe caulk
- Diamond-tipped masonry drill bit
- Decorative rocks, pebbles, or river stones
- Aquatic or moisture-loving plants (optional)
- GFCI outdoor extension cord
- Carpenter’s level
Choosing quality materials at the outset makes a significant difference in the longevity and appearance of your finished fountain. Cheap tubing can kink or crack over time, and low-grade sealants may break down when exposed to prolonged UV radiation and temperature fluctuations. Invest in pond-specific products wherever possible, as these are formulated to withstand continuous water exposure and outdoor conditions. Similarly, choose containers that are rated for outdoor use and can handle freeze-thaw cycles if you live in a region with cold winters, since water trapped in porous material can cause cracking when it expands upon freezing.
Choosing and Preparing Your Containers
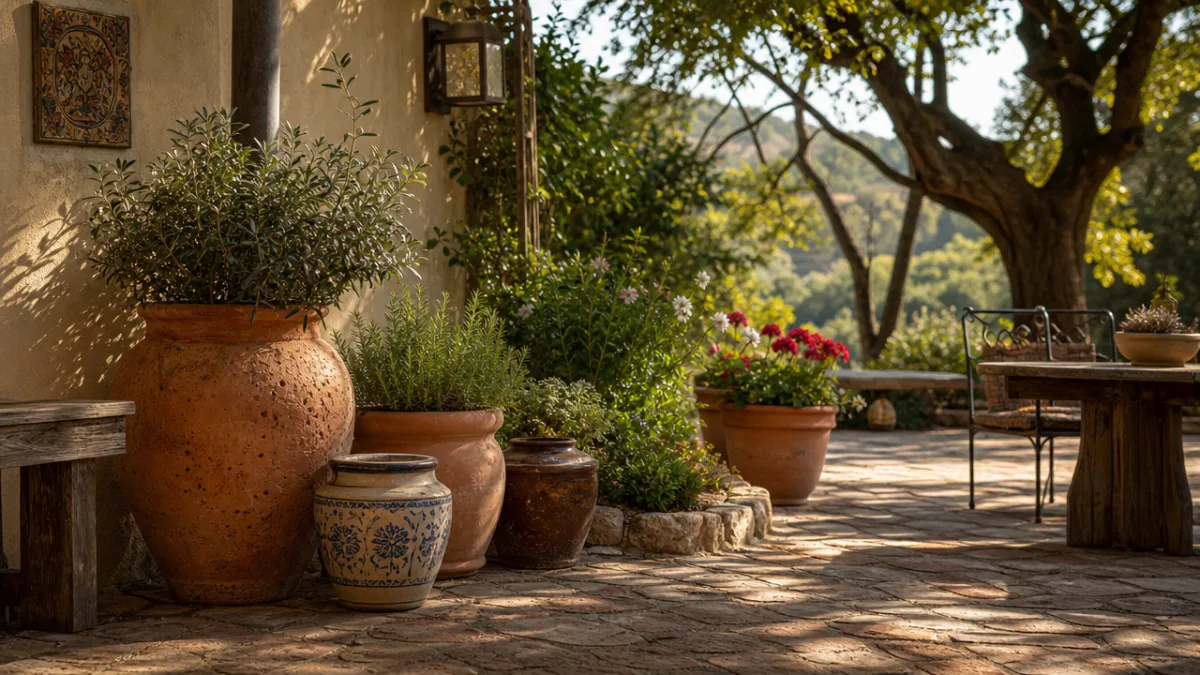
The containers you select will define the overall character of your fountain, so this is one of the most enjoyable and creative decisions in the entire project. Large half whiskey barrels offer a rustic, cottage-garden aesthetic and are naturally deep enough to house a pump with ease. Glazed ceramic urns in jewel tones create a more formal or Mediterranean look, while stacked terracotta pots of decreasing sizes produce a charming tiered effect reminiscent of classical garden fountains. Galvanized metal tubs and troughs work beautifully for an industrial-chic or farmhouse-style garden, and large concrete planters give a sleek, minimalist impression suited to contemporary outdoor spaces.
Once you have selected your containers, proper preparation is key to preventing leaks and ensuring your fountain operates efficiently. If you are using terracotta or unglazed ceramic containers, they are naturally porous and will allow water to seep through the walls over time, lowering the water level and potentially causing the pump to run dry. To prevent this, coat the inside of each container with two to three layers of waterproof pond sealant, allowing each coat to dry completely before applying the next. Products like Drylok, Flex Seal liquid, or dedicated pond liner paint work extremely well for this purpose and create a durable, watertight barrier that is safe for plants and fish if you choose to add them.
Drilling your containers correctly is another critical preparation step. The largest, bottommost container serves as the main water reservoir and should not have any drainage hole, or if it does, that hole must be sealed completely with silicone caulk before use. Smaller containers that will sit above the main reservoir and allow water to overflow downward also need to have their drainage holes sealed, unless you are intentionally using those holes to thread tubing through. When drilling new holes through ceramic or glazed pottery, always use a diamond-tipped drill bit and keep the area cool by running a slow trickle of water over the bit as you work. This prevents the ceramic from cracking under the heat generated by friction and ensures a clean, precise hole.
Installing the Pump and Assembling the Fountain
With your containers prepared and sealed, the exciting assembly phase begins. Start by placing your submersible pump at the bottom of the largest base container. Position it centrally if possible, or slightly off-center if the pump’s outlet faces upward and you want the water spout to emerge from a specific visual focal point. Attach the appropriate length of flexible plastic tubing to the pump’s outlet, feeding it up through the containers and out through whichever opening or hole you have designated as the water spout. The tubing should be long enough to reach the top container with a little slack, but not so long that it coils excessively and restricts water flow.
Threading the tubing through the holes in your containers requires a bit of patience, but the process is straightforward. After feeding the tube through each hole, apply a ring of aquarium-safe silicone caulk around the tube on both sides of each hole and smooth it into a neat, watertight seal. Allow the caulk to cure fully, typically 24 to 48 hours, before adding water to the system. This curing period is not a step to rush, as an incomplete seal will cause slow leaks that undermine the pump’s effectiveness and make a mess of your patio or garden bed. Once everything has cured, you can begin stacking or arranging your containers in their final configuration, using a carpenter’s level to ensure everything is even and stable.
Before filling the reservoir with water and turning on the pump for the first time, take a moment to arrange any decorative elements inside or around the containers. River rocks and smooth pebbles placed inside the upper containers serve a dual purpose: they add natural beauty and they help disguise the tubing. You can also tuck trailing plants like creeping Jenny, sweet potato vine, or bacopa around the edges of your containers to soften the look and integrate the fountain naturally into your garden landscape. Once you are satisfied with the arrangement, fill the base reservoir with clean water until the pump is fully submerged, plug in the pump, and enjoy the first sounds of your new water feature coming to life.
Adjusting the pump’s flow rate is the final step in the installation phase and one that often requires a few minutes of tinkering to get just right. Most adjustable pumps have a simple dial or sliding lever on the body of the pump itself that controls how much water is pushed through the system per minute. A very high flow rate will create an energetic, splashing waterfall effect, which is visually dramatic but can result in significant water loss through splashing and evaporation. A moderate flow creates a gentle, bubbling overflow that is visually appealing and acoustically soothing without throwing water outside the containers. Start with a medium setting and adjust up or down until you achieve the sound and visual effect that pleases you most.
Adding Plants and Decorative Touches
One of the most rewarding aspects of building a container fountain is the opportunity to dress it up with plants and decorative elements that reflect your personal style and complement your existing garden. Aquatic and semi-aquatic plants are naturals for this application, as they thrive in or near standing water and help create a lush, organic look that makes the fountain feel like it belongs in the landscape rather than sitting on top of it. Water hyacinth, water lettuce, dwarf papyrus, and miniature water lilies are all excellent choices for planting directly in the water of your reservoir container, provided the container is large enough and receives adequate sunlight throughout the day.
For a softer, cottage-garden appearance, consider surrounding your fountain with moisture-loving perennials and annuals planted in the ground or in adjacent containers. Ferns, astilbe, hostas, and lobelia all adore the humid microclimate created by a nearby water feature and will reward you with lush, vibrant growth throughout the growing season. Japanese iris and Louisiana iris are particularly stunning when planted at the base of a container fountain, their tall, elegant stems and spectacular blooms creating a dramatic vertical element that draws the eye upward. Creeping thyme, moss, or baby tears planted at the soil line around the base of your containers helps conceal any plumbing and creates a seamless transition between the fountain and its surroundings.
Beyond plants, a variety of non-living decorative elements can enhance the visual appeal of your container fountain significantly. Smooth river stones and polished glass pebbles placed inside the containers add color and texture while disguising the pump and tubing. Decorative figurines, small garden statues, or ceramic mushrooms nestled among the plants give the fountain a whimsical personality. String lights wound around the containers or a small solar-powered spotlight aimed at the water feature from below can create a spectacular nighttime display that extends the enjoyment of your fountain into the evening hours. These finishing touches are what transform a functional water feature into a true outdoor focal point.
Troubleshooting Common Problems
Even a well-built container fountain can occasionally encounter issues, and knowing how to diagnose and fix the most common problems will save you considerable frustration. The most frequently reported issue is water loss that occurs faster than normal evaporation alone would explain. If you notice your reservoir dropping significantly within a day or two, first check all silicone seals around tubing holes for cracks or gaps, as even a very small breach can allow water to seep out steadily. Also check whether the pump’s flow rate is set so high that water is being thrown out of the containers altogether, which is an easy fix requiring only a slight reduction in the flow setting.
Algae growth is another common challenge for container fountain owners, particularly in warm climates or in fountains that receive full sun throughout the day. A greenish tint to the water and a slippery coating on the interior of the containers are telltale signs of algae colonization. To address this, you can add a small amount of barley straw extract or a fountain-specific algaecide product formulated to be safe for plants and any wildlife that may visit your fountain. Alternatively, introducing a few tadpoles or small aquatic snails creates a natural biological control system that keeps algae in check without any chemicals. Regular partial water changes, roughly every two to four weeks, also help prevent algae from establishing a strong foothold.
Pump issues are less common but worth understanding. If your pump stops running, first check that the power cord and outlet are functioning properly, as a tripped GFCI outlet is a surprisingly common culprit. If power is confirmed, remove the pump from the water and inspect the intake filter or screen, which can become clogged with debris, algae, or mineral deposits over time. Most submersible pumps have a removable housing that allows you to access and clean the impeller, which is the small rotating component that moves water through the system. Rinse all components with clean water and use a soft brush to remove any buildup before reinstalling. A properly maintained pump can last three to five years or more with only minimal attention.
Seasonal Care and Long-Term Maintenance
Maintaining your container fountain through the changing seasons is not especially time-consuming, but it does require a few key actions at specific times of year to keep the feature in excellent condition over the long term. During the spring setup season, inspect all containers for cracks that may have developed over winter, particularly if you left water in the fountain during freezing temperatures. Check all silicone seals and reapply where necessary, clean the pump thoroughly, and replace any tubing that has become stiff, discolored, or cracked. Fresh water and a clean pump at the start of each season set the stage for months of trouble-free enjoyment.
Summer maintenance primarily involves managing water levels and keeping the fountain clean. Heat and sun dramatically accelerate evaporation, so check the water level every few days during hot weather and top up as needed to keep the pump fully submerged. A pump that runs dry even briefly can overheat and suffer permanent damage, so staying on top of water levels is one of the most important ongoing maintenance tasks. Clean the pump’s intake screen monthly during the active season, and perform a full pump cleaning and water change every four to six weeks to prevent mineral scale buildup and keep the water clear and fresh-smelling.
Autumn and winter preparation is essential if you live in a region that experiences freezing temperatures. Water expands as it freezes and can crack even robust ceramic and concrete containers if left full through a hard freeze. Before the first frost, drain the fountain completely, remove the pump and store it indoors in a bucket of clean water to prevent the pump seals from drying out and cracking, and either bring the containers inside or cover them with burlap and breathable protective wrapping. If your containers are too large to move, turning them upside down after draining prevents rainwater and snow from collecting inside and freezing. These simple precautions add years to the life of your fountain investment.
With thoughtful seasonal care and a modest investment of time in regular cleaning and maintenance, a well-built container fountain can provide years of beauty, tranquility, and satisfaction. The gentle sound of moving water has been shown in numerous studies to reduce stress, lower blood pressure, and improve mental focus, making this simple DIY project one of the most beneficial improvements you can make to your outdoor living environment. Whether you use your patio fountain as a meditative focal point for morning coffee, a conversation piece for garden parties, or simply as background ambiance while you tend your beds and borders, it will reward your effort many times over with its quiet, enduring charm.
Design Inspiration and Creative Variations
Once you have mastered the basic container fountain build, a world of creative variations opens up that can keep this hobby endlessly fresh and inspiring. One of the most popular variations is the urn or amphora fountain, in which a single large decorative urn is filled with water and fitted with a pump that pushes water up through a bamboo or copper spout positioned over the opening. The water overflows back into the urn in a continuous loop, creating a look that evokes classical Mediterranean or Asian garden design. This minimalist approach is particularly effective in formal garden settings or on a sleek modern patio where simplicity and elegance are paramount.
For a more natural, woodland aesthetic, consider a stacked flat stone or hypertufa container fountain that mimics the look of a natural spring or mountain stream. Hypertufa is a lightweight artificial stone material made from Portland cement, peat moss, and perlite that can be molded into virtually any shape and develops a wonderfully organic, mossy texture over time. You can sculpt your own hypertufa containers to create a completely one-of-a-kind water feature that looks as though it has been part of the landscape for decades. Combine it with shade-loving ferns, mosses, and hostas for a shaded garden corner that feels genuinely wild and natural.
A tabletop container fountain is another delightful variation that brings the calming benefits of moving water to smaller spaces such as an apartment balcony, a covered front porch, or even an indoor sunroom. Small glazed ceramic bowls, decorative urns, or even repurposed vintage pieces like old crockery or an antique stone mortar and pestle can be transformed into enchanting miniature water features with a tiny submersible pump and a handful of smooth stones. These small-scale versions make wonderful gifts for friends and family, and building them together can become a fun and creative group activity for garden clubs, children’s programs, or family crafting weekends.
The beauty of the DIY container fountain project ultimately lies in its flexibility and accessibility. There is no single right way to build one, no mandatory aesthetic, and no strict budget requirement. You can spend very little by repurposing containers you already own and sourcing a basic pump from a discount retailer, or you can invest in premium glazed ceramics, a high-quality pump with LED lighting, and a carefully curated plant palette for a truly showstopping result. At every price point and skill level, the outcome is the same: a handmade water feature that adds beauty, movement, and the irreplaceable sound of flowing water to the place you call home.








What do you think?
It is nice to know your opinion. Leave a comment.