










DIY Paper Lotus: A Complete Guide to Crafting a Beautiful Paper Flower
There’s something almost magical about turning a plain sheet of paper into a delicate, lifelike lotus flower. The lotus has been a symbol of beauty, purity, and spiritual awakening across countless cultures — especially in Eastern traditions, where it rises from murky water to bloom in breathtaking perfection. Making one out of paper is a wonderful way to bring a little of that meaning and elegance into your home, your celebrations, or just your afternoon.
Paper crafting has had a real moment in recent years, with origami, kirigami, and paper sculpting picking up millions of fans around the world. And among all the paper flower designs out there, the lotus is hard to beat — there’s something deeply satisfying about watching each petal take shape, layer by layer. Whether you’ve been crafting for years or you’re picking up scissors for the first time, this guide has everything you need to make a lotus that’s genuinely stunning.
We’ll walk through what materials to gather, the basic folding techniques worth knowing, a full step-by-step build, fun ways to customize your design, and ideas for showing off the finished flower. By the end, you’ll feel confident and ready to make a paper lotus that looks gorgeous and lasts for years.
Materials and Tools You Will Need
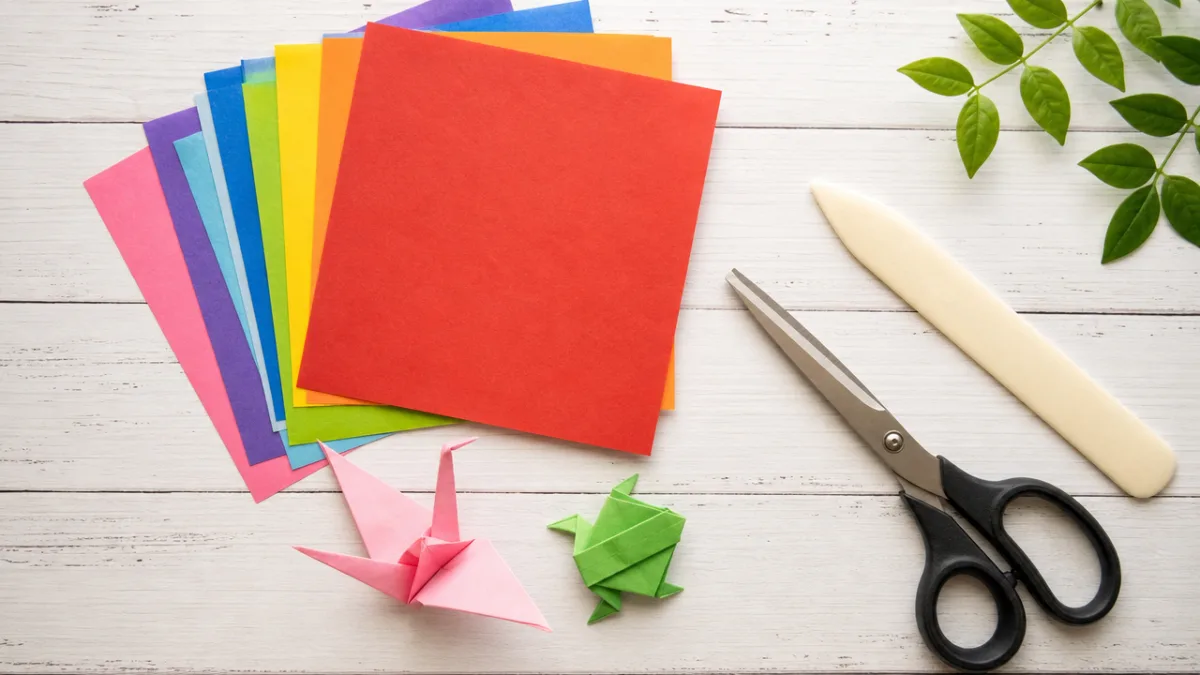
Before you start folding, it’s worth taking a few minutes to get everything together. The paper you choose makes a bigger difference than you might expect — both in how enjoyable the process is and how the finished flower looks. Traditional origami paper in pink, white, or lavender is a great starting point. It’s designed to hold a crisp crease while staying flexible enough for the repetitive folds this project calls for.
Can’t find origami paper? No problem. Cardstock or even regular printer paper works well, especially if you’re still getting the hang of the folds. Thicker cardstock gives you a more sculptural, three-dimensional result that holds its shape really nicely over time. Tissue paper is another option if you want something more delicate and translucent — just handle it gently. Double-sided paper is a fun choice too, since the contrasting color on the inside of each petal creates a really striking effect.
As for tools, you don’t need much. A bone folder — or honestly just the flat edge of a butter knife — helps you get those satisfyingly crisp folds. A ruler is handy for cutting uniform squares if your paper isn’t already pre-cut. Round out your kit with scissors, craft glue or a glue stick, and a flat surface to work on. If you want to go the extra mile, watercolor paints, glitter, or metallic pens are lovely for adding some personality after assembly.
- Origami paper or cardstock in pink, white, lavender, or yellow (roughly 15–20 sheets depending on how full you want the flower)
- Scissors or a craft knife and cutting mat for clean, precise cuts
- Bone folder or smooth-edged tool for sharp folds
- Ruler for measuring out your paper squares
- Craft glue or a hot glue gun for securing the layers
- Optional: watercolor paints, glitter, metallic markers for embellishment
- Optional: floral wire or a wooden skewer if you’d like to display your lotus on a stem
Understanding the Basic Folding Techniques
The paper lotus is built from a series of repeating petal units, each one made through a short sequence of folds. Before jumping into the full flower, it’s really worth spending a few minutes practicing on a scrap piece of paper. The two most fundamental folds are the valley fold, where you fold the paper toward you to create a V-shaped crease, and the mountain fold, where you push the paper away from you to form a ridge. Those two moves are the foundation of almost every origami project, and this one is no exception.
The other technique you’ll lean on heavily is the petal fold — a combination of squash folds and reverse folds that opens a flat triangular section of paper into a wide, curved petal shape. This is honestly the step that makes the whole thing feel like magic, because that’s where geometric paper starts to look like an actual flower. Practice it slowly before you get into full assembly mode. A little patience here saves a lot of frustration later.
Curling your petals is just as important as folding them. Once your basic petal units are done, gently rolling the tip of each one around a pencil or dowel coaxes the paper into a natural curve. How much you curl each petal determines whether your lotus looks like a tight bud or a flower in full bloom. Playing with different curl intensities across your layers creates that beautiful, realistic depth that makes a paper lotus look so impressive.
Step-by-Step Instructions for Crafting Your Paper Lotus
Start by cutting all your paper squares before you do anything else. For a medium-sized lotus, squares around 15 by 15 centimeters work great for the outer petals, with smaller 10 by 10 centimeter squares for the inner layers. You’ll need about five or six squares per layer, and most lotus designs have three or four layers plus a center. Getting all your squares ready upfront means you can fold without stopping, which makes the whole process feel much more enjoyable.
To make a single petal unit, place a square so it sits like a diamond, then fold it in half diagonally to get a triangle. Fold that triangle in half again to make a smaller one. Open up the top layer and squash it flat to form a small square, then repeat on the back so you have a square with four equal flaps. Fold the top two flap edges into the center crease to create a kite shape on each side, then fold the top triangular flap down over those edges. Finally, unfold the bottom edges and gently pull the back layers up and around to lock everything in place — and there’s your petal.
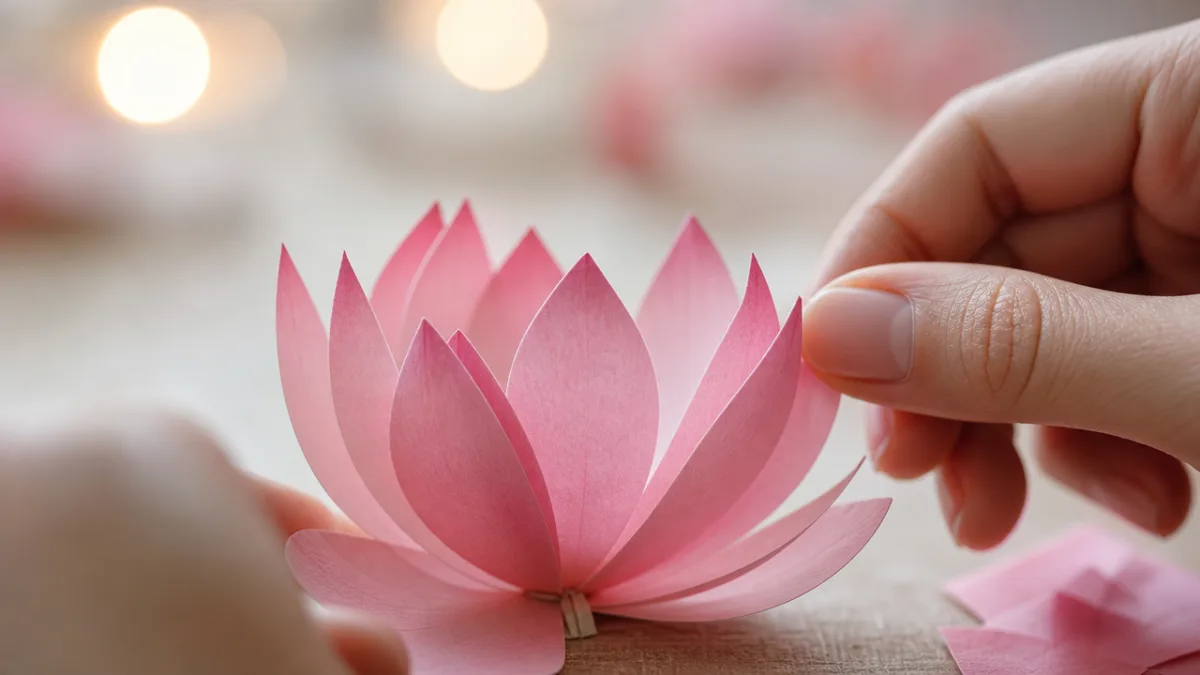
To assemble, slide the tab of one petal unit into the pocket of the next, connecting them side by side until you have a full ring. Six petals make a lovely, full outer layer. Add a second ring of five or six slightly smaller petals on top, rotating them so each inner petal sits between two outer ones. Keep building inward with progressively smaller, more tightly curled petals, finishing with a snug little cluster of two or three tiny petals at the center. A small dab of craft glue between layers keeps the whole structure solid.
- Cut all your paper squares first: larger ones for the outer petals, smaller for the inner layers.
- Fold each square into a petal unit using the squash-fold sequence above.
- Curl the tip of each finished petal unit gently around a pencil to give it a natural curve.
- Build the outer ring by connecting six petal units tab-to-pocket in a full circle.
- Glue the outer ring flat to stabilize it, then add the second ring on top, offset by half a petal width.
- Keep building inward with smaller, more tightly curled petals until the flower feels full and complete.
- Cut a circular base from a larger piece of green paper to represent a lily pad, and glue your finished lotus to the center.
The last step is making the center of your lotus. Roll a small square of yellow or cream paper into a tight cylinder, fringe the top edge with scissors to mimic the stamens, and gently flare those fringed tips outward. It’s a small detail, but it makes a huge difference to how realistic the whole flower looks — it gives your eye a natural place to land. Press it firmly into the heart of your innermost petal ring, hold it for a few seconds while the glue sets, then step back and take it all in before adding any finishing touches.
Creative Variations and Customization Ideas
One of the best things about making a paper lotus is how much room there is to make it your own. Color is the easiest place to start. Real lotuses bloom in pinks, whites, reds, and soft yellows — but there’s no rule that says yours has to. Deep indigo, burnt orange, emerald green, or metallic gold all produce lotus flowers that feel bold and contemporary and completely fresh.
Texture is another fun dimension to play with. Scrunching your paper loosely before smoothing it back out adds a wonderfully organic, imperfect quality to the petals that actually looks a lot like real flower petals with their natural veining and variation. Scoring parallel lines lightly across each petal unit with a bone folder before you fold creates a subtle ribbed texture that catches light beautifully. And watercolor-washed paper — where you paint a soft gradient from pale center to deeper tip — produces a breathtakingly lifelike effect, especially when the lotus is displayed somewhere with good lighting.
Scale is worth experimenting with too. A miniature lotus made from two-centimeter squares works beautifully as a gift topper, place card holder, or even a jewelry component. A giant version built from full sheets of poster board becomes a dramatic wall installation or event centerpiece. And mixed-media approaches — paper petals with fabric leaves, resin centers, or wire stems — push things into exciting territory that’s somewhere between origami and contemporary art.
Displaying and Preserving Your Paper Lotus
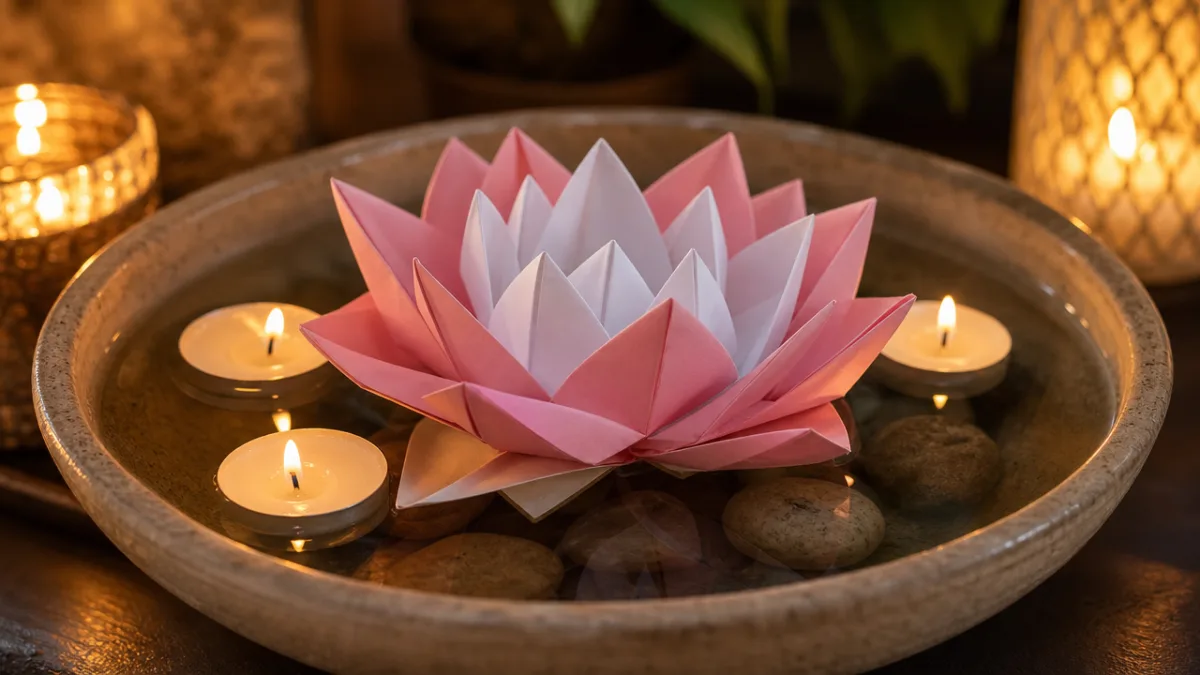
How you display your lotus matters a lot — a good setup will keep it looking its best and really let the craftsmanship shine. One of the most popular options is floating it in a shallow bowl or tray of water. Most cardstock papers are waxy enough to sit on the surface without immediately soaking through, but a light coat of clear acrylic spray sealant beforehand makes it much more water-resistant and will extend its life considerably.
For a more permanent display, mounting your lotus on a floral wire stem lets you arrange it in a vase alongside other paper or dried flowers. Wrap the wire in green floral tape for a polished finish, and give it a gentle bend for a natural-looking curve. A grouping of three or five lotuses at different heights looks particularly elegant. Alternatively, a single large lotus mounted in a deep shadow box — maybe with a calligraphy inscription or some pressed leaves in the background — makes a genuinely beautiful piece of wall art and a wonderful handmade gift.
Keeping your lotus looking great over time comes down to a few simple things. Keep it out of direct sunlight to prevent the colors from fading. Store it somewhere cool and dry, since humidity is paper’s enemy and will cause warping and loss of crispness. A light misting of clear acrylic sealant adds moisture resistance and gives the petals a subtle sheen that’s really lovely. With a bit of care, a well-made paper lotus can stay beautiful for years — a lasting reminder of the time and creativity you put into it.
The Meditative Value of Paper Crafting
Beyond the finished flower, there’s something genuinely special about the process of making a paper lotus. The repetitive rhythm of folding identical petal units — crease, press, fold, release, repeat — has a surprisingly grounding effect on the mind. A lot of paper crafters describe slipping into a kind of flow state during a session, where worries recede and all that exists is the quiet, tactile pleasure of working with their hands. It’s less of a hobby and more of a proper mindfulness practice, honestly.
And folding a lotus specifically carries its own kind of meaning. In Buddhism and Hinduism, the lotus represents the soul’s journey from darkness toward enlightenment — its ability to rise from murky water and bloom in pristine perfection is a metaphor for the human capacity to grow through difficulty. Making one with that symbolism in mind can turn a simple craft project into something more reflective, more intentional, more personal.
Paper crafting is also just a lovely way to connect with other people. Hosting a paper lotus session with friends, family, or a school group brings everyone together around a shared creative goal and tends to generate real conversation and laughter and that warm feeling of making something together. There’s something especially rewarding about teaching a child to fold their first petal and watching their face when the flat square starts to look like a flower. In a world full of screens and constant noise, sitting down to fold paper — slowly, patiently, with your hands — is a rare and genuinely valuable invitation to slow down and make something beautiful.








What do you think?
It is nice to know your opinion. Leave a comment.