










DIY Trellis Ideas for Cheap and Easy Backyard Privacy Screens
Why a DIY Trellis Is the Smartest Privacy Solution for Your Backyard
If you’ve ever felt exposed in your own backyard — whether it’s a neighbor’s upstairs window overlooking your patio or a busy street running along your fence line — you already know how much a lack of privacy can diminish the enjoyment of your outdoor space. The good news is that you don’t need to invest in expensive permanent structures or hire a contractor to reclaim your sense of seclusion. A DIY trellis privacy screen offers an elegant, affordable, and surprisingly versatile solution that homeowners at nearly every skill level can tackle over a weekend or two.
What makes a trellis stand out from other privacy options like solid wood fences or masonry walls is its ability to blend function with beauty. Rather than simply blocking a view, a trellis invites nature into the equation. When paired with climbing plants like clematis, jasmine, or climbing roses, the structure transforms from a simple screen into a living wall that adds texture, color, fragrance, and habitat for pollinators. You get privacy and a garden feature all in one, without the heavy cost or visual weight of a solid barrier.
Cost is another major factor that draws homeowners toward the trellis route. A professionally installed privacy fence can run anywhere from $15 to $45 per linear foot, while a DIY trellis using reclaimed lumber, cedar boards, or even bamboo can come in at a fraction of that price. Many of the designs explored in this article can be completed for under $100 per panel, and some creative approaches cost even less. The savings are real, and the results, when executed thoughtfully, can look just as polished as anything a contractor might deliver.
Choosing the Right Materials for Your Trellis Privacy Screen
The material you choose for your trellis will determine not only how the finished screen looks but also how long it lasts, how much maintenance it requires, and how well it suits the rest of your outdoor décor. Wood is by far the most popular choice for DIY builders because it is widely available, easy to cut and assemble, and naturally beautiful. Cedar and redwood are the top picks among experienced builders because both species contain natural oils that resist rot, insects, and moisture without the need for chemical treatment. While they cost slightly more than pine or spruce, the longevity they offer makes them the smarter investment over time.
Pressure-treated lumber is another practical option, especially for any parts of the trellis that will come into direct contact with the soil or remain consistently damp. Modern pressure-treated wood has come a long way from older formulations and is now considered safe for garden use, though it’s wise to let it weather for a few weeks before painting or staining. If budget is your primary concern, standard pine boards from a home improvement store work perfectly well as long as you apply a quality exterior sealant or paint to protect them from the elements. With proper finishing and occasional touch-ups, a pine trellis can last a decade or more.
Beyond wood, there are several other materials worth considering depending on your style goals and climate. Bamboo is an increasingly popular choice for its sustainable credentials, natural aesthetic, and impressive strength-to-weight ratio. It works particularly well in gardens with Asian-inspired or tropical design themes. Metal options, including galvanized steel wire stretched between wooden posts or powder-coated iron panels, bring an industrial-chic look that pairs beautifully with modern landscaping. PVC lattice panels, while less visually appealing on their own, are virtually maintenance-free and can be dressed up with exterior paint to suit any color scheme. The right material ultimately depends on your design vision, your local climate, and how much time you’re willing to spend on upkeep.
Five Popular DIY Trellis Designs You Can Build This Weekend
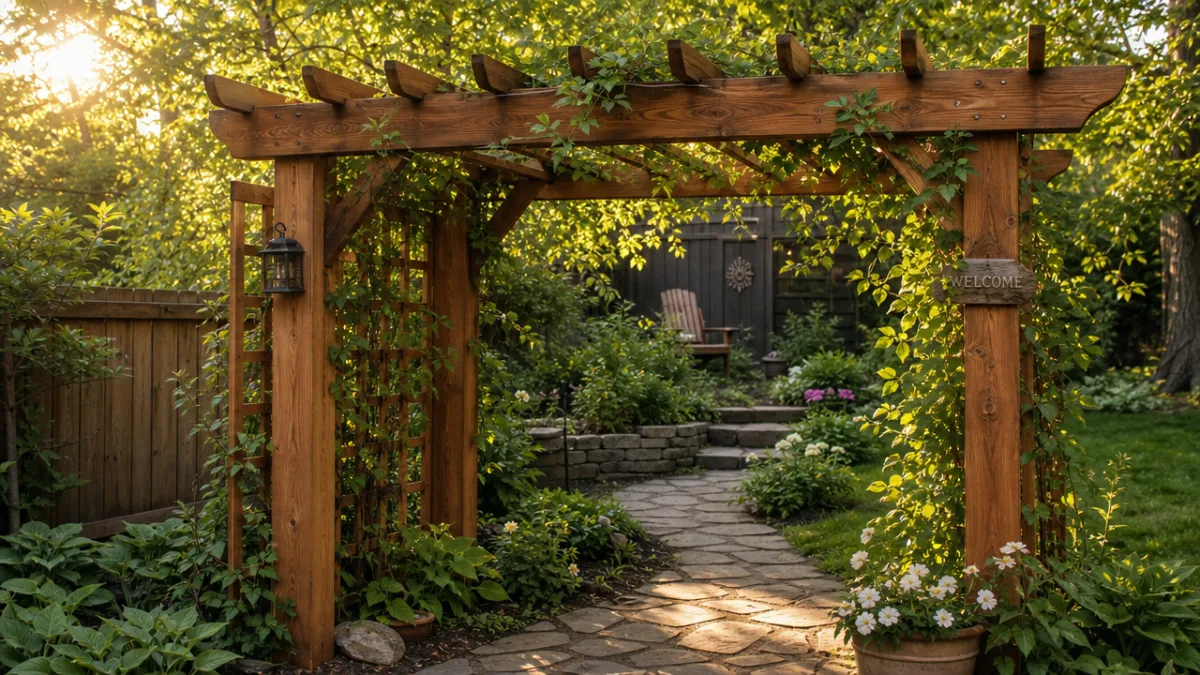
One of the most approachable designs for first-time builders is the classic square lattice panel. This style uses pre-made lattice sheets — available at virtually every hardware store — mounted between vertical posts sunk into the ground or set in post anchors. The lattice itself comes in wood, vinyl, and composite versions, and the square or diagonal grid pattern is immediately recognizable as a traditional garden element. Dress it up with a painted or stained frame, and the result looks far more custom and intentional than the raw materials might suggest. This style works especially well when you need to screen a section of the yard quickly without spending a lot of time on fabrication.
For a more modern and architectural look, a horizontal slat privacy screen is an outstanding option. This design uses evenly spaced horizontal boards mounted between two vertical posts, leaving deliberate gaps between each slat. The gaps allow airflow and light to pass through while still blocking sightlines when viewed at eye level. The clean, linear aesthetic of horizontal slats complements contemporary homes and minimalist landscaping particularly well. You can adjust the width of the gaps to control the degree of privacy — narrower gaps for maximum screening, wider gaps for a lighter, airier feel. Cedar or composite decking boards are ideal for this style because they come pre-dimensioned and resist warping.
A chevron or herringbone pattern trellis offers a more decorative option for gardeners who want their privacy screen to double as a genuine piece of outdoor art. This style requires a bit more cutting precision than the horizontal slat design, but the results are striking. Boards are cut at 45-degree angles and arranged in alternating diagonal rows to create the distinctive V-shaped pattern. Painted in a bold color like deep charcoal or forest green, a chevron screen becomes a dramatic backdrop for container plants, outdoor seating, or a fire pit area. Other creative designs worth considering include the following options.
- Bamboo roll screens: Pre-made bamboo rolls can be attached to an existing fence or wooden frame in under an hour, offering instant privacy with a natural, textured look that suits cottage and tropical garden styles.
- Cable wire trellis: Horizontal stainless steel cables strung between two posts create a sleek, minimalist screen that supports climbing plants while maintaining an open, modern feel.
- Repurposed shutter screens: Old wooden shutters sourced from salvage yards or estate sales can be hinged together to create a folding privacy screen that’s portable, charming, and entirely one-of-a-kind.
- Pallet trellis walls: Standard shipping pallets, when sanded, stained, and mounted vertically on posts, create a surprisingly attractive rustic privacy panel that costs almost nothing if you can source free pallets locally.
Each of these designs can be scaled to fit the specific dimensions of your backyard, stacked or combined for taller screens, and customized with paint, stain, or decorative hardware to match your home’s exterior. The key is to choose a design that aligns with both your skill level and your aesthetic goals, then commit to finishing details like framing edges and sealing raw wood that will elevate the final result from a basic DIY project to something that looks genuinely professional.
Step-by-Step Guide to Building a Basic Horizontal Slat Trellis Screen
Before you pick up a single board, spend time planning your project on paper. Measure the area you want to screen carefully, accounting for post spacing, overall height, and any obstacles like existing fence sections, utility lines, or tree roots that might complicate post installation. A typical privacy screen panel runs between six and eight feet wide and five to seven feet tall, but your specific dimensions will depend on the space available and the height required to actually block the sightline you’re trying to eliminate. Sketching your design to scale on graph paper helps you calculate the exact number of boards you’ll need and reduces waste at the lumber yard.
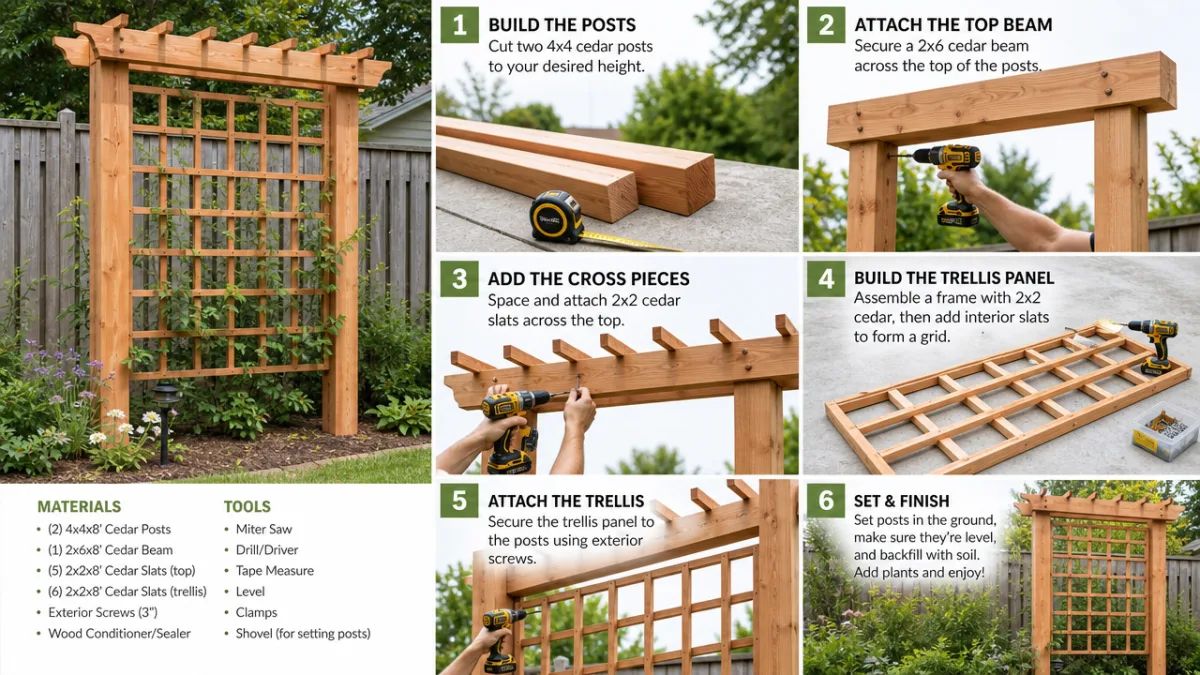
Once your design is finalized and your materials are purchased, begin with the posts. For a freestanding screen, four-by-four posts set in concrete provide the strongest, most durable foundation. Dig your post holes to a depth of at least one-third the total post length — so for a post that will extend six feet above grade, your hole should be at least two feet deep, and three feet is even better in regions with frost heave. Set the posts in fast-setting concrete, check them for plumb with a level, and brace them temporarily while the concrete cures. Most fast-setting concrete products allow you to proceed with building within 24 to 48 hours, so you won’t be waiting long before the real work begins.
With posts set and cured, attach horizontal support rails — typically two-by-four boards — across the top and bottom of each panel opening. These rails give you a solid surface to which the slat boards will be attached and add structural rigidity to the frame. Then begin installing your slat boards, working from the bottom up. Use a consistent spacer block — a scrap piece of wood cut to your desired gap width — to maintain even spacing between slats as you go. Pre-drill each slat before driving screws to prevent the wood from splitting, and use exterior-grade screws or stainless steel fasteners to prevent rust staining. Finish the screen by sanding any rough edges and applying two coats of exterior stain or paint for long-lasting protection.
The tools and supplies you’ll need for this project are straightforward and likely include several items you already own.
- Post hole digger or power auger
- Four-by-four posts (pressure treated for ground contact)
- Two-by-four framing lumber for rails
- One-by-four or one-by-six cedar boards for slats
- Fast-setting concrete mix
- Exterior-grade screws (2.5 to 3 inches)
- Drill and drill bits
- Circular saw or miter saw
- Carpenter’s level and tape measure
- Exterior wood stain or paint and brushes
Using Climbing Plants to Maximize Privacy and Beauty
A trellis without plants is a perfectly functional privacy screen, but a trellis adorned with the right climbing plants is something far more extraordinary. The combination of a well-built structure and vigorous climbing vegetation creates a layered, dynamic privacy solution that evolves with the seasons, softens hard edges, and introduces sensory elements — color, fragrance, movement in the breeze — that no solid fence can replicate. The key to success lies in matching your plant selection to your local climate, the amount of sun your trellis receives, and how quickly you need coverage to develop.
For fast coverage, annual climbers are your best allies. Morning glories, black-eyed Susan vine, and sweet peas all germinate quickly from seed and can cover a trellis panel almost completely within a single growing season. They’re inexpensive, cheerful, and available in a wide range of colors, making them ideal for gardeners who want results quickly or who like to change their garden palette from year to year. The trade-off is that annuals die back each winter, meaning you’ll need to replant each spring — though many self-seed reliably enough that they return on their own with minimal intervention.
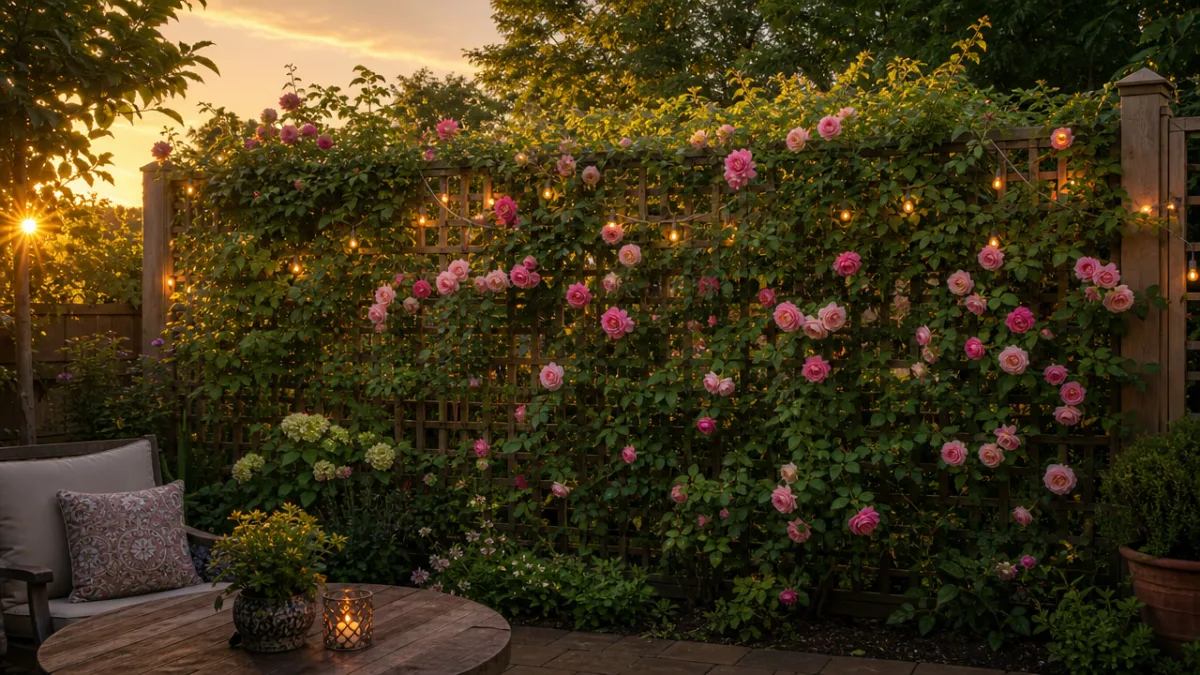
Perennial climbers take a season or two to establish but reward your patience with years of increasingly lush coverage that requires little ongoing effort. Clematis is a perennial favorite — and for good reason — offering hundreds of varieties that bloom in every color imaginable from spring through fall, depending on the type. Climbing hydrangeas provide bold white flower clusters and handsome foliage but are best suited to shadier positions. For fragrance, few plants rival jasmine or climbing roses, both of which will perfume an entire seating area on warm evenings. Native options like Virginia creeper or trumpet vine are worth considering in regions where they grow naturally, as they require minimal water once established and provide exceptional wildlife value alongside their screening ability.
Some of the most effective climbers for a privacy trellis include the following plants, selected for their coverage speed, ornamental value, and adaptability to common garden conditions.
- Clematis: Reaches 8 to 20 feet depending on variety; flowers in spring, summer, or fall; prefers roots in shade and top growth in sun.
- Climbing roses: Provide dense coverage and exceptional fragrance; require regular pruning and some maintenance but reward with spectacular summer blooms.
- Wisteria: Extremely vigorous and fast-growing; produces stunning hanging flower clusters in spring but requires a very sturdy structure to support its weight over time.
- Passion flower: Exotic-looking blooms and rapid growth; surprisingly hardy in temperate climates and often produces edible fruit.
- Hops: Grows up to a foot per day in peak season; provides dense, lush green coverage and can be harvested for home brewing enthusiasts.
Maintaining Your Trellis Screen for Years of Beauty and Function
A well-built and properly finished trellis screen requires relatively little ongoing maintenance, but the care you provide in the first few years will determine whether it remains a handsome garden feature for a decade or gradually deteriorates into an eyesore. The single most important maintenance task for a wooden trellis is protecting the wood from moisture penetration. Inspect your screen each spring before the growing season begins, looking for areas where paint or stain is peeling, cracking, or wearing thin. Address these spots promptly with a light sanding and a fresh coat of finish before moisture has a chance to penetrate the exposed wood and begin the cycle of rot.
Post bases deserve particular attention because they are the most vulnerable point of any freestanding trellis. Even when set in concrete, the area where the wood post meets the concrete base can trap moisture and accelerate decay. Check these junctions annually and consider applying a specialized wood preservative or end-grain sealer to these areas as an additional layer of protection. If you notice significant softening or cracking at the base of a post, it’s far better to address it early — either by trimming away the damaged section and fitting a post extender bracket, or by replacing the post entirely — than to wait until the structural integrity of the entire screen is compromised.
Managing the climbing plants on your trellis is equally important from a maintenance perspective. As plants mature and their stems thicken and multiply, they can place considerable stress on the trellis structure if not guided and thinned regularly. Make it a habit each late winter or early spring to assess how the plants are growing, remove dead or crossing stems, and gently redirect any growth that is pushing against joints or working its way behind boards in ways that might eventually cause structural damage. Keeping plants well-managed not only protects the trellis itself but also improves the health and flowering performance of the plants, since better light penetration and airflow reduces the risk of fungal disease and encourages more vigorous new growth.
Budget Tips and Creative Ways to Source Trellis Materials for Less
One of the greatest advantages of building your own trellis privacy screen is the opportunity to significantly reduce costs through smart material sourcing. Before heading to a home improvement store and buying everything at full retail price, take some time to explore the many alternative sources available to resourceful DIYers. Habitat for Humanity ReStores, for example, often carry surplus or donated lumber, lattice panels, decorative hardware, and other building materials at dramatically reduced prices. Inventory changes constantly, so it pays to check in regularly or sign up for notifications if your local store offers them.
Online marketplaces like Facebook Marketplace, Craigslist, and Nextdoor are excellent sources for free or low-cost reclaimed wood, fence panels, pallets, and bamboo. Many homeowners who are replacing old fences or decks are happy to give away the removed materials rather than pay for disposal, and salvaged wood that has already weathered has a beautiful patina that can be difficult to replicate with new materials. When evaluating reclaimed lumber, check carefully for rot, insect damage, and protruding nails or hardware, and give any salvaged wood a good cleaning with a deck wash solution before use to remove mold, mildew, and surface grime.
Smart design choices can also stretch your budget considerably without sacrificing the quality or appearance of the finished product. Spacing your slat boards slightly wider apart reduces the total number of boards required per panel while maintaining adequate privacy for most applications. Choosing narrower board widths — one-by-threes instead of one-by-fours, for example — achieves a similar reduction in material costs. Limiting your design to a simple, clean style rather than an elaborate pattern also saves both money and time, and simple designs often read as more sophisticated in a finished garden setting than overly complex ones. Whatever your budget, a thoughtfully planned and carefully executed trellis privacy screen will reward every dollar and hour you invest in it with years of enjoyment, seclusion, and natural beauty in your outdoor living space.








What do you think?
It is nice to know your opinion. Leave a comment.