










DIY Privacy Fence: A Simple Way to Provide More Privacy in Your Backyard
Why Every Backyard Needs a Privacy Fence
There’s something genuinely great about walking into your own backyard and just… relaxing. No neighbors peering over, no cars driving by, no sense that the rest of the world is watching. A privacy fence creates that feeling, turning a regular outdoor space into somewhere that actually feels like yours. Whether you want to sunbathe without an audience, give the kids room to run around, or just eat dinner outside without feeling on display, a solid fence makes all of that possible.
On top of the obvious privacy win, a nice fence genuinely adds curb appeal and can bump up your property value. Real estate agents will tell you that a well-defined outdoor space is one of the things buyers actually get excited about. Going the DIY route means you get all of that without paying contractor prices, and you get to call all the shots on style, height, material, and finish. The end result is something built specifically for your home — and built to last.
A lot of homeowners talk themselves out of a fencing project before they ever start, figuring it’s too complicated or requires tools they don’t have. Honestly, that’s mostly fear talking. Building a sturdy, good-looking privacy fence is absolutely doable for a motivated DIYer. With a solid plan, the right materials, and a step-by-step approach, you can end up with something that looks like a pro built it — for a fraction of what a pro would charge. This guide covers everything from the first planning steps all the way through finishing and ongoing care.
Planning Your DIY Privacy Fence Project
Honestly, the planning stage is where most fence projects succeed or fail. Before you buy a single board or pick up a shovel, take the time to actually map out your yard and figure out exactly where the fence is going. Use stakes and string to mark the line, measure everything carefully, and look for anything that could complicate the build — slopes, drainage issues, buried utility lines. Most areas require you to call a utility-marking service before any digging, so get that done early. It’s free and it can save you a lot of trouble.
You’ll also want to look into your local building codes and any HOA rules before you go any further. A lot of places have rules around fence height, how far it needs to sit from the property line, and whether you need a permit. Six feet is the typical height limit for a backyard privacy fence, but that varies depending on where you live. Pulling a permit might feel like a hassle, but it protects you if you ever sell the house and makes sure your fence passes inspection. Skipping it can mean fines — or worse, having to tear the whole thing down.
Once you’ve got the legal stuff sorted, start thinking about your design and what you want to build with. Pressure-treated pine is the go-to choice for most people — it holds up well against rot and bugs and takes paint or stain really nicely. Cedar is a step up if you want something more natural-feeling, with good rot resistance and a great smell. Composite materials are gaining popularity too, since they’re basically maintenance-free, though you’ll pay more upfront. Sketch out your design, figure out board orientation and spacing, and get a detailed materials list together before you head to the lumber yard.
Tools and Materials You Will Need
Getting your tools together before you start will save you a surprising amount of time and frustration once you’re in the middle of the build. Fencing involves a lot of digging, cutting, leveling, and fastening, so being prepared matters. And you don’t have to own everything — most hardware stores rent out the bigger equipment, which makes it easy to get a power auger for a weekend without buying one outright. A little time spent on your tool list upfront means fewer runs to the store and a much smoother build overall.
For the structure itself, you’ll need fence posts — typically 4×4 pressure-treated lumber — spaced every six to eight feet. A good rule of thumb is that about one-third of each post should go underground, so for a six-foot fence you’re looking at posts that are at least nine feet long. Between the posts, you’ll run horizontal rails (usually 2×4 boards) that the vertical fence boards attach to. Those fence boards are typically 1×6 or 1×4, and you’ll need enough to cover the entire fence line edge to edge if you want full privacy.
Here’s what you’ll want to have on hand for the whole project, from digging to final finish:
- Post hole digger or power auger (worth renting for any fence longer than a few panels)
- Level — both a standard hand level and a longer one for checking posts
- Circular saw or miter saw for cutting boards to length
- Drill and exterior-rated screws, or a nail gun loaded with galvanized nails
- Tape measure, chalk line, and marking pencil
- Concrete mix for setting posts (fast-setting types are a real time-saver)
- Safety glasses, work gloves, and ear protection
- Paint, stain, or sealant for finishing
- Gravel for drainage at the bottom of each post hole
Step-by-Step Construction Guide
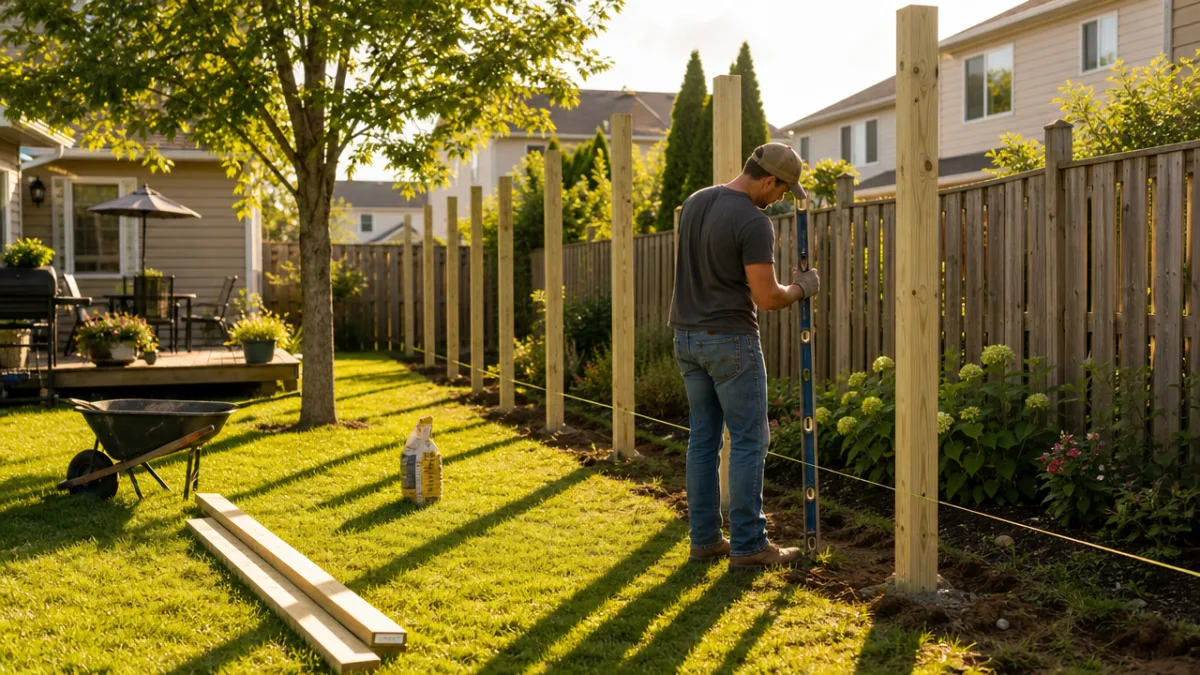
Start by digging your post holes at the intervals you’ve marked out along the fence line. Each hole should be at least one-third the length of your post in depth, and about three times the post’s width across. For a standard 4×4 post, that’s roughly ten to twelve inches in diameter. Before you drop a post in, add two or three inches of gravel to the bottom of each hole. That little layer of gravel does a lot of work — it keeps water from pooling around the base of the post and can add years to the life of the buried wood.
Set your corner posts and end posts first. Brace them temporarily with scrap lumber so they stay plumb while the concrete sets up. Before you pour, double-check that the post is perfectly vertical on two adjacent sides with your level. Mix your concrete per the bag instructions, fill the hole to within a few inches of the surface, and slope the top of the concrete slightly away from the post so water drains away from it. Fast-setting concrete is usually ready to work with in 20 to 40 minutes, so if you get posts in the ground early in the morning you can often keep moving the same day.
Once the posts are set and the concrete is fully cured, it’s time to run your horizontal rails. A standard six-foot fence uses three rails: one near the top, one in the middle, and one near the bottom. Attach them with structural screws or joist hanger hardware — you want these connections to be solid. Then start putting up your vertical fence boards, beginning at one end and working your way across. If you’re leaving any gap between boards, cut a spacer piece to keep things consistent as you go. Every few boards, check for level so you can catch any drift early before it turns into a visible problem.
When all the boards are up, step back and take a look. You’ll probably notice some variation in height at the tops of the boards — that’s normal, since lumber lengths aren’t perfectly consistent. Snap a chalk line at your target finished height and trim all the tops in one pass with a circular saw. It’s a small step, but it makes a huge difference. That clean, even top line is what separates a fence that looks carefully built from one that just looks thrown together. Sand any rough cut edges and brush off the sawdust before moving on to finishing.
Finishing, Staining, and Protecting Your Fence
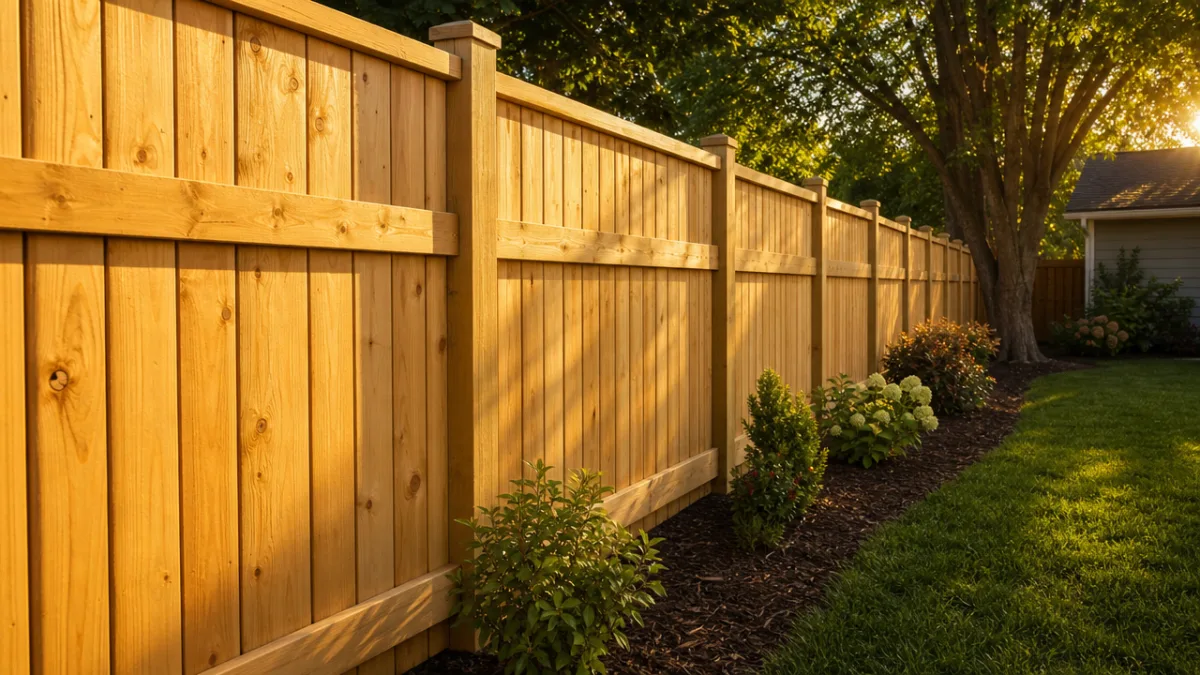
A brand-new wood fence looks great, but raw wood left out in the elements will start to gray, crack, and break down surprisingly fast — sometimes within just one season. Putting on a quality exterior stain, paint, or sealant isn’t just about looks; it’s what keeps the fence structurally sound for years to come. If you used pressure-treated lumber, give it a few weeks to dry out before applying any finish. The preservative chemicals need time to cure, and the wood needs to shed excess moisture so the finish actually sticks properly.
When you’re picking a finish, think honestly about how much upkeep you’re willing to do down the road. Solid-color exterior paint looks sharp and protects well, but you’ll be repainting every five to seven years when it starts to peel. Semi-transparent or solid stains soak into the wood rather than sitting on the surface, so they tend to wear more naturally and need refreshing every two to four years. Clear sealants give you the most natural wood look but offer the least UV protection, and in sunny or rainy climates they often need reapplication every year.
Use a brush, roller, or paint sprayer to apply your finish, and make sure you get into every surface — especially the end grain of any cut boards, which soaks up moisture the fastest. Pay extra attention to the bottom edges of fence boards and the wood right around each post base, since those spots get hit with the most splashing and ground moisture. Two coats will always outperform one on exterior wood. When it’s dry, take a step back and appreciate what you’ve built. Careful construction plus good finishing equals something that’s both tough and genuinely good-looking.
Design Variations and Creative Enhancements
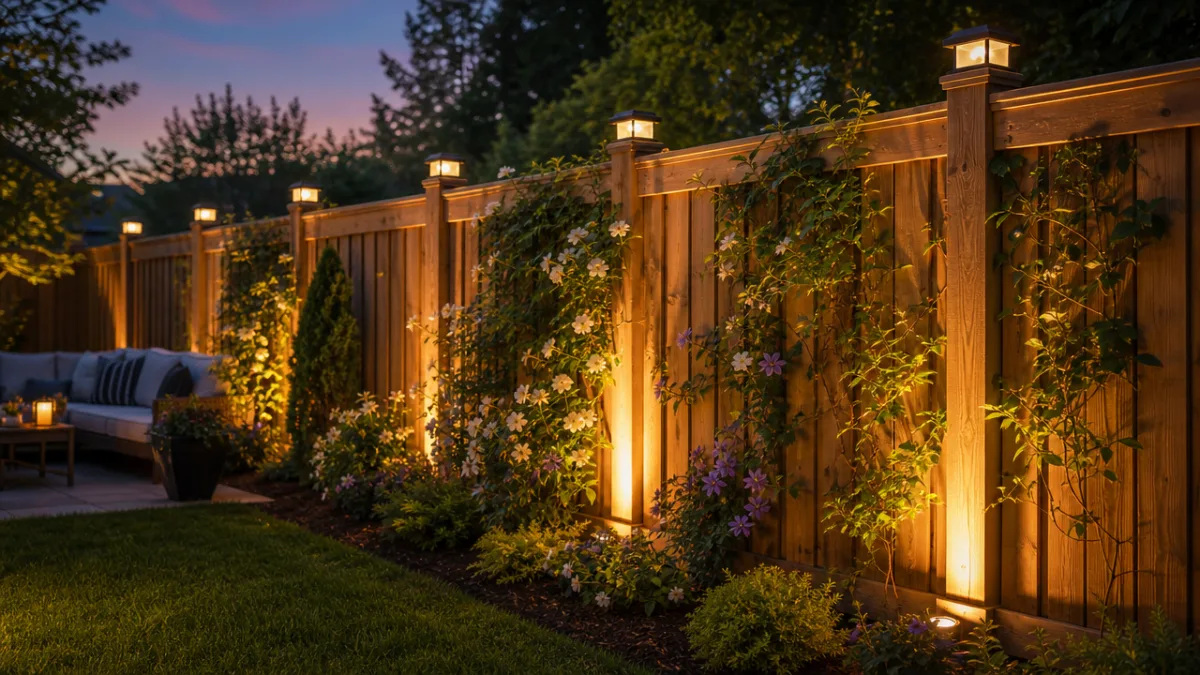
A classic vertical board fence is a great starting point, but it’s really just the beginning. Once you’ve got the basic construction principles down, there’s a lot of room to get creative. Horizontal board fences — where the planks run parallel to the ground — have a clean, modern look that works really well with mid-century and contemporary home styles. Adding a lattice section along the top keeps some airflow going and gives climbing plants like jasmine, clematis, or roses something to weave through as they grow in over time.
Built-in planters are another nice touch, either set at the base of the fence or attached directly to the top rail. Fill them with tall ornamental grasses, bamboo, or flowering perennials and they soften the whole line of the fence, making it feel less like a barrier and more like part of the garden. Lighting is one of those additions that seems small but really changes how the space feels after dark. Solar-powered post cap lights don’t require any wiring, and they cast a warm glow along the fence line that makes the whole backyard more usable in the evening.
Gates are part of almost every fence project, and they’re worth putting some real thought into. A gate with nice hardware, an arched top, or board-and-batten styling can become a genuine focal point rather than just a gap in the fence. Use heavier lumber for the gate frame than you did for the fence panels, and spend a little extra on quality hinges and a solid latch. The gate gets opened and closed constantly, which puts a lot more stress on it than any fixed section. A gate that swings smoothly and latches cleanly is one of those details that really sets a well-built fence apart.
Long-Term Maintenance and Care
Like anything you build outside, a wood fence needs a little attention over the years to stay in good shape. The good news is it really doesn’t take much — a few hours once a year is usually enough to keep things looking great and catch any small issues before they turn into bigger ones. Building that simple annual habit is the difference between a fence that lasts two decades and one that starts falling apart after ten years.
Every spring, walk the fence end to end and look it over carefully. You’re checking for rot, bug damage, loose screws or nails, and boards that have warped or shifted. If a board feels soft or spongy when you press on it, that’s rot, and it needs to come out right away. Replacing one board is easy and cheap; letting rot spread to the posts or rails is a much bigger job. Tighten up any fasteners that have worked loose, swap out any that are showing rust, and re-secure any boards that have pulled away from the rails.
Every two to four years, plan for a more thorough cleaning and refinishing. A pressure washer on a low setting does a great job stripping off dirt, mildew, and old weathered finish — just let the wood dry out fully for several days before you apply anything new. When you’re doing this deeper inspection, pay close attention to the base of each post. That’s where deterioration almost always starts on an older fence. Take care of it consistently and a well-built wood privacy fence can easily go twenty years or more, making it one of the best investments you can make in your backyard.








What do you think?
It is nice to know your opinion. Leave a comment.