










Home DIY: Transform Your Space with Creative Do-It-Yourself Projects
The Joy of Home DIY: Why Getting Your Hands Dirty Changes Everything
There’s something really special about stepping back and looking at a finished project you built, painted, or put together yourself. Home DIY has come a long way from just being a way to save money — it’s become a whole lifestyle that millions of homeowners and renters have wholeheartedly embraced. Whether you’re patching a wall, throwing up some custom shelves, or bringing a beat-up piece of vintage furniture back to life, the satisfaction you get just doesn’t compare to anything you could pull off a store shelf.
And beyond just the good feeling, DIY gives you total creative control over your space. You’re not stuck choosing from whatever’s on a showroom floor or within a certain price range. Instead, you get to decide everything — the exact shade of paint, the precise dimensions of a built-in bookcase — based on what you actually want and what your home actually needs. That kind of freedom is a big part of why people get so hooked on it.
The DIY community is another huge part of the draw. Pinterest, Instagram, and YouTube are absolutely packed with tutorials, jaw-dropping before-and-afters, and clever hacks that make even ambitious projects feel doable for a complete beginner. With a little guidance and a willingness to try, almost anyone can pick up new skills and put them to use in their own home. It really is a labor of love — and once you catch the bug, it’s hard to stop.
Planning Your DIY Project: The Foundation of Every Successful Build
No matter how eager you are to get started, taking a little time to plan before you buy a single tool or material will save you a lot of headaches down the road. First, get really clear on what you’re trying to accomplish. Is this purely about looks — like repainting some kitchen cabinets? Or is it a functional fix, like carving out more storage in a cramped bathroom? Knowing your actual goal helps every decision after it fall into place a lot more easily.
Once you’ve got a clear vision, sit down and build out a real budget. It’s incredibly easy to underestimate costs when you’re excited about a new project. Look up the price of everything you’ll need — and don’t forget the small stuff like fasteners, primer, and sandpaper, which add up faster than you’d think. Tack on a contingency buffer of at least ten to fifteen percent for mistakes, surprise structural issues, or price changes at the store. Writing it all down keeps you honest and helps you avoid that awful mid-project moment when you realize you’ve run out of money.
It’s also worth being honest with yourself about your skill level and where the gaps are. Some things — painting, installing peel-and-stick tile — are genuinely approachable for beginners. Others, like running new electrical circuits or taking out a load-bearing wall, really do need a professional, and in many places require permits too. Knowing your limits isn’t a weakness; it’s smart. You can still handle the bulk of a project yourself while bringing in an expert for the tricky parts, keeping both your budget and your safety in check.
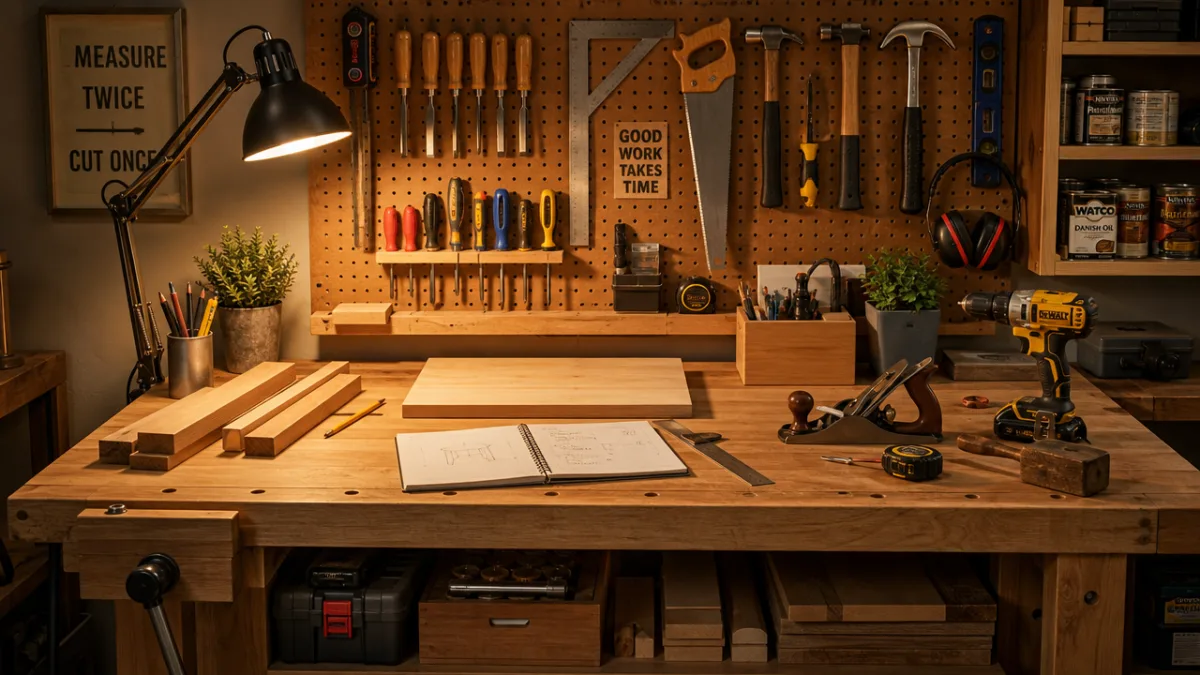
Before you start anything, make sure you have the right tools and actually know how to use them. A solid DIY toolkit should include:
- A cordless drill and a variety of drill bits for wood, masonry, and metal
- A level, tape measure, and carpenter’s square for accurate alignment
- Sandpaper in multiple grits, from coarse to fine, for surface preparation
- Painter’s tape, drop cloths, and quality brushes for clean paint application
- A stud finder and utility knife for wall work and precision cutting
- Safety equipment including goggles, gloves, and a dust mask
Essential Skills Every Home DIYer Should Master
If there’s one DIY skill worth learning first, it’s painting. A fresh coat can completely change the feel of a room, make a small space feel bigger, and give dated fixtures a whole new life — and it doesn’t cost much. The catch is that great results really do depend on prep work. You need to clean the surface, fill any holes or cracks with spackle, sand everything smooth, and put down a coat of primer before you even touch the topcoat. Skipping those steps is the single biggest reason DIY paint jobs end up looking uneven and amateurish instead of clean and polished.
Patching drywall is another skill that pays off constantly. Walls take more of a beating than most people realize — nail holes, scuffs, furniture dings, and gaps left behind when outlets get moved all add up over time. Small holes are easy to handle with a bit of lightweight spackle and a putty knife. Bigger patches might need a mesh repair kit and some joint compound. But once you’ve sanded it down and primed it, you genuinely can’t tell where the damage was — and you can learn the whole technique in an afternoon.
Caulking is one of those skills that sounds boring but makes a surprisingly big difference. A fresh bead of caulk around a tub, sink, window frame, or baseboard looks clean and professional, but it’s also doing real work — keeping out moisture, drafts, and pests. The trick is to fully remove all the old, cracked caulk before you apply anything new, hold the gun at a steady angle, and smooth the bead in one clean pass with a wet finger or a caulk tool. Easy to learn, and something you’ll use all over your home once you get the hang of it.
Tiling might sound intimidating, but it’s genuinely within reach for a motivated beginner — whether you’re doing a kitchen backsplash, a bathroom floor, or a feature wall. The basics are straightforward: prep a clean, flat surface, apply your adhesive or mortar, set the tiles with plastic spacers for even gaps, and grout once everything’s cured. The finished result looks polished and adds real value to a room in a way that’s hard to achieve with almost anything else.
Budget-Friendly DIY Transformations That Make a Big Impact
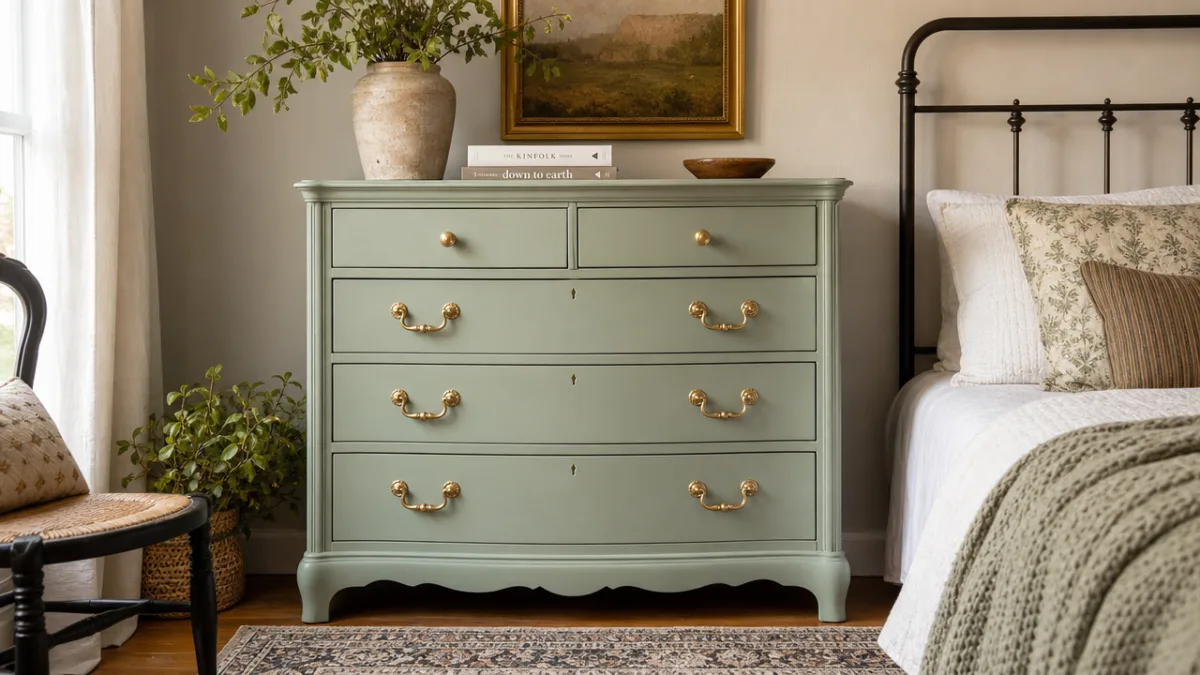
One of the biggest misconceptions about home improvement is that you need serious money to make a real difference. Honestly, some of the most dramatic transformations cost almost nothing when you’re willing to put in a little time and creativity. Upcycling old furniture is a perfect example. A worn-out dresser from a thrift store or grandma’s garage can be sanded down, primed, painted in a bold color, fitted with new hardware, and turned into something that looks completely custom. You might spend thirty to sixty dollars total, and the result easily rivals furniture priced in the hundreds.
Swapping out cabinet hardware is another one of those changes that punches way above its weight. In a kitchen or bathroom, hardware works like jewelry — it ties everything together. Switching out old brass or plastic knobs for matte black, brushed nickel, or ceramic pulls can shift the entire feel of a space, often for under fifty dollars depending on how many cabinets you’ve got. All you need is a screwdriver, and you can knock it out in an hour or two.
Peel-and-stick wallpaper and removable tile decals have been a game-changer for renters and budget-minded homeowners who want something bold without any permanent commitment. The quality of these products has improved enormously — you can find options that look like real wood grain, intricate geometric patterns, or vintage botanicals, and they’re genuinely convincing up close. Used on an accent wall, the back of a bookcase, or a small bathroom, they deliver a high-design look that photographs beautifully and peels away cleanly when you’re ready for something new.
Here are a few high-impact, low-cost ideas to get you started:
- Create a gallery wall using thrifted frames spray-painted in a unified color for a cohesive look
- Install open floating shelves in a kitchen or living room for both storage and style
- Refresh grout lines in tile work using a grout pen to restore a like-new appearance
- Add crown molding or board-and-batten paneling to walls for architectural interest
- Replace a builder-grade bathroom vanity light with an updated fixture to modernize instantly
Sustainable DIY: Building and Decorating with the Planet in Mind
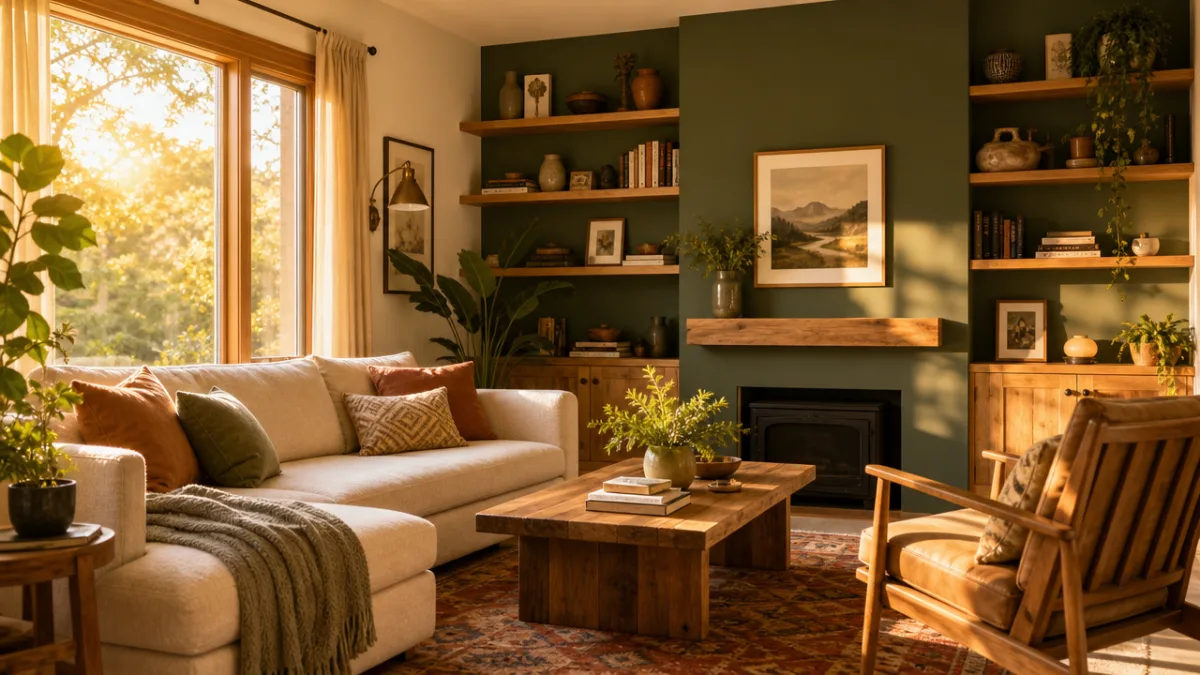
One of the most exciting things happening in the DIY world right now is how many people are thinking about sustainability as part of their projects. DIYers are increasingly paying attention to the materials they choose, the waste they create, and whether their work is built to last. Using reclaimed wood for shelving, salvaged bricks in the garden, or vintage fabrics for upholstery keeps good materials out of landfills — and honestly, the character and history they bring to a space is something you just can’t replicate with anything brand new.
Switching to low-VOC or zero-VOC paints and finishes is another choice worth making. Volatile organic compounds are chemicals that off-gas at room temperature, contributing to poor indoor air quality — which matters a lot, especially for kids or anyone with a respiratory condition. The good news is that low-VOC options have gotten much better in recent years, and you really don’t have to give up anything in terms of coverage or durability to make a healthier choice for your home and the planet.
But honestly, the most sustainable mindset any homeowner can develop is just learning to repair things instead of replacing them. We live in a culture that loves to throw things out and buy new, but the DIYer who fixes a leaky faucet, reglues a wobbly chair, reupholsters a stained cushion, or patches a section of damaged flooring is making a real difference. Beyond reducing waste, those repairs build up a kind of intimate knowledge of how your home works — and that knowledge is genuinely invaluable over time.
Energy efficiency improvements are another natural fit for the DIY mindset, and they pay off in multiple ways. Adding weatherstripping to drafty doors and windows, insulating an attic hatch, putting in a programmable thermostat, and sealing gaps around pipes and outlets are all weekend-scale projects that don’t require much beyond basic tools. Each one chips away at your home’s energy use, trims your utility bills, and makes your space more comfortable year-round — no contractor required.
Building a Long-Term DIY Practice: Skills, Community, and Confidence
Any experienced DIYer will tell you that the skills stack up slowly and that’s completely okay. Your first tiling job won’t be as tight as your fifth. Your early attempts at cutting a clean miter will produce some wasted wood before they produce a perfect joint. That’s just how it goes, and it’s exactly why starting with lower-stakes projects before moving on to anything more visible or structural is always a good call. Give yourself room to practice, to learn from the results that didn’t go perfectly, and to get better without beating yourself up. Every mistake teaches you something.
Investing in good learning resources is also worth it over the long run. That doesn’t mean buying the priciest tools on the market — plenty of mid-range options work great for home-scale projects. But it does mean seeking out solid instruction. Detailed YouTube channels run by actual tradespeople, well-written books on specific crafts, community college courses in woodworking or tiling, or even a Saturday workshop at your local hardware store — all of these can accelerate your progress and help you build good habits from the start, before any bad ones have a chance to set in.
The community around DIY is genuinely one of its best features. Online forums, local maker spaces, neighborhood tool libraries, and social media groups are full of people who love helping others figure things out. Don’t be shy about posting a question, sharing a photo of something in progress, or asking for advice before tackling a project that’s outside your comfort zone. The collective knowledge is enormous, the vibe is almost always encouraging, and the relationships you build there often turn into real friendships rooted in a shared love of making things.
At the end of the day, home DIY is about more than fixing stuff or stretching a budget. It’s about building a different kind of relationship with the place you call home. When you’ve painted the walls, built the shelves, laid the tile, and made every little decision with care, your home becomes a genuine reflection of you — your tastes, your values, your effort. That sense of real ownership, more than any single finished project, is the thing that keeps people coming back to DIY again and again. And once you feel it, you’ll understand why.








What do you think?
It is nice to know your opinion. Leave a comment.