










DIY Hanging Enamel Flower Planters: Easy Farmhouse Garden Wall Decor
Introduction to Farmhouse-Style Hanging Planters
There’s just something about a farmhouse garden wall dressed up with hanging planters that gets me every time. Enamel flower planters bring this lovely vintage, rustic warmth to any space — inside or out — and they manage to feel both old-world charming and completely practical at the same time. Whether you’re sprucing up a porch, a fence, a garden shed, or even an indoor wall, these DIY hanging enamel planters make a real statement. And the best part? You absolutely do not need to be a crafting pro to pull this off beautifully.
The farmhouse look has stuck around for a reason. It leans into imperfection, celebrates natural textures, and has that lived-in quality that no mass-produced décor can fake. Enamel vessels — whether you’ve tracked down vintage pieces at a flea market, scored something at a thrift store, or just picked up new reproductions — have this inherent character that plants seem to love, both visually and practically. The speckled, slightly worn finish of enamelware pairs so well with soft blooms, trailing greenery, and the weathered wood tones you typically find in farmhouse settings. Together, it all creates this layered, organic look that feels genuinely personal rather than styled.
There’s a practical side to all this beauty too. Hanging planters lift your plants off the ground and away from pests and puddles, and they’re a fantastic way to make use of vertical space when you’re working with a smaller garden or balcony. A thoughtfully arranged grouping can turn a plain wall or fence into a lush, living display. This project is also wonderfully budget-friendly — with a few basic supplies, a bit of creativity, and a free afternoon, you can put together something that honestly looks like it came from a fancy lifestyle boutique.
Gathering Your Materials and Tools
Before you dive in, it’s worth taking a few minutes to round up everything you need so the whole process flows smoothly. The stars of the show here are enamel mugs, pitchers, colanders, or bowls — all pretty easy to find at thrift stores, antique markets, or home goods shops. Keep an eye out for classic farmhouse colors like white with blue or black speckled rims, cream, sage green, or soft robin’s egg blue. The more varied your enamelware collection, the more interesting the final display will look.
Along with your vessels, you’ll need a few key tools and supplies. A power drill with a small metal bit is essential for drilling drainage holes in the bottom of each planter — skip this step and your plants will suffer from root rot, so it really isn’t optional. For hanging, you’ll want something sturdy like jute twine, macramé cord, galvanized wire, or decorative chain, depending on the vibe you’re going for. Wall hooks, S-hooks, or a length of wooden dowel can all work as your main hanging structure.
Here is a complete materials checklist to keep handy before you begin:
- Enamel mugs, pitchers, colanders, or bowls (3–6 pieces for a full display)
- Power drill and metal drill bits (3mm–5mm)
- Jute twine, macramé cord, or galvanized wire for hanging
- Wall hooks, cup hooks, or a wooden dowel with brackets
- Potting soil appropriate for your chosen plants
- Small river pebbles or gravel for drainage layering
- Selection of small plants, herbs, or trailing flowers
- Optional: chalk paint or sandpaper for distressing effects
- Optional: stencils and acrylic paint for personalized lettering
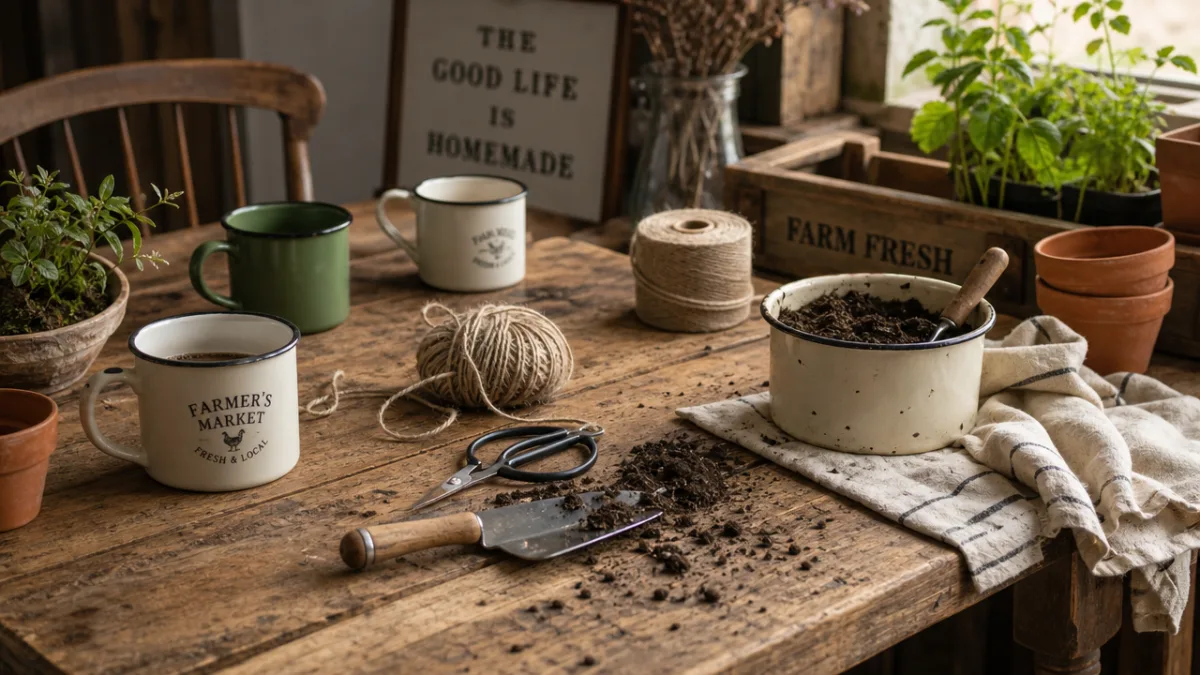
Having everything laid out before you start saves you from constantly stopping mid-project, and it lets you focus on the fun, creative side of things. It’s also a good idea to set up on a stable table with a protective cloth or some newspaper underneath — drilling metal sends little shavings everywhere. One handy trick: keep a small cup of water nearby and dab a little onto the drill point as you work on the enamel. It reduces heat buildup and helps prevent the enamel from cracking, giving you a much cleaner result.
Step-by-Step Instructions for Creating Your Hanging Planters
Once you’ve got your materials together, the actual making part is pretty straightforward — and genuinely fun. Start by deciding which enamel vessels will become your planters. If you’re working with mugs, pitchers, or bowls that don’t already have holes, flip each piece upside down and drill two to three small drainage holes in the base using your metal bit. Go slowly and keep the pressure steady. That water trick mentioned earlier really does make a difference here — it keeps things cool and gives you a cleaner edge around each hole.
Next, set up your hanging mechanism. For a classic farmhouse look, jute twine is hard to beat — it’s strong, inexpensive, and looks great. Cut three equal lengths, about 60 to 90 centimeters each, and tie them together at one end with a secure knot. Thread the other ends through a mug’s handle or around the base of a bowl, spacing them out evenly so the vessel sits level in a balanced cradle. Tie a firm knot just beneath the piece to hold everything in place. If you want something a little more polished, try macramé-style knotting — wrapping the twine in decorative patterns adds lovely texture to each planter and makes them feel even more handcrafted.
With the hanging sorted, it’s time to get each planter ready for its plant. Pour a small layer of pebbles or gravel into the bottom of each vessel — about two centimeters deep — to help with drainage above those holes you drilled. Add a layer of potting mix suited to whatever plant you’re using, filling to about two centimeters below the rim so there’s room for watering without everything spilling over. Gently loosen the roots of your plant, lower it in, and fill the gaps with a bit more soil, pressing lightly to settle it around the roots.
Before you start hanging things on the wall, do a quick balance check on each planter by holding it by the twine and letting it dangle. A well-balanced one will hang straight without tilting. If yours leans, just adjust the knots under the vessel until it hangs evenly. It’s a small thing, but it makes a noticeable difference once everything is up on the wall — especially when you’re going for a grouped arrangement. Once each planter hangs nicely, you’re ready for installation.
Choosing the Right Plants for Enamel Planters
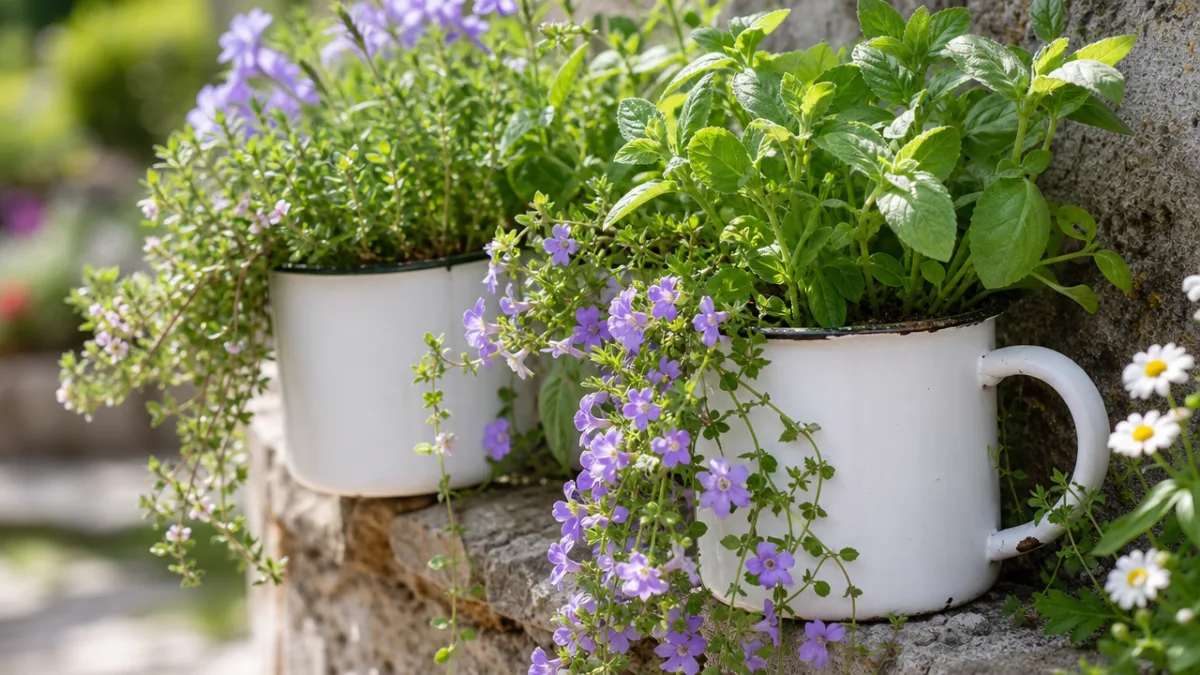
Plant selection can genuinely make or break a hanging planter project. Enamel vessels tend to be on the smaller side, so they suit plants that don’t need deep root systems or constant watering. Herbs are a fantastic choice — thyme, oregano, basil, and trailing rosemary all do beautifully in smaller containers, and they look absolutely lovely spilling over the rims of rustic enamelware. Hang them near a kitchen window or an outdoor cooking area and you’ve got something that’s both decorative and actually useful.
For a purely decorative arrangement, look for plants with trailing or cascading growth habits, since those really play up the visual drama of a hanging display. Ivy, string of pearls, creeping jenny, and sweet potato vine all create that gorgeous flowing effect as they drape over the edges. Miniature trailing petunias, bacopa, and lobelia are also brilliant options and bring color and fragrance into the mix. When you’re picking flowering plants, think about how the bloom colors will work with your enamelware — soft pastels against white enamel have an almost ethereal quality, while bolder jewel tones against dark-rimmed vessels make a real statement.
It’s also worth thinking about the growing conditions in your chosen spot. Here is a quick guide to plant selection based on light availability:
- Full Sun (6+ hours daily): Thyme, oregano, miniature petunias, portulaca, and trailing verbena.
- Partial Sun (3–6 hours daily): Basil, mint, impatiens, fuchsia, and creeping jenny.
- Shade (fewer than 3 hours direct sun): Ferns, ivy, begonias, and sweet potato vine.
Beyond light, think about how much water each plant needs relative to the size of your vessel. Smaller mugs dry out fast, particularly in warm weather or direct sun, and may need watering every day or two in summer. Grouping plants with similar water needs together makes your life much easier and means everything actually thrives. One useful trick for planters that dry out quickly: mix a small amount of water-retaining crystals into your potting soil. It stretches the time between waterings without doing any harm to the plants.
Designing Your Wall Display Arrangement
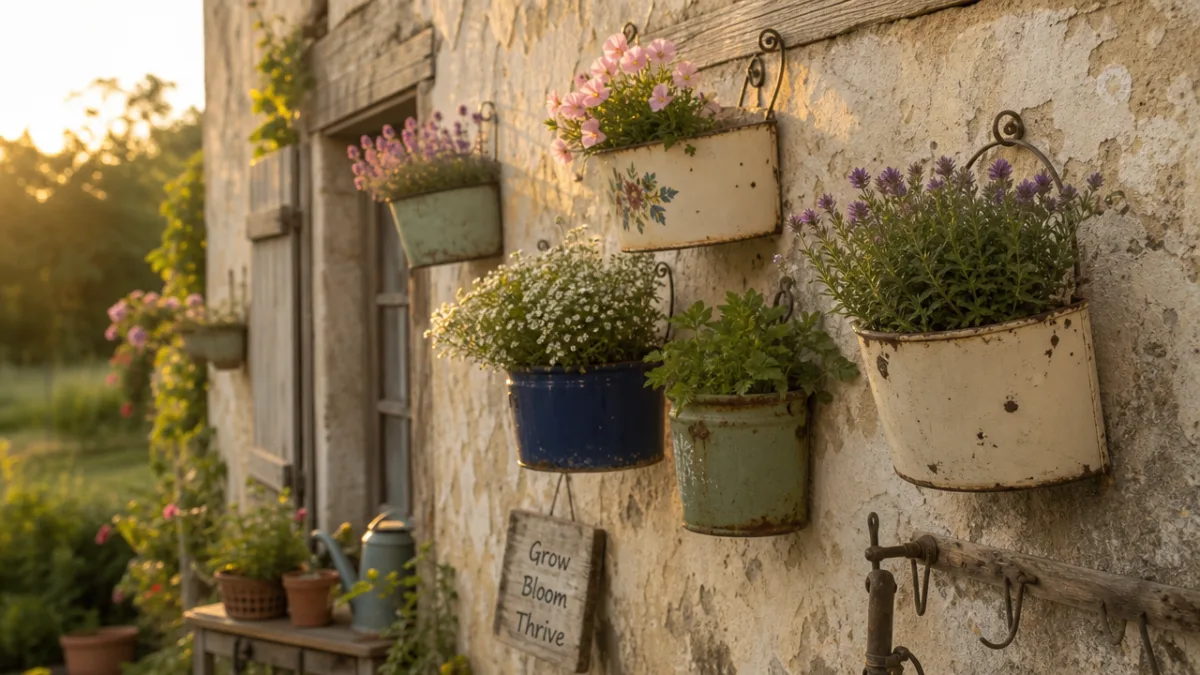
This is the part where your personal style really gets to come through. Before you drive a single hook into the wall, lay your finished planters out on the floor or a flat surface and play around with different configurations until something clicks. Farmhouse style naturally leans toward asymmetry — a perfectly even grid of planters can feel a bit stiff, whereas a slightly staggered, organic arrangement feels relaxed and easy, which is exactly the mood you’re going for.
Varying the heights at which you hang each planter adds visual rhythm and movement to the whole display. Hanging some higher and others lower draws the eye around naturally and stops it from looking flat. You can also mix up the types of enamelware — a tall pitcher at one level, a shallow bowl at another, a classic mug somewhere in between — to create that layered, collected-over-time feel that’s so central to real farmhouse style. Tucking in non-plant elements here and there, like a small framed botanical print, a vintage sign, or a woven wreath, adds even more depth and personality to the arrangement.
For the actual mounting, your approach will depend on what kind of wall or surface you’re working with. On wooden fences, shed walls, or timber cladding, simple screw-in cup hooks are strong and barely noticeable. For masonry or brick, use appropriate anchors before inserting your hooks to make sure they can handle the weight of soil-filled planters. Another option that looks absolutely stunning is mounting a length of reclaimed wood or a weathered wooden pallet horizontally on the wall and using it as a hanging rail — you can suspend multiple planters from it at varying lengths with S-hooks, and the result is exactly the kind of thing that stops people in their tracks.
Maintenance, Seasonal Care, and Creative Variations
Once everything is up and looking gorgeous, a simple but consistent maintenance routine will keep it that way through the growing season. Watering is your most regular task, and how often you’ll need to do it depends on your climate, the time of year, and the plants you’ve chosen. The most reliable way to check? Press your finger about two centimeters into the soil — if it feels dry, it’s time to water. Overwatering is one of the most common container gardening mistakes, and those drainage holes you drilled earlier are your best protection against it.
Fertilizing every two to four weeks through the active growing season keeps plants looking vibrant and healthy. A balanced, water-soluble fertilizer is the most convenient option since you can just add it to your regular watering routine. For flowering plants, deadheading spent blooms encourages more flowers to come and keeps the display looking fresh. Trimming back anything that’s getting a bit too enthusiastic also helps maintain the proportionate, intentional look that makes these arrangements so appealing in the first place.
As the seasons shift, your hanging planter display becomes a great opportunity for creative reinvention. In late autumn, swap out summer annuals for cold-tolerant plants like ornamental kale, pansies, or winter heather to keep things looking alive through the cooler months. Around the festive season, tuck in small sprigs of evergreen, some berries, or even a few miniature pinecones for a seasonal touch. If your enamelware is going to be exposed to freezing temperatures, bring the vessels inside or empty them during the hardest frosts — freeze-thaw cycles can crack the enamel, and it’s an easy thing to prevent. With just a bit of seasonal attention, this display can be a year-round feature that genuinely evolves with the garden.
There are also so many fun variations to explore as you get more comfortable with the technique. Try painting a few vessels with chalk paint in complementary colors, then lightly sanding the edges for a distressed, antique-looking finish. Use stencils and exterior-grade acrylic paint to add botanical illustrations, monogram letters, or simple phrases like “Fresh Herbs” or “Garden Gathered” to the sides of your planters. You can also theme your groupings — an all-herb kitchen garden cluster, a pastel wildflower arrangement, a dramatic wall of trailing greenery — to create focused, intentional displays that feel like a true reflection of your personal style and your home.








What do you think?
It is nice to know your opinion. Leave a comment.