










DIY Clay Plant Markers: Easy, Custom & Charming Garden Labels
Why Clay Plant Markers Are the Perfect Garden Addition
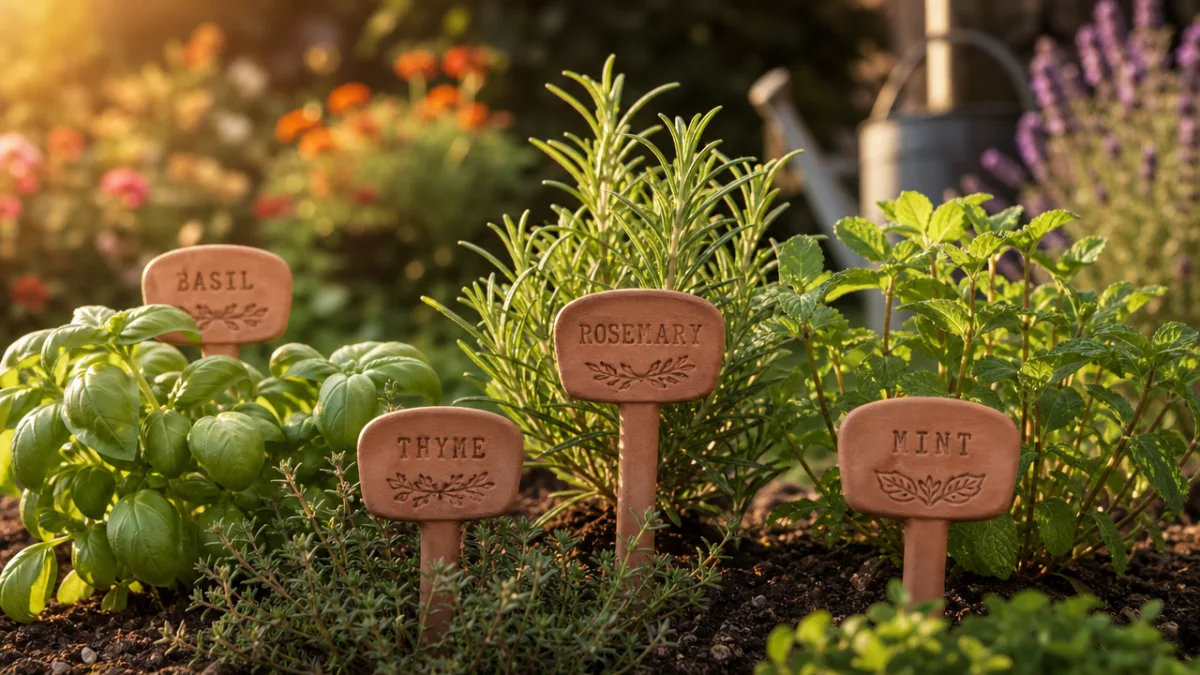
There’s something really satisfying about walking through a garden where every plant has its own little handcrafted label. Clay plant markers hit a sweet spot between useful and beautiful that a plastic stake from the garden center just can’t touch. They carry the marks of whoever made them, and that handmade quality gives any garden — whether it’s a big backyard or a few pots on a windowsill — a sense of personality that you simply can’t buy off a shelf.
They’re also genuinely practical. Paper labels turn to mush in the first rainstorm, and wooden sticks rot after a season or two. Properly sealed clay markers, on the other hand, can hold up outdoors for years — they resist moisture, handle sun exposure well, and stay readable season after season. If you put real time and love into your garden, having labels that actually last isn’t a luxury. It’s just practical.
But honestly, the best reason to make your own is the creative freedom. You can match your markers to your garden’s whole vibe, write the common name, the Latin name, the planting date, or add a little doodle. Go rustic and textured, or clean and minimal — it’s entirely up to you. Clay is forgiving and responds to your touch without demanding any particular skill level, which makes this craft genuinely accessible whether you’ve never touched clay before or you’re a seasoned maker looking for a new project.
Choosing the Right Clay for Your Markers
Not all clay works the same way, and which one you pick will affect both how fun the process is and how well your markers hold up. Air-dry clay is the most beginner-friendly option because there’s no oven or kiln involved — you shape it, leave it out at room temperature for a day or two, and it hardens on its own. Brands like Crayola Air-Dry Clay or DAS are easy to find at craft stores and affordable enough that you can experiment without stressing about waste.
Polymer clay — Sculpey or Fimo, for example — has a finer texture and stays flexible until you bake it in a regular home oven, usually around 275°F for fifteen to thirty minutes depending on thickness. The finished result is a bit more resilient and less prone to cracking than air-dry clay. It also takes acrylic paint really nicely after baking, which is great if you want to add colorful, detailed designs to your markers.
If you want the most durable option and have access to a kiln — maybe through a local ceramics studio or community center — traditional earthenware or stoneware is worth considering. Fired clay is essentially impervious to weather and can last indefinitely in a garden. Whatever you go with, just choose something that fits your tools, your timeline, and wherever your finished markers are going to live.
Materials and Tools You Will Need
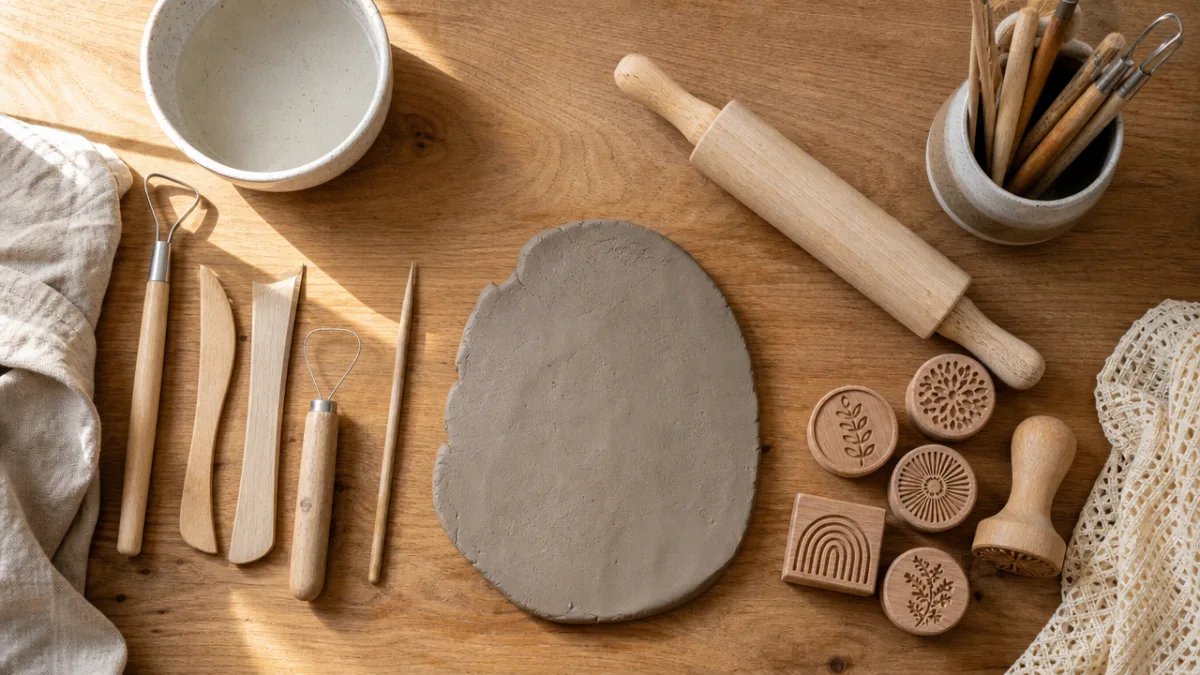
One of the nicest things about this project is how little you actually need to get started. The supply list is short, affordable, and full of things you probably already have around the house. Getting everything together before you sit down to work makes the whole process feel smooth and relaxed rather than constantly interrupted. Set yourself up with a non-stick surface — a silicone mat, parchment paper, or even a smooth ceramic tile — to protect your table and make cleanup easy.
Here is what you will need to get started:
- Air-dry clay or polymer clay in your preferred color
- A rolling pin or smooth cylindrical bottle for flattening the clay
- A craft knife, clay cutter, or old butter knife for shaping edges
- Wooden skewers, pencils, or chopsticks for creating stake ends and texture
- Letter stamps, a stylus, or a toothpick for inscribing text
- A ruler for consistent sizing if desired
- Acrylic paints and small brushes for decorating after drying
- Mod Podge, outdoor varnish, or clear sealant spray for weatherproofing
- Sandpaper (fine grit) for smoothing rough edges once dry
Leaf molds or textured stamps are optional but really worth picking up — pressing botanical patterns into your markers gives them that beautiful pressed-nature look that’s become so popular in handmade garden aesthetics. Cookie cutters are also handy if you want all your markers to match, especially across a whole herb garden. The project scales easily either way: keep it simple and spontaneous, or layer in as many techniques as you feel like exploring.
Setting Up Your Workspace for Success
Taking five minutes to organize your workspace before you start will save you a lot of frustration once you’re in the middle of things. Clay dries out faster than you’d expect once it’s exposed to air, so having everything within reach means you’re not running across the room while your material starts to stiffen up. Keep a small bowl of water nearby if you’re working with air-dry clay — just lightly moistening your fingertips as you work helps prevent cracking and keeps the surface smooth and easy to shape.
Good lighting makes a real difference when you’re inscribing fine text or adding small details. Natural daylight is ideal if you’re planning to paint, since artificial light can make colors look different than they actually are when wet. A comfortable chair and a table at the right height matter more than you might expect too — clay work is tactile and absorbing, and you might look up and realize you’ve been happily shaping and stamping for a lot longer than you planned.
Step-by-Step Guide to Shaping Your Plant Markers
Start by conditioning your clay — which just means kneading it in your hands for a minute or two until it feels pliable, warm, and smooth with no stiff spots or air bubbles. It’s tempting to skip this step, but it really does matter. Unconditioned clay is prone to cracking during shaping or after drying, and with polymer clay especially, cold and unconditioned clay can actually be brittle and break at thin points — which is exactly where your stake end is going to be.
Once the clay is ready, press it onto your non-stick surface and roll it out to about a quarter inch thick. Go thinner than that and it risks cracking; go much thicker and it gets heavy and awkward. Check the thickness across the slab with a ruler, then cut your marker shapes with a knife or cookie cutter. The classic plant marker shape has a rectangular or oval head that narrows into a pointed stake — picture the traditional garden label silhouette and you’ve got it.
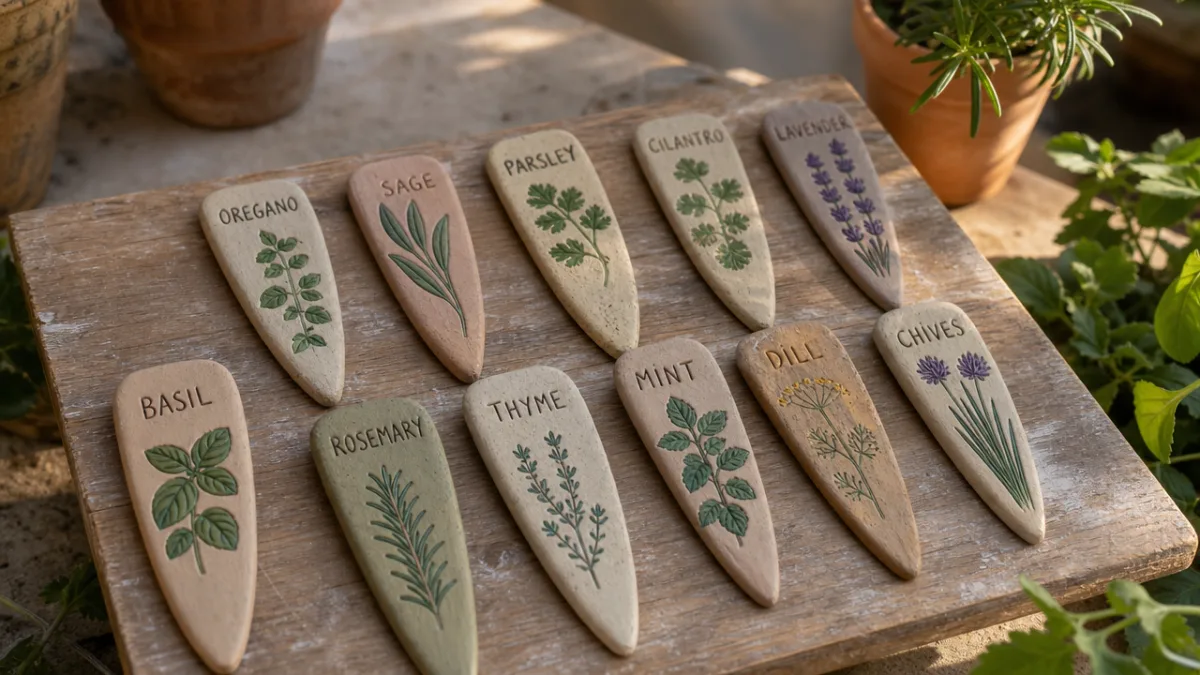
With your shapes cut out, add textures and inscriptions while the clay is still soft. Press a fresh leaf or herb sprig gently into the surface to make a botanical impression, then lift it away cleanly. Use letter stamps dusted lightly with cornstarch (to keep them from sticking) to press plant names into the clay. If you prefer freehand lettering, a toothpick or stylus works really well — slightly wobbly handwritten letters actually add charm rather than looking like mistakes. If you want to hang any markers instead of staking them, poke a small hole near the top now before the clay sets.
Techniques for Adding Decorative Details
Texture is what takes a flat piece of clay and makes it look like something someone genuinely made with care. Beyond leaf impressions, try pressing open-weave fabric like burlap against the surface for a subtle grid texture, or roll the clay over a piece of lace before cutting your shapes. Small cookie stamps, seashells, and button backs all make great impression tools. Even a simple border pressed in with the blunt end of a pencil gives each marker a finished, considered look at the edges.
If you love the botanical aesthetic, gather a few small leaves, ferns, or herb sprigs from the garden before your clay session and use them to create markers that are truly connected to the plants they’ll label — rosemary markers impressed with an actual rosemary sprig, lavender markers with the feathery outline of a real lavender leaf. It makes the finished markers feel like they genuinely belong in the garden, and there’s something lovely about the garden itself contributing to its own labels.
Once you’ve added all your textures and text, smooth the back of each marker by gently pressing it flat against your work surface so the stake end will slide cleanly into soil. Then let air-dry markers rest undisturbed on a flat surface for 24 to 48 hours. Flipping them over halfway through can help prevent warping. For polymer clay, follow the package instructions for baking and let them cool completely before you handle them.
Painting, Finishing, and Sealing Your Markers
Once your markers are fully dry or baked and cooled, the painting stage is where they really come to life. Acrylic paints are the best choice for clay markers — they adhere well, dry quickly, cure waterproof, and come in every color you could want. Starting with a base coat of white or cream gives you a clean surface that makes your colors pop. Paint in thin, even layers and let each one dry before adding the next so you don’t end up with streaky or muddy results.
For the text area, a lot of makers like to keep the face of the marker neutral — white, cream, terracotta, or soft sage — and then carefully paint the impressed letters in a contrasting color with a fine-tipped brush or a paint pen. Dark brown, forest green, or charcoal on a cream background reads really well outdoors. If keeping a steady hand with a brush feels tricky, metallic paint pens in gold or copper are a fantastic alternative — they trace impressed letters precisely and give the markers a touch of elegance that photographs beautifully.
After the paint is dry, sealing is the single most important step for making sure your markers actually hold up outside. Even polymer clay can absorb moisture over time and eventually degrade without a proper seal. Apply two or three thin coats of outdoor-grade Mod Podge, clear acrylic varnish, or UV-resistant sealant spray, letting each coat dry fully before the next. Give the stake end extra attention — it’s going into the soil and facing the most moisture, so a couple of extra coats there is well worth it.
Troubleshooting Common Problems
Even experienced makers run into issues with clay, and plant markers are no exception. The most common problem is cracking during drying, which usually happens when the clay dries too fast — low humidity, direct sunlight, or a heat source nearby can all cause this. If you spot hairline cracks forming, loosely drape a piece of plastic wrap over your markers to slow things down. If cracks appear after the clay has fully dried, you can fill them with a thin paste of the same clay mixed with water (for air-dry) or a tiny bit of liquid polymer clay (for polymer), then let them re-cure.
Warping happens when one side of the clay dries faster than the other. The best prevention is drying your markers on a flat, breathable surface and flipping them occasionally. If you only notice warping after the clay has dried, pressing a slightly damp cloth over an air-dry marker for a few minutes can sometimes re-soften it just enough to flatten it gently under a heavy book. Warped polymer clay can sometimes be fixed by briefly warming it in the oven again and pressing it flat while it’s still warm.
Chipping or peeling paint is almost always a sealing problem rather than a paint quality problem. Make sure your sealant is rated for outdoor use and that you’re applying it in multiple thin layers rather than one thick coat — thick coats trap air and create a surface that peels far more readily. If you live somewhere with heavy rainfall, consider bringing your markers indoors during big storms for the first season, giving the sealant time to fully cure and toughen through a few rounds of temperature changes.
Creative Variations and Styling Ideas for Your Garden
Once you’ve got the basics down, the variations really are endless. Try creating a cohesive set with a color palette that works with your garden’s existing tones — dusty sage, warm terracotta, and creamy white feel right at home in a cottage herb garden, while clean white with black lettering suits a modern raised bed perfectly. When your markers share a consistent aesthetic, they stop being just a practical item and become an actual design element that pulls the whole space together.
Seasonal sets are a fun extension of the project too. Make a batch of autumnal markers with leaf impressions and warm amber tones to swap in at the end of the growing season, or create small stakes specifically for fall-planted bulbs so you remember come spring what’s waiting underground. And if you’re looking for a gift idea — a set of hand-stamped herb markers tucked into a basket with a packet of seeds is genuinely thoughtful and useful in a way that’s hard to beat.
Clay markers aren’t just for outdoor gardens either. Miniature versions in bright, playful colors look great in a windowsill succulent arrangement, while larger, more textured pieces work beautifully as statement labels for prized houseplants or outdoor specimen trees. You could even develop a little symbol system pressed into the clay for care information — sun preference, watering frequency, harvest timing — so your markers are doing double duty as both labels and quick reference guides.
Sharing and Preserving Your Work
A lot of people who start making clay markers for their own garden find the project naturally expanding into something they want to share. Craft fairs, farmers markets, and online marketplaces are all great fits for handmade garden markers, especially when they’re photographed well. If you start making them in larger quantities, spending a bit of time developing a consistent shaping or stamping technique will help your sets look polished and cohesive while still keeping that handmade quality that buyers are specifically looking for.
Documenting your process with photos — the raw clay, the impressed textures, the painted and sealed finished pieces — is worth doing both for sharing and for your own reference as your skills develop. Looking back at earlier work next to what you’re making now makes the growth really visible and motivating. It also gives you a library to draw from when you want to recreate a technique or design you loved.
Most importantly, just keep making them. The first batch is always a learning experience — some will crack, some lettering will be uneven, some paint will smudge before it’s dry. But even imperfect handmade markers carry a warmth that no manufactured product can replicate. Your garden is a living expression of your care and attention, and the markers you make for it by hand are just one more layer of that ongoing, seasonal act of love.








What do you think?
It is nice to know your opinion. Leave a comment.