










“`html
DIY Floor Lamp: Build Your Own Stunning Statement Light from Scratch
There’s something really satisfying about flipping on a lamp you built with your own hands. A DIY floor lamp hits that sweet spot between practical and creative — it solves an actual lighting problem in your space while giving you something totally unique that you’d never find in any store. Whether you’ve been woodworking for years or you’re picking up a drill for the very first time, building a floor lamp is a very doable weekend project that’ll surprise you with how good the results can be.
And honestly, the cost savings are just a bonus. The real appeal of building your own lamp is the control you have over every single decision — the dimensions, the materials, the look and feel of it. You can match it to a piece of furniture you already own, pick a shade that works with your color palette, and dial in the exact height for the corner or reading nook where it’s going to live. That kind of customization just doesn’t exist when you’re scrolling through a retailer’s website or wandering the aisles at a home goods store.
This guide walks you through the whole thing — gathering materials, understanding basic electrical safety, cutting and assembling the base, wiring the socket, and adding the finishing details that take a functional object and make it genuinely beautiful. By the time you’re done, you’ll have a working floor lamp, a new set of skills, and the confidence to tackle more projects like this one. So clear off a workbench, gather your tools, and let’s get into it.
Planning Your Design and Gathering Inspiration
Before you buy a single piece of wood or a length of pipe, spend some real time thinking about what you want this lamp to look like and how it actually needs to work in your space. Measure the spot where it’s going to stand. Think about the height of nearby furniture, the color of the walls, the overall vibe of the room. A lamp for a cozy reading nook calls for something very different than one standing next to a bright mid-century sofa. Sketching a few rough ideas on paper costs you nothing and saves a lot of expensive trial and error down the road.
The two most common structural approaches for DIY floor lamps are wood and industrial pipe. A wood base — a turned or tapered dowel, say, or dimensional lumber cut into a geometric shape — brings warmth and an organic quality to a room. Industrial pipe, usually black iron or copper, has more of an urban, vintage feel that looks great alongside exposed brick, leather, and metal accents. Hybrid designs that mix both materials are increasingly popular too, getting you the warmth of wood and the precision of metal in one piece. Neither option is better than the other — it really just comes down to your room and your taste.
Once you have a rough design, put together a simple materials list and price it out before you commit to anything. Lamp cord, sockets, Edison bulbs, and lamp pipe kits can vary a surprising amount between hardware stores and online suppliers, so knowing your budget upfront saves you from any unpleasant surprises. Most builders find that a complete DIY floor lamp — shade included — comes together for somewhere between thirty and eighty dollars, which looks pretty great next to the designer options that start at three hundred and go way up from there. The price difference doesn’t mean a quality difference; it just reflects the work you’re putting in yourself.
Materials and Tools You Will Need
Getting everything together before you start is honestly one of the best habits you can build as a maker. Making three trips to the hardware store in one afternoon breaks your momentum, eats up time, and tends to lead to compromised decisions you’ll regret. Write out your full list, check it against your design sketch, and then make the trip. Organizing everything by category — structural components, electrical components, finishing supplies — makes the shopping go faster and keeps things from slipping through the cracks.
For a classic wood-base floor lamp, your structural materials will typically be a long hardwood dowel or closet rod somewhere between one and one-and-a-half inches in diameter, a weighted base made from a thick piece of hardwood or a heavy decorative object like a ceramic vase or a concrete form, and a shade. On the electrical side, you’ll need lamp cord with a switch (inline or foot switch, your call), a medium-base lamp socket, a lamp pipe nipple to connect the socket to the top of the rod, and a shade fitter or harp to hold the shade in place. Connectors, wire nuts, and electrical tape round out that side of the list.
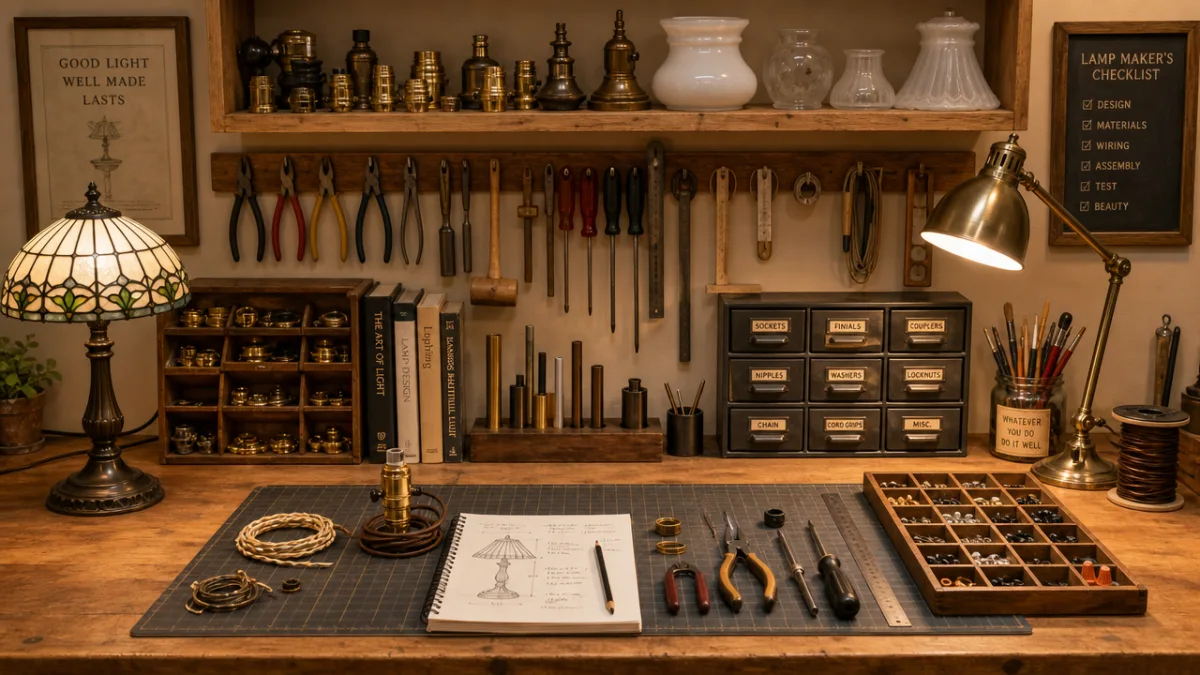
For tools, a drill with a long flexible bit for running wire through the pole is essential — it’s probably the one specialized tool that makes or breaks this build. Beyond that, you’ll want sandpaper in a range of grits from coarse to fine, wood stain or paint with a brush or cloth, wire strippers, a screwdriver, needle-nose pliers, and a level to make sure your finished lamp actually stands straight. Always wear safety glasses and work gloves when you’re cutting or drilling, and a stable, well-lit workbench makes every step easier and safer.
Building the Base and Pole Structure
The base is the foundation of your lamp in every sense of the word, and it deserves the most careful attention of anything in this build. A floor lamp that wobbles or tips isn’t just annoying — it’s a real fire and injury risk. Your base needs to be heavy enough to stay upright if someone bumps it walking by, and wide enough to give the lamp a stable footprint. A piece of hardwood cut to a twelve-inch square and at least an inch and a half thick works great for most designs, and you can always add a steel plate to the underside if you need a bit more weight.
Start by drilling the center hole in your base piece. This hole needs to accept the lamp pipe nipple that connects the base to the vertical pole. Standard lamp pipe nipple is one-eighth inch, so you’ll use the corresponding drill bit size. Drill carefully and keep the bit as perpendicular to the surface as you can — a crooked hole at this stage means a crooked lamp at the end. Once the hole is drilled, thread the nipple through from below and lock it down with a locknut on top, tightened firmly so there’s no play or wobble at all.
Next up is the vertical pole. If you’re using a wooden dowel, you’ll need to drill a channel through the entire length so the lamp cord can run hidden inside — coming out the bottom to plug into the wall and out the top to connect to the socket. This is the step that scares most beginners, but a long flexible drill bit (sometimes called an electrician’s bit or a ship auger bit) makes it very manageable. Drill from both ends toward the middle, working slowly and pulling the bit out often to clear sawdust. Once the channel is done, sand the outside of the pole through your grits, finishing at 220 or finer for a smooth, clean surface that’s ready for finishing.
Wiring the Lamp Socket Safely
Electrical work sounds scary to a lot of first-timers, but wiring a lamp socket is genuinely one of the simpler electrical tasks out there. Lamp cord is low-voltage, the connections are straightforward, and as long as you follow a few basic rules, it’s a safe and reliable process. The most important rule — the one to fully internalize before you touch anything — is this: always work with the lamp completely unplugged. Never work on live wiring at any stage, for any reason. That one habit takes care of the vast majority of risk in this entire project.
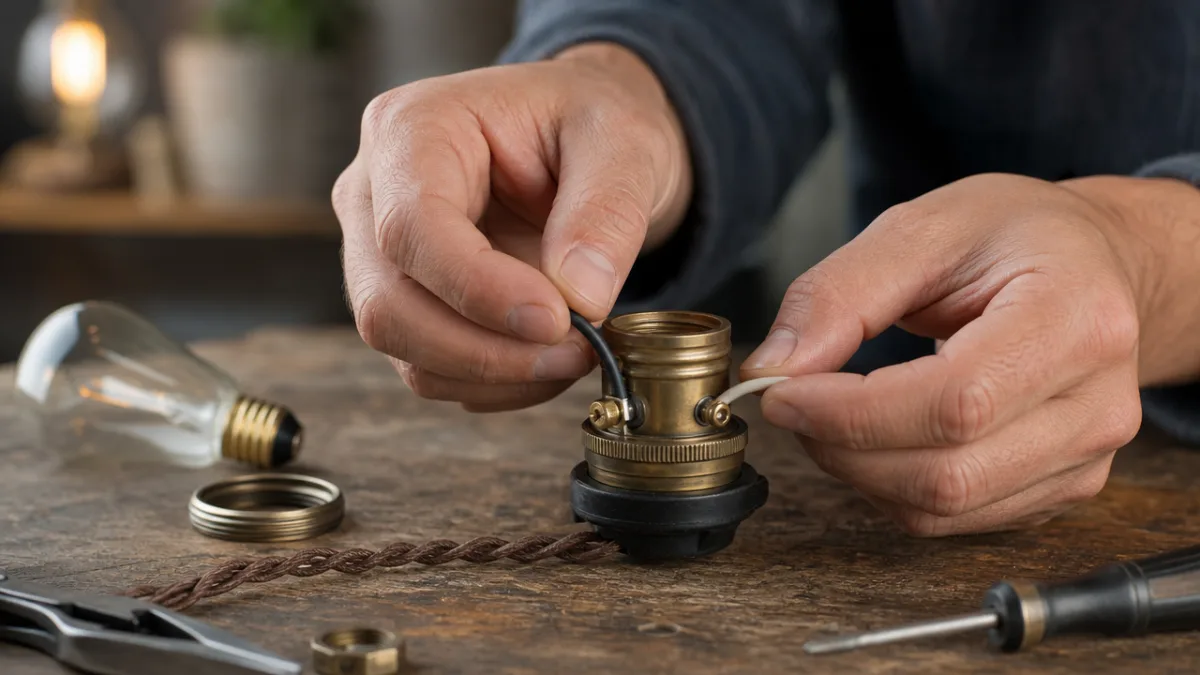
Thread the lamp cord up through the base and through the channel in the pole so it comes out the top with about six inches to work with. Use your wire strippers to remove about three-quarters of an inch of insulation from each wire. Lamp cord is two-conductor — a neutral wire and a hot wire. You can tell them apart by looking at the insulation: the neutral wire usually has ribbing or printing on it, while the hot wire is smooth. Connect the neutral wire to the silver screw on your socket and the hot wire to the brass screw, wrapping each one clockwise so tightening the screw pulls the wire in rather than pushing it out.
Once the connections are made, fold the wires carefully into the socket cup, snap or screw the shell into place, and give everything a gentle tug to make sure nothing is loose. Thread the socket assembly onto the lamp pipe nipple at the top of the pole and secure it with the included hardware. Put in a bulb — an LED Edison-style bulb is a popular choice that’s energy-efficient and looks great in most handmade lamps — then plug it in for the first time. If it lights up and the switch works, congratulations, you just wired a lamp. If it doesn’t, unplug immediately and work through each connection one by one before trying again.
Finishing and Customizing Your Lamp
The finishing stage is where a good lamp becomes a great one, and it’s where your personal style really gets to show up. Before you apply any finish to the wood, make sure the surface is clean, dry, and sanded to a smooth, even texture all over. Wipe down the pole and base with a tack cloth to get rid of every bit of sawdust — any dust trapped under a stain or finish coat will create a rough texture that no amount of sanding afterward will fully fix. Take your time here, because the quality of your prep work determines the quality of the final result more than anything else you’ll do.
For staining, apply your chosen stain with a clean cloth or a foam brush, working with the grain and wiping off the excess before it dries — follow the manufacturer’s timing on that. Multiple thin coats will give you much more control over the final color depth than one heavy application. After staining, seal the wood with at least two coats of a clear protective finish. Polyurethane, wipe-on poly, or a natural oil finish like tung oil or Danish oil all work well, depending on the look you’re going for. Give each coat full drying time and do a light sand with very fine grit paper in between for the smoothest possible buildup.
The shade is worth its own careful thought, because it’s arguably the most visually dominant part of the finished lamp. A drum shade in linen or natural cotton works in almost any room with almost any base style. A coolie or bell shade brings a more traditional or vintage feel. A geometric metal shade or a sculptural paper shade can push the whole design into more contemporary or artistic territory. Think about the shade lining too — it has a real effect on the quality and warmth of the light. A white or cream lining throws a clean, bright light, while gold or amber casts a warmer glow that most people find really comfortable for evening use.
Troubleshooting, Safety Checks, and Maintenance
Even a well-executed project might need a little tweaking, and knowing what to check after the build is just as important as knowing how to build. Set the lamp in its spot and look at it from every angle. Check that it stands plumb and level — grab an actual level if you’re not sure — and confirm it doesn’t rock or tip when you push on it gently from different directions. If it wobbles, shim the base with thin felt or rubber pieces until it sits flat, or add weight to the underside if it’s a more fundamental balance problem.
After the lamp has been running for a few hours, do a full visual check of all the electrical components. Make sure the cord isn’t pinched anywhere along its path, that the socket connections don’t show any heat discoloration, and that the bulb is properly seated and making consistent contact. If you notice flickering that isn’t related to the switch, unplug the lamp and go back through the socket connections. Flickering almost always means a loose wire rather than a defective part, and tightening the screws at the socket usually fixes it right away. Never leave a lamp with a known electrical problem plugged in and unattended.
For day-to-day maintenance, dust the shade regularly with a soft brush or dry cloth, and occasionally wipe the base and pole with a slightly damp cloth followed quickly by a dry one. Once a year or so, check the cord for any signs of fraying, cracking, or damage — especially where it exits the base and where the plug meets the wall end, since those spots take the most mechanical stress over time. If you ever see damage to the cord insulation, replace the whole cord rather than trying to patch it. Replacement cord sets are cheap, and re-threading and re-wiring the lamp is a quick job once you’ve already done it once.
Inspiring Variations and Creative Directions
Once you’ve finished your first floor lamp, you’ll almost certainly start thinking about the next one — and the creative possibilities here really are wide open. One of the most popular variations is the tripod floor lamp, where three angled legs support a central lamp head without any vertical pole. It has a mid-century modern quality that looks great in almost any contemporary space, and it’s really satisfying to build because the geometry of a tripod is inherently stable. The legs can be tapered hardwood dowels, natural branches, or even copper pipe for a more industrial feel.
Concrete base lamps have gotten enormously popular in the DIY community over the last few years, and honestly for good reason. Mixing and casting concrete is way simpler than it sounds — you just need basic molds made from cardboard tubes or plastic containers — and it produces a base with a beautiful, unique texture that nothing else can replicate. The raw, industrial look of concrete pairs really well with warm Edison bulbs and natural linen shades, creating something that feels sophisticated without trying too hard. Add concrete pigment powder to the mix and you’ve got color options beyond the standard grey.
If you like working with found or reclaimed objects, DIY floor lamps offer an almost unlimited field to explore. Vintage camera tripods make extraordinary bases. Old wooden surveying rods have exactly the right proportions and a wonderful patina. Large ceramic crocks, driftwood branches, stacked vintage books sealed in resin, salvaged plumbing pipe — all of these have been used by creative builders willing to think a little differently about the problem. The core skill set is the same no matter what you use as a base: create a stable, weighted support, run a cord safely through or alongside it, and connect a socket at the top. Everything else is your own vision and creativity, which is exactly what makes this kind of project so worthwhile.
“`








What do you think?
It is nice to know your opinion. Leave a comment.