










15 Modern Craft Room Ideas for Smart Storage
Why a Well-Organized Craft Room Changes Everything
If you’ve ever lost twenty minutes hunting for a specific shade of ribbon — or dug through a pile of half-finished projects just to find your fabric scissors — you already know how draining a disorganized creative space can be. A well-planned craft room isn’t just pretty to look at. It protects your time, keeps your materials in good shape, and honestly? It keeps you motivated to actually sit down and make things. When everything has a place, you stop managing chaos and start creating.
Craft room design has come a long way in the past decade. What used to be a spare bedroom stuffed with plastic bins and wire shelving has become something much more intentional — a studio space that actually feels good to be in. These days, crafters are pulling inspiration from interior design, Scandinavian minimalism, even professional workshop layouts, and the results are rooms that feel energizing rather than overwhelming. The best part? Most of these ideas work at any budget or room size.
There’s also a real psychological case for getting your craft room organized. Research in environmental psychology consistently links clutter to higher cortisol levels, which disrupts both focus and creativity. When your space has smart storage built into it, your brain isn’t wasting energy filtering out visual noise. You can walk in, sit down, and just get into it — which is the whole point of having a dedicated creative space to begin with.
Smart Wall Storage Solutions That Maximize Vertical Space
Wall space is one of the most underused resources in a craft room. Most people pack the floor with tables and bins while leaving big stretches of vertical space completely empty. Adding floor-to-ceiling shelving, pegboards, or wall-mounted cabinets turns those blank walls into serious storage — and keeps your work surface clear. Visibility matters a lot in a craft room, too. When you can see your supplies at a glance, you actually use them, and you stop buying duplicates of things you forgot you owned.
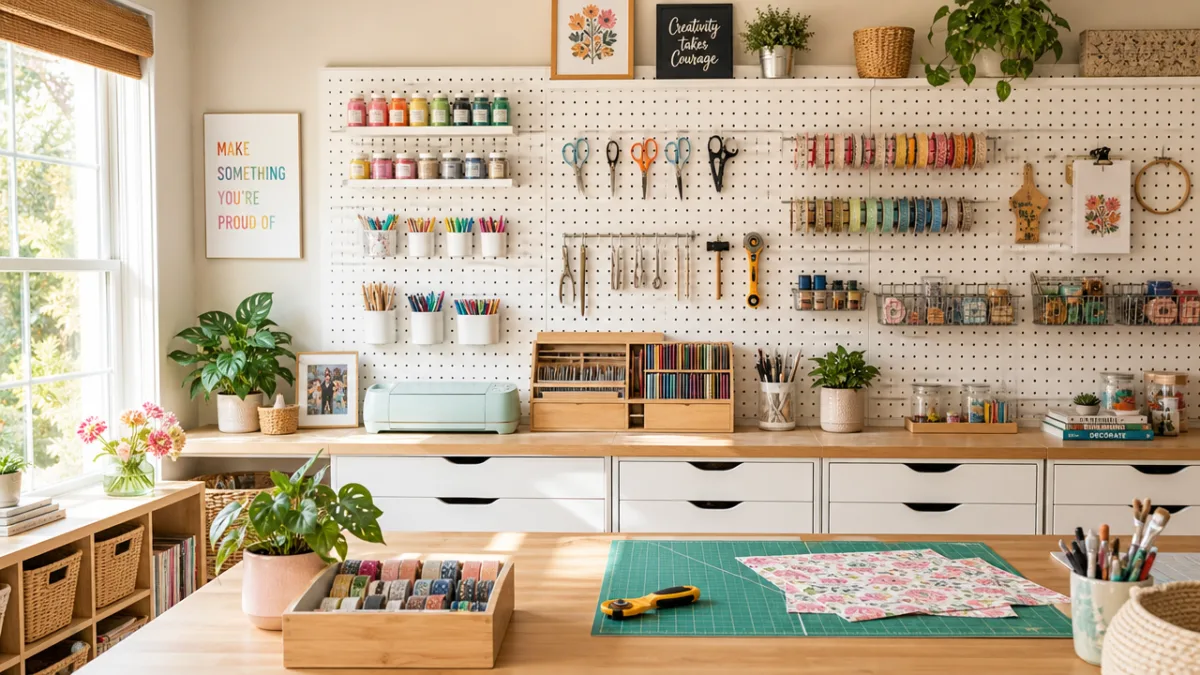
Pegboards have had a real comeback in craft room design, and it’s easy to see why. A large pegboard panel — painted in a soft neutral or a bold accent color — becomes both a storage wall and a genuine design feature. You can hang scissors, rulers, tape dispensers, punch tools, and ribbon rolls, and rearrange the whole layout whenever you need to without touching a single tool. Add in small shelves, bins, and jar holders and you’ve got a layered, dynamic display that’s as inspiring to look at as it is useful.
Floating shelves at varying heights add depth to a craft room wall while giving you tiered storage for different kinds of supplies. Deeper shelves low down can hold heavier stuff like paper pads and cutting mats, while narrower shelves up high are great for lightweight jars of buttons, ribbon spools, and decorative bits. Labeling each shelf section — even with something as simple as a hand-lettered tag — makes the whole system easier to maintain and helps everyone in the house actually put things back where they belong.
- Install a full-wall pegboard as a focal point and customize it with hooks, shelves, and containers
- Use floating shelves at multiple heights to accommodate supplies of different sizes and weights
- Mount a grid panel system with interchangeable accessories for maximum flexibility
- Hang a magnetic knife strip to hold scissors, tweezers, and metal tools within easy reach
- Add a wall-mounted paper organizer or vertical file system for storing flat sheets and cardstock
Furniture That Works as Hard as You Do
Getting the furniture right is one of the most important decisions you’ll make for your craft room. Unlike a home office where a desk and a chair basically cover it, a craft room usually needs to handle several different activities — cutting, sewing, painting, stamping, assembling — each with its own space and storage needs. The best craft room furniture pulls double or triple duty: it has built-in storage, adjustable surfaces, and layouts that can flex depending on what you’re working on. It’s worth thinking this through carefully upfront so you’re not frustrated later.
A craft table with built-in drawers, cubbies, or fold-out extensions is a big step up from a plain work surface. A lot of modern craft tables are designed with a lower height for comfortable cutting while seated, plus pull-out sections that expand your workspace when you need them and disappear when you don’t. Pair your main table with a butcher-block island on casters and you’ve got extra work space plus a portable storage unit you can move around based on the project. In a creative space that needs to adapt constantly, mobility is everything.
Seating doesn’t get enough attention in craft room planning, but the wrong chair can end a session early with aches and fatigue. An adjustable-height stool or ergonomic task chair lets you work comfortably at whatever height makes sense for the task. Some crafters use a regular chair for table-height work and a taller stool for standing-height stations or ironing. If your seating has casters, you can roll from one station to another without breaking your flow — and suddenly the whole room feels like one connected, efficient workspace.
Color-Coded and Categorized Storage Systems
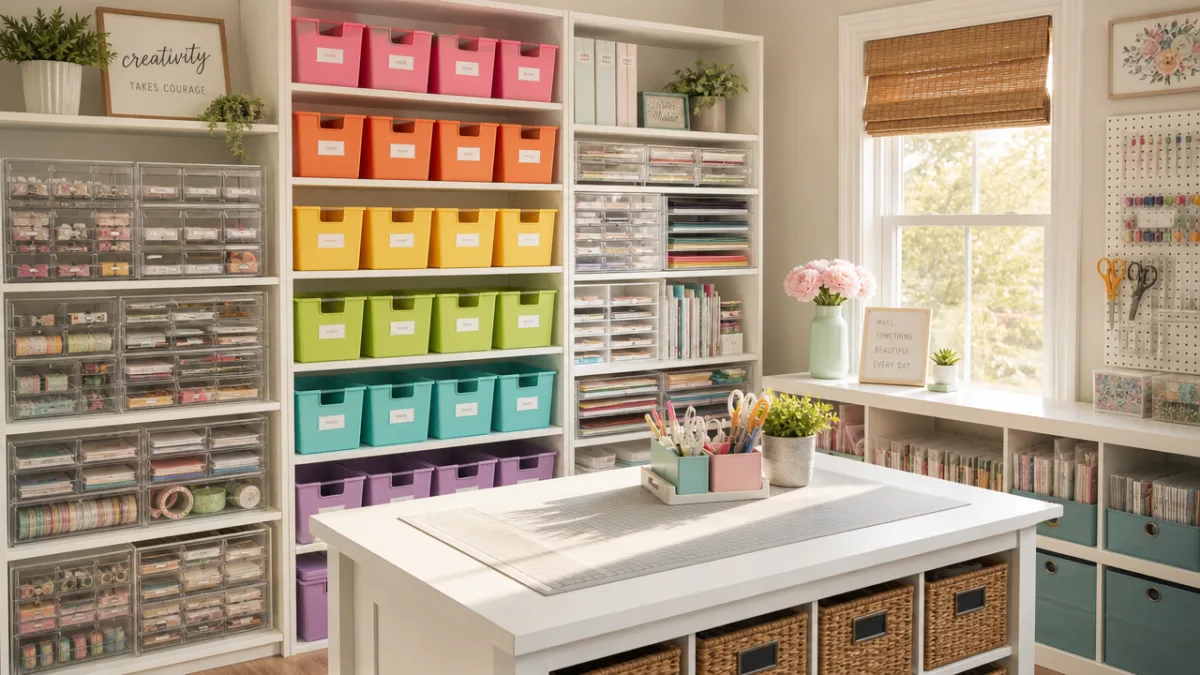
The backbone of a truly functional craft room is categorization and consistency. Bins labeled “miscellaneous” are the enemy — they turn into black holes where supplies vanish and never resurface. A color-coded system, where each category of supply gets its own color of bin, label, or shelf section, creates the kind of visual clarity where you can find things almost on instinct. That kind of intuitive organization cuts setup and cleanup time for every single project.
Clear containers might be the single most useful thing you can invest in for craft storage. When supplies live in transparent bins, jars, or drawers, you know what’s inside without touching anything. Stackable clear acrylic drawers are a favorite for this reason — they look polished, stack neatly, and give you great visibility all at once. Glass mason jars on open shelves add a bit of warmth and charm while keeping buttons, beads, and small notions on display in the prettiest way possible. That balance of function and beauty is really what modern craft room design is all about.
Labeling every container — even the clear ones — is what keeps the system working long-term. Labels can be as simple as printed adhesive tags or as charming as hand-lettered kraft paper tags tied with twine, depending on your style. Some people go for a label maker to keep things clean and consistent; others prefer custom printed labels that match their room’s color palette. Either way, consistency is what matters most. A labeling system that looks intentional is so much easier to actually maintain than a random mix of mismatched tags stuck on as an afterthought.
- Dedicate one color of bin or label to each craft category: paper crafts, sewing, painting, mixed media
- Use clear stackable drawers for small supplies like buttons, brads, and embellishments
- Store ribbon on wooden dowels or a standing ribbon holder so colors and textures are immediately visible
- Group supplies by project type rather than by item type for more efficient workflow
- Create a “current projects” zone where works in progress are stored separately from general supplies
Dedicated Zones for Different Creative Activities
One of the things that separates a professionally designed craft room from an improvised one — and this principle works at any room size — is the idea of dedicated activity zones. Instead of treating the whole room as one big work area, you divide it into distinct stations, each set up for a specific type of creative work. A cutting zone, a sewing station, a painting area, a wrapping and assembly spot — each one has its own layout, tool set, and storage logic. Even in a small room, defining those zones creates real efficiency and takes a surprising amount of mental load off your shoulders.
In a larger craft room, zones can be marked by furniture arrangement, area rugs, or even different paint colors on the floor. In a smaller space, the zones might just be different quadrants of the same table, each with a small caddy holding the tools for that activity. The point is that when you sit down to sew, everything you need for sewing is right there — you’re not trekking across the room for your seam ripper or hunting for a needle. That micro-level organization is exactly what separates a craft room that works from one that just frustrates you.
It’s also worth carving out a dedicated inspiration zone somewhere in the layout. This could be a bulletin board, a magnetic wall panel, or a curated gallery wall where you pin color swatches, fabric samples, printed photos, and clippings that are shaping your current creative direction. Having that physical space keeps inspiration from getting lost across a dozen Pinterest boards you’ll forget to check. It keeps your vision tangible — something you can actually glance at when you sit down and need to remember what mood or palette you were going for.
Lighting and Ambiance: The Final Layer of a Smart Craft Room
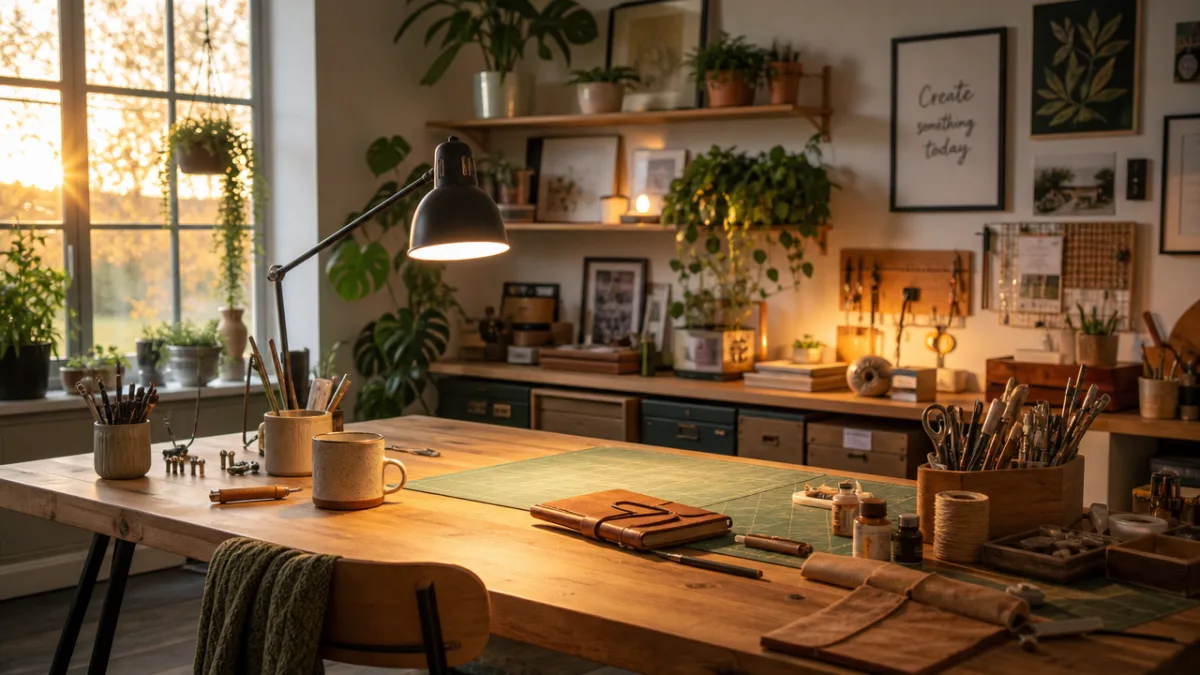
Good lighting in a craft room isn’t optional — it’s a genuine necessity. Poor lighting causes eye strain, throws off your color accuracy when you’re working with paint or fabric, and makes detailed work like hand stitching or fine cutting exhausting. A well-lit craft room layers multiple light sources: ambient overhead lighting to fill the room evenly, task lighting aimed directly at your main work surface, and ideally some natural daylight, which renders color most accurately and has a well-documented effect on mood and energy throughout the day.
LED daylight bulbs in the 5000K to 6500K range are the gold standard for craft rooms because they mimic natural daylight without that warm yellow cast that can make colors look muddier than they actually are. A combination of overhead LED panel lighting plus an adjustable desk lamp with a daylight bulb gives you great overall coverage and focused brightness right where you need it. Under-shelf LED strip lights are another great option — they add both task light and a soft ambient glow without eating up any table space.
Beyond function, the overall feel of your craft room matters more than people usually give it credit for. A space that feels beautiful and personal is one you’ll actually want to spend time in, and that directly affects how consistently you show up for your creative practice. Add a plant or two for a bit of life and freshness. Frame a piece of artwork that reflects your aesthetic. Choose storage containers in colors that genuinely make you happy rather than just grabbing whatever’s cheapest. These small, intentional choices add up to a room that feels like a real sanctuary — a place that draws you in and makes creating feel like the pleasure it’s supposed to be.
- Install overhead LED panel lights at 5000K–6500K for accurate, even color rendering
- Add an adjustable daylight desk lamp for focused task lighting at your primary work surface
- Use LED strip lights under shelves to illuminate supply areas without shadows
- Position your main work table near a window to take advantage of natural daylight whenever possible
- Add dimmer switches so you can shift the room’s mood from bright and energizing to calm and focused
Budget-Friendly Storage Hacks That Look Custom
A beautifully organized craft room doesn’t require a big budget or a full renovation. Some of the most effective storage solutions are also the most affordable — they just require a creative eye and a willingness to see ordinary objects differently. Thrift stores, dollar stores, and the organizational aisles of big-box retailers are full of hidden potential: vintage tins that make charming brush holders, wine racks that are secretly perfect for yarn storage, all sorts of things waiting to be repurposed.
One of the most popular budget-friendly upgrades is using IKEA’s Kallax shelving as the base for a customized storage setup. The cube openings fit a huge range of inserts, baskets, and bins that can be swapped out as your needs change. Use a Kallax as a room divider with storage accessible from both sides and you’ve essentially doubled your capacity while also defining zones in an open-plan space. Cut a piece of plywood to fit across the top and you’ve got yourself a craft table with built-in storage underneath.
Repurposing kitchen and bathroom organizers is another strategy that experienced crafters swear by. Spice racks make elegant holders for small paint bottles arranged by color. Shower corner caddies work surprisingly well for holding rolls of washi tape. Cutlery trays in desk drawers create instant custom compartments for pens, markers, and small tools — no special purchases required. The skill that unlocks this whole approach is simply being willing to look at something and ask, “what else could this do in my craft room?” Once you start thinking that way, budget-friendly solutions show up everywhere.
Making the Most of Small Craft Room Spaces
Not everyone has a whole room to dedicate to crafting — and honestly, a smaller space used intelligently can be just as functional and inspiring as a large dedicated studio. The same principles that make small-space living work apply here: go vertical with storage, choose furniture that folds away when you’re done, and be honest with yourself about keeping only the supplies you actually use. A compact craft space that’s perfectly dialed in for your specific practice beats a large, cluttered room where every project feels like an archaeological dig.
Murphy-style craft tables that fold flat against the wall are a game-changer for small spaces. Folded up, they can look like a decorative panel. Lowered, they give you a full work surface with built-in storage in the wall-mounted cabinet above. Pair it with a stool that tucks underneath and you’ve got a complete craft studio that fits in just a few square feet of wall space — which means you can carve out a real creative corner in a bedroom, a hallway, or even a large closet.
Speaking of closets: a closet craft room — sometimes called a “cloffice” in its office version — is one of the cleverest small-space moves available. A standard reach-in closet fitted with a narrow desk surface, a pegboard back panel, and two or three tiers of shelving on either side becomes a surprisingly complete little studio that disappears behind closed doors when you’re done. There’s a genuine psychological benefit to this, too. When you shut those doors at the end of a session, the space is mentally “off” and your living area goes back to normal — a healthy boundary between creative work time and rest time that makes a real difference in a small home.








What do you think?
It is nice to know your opinion. Leave a comment.