










Cheap DIY Garden Path Ideas: Transform Your Outdoor Space on a Budget
Why a Garden Path Makes All the Difference
A garden path does so much more than just get you from point A to point B. It brings a sense of order and intention to your yard — the kind that turns a jumble of plants into an actual outdoor space you want to spend time in. Whether you’re guiding guests to the front door, carving out a quiet walkway through your flower beds, or just trying to stop everyone from trampling the same patch of lawn into oblivion, a path pulls double duty in a way almost nothing else in your garden can.
The best part about doing it yourself? You’re in complete control — of the design, the materials, and how much you spend. Professional landscapers can easily charge thousands for flagstone or paved pathways, but with a free weekend and some creative thinking, you can get results that look just as intentional and polished. You just need to know which materials give you the best bang for your buck, and then take your time with the installation.
There’s also a practical side to this that’s easy to overlook. Walking repeatedly across the same stretch of grass compacts the soil underneath, which starves plant roots of the air and water they need. A defined path naturally steers foot traffic where you want it, and the rest of your garden stays healthier for it. Honestly, once you’ve put in even a simple gravel or stepping stone path, you’ll wonder why you waited so long.
Choosing the Right Materials for Your Budget
The material you go with will shape just about everything — how the path looks, how long it holds up, how much work it needs, and what it costs you upfront. The good news is there’s a huge range of options at every price point, and some of the most charming paths out there are made from materials that cost almost nothing. It’s worth thinking through your options before you commit, because it’ll save you time, money, and a fair amount of frustration.
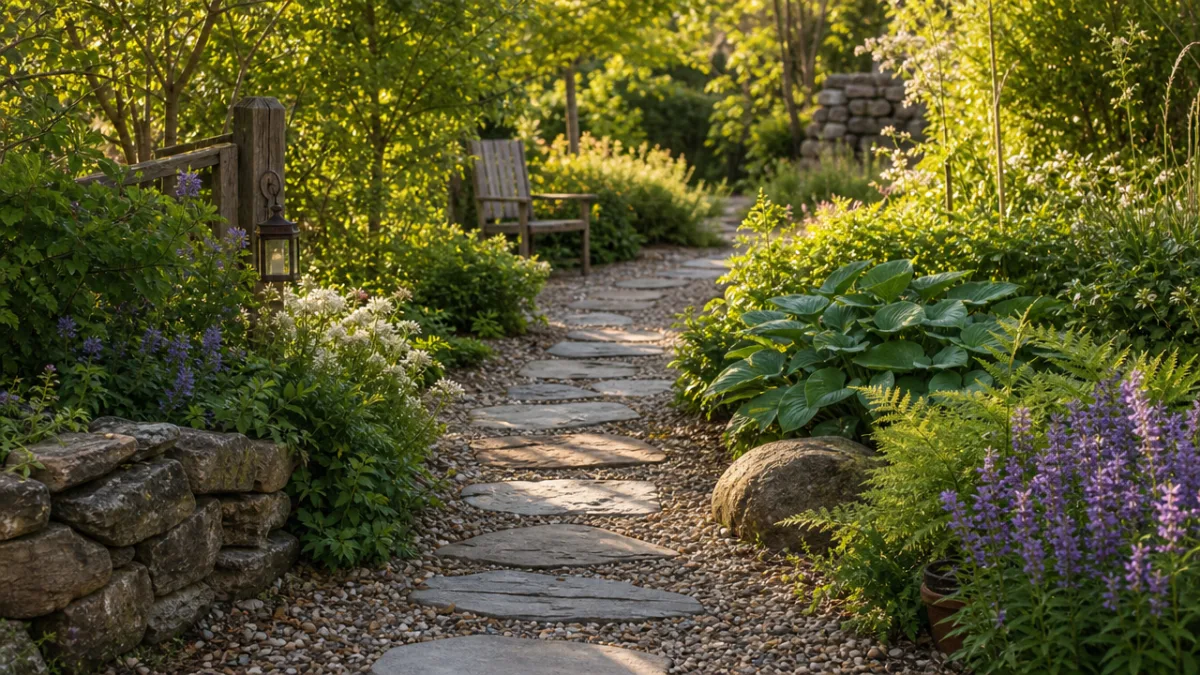
Gravel is probably the most popular choice for anyone watching their budget, and it’s easy to see why. It’s cheap to buy in bulk, simple to install without any professional help, and flexible enough to work in almost any garden style. Pea gravel has a soft, relaxed look that suits cottage-style or informal gardens, while crushed stone or decomposed granite feels more structured and modern. Gravel also drains really well, which is a big practical win if you’re dealing with a wet climate where puddles and mud are a constant headache.
Stepping stones — concrete pavers, reclaimed bricks, or natural flagstone — can all be found affordably if you know where to look. Salvage yards, Facebook Marketplace, and end-of-season garden center sales are great places to start. Laying them yourself just takes a shovel, a level, and some patience. If you have access to a fallen tree, wood rounds are a completely free option with a lovely rustic feel, though you will need to treat them occasionally to keep rot at bay. Here’s a quick overview of the most popular budget-friendly materials:
- Pea gravel: Approximately $30–$50 per ton, covers a large area and drains well
- Concrete pavers: As low as $1–$2 each when purchased in bulk or secondhand
- Reclaimed bricks: Often free or very cheap from demolition sites and online listings
- Wood rounds: Free if self-cut, very low cost if purchased from a sawmill
- Decomposed granite: Around $40–$75 per cubic yard, compacts into a firm surface
- Mulch or bark chips: Sometimes free from tree surgeons or utility companies
Planning and Preparing Your Path Layout
Before you buy anything or dig a single shovelful of dirt, spend some time actually planning the route. Walk it. Notice where your feet naturally want to go. If you find yourself cutting a corner, that’s a sign your path should curve there rather than running in a perfectly straight line. Paths that follow the way people actually move through a space always feel more natural — and they look better too.
Lay out your route with a garden hose, some rope, or a can of spray paint before you commit to anything. Then stand back. Look at it from different angles, and check how it looks from inside the house if it’s visible from any windows. Give yourself room to adjust the width and curve before you’ve done any real work. Most garden experts suggest a minimum width of about 18 inches for a single person, and at least 36 to 48 inches if you want two people to walk comfortably side by side.
How deep you need to dig depends on what you’re laying. Gravel paths generally need about 3 to 4 inches of soil removed, plus a layer of weed-barrier fabric underneath to stop things pushing through from below. Stepping stones need to be set deep enough that they sit flush with — or just slightly below — the surrounding ground, so there’s no trip hazard and a mower can pass over them cleanly. Taking the time to get a solid, level base right from the start really does pay off — it extends the life of the path and cuts down on the maintenance you’ll need to do later.
Step-by-Step Installation for a Simple Gravel Path
A gravel path is genuinely one of the most doable DIY projects out there — you don’t need special skills or expensive tools, just some basic equipment and a few hours to spare. It’s forgiving of small mistakes, and you can typically get a reasonably long path done in a single weekend. When it’s finished, you’ll have something that looks clean, intentional, and will hold up well for years with very little fuss. The key is just working through it in order rather than rushing.
Start by clearing all the vegetation from the path area and digging down about 3 to 4 inches below where you want the finished surface to sit. A flat spade is ideal for cutting cleanly through turf, especially if grass roots are stubborn. Once you’ve excavated, tamp the exposed soil down firmly — a hand tamper works great, or just use the flat back of your spade. If you skip this step, the path will develop dips and hollow spots as the gravel settles unevenly over time.
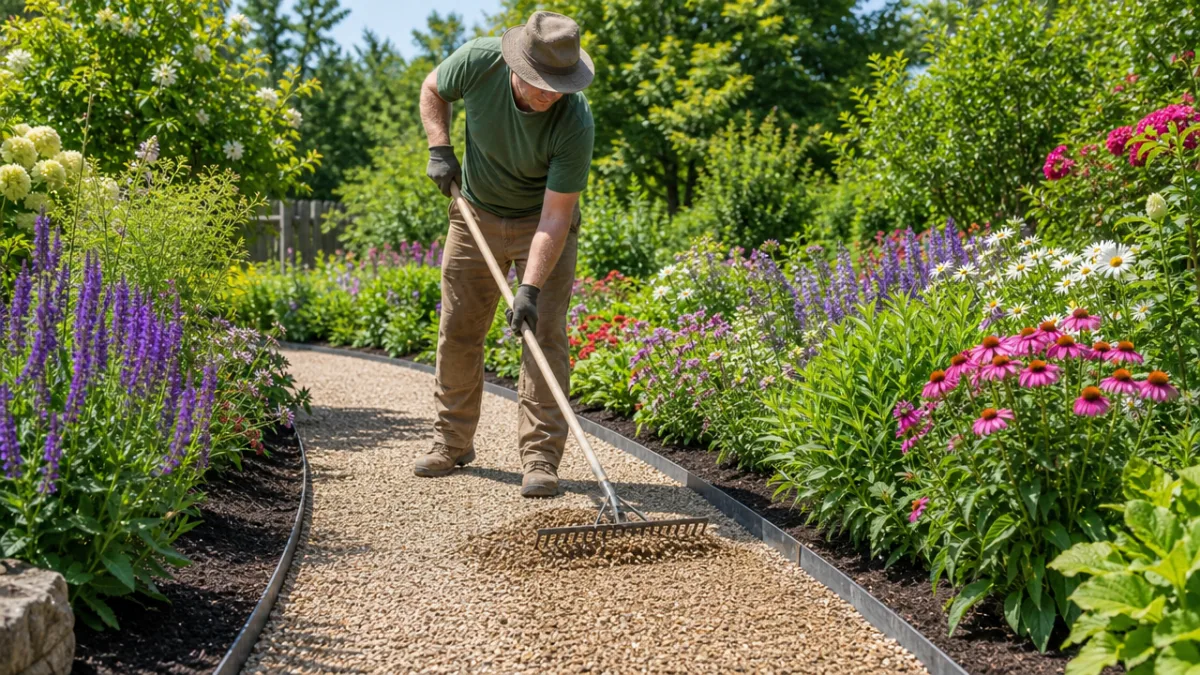
Roll out weed-suppressing membrane across the whole excavated area, overlapping any seams by at least 6 inches and pinning the edges with ground staples or heavy stones while you work. Don’t skip this layer — without it, weeds will be pushing through within a single growing season and you’ll be fighting them constantly. Once the membrane is down, pour the gravel in and rake it to an even depth of about 2 to 3 inches, then use a rake or a straight board to level it off. Finish by adding edge restraints along both sides — wood, metal, or plastic all work — to keep the gravel from wandering off into your lawn or flower beds.
- Mark out the path route using hose or spray paint
- Excavate the path area to a depth of 3 to 4 inches
- Tamp the base soil firmly and evenly
- Lay weed-suppressing membrane and secure the edges
- Install edge restraints along both sides of the path
- Pour and spread gravel to an even depth of 2 to 3 inches
- Rake and level the surface, adding more gravel where needed
Creative and Decorative Ideas to Elevate Your Path
A budget path doesn’t have to look like a budget path. With a bit of creative thought, even a simple gravel or stepping stone route can become a real design feature — something that adds genuine personality to your outdoor space. The magic is usually in the details: what you plant along the edges, how you handle the borders, and whether you bring in any extra touches that make the path feel like it was designed rather than just installed.
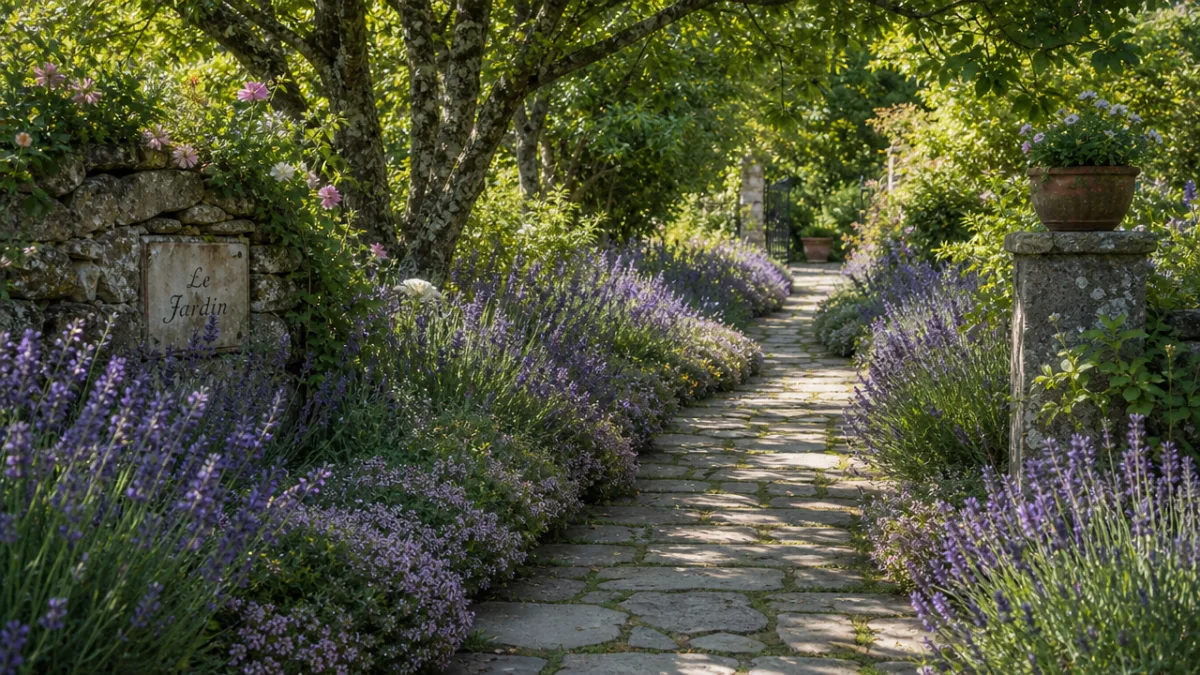
Planting low-growing herbs or ground cover along the path edges is one of the best tricks going. Thyme, chamomile, and creeping Jenny are all brilliant choices — they can handle a bit of foot traffic if they spill over the path edge slightly, and they smell wonderful when you brush past them. Add taller plants like lavender or ornamental grasses just behind those, and you get that lovely sense of being gently enclosed as you walk along — it turns a simple path into something that actually feels like a garden journey.
Mixing materials is another approach that can produce really striking results. Combining large stepping stones with gravel between them adds visual interest and keeps things from feeling flat. Tucking in the occasional colored glass pebble, decorative cobble, or even a mosaic tile fragment between pavers costs almost nothing but adds a real personal touch. And if you want to enjoy your path after dark, cheap solar-powered path lights from any garden center or discount store can completely transform the atmosphere in the evening.
Maintaining Your Garden Path Through the Seasons
One of the real perks of a well-built garden path is that it doesn’t demand much from you — especially if you put down good weed membrane when you built it. That said, a bit of seasonal attention will keep it looking great and add years to its life. A little maintenance every now and then is so much easier than letting things slide to the point where you’re looking at a major repair job.
Gravel paths will occasionally need a top-up, particularly in busy spots where the material gets thin or pushed aside. Running a stiff rake over the surface at the start of spring takes about ten minutes and immediately makes the path look fresh again. Pull any weeds that manage to push through the membrane as soon as you spot them — they get a lot harder to deal with once they’ve settled in and developed a decent root system that can start working its way under the fabric.
For stepping stones and pavers, check them periodically to make sure they’re still stable and level. Frost can lift individual stones over winter, and an uneven surface isn’t just unsightly — it’s a genuine trip hazard. Re-setting a shifted stone is a quick job: lift it, adjust what’s underneath, and put it back level. Keep an eye out for moss and algae too, which can make stone surfaces surprisingly slippery when wet. A scrub with a stiff brush and water, or a diluted outdoor surface cleaner once or twice a year, takes care of it easily and is worth doing for safety as much as for appearances.
Eco-Friendly and Sustainable Path Options
More and more gardeners are thinking about the environmental side of their projects, and garden paths are actually a great place to make some genuinely green choices. What’s nice is that many of the most eco-friendly options are also among the cheapest — so sustainability and budget-friendliness go hand in hand here. Getting this right from the start means your outdoor space adds something to the local ecosystem rather than just taking from it.
Permeable surfaces are worth highlighting specifically. Unlike solid concrete or tarmac, materials like gravel, mulch, and loosely laid stepping stones let rainwater pass straight through and soak into the ground. That recharges groundwater, reduces the surface runoff that contributes to flooding, and keeps the soil beneath your path alive with the microorganisms and insects that make a healthy garden tick. In a rainy area, a permeable path can make a real, measurable difference to how well your garden drains.
Reclaimed and recycled materials are probably the most compelling eco choice of all. Old bricks from demolished buildings, broken paving slabs that people give away for free on local community sites, timber from a felled tree — these all embody the idea of giving something a second life instead of consuming new resources. There’s another bonus too: reclaimed materials just look better. The weathering, the imperfections, the sense that these things have a history — it creates a warmth and character you simply can’t buy off a pallet at a garden center.
Common Mistakes to Avoid When Building a Garden Path
Even experienced DIYers can stumble into a few classic pitfalls when they build their first garden path. Knowing what to watch out for ahead of time means you can sidestep these problems entirely and end up with something you’re genuinely proud of. Most mistakes come down to the same things: not enough preparation, the wrong material for the situation, or not thinking through drainage and seasonal ground movement — all of which are pretty easy to avoid once you know they’re coming.
Making the path too narrow is probably the most common one. A strip that seems like it should be enough often feels cramped and awkward in practice, especially when you’re carrying garden tools or steering a wheelbarrow. When in doubt, go wider — you won’t regret it. Another thing people often skip is giving the path a very slight slope to one side, just 1 to 2 percent is enough. Without it, rainwater pools on the surface instead of running off, which makes the path slippery and accelerates wear on both the surface and the plants growing alongside it.
Leaving out edge restraints is another decision many first-timers wish they’d done differently. Without something to hold everything in, gravel drifts into your lawn and borders, and stepping stones gradually shift and tilt as the surrounding soil settles. Adding edging at the start costs a little extra in time and materials, but it saves you so much hassle down the road. And finally — always buy more material than you think you need. Running short halfway through a project is a frustratingly common experience. Calculate your requirements carefully, then add at least 10 percent on top to cover wastage, adjustments, and the inevitable moments where things don’t go quite as planned.








What do you think?
It is nice to know your opinion. Leave a comment.