










15+ Inspiring DIY Landscape Timber Edging Ideas to Transform Your Outdoor Space
Why Landscape Timber Edging Is the Ultimate DIY Garden Project
If you’re looking for a weekend project that actually makes a noticeable difference in your yard without draining your wallet, timber edging might be exactly what you’ve been searching for. It’s become a go-to for homeowners who want that polished, put-together garden look without hiring a landscaping crew. There’s something about the warmth of natural wood that concrete and metal just can’t replicate — it sits alongside plants and soil in a way that feels like it belongs there, which is probably why gardeners keep coming back to it no matter their skill level.
Beyond looking nice, timber edging actually earns its keep in practical ways. It draws a clear line between your lawn and your garden beds, which means less time on your hands and knees pulling grass that’s crept into your flower borders. It also holds mulch and soil in place so rain and foot traffic don’t scatter everything you carefully laid down. Once it’s in, it quietly does its job year after year, keeping each part of your landscape right where you want it.
What really makes this project special is how accessible it is. Landscape timbers are easy to find at any home improvement store or lumber yard, they come in all sorts of sizes and species, and there’s a price point for pretty much every budget. Whether you’ve never picked up a shovel in your life or you have a fully stocked workshop, there’s a timber edging project that fits where you are. And honestly, that moment when you step back and see those clean, crisp lines framing your garden? It makes every bit of effort worth it.
Choosing the Right Timber for Your Edging Project
Before you dig a single trench, you’ll want to spend some time thinking about what kind of timber to use — it’s one of those decisions that quietly determines how your edging looks and how long it lasts. Pressure-treated lumber is the most popular choice by a wide margin, and for good reason. It’s been infused with preservatives that fight off rot, insects, and moisture, so it holds up even in damp garden conditions. Modern pressure-treated wood uses copper-based compounds that are considered safe for home gardens, and with a layer of landscape fabric lining your beds, it’s fine even near edible plants.
If you’d rather skip the chemical treatments altogether, cedar and redwood are excellent alternatives. Both species have natural oils in their grain that repel moisture and bugs without any added preservatives, which makes them a favorite among gardeners who like to keep things more natural. Yes, they cost more than pressure-treated pine, but their longevity and good looks tend to make the extra spend feel worthwhile. Leave them unsealed and they’ll develop a handsome silver-gray patina over time, or stain them to hold onto that warm reddish-brown color.
Railroad ties and reclaimed timber are worth a look too, especially if you’re drawn to a more rugged, vintage feel. Old railroad ties are incredibly dense and heavy, so once they’re in the ground they’re not going anywhere — but do check your source carefully, since older ties can be treated with creosote, which isn’t something you want near a vegetable garden. Reclaimed barn wood, salvaged fence posts, and repurposed construction lumber are all fair game as edging material, and each one brings its own personality and history to the design.
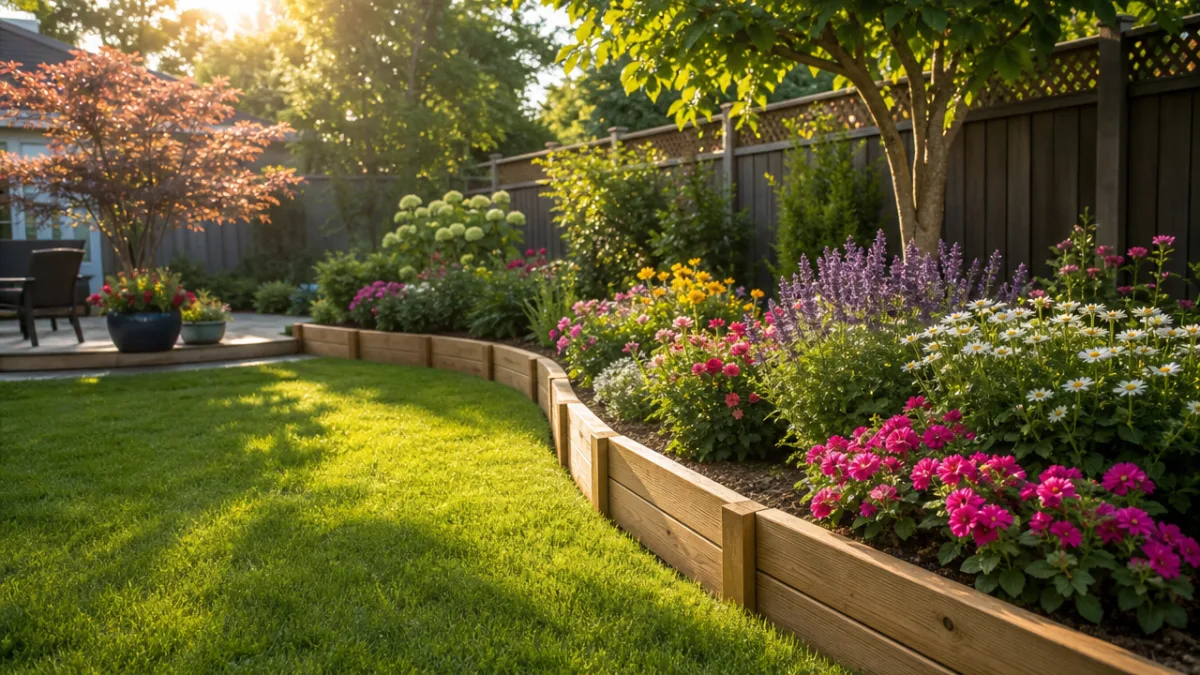
Classic Straight-Line Timber Edging: Clean and Timeless
The simplest timber edging design — setting lengths of wood in a straight line along a garden bed or path — is also one of the most effective. It’s the natural fit for formal gardens, modern landscapes, and anywhere you want clean geometry to do the visual heavy lifting. First-timers love it because the installation is straightforward: minimal tools, a manageable time commitment, and a result that makes the whole yard look like someone actually thought it through. Sometimes simple really is best.
To get started, mark your border with a string line or garden hose so you can see how the edge will look before you commit to digging. Once you’re happy with it, dig a narrow trench along that line, deep enough that roughly a third to half of each timber will sit below ground. That buried portion is what keeps everything stable through frost heave and soil pressure, so don’t skip it. Set the timber in, backfill firmly on both sides, and compact the soil so there’s no room for wobbling or shifting.
One thing beginners often overlook is how the timbers connect at corners and joints, and it really does matter. Drive galvanized landscape spikes through pre-drilled holes to pin pieces together, and on longer runs, consider pushing rebar stakes vertically through the timber down into the soil for extra hold. Galvanized hardware is important here — standard steel fasteners will rust quickly in a moist garden bed. A little extra care at this stage will keep your edging looking level and tidy for years without you having to go back and fiddle with it constantly.
Creative Timber Edging Designs for Unique Gardens
Once you’ve got straight-line installation down, things get really fun. Diagonal and chevron patterns, made by cutting timbers at angles and alternating their direction, bring a lot of energy to a border that flat, horizontal edging just can’t match. This style looks especially great along driveways and front-yard paths where you want something eye-catching from a distance. The angled cuts take a circular saw or miter saw and some careful measuring, but the payoff is a custom look that’s genuinely hard to pull off with any other material.
Stacked timber edging — where you layer two or three courses of timber to create a low retaining-wall effect — is a beautiful solution for sloped yards or anywhere you want your planting beds to have some real visual presence. Stagger the joints between layers the way you’d lay bricks, and you end up with something that’s both stronger and better looking than a single course would be. Stack them high enough and you’ve essentially got a raised bed, which gives you a lot of flexibility to blend decorative edging with functional growing space.
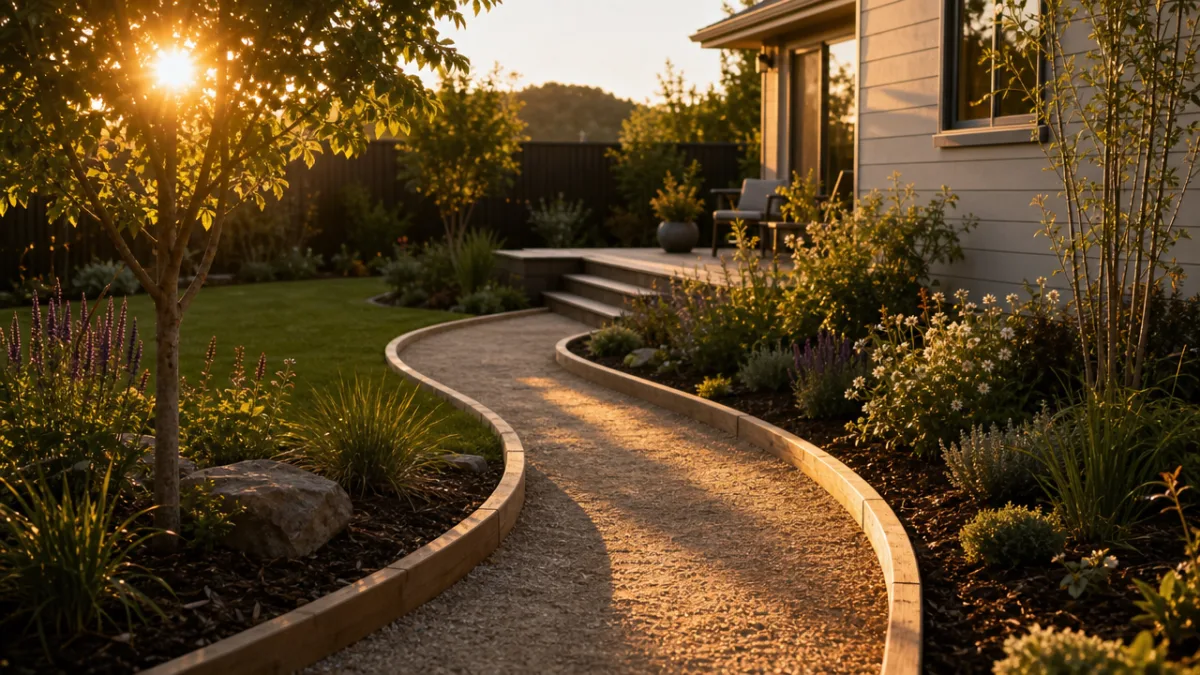
Curved beds are where timber edging gets a little more creative. Short timber segments arranged in a gentle arc work surprisingly well for most garden curves, especially when you keep each piece to about 12 inches or less. Thin, flexible timbers or split-log halves can handle more pronounced curves. Some gardeners go with vertical timber stakes of varying heights along a curved border to get a soft picket-fence effect that blurs the line between lawn and garden in a really charming way. There’s no shortage of ways to make it your own.
Here are some particularly popular creative timber edging styles worth considering for your next project:
- Herringbone-pattern short stakes arranged in a repeating angular design along bed borders
- Split-log halves installed cut-side-up to show off the natural grain and color of the wood
- Vertical pole edging using small-diameter logs set side by side in a trench to create a palisade effect
- Alternating tall and short timber stakes for a rhythmic, decorative border with real visual interest
- Timber edging combined with river rock or gravel infill for a layered, textural look
- Notched corner joints that interlock without hardware, inspired by traditional log-cabin construction
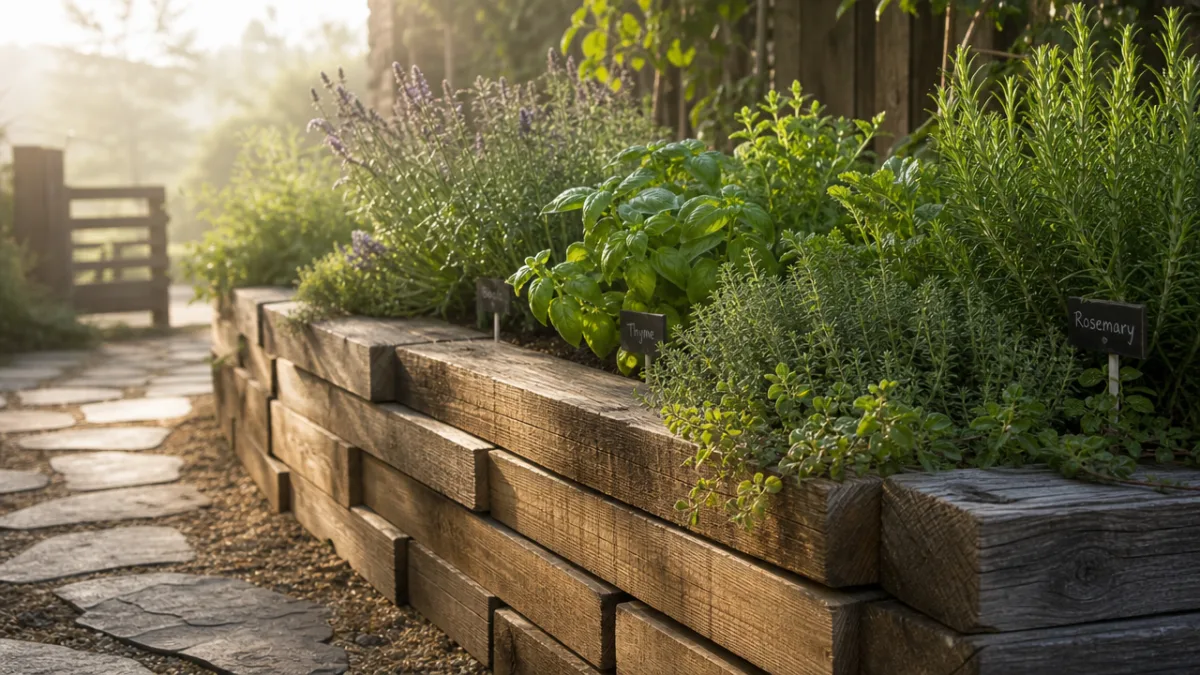
Step-by-Step Installation Guide for DIY Timber Edging
Good preparation is what separates a smooth installation from a frustrating one. Get everything together before you start digging — having to run to the hardware store mid-project is a momentum killer and tends to lead to inconsistencies in the finished product. You’ll want a spade or flat-nosed shovel, a rubber mallet, a hand saw or circular saw with a carbide blade, a drill with long bits, galvanized spikes or rebar stakes, a level, a measuring tape, and a string line or garden hose for laying out your border. And please wear gloves and safety glasses when you’re cutting treated lumber — it’s worth the extra two seconds.
Follow these steps for a clean, professional-looking installation that will last for many seasons:
- Mark your border layout with stakes and string or a garden hose, taking time to walk around and view the line from multiple angles before committing to digging.
- Excavate a trench approximately 4 to 6 inches deep along your marked line, keeping the walls as vertical as possible for a snug fit.
- Cut your timbers to the lengths needed for your design, making all cuts before beginning placement to keep the workflow moving.
- Set the first timber in the trench and use a level to check that it sits flat; add or remove soil underneath as needed until it’s right.
- Drive galvanized landscape spikes through pre-drilled holes at each end of the timber and at 4-foot intervals along its length to anchor it into the soil below.
- Butt the next timber tightly against the first and repeat the leveling and staking process, continuing along the border until the edging is complete.
- Backfill soil firmly on both sides of the installed timbers, tamping it down with your foot or a hand tamper to close any gaps.
- Apply a layer of mulch against the inside face of the edging to help with moisture and give the whole thing a finished, polished look.
Once everything is in, walk the full length of your new edging and look for any spots that are sitting too high or too low. It’s much easier to fix things now than it will be in a few weeks once the soil has settled and packed around the wood. A tap with the rubber mallet can nudge a timber down, while a little extra soil underneath can lift one that’s sitting low. It only takes a few minutes, and it’s the kind of detail that makes the difference between edging that looks good and edging that looks great.
Maintenance, Longevity, and Finishing Touches
Even well-built timber edging needs a little attention now and then to keep it looking sharp and to get the most years out of it. A quick once-over in early spring — before things really start growing — is usually all it takes. Look for timbers that have shifted, heaved from frost, or started to soften at the ends where moisture tends to collect. Catching problems early is the key; a loose timber that takes five minutes to restake now might mean replacing a whole section if you let it go too long.
Sealing or staining your edging is optional, but it’s a step worth taking if you want to get the most life out of untreated or lightly treated wood. A good penetrating exterior sealer slows down moisture absorption and the graying and cracking that comes with it. Oil-based stains in earthy tones can tie your edging into the colors of your mulch and plantings while also protecting against UV and fungal damage. Apply any finish on a dry, moderate-temperature day with a brush or roller, and plan on reapplying every two to three years or whenever the wood starts looking dry and faded.
The finishing touches are where you can really have fun and make the edging feel like a deliberate part of the garden rather than just a border. Solar landscape lights mounted on corner posts or spaced along a long run of edging look beautiful after dark and make evening walks through the garden much more enjoyable. A bold stain color — deep charcoal or warm terracotta, for instance — can create a striking contrast against green lawn and bright flowers. And planting low-growing ground covers or creeping thyme along the inner edge of the timber will soften the line over time, blending the edging into the garden in a way that feels completely natural.
At the end of the day, timber edging is one of those projects that keeps giving back long after you’ve put the tools away. Every time you look out at your garden and see those clean, defined borders, you get to enjoy something you built yourself from honest materials. Whether you went classic and simple or got creative with stacking and curves, the result is a landscape that feels intentional and personal — and that’s exactly what a good garden should feel like.








What do you think?
It is nice to know your opinion. Leave a comment.