










15 Fun DIY Backyard Games: Transform Your Outdoor Space Into a Playground
There’s something genuinely magical about walking into a backyard that’s buzzing with laughter, friendly trash talk, and the kind of memories that stick around for years. DIY backyard games have a way of bringing people together that no store-bought toy ever quite manages. And when you’ve built the thing yourself? Watching your family and friends crowd around it for hours hits differently. This guide walks you through fifteen creative, wallet-friendly games you can build with your own two hands, plus tips on materials, safety, and turning your yard into the place everyone wants to be.
Why DIY Backyard Games Are Worth the Effort
Building your own backyard games is the kind of investment that keeps paying off every time you have people over. Commercial games can run hundreds of dollars, but most DIY versions come together for a fraction of that using basic lumber, rope, paint, and a hardware store run. Beyond the savings, you get total control over size, color, and style — so whether you’re going for a rustic farmhouse vibe or something bright and bold, your games can actually match your yard instead of clashing with it.
There’s also something genuinely special about getting kids involved in the building process. When a child helps sand, paint, and put together a cornhole set or a ladder toss game, they’re picking up problem-solving skills and basic woodworking know-how — and they walk away with real pride in what they made. That sense of ownership changes how they play with it, too. A lot of parents and grandparents will tell you the building afternoon turned out to be just as fun as any game day that followed.
And here’s the thing about buying commercial games: when they break, you’re usually just throwing them out and starting over. When you built it yourself, you know exactly how it goes together, which means you can fix it, reinforce it, or upgrade it whenever you need to. Plenty of families have homemade lawn games that have been kicking around for a decade or more, getting passed down like real heirlooms. That initial time investment is absolutely worth it.
Classic Lawn Games You Can Build From Wood
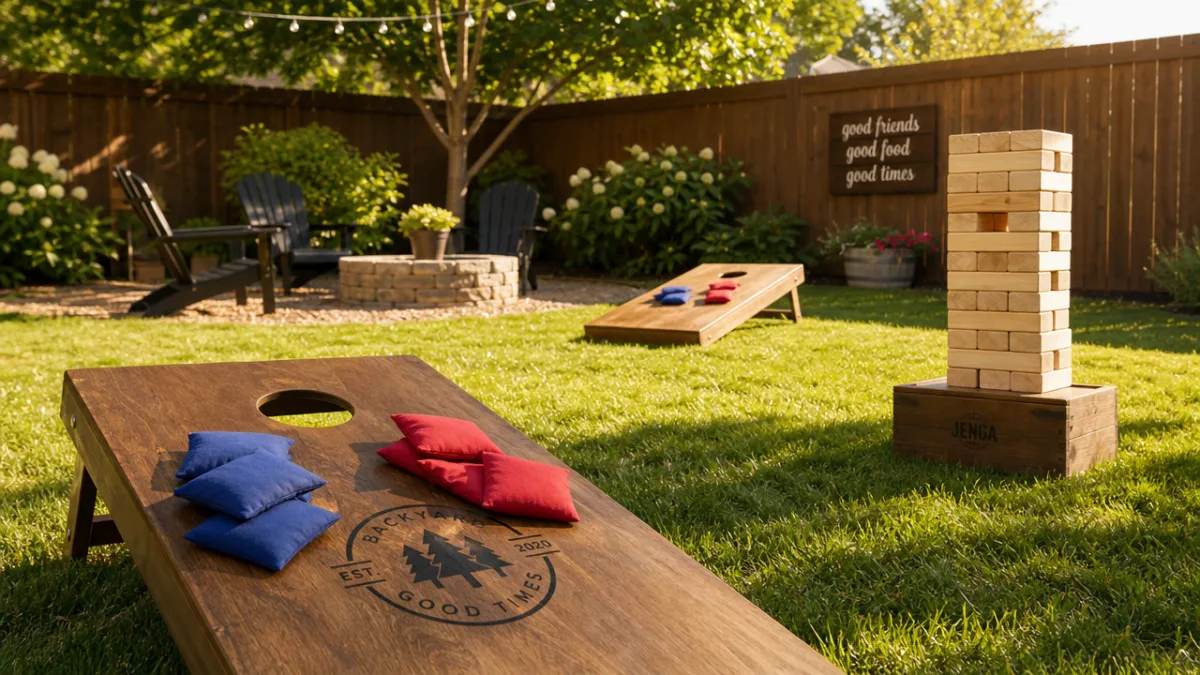
Wood is the go-to material for backyard games, and it’s easy to see why. It’s widely available, reasonably priced, easy to work with using basic tools, and when you seal or paint it properly, it holds up outdoors for years. The most popular starting point is classic cornhole — two angled plywood boards, eight bean bags, and some exterior paint. Standard boards are 24 by 48 inches with a six-inch hole near the top, and you can knock the whole project out in a single afternoon with a circular saw, a drill, and some sandpaper.
Giant Jenga is another one that looks impressive but is honestly pretty simple to build. You’ll need about 54 pieces of 2×4 lumber cut to 10.5 inches each, then sanded smooth so nobody’s picking splinters out of their fingers mid-game. Some people leave the wood natural; others stain or paint the blocks in alternating colors. A fun twist for adult gatherings is writing dare prompts or trivia questions on individual blocks — suddenly every pull becomes a little more interesting. Toss the finished set in a canvas bag or a wooden crate and you’re good to go.
Ladder toss — also called ladder golf or bolo toss — is a third great option. The classic version uses PVC pipe, but building the frame from 1×2 or 1×4 boards gives you something sturdier and a whole lot better-looking. Players toss bolas (two golf balls connected by rope) at the rungs, scoring points based on where they land. It’s a couple hours of work at most, and once you paint it in team colors or stain it to match your patio furniture, it genuinely looks like it belongs out there.
- Cornhole boards: Two 24×48-inch plywood panels, six-inch holes, bean bags filled with corn or plastic pellets, exterior paint or stain for weather protection.
- Giant Jenga: 54 pieces of 2×4 lumber at 10.5 inches each, sanded smooth, optionally stained or painted with exterior-grade products.
- Ladder toss: Wooden frame constructed from 1×4 boards, three evenly spaced rungs, bolas made from golf balls and nylon rope cut to 13 inches.
- Ring toss: A painted base board with wooden dowels of varying heights glued or screwed in place, paired with rope or rubber rings.
- Horseshoes: Traditional steel horseshoes with two metal stakes set 40 feet apart, sunk into sand-filled boxes for easy retrieval.
Water-Based Games for Summer Fun
Once temperatures really climb, water games take over as the MVP of any backyard party. One of the easiest things you can build is a DIY water balloon station — a simple tiered frame made from a wooden pallet or basic lumber that holds multiple hose attachments so a few kids can fill balloons at the same time. Add some labeled team buckets and a target painted on a fence panel, and you’ve got a full water balloon battle setup that costs almost nothing and keeps everyone cool for hours.
A DIY slip-and-slide is another one that’s way easier to pull off than most people expect. Grab a roll of heavy-duty plastic sheeting from the hardware store, anchor the edges with tent stakes or sandbags, and run a garden hose at the top to keep things flowing. A thin layer of dish soap makes it extra slippery, and an inflatable splash pool at the bottom gives sliders a soft landing. Aim for six to eight feet wide and twenty to thirty feet long, and you’ve got something that works for kids and brave adults alike.
For something a little more low-key, try a DIY water ring toss or floating duck pond using a large plastic storage bin, small rubber ducks, and rings cut from pool noodles. It’s perfect for younger kids who maybe aren’t ready for a full water balloon war — keeps them engaged and cool without the chaos. Paint the bin in bright colors, number the ducks with a waterproof marker to assign point values, and mount a small chalkboard scoreboard on a nearby fence. Simple, cheap, and genuinely delightful.
Competitive Games That Double as Yard Decor
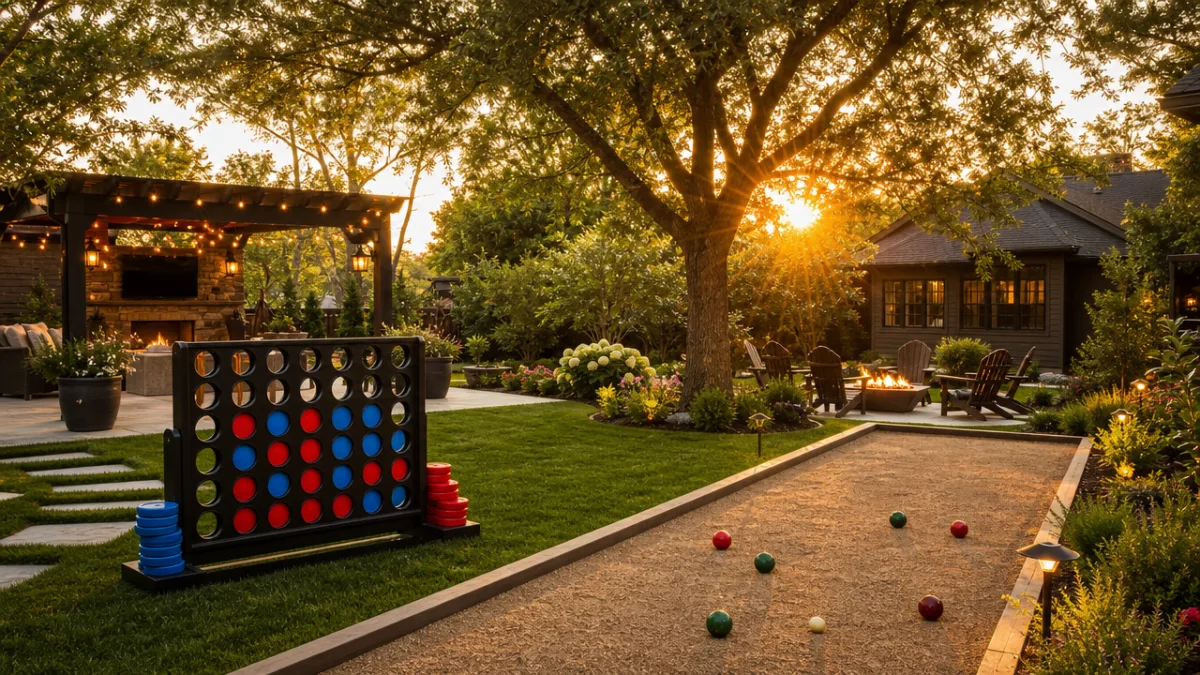
One of the best trends in DIY backyard gaming right now is building games that are attractive enough to just leave out as part of your yard’s look. Giant Connect Four is a perfect example. Made from PVC pipes arranged in a grid and mounted on a sturdy wooden base, it can stand four to five feet tall and immediately becomes a conversation starter. The discs are usually cut from foam board or thin plywood in bright colors, and even when no one’s playing, it looks like a bold, fun piece of yard art.
Bocce ball is another one that fits beautifully into a landscaped outdoor space. The balls are usually bought rather than made, but you can build a gorgeous dedicated court using landscaping timbers as borders with a leveled surface of crushed oyster shell, sand, or decomposed granite. A proper bocce court — roughly eight by sixty feet — actually adds real property value and gives you a fair, consistent playing surface that makes the game more fun at every skill level. A lot of homeowners find it becomes the most-used spot in the whole backyard, all season long.
Kubb, the Scandinavian lawn game sometimes called Viking chess, is having a well-deserved moment as a DIY project. The set includes ten kubbs (small rectangular blocks), one taller king piece, and six throwing batons — all of which can be cut from a single four-by-four beam of cedar, oak, or birch using a miter saw, then sanded smooth and finished with outdoor wood oil. The result looks like something you’d find at a boutique outdoor shop, and it fits just as naturally in a modern minimalist yard as it does in a rustic garden setting. The game itself is surprisingly strategic and genuinely hard to put down.
- Choose a game whose visual style complements your existing yard furniture and landscaping palette.
- Use exterior-grade materials, including weather-resistant paint, marine varnish, or teak oil, to ensure the game remains attractive outdoors year-round.
- Add a dedicated storage bench or cabinet near the play area to keep pieces organized and protected when not in active use.
- Consider sizing — oversized versions of classic games create the most dramatic visual impact and work best in larger yards with generous open lawn space.
- Incorporate your home’s color palette into the game’s paint scheme so it feels like a considered design element rather than an afterthought.
Games for Kids of All Ages: Safe, Creative, and Irresistible
When you’re designing games with kids in mind, you want to think about safety, scale, and the kind of movement that actually keeps them engaged. A DIY outdoor bowling set is one of the best starting points for families with young children. Ten plastic bottles or wooden pins painted in bright colors, a lightweight rubber ball, and a flat patch of grass — that’s genuinely all you need. Want something a bit more polished? Turn wooden posts from a craft store into proper pins, paint them in team colors, and build a simple rack to store them. It teaches hand-eye coordination, sneaks in some basic math through scorekeeping, and you can dial the difficulty up or down just by swapping the ball size or adjusting pin spacing.
A DIY obstacle course might be the most versatile backyard project you’ll ever take on. Start simple: a crawl tunnel from flexible drainage pipe, a balance beam from a 4×4 post on the ground, stepping stones cut from painted plywood circles, and a finish-line arch from PVC conduit. That’s your foundation. From there, you can keep adding elements over time as the kids grow and push for new challenges. They’ll race each other, race the clock, and then rearrange everything to invent something new — and the course can genuinely grow with them for years.
Backyard mini golf is probably the most ambitious project on this whole list, but it’s also the one most likely to become a permanent fixture everyone loves. Even a simple nine-hole setup using PVC pipe holes, painted plywood obstacles, and AstroTurf runners can rival a commercial mini golf course. Give each hole a personality — a little windmill made from dowels and craft foam, a tunnel through a painted cardboard mountain, a ramp from angled plywood. Once it’s built, it works for literally everyone: little kids, teenagers, grandparents, first-time visitors. It might just be the single best backyard investment you make.
Tips for Building, Maintaining, and Hosting Backyard Game Days
Even the best DIY games won’t live up to their potential if they’re slapped together or left to fall apart. Before you start cutting anything, take time to actually read through your plans, measure your space, and get every single material in hand before you begin. Nothing kills momentum like stopping halfway through because you’re missing a bolt or cut a board the wrong length. Make a checklist — every component, every tool. At minimum you’ll want a circular saw or handsaw, a cordless drill, a tape measure, sandpaper in a few different grits, and outdoor-rated fasteners like galvanized or stainless steel screws.
Maintenance isn’t glamorous, but it’s what separates a game that lasts a decade from one that falls apart after two summers. Check wood pieces once a year for cracking, warping, or rot, and swap out damaged boards before they become a safety issue. Painted surfaces will need a fresh coat every two to three years, especially if you live somewhere with brutal winters or intense summer sun. Storing games in a shed or garage during the off-season makes a huge difference, and if something has to stay outside year-round, a breathable canvas cover beats an impermeable tarp every time — the latter traps moisture and invites mold. A little annual upkeep goes a long way.
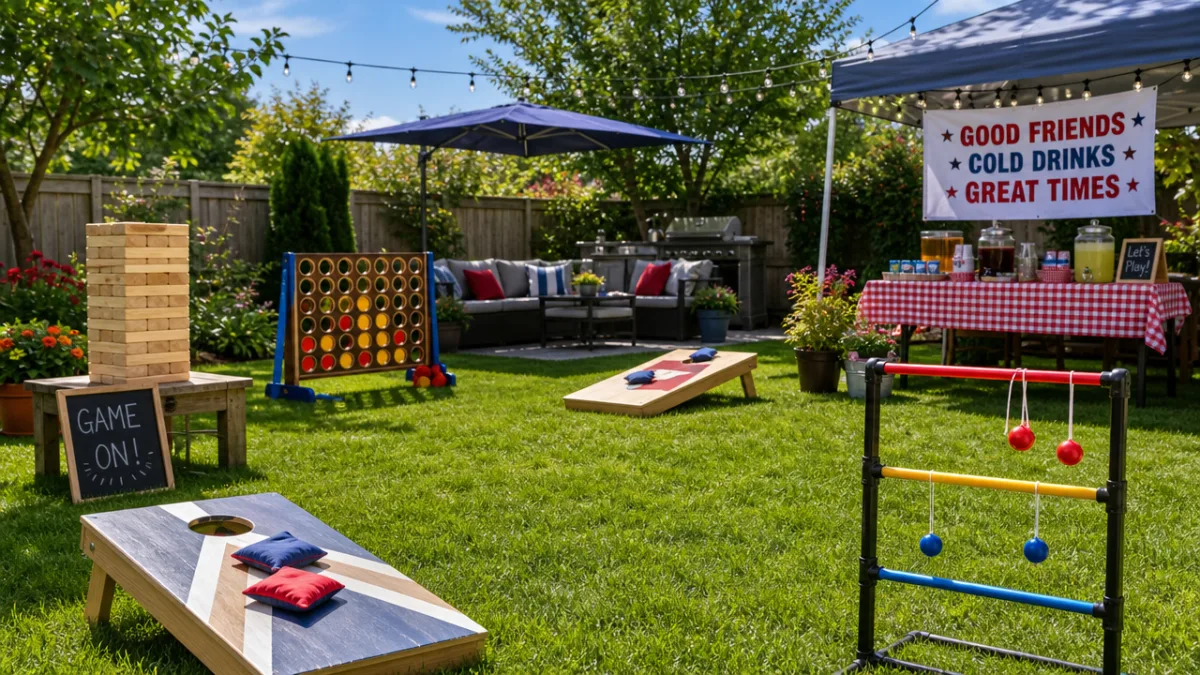
Once you’ve got a collection of games worth showing off, throw a dedicated backyard game day and make it a proper event. Set up each game with enough room around it so players aren’t bumping into each other, and put out simple laminated instruction cards for anything guests might not know. A friendly round-robin tournament with a bracket on a chalkboard is a great way to mix people up and spark new conversations. Make sure there’s plenty of shade — umbrellas, a canopy, or a pergola all work — keep cold drinks within reach, mow the grass beforehand, and do a quick walk-through for hazards like rocks, roots, or sprinkler heads. When the space feels safe and welcoming, people remember it.
- Always sand all wood surfaces thoroughly to eliminate splinters, then seal with at least two coats of exterior-grade paint or varnish before first use.
- Use galvanized or stainless steel hardware throughout to prevent rust staining on wood surfaces and deterioration of joints over time.
- Mark game boundaries with chalk lines, rope, or landscape flags rather than permanent markers so you can reconfigure your yard layout for different occasions.
- Keep a small repair kit — spare screws, sandpaper, a small bottle of wood glue, and touch-up paint — in your outdoor storage area for quick fixes between uses.
- Photograph each completed game from multiple angles and keep a simple record of materials and measurements so you can recreate or replicate any game as a gift for friends and family.
At the end of the day, the best thing about building and maintaining DIY backyard games isn’t the games — it’s what they do to a space. A yard full of thoughtfully built, well-kept games tells every guest something: you’re welcome here, laughter is encouraged, and we actually want to spend time together. Whether you build one game this weekend or add a new project every season, each one is really just an investment in the people and the moments that make everything worthwhile. Grab your drill, head to the hardware store, and go build something great.








What do you think?
It is nice to know your opinion. Leave a comment.