










Easy Crochet Baby Romper Pattern: A Complete Guide for Beginners
Introduction to Crochet Baby Rompers
There’s something really special about crocheting a baby romper. You’re creating this tiny, wearable little thing that an actual newborn is going to live in during those early months — and that feeling never gets old. Baby rompers (you might also hear them called overalls or onesies) are a staple of infant fashion for good reason: they’re practical, undeniably cute, and when you make one yourself, completely one-of-a-kind. No store-bought garment can compete with something made by hand.
Baby rompers have become a favorite among beginners and intermediate crocheters alike, and honestly, it makes sense why. Modern patterns are designed to be approachable, and unlike larger adult garments with all their complex shaping and seaming, a romper is compact enough to finish in just a few sittings. Less yarn, less time, and if something goes wrong, it’s much easier to catch and fix before it turns into a real problem. If you’ve been wanting to try garment crochet but didn’t know where to start, this is genuinely one of the best entry points there is.
And if you’re making one as a gift? Even better. Baby showers, birth celebrations, family get-togethers — a handmade romper is the kind of present that stands out. It shows thought and care in a way a gift card just can’t. More than that, these little garments often get photographed, saved, and tucked away long after the baby has outgrown them. The sentimental value alone makes them worth every stitch.
Materials and Tools You Will Need
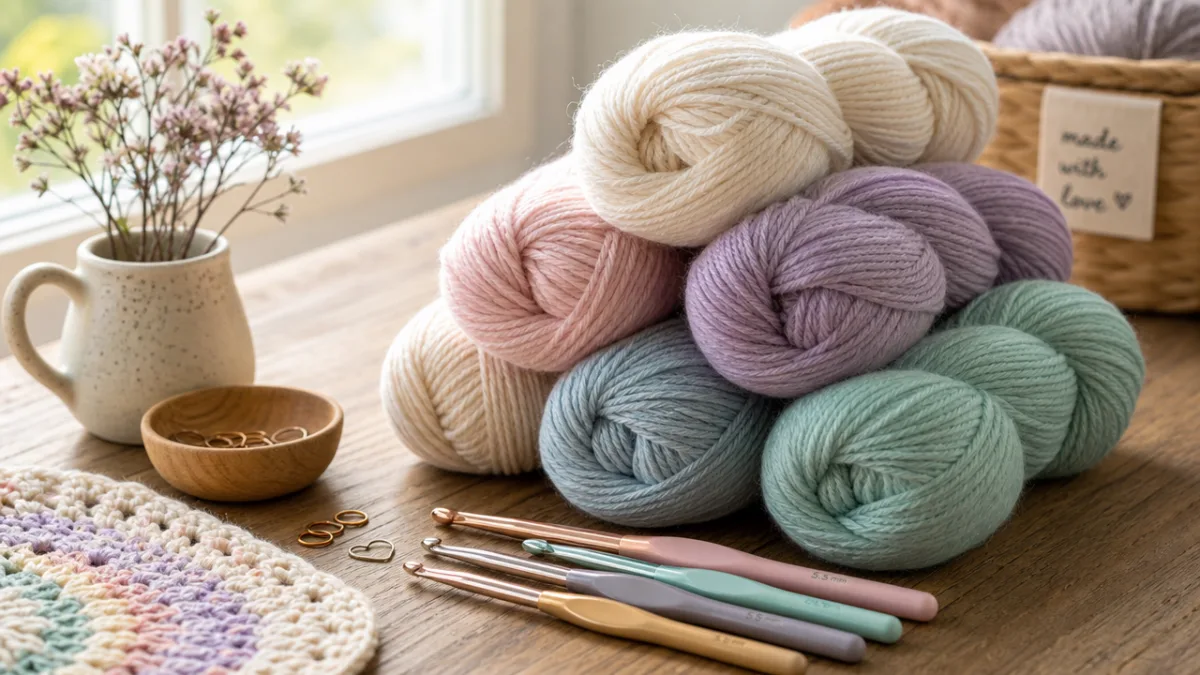
Before you cast your first stitch, it’s worth taking a little time to pull everything together. For a baby romper, yarn choice really is the most important decision you’ll make. Since this garment is going directly against a newborn’s skin, you want something soft, hypoallergenic, and easy to wash. Cotton is a go-to for a lot of baby garment makers — it’s breathable, washable, and gentle on sensitive skin. If you prefer acrylic, look for something labeled soft or baby-grade; those tend to hold up really well through repeated washing too.
Yarn weight matters more than people sometimes realize. Most baby romper patterns are written for DK or worsted weight, which hits a nice balance between warmth and flexibility. Go lighter and you’ll get a more delicate, open feel; go heavier and you’ll end up with something denser and cozier. Either can be lovely, but you’ll want to match what the pattern actually calls for — using the wrong weight is one of the quickest ways to end up with a romper that’s the wrong size entirely.
Beyond yarn, here’s what you’ll want to have on hand before you get started:
- A crochet hook in the size your pattern recommends — for baby garments, that’s usually somewhere between 3.5mm and 5mm
- A yarn needle for weaving in ends and seaming pieces together
- Stitch markers to track your rounds and pattern repeats
- Scissors for clean yarn cuts between sections
- A measuring tape to check your gauge and sizing as you go
- Buttons or snaps for closures at the crotch or shoulder straps
- A sewing needle and thread if you’re attaching button closures by hand
Getting all of this together before you sit down to crochet makes the whole process so much smoother. Running out of something mid-project is frustrating, and it’s the kind of thing that breaks your momentum at exactly the wrong moment. A little prep goes a long way — and honestly, it’s just a good habit to build no matter what you’re making.
Understanding the Pattern and Sizing
Before you pick up your hook, do yourself a favor and read through the entire pattern first. It can feel like a waste of time when you’re eager to dive in, but it really isn’t. A first read-through lets you get familiar with the construction method, flag any techniques you might need to brush up on, and understand how all the pieces will eventually fit together. Even beginner-friendly patterns have little details that are easy to miss the first time, and catching them early saves a lot of confusion later.
Most baby romper patterns cover a range of sizes to keep up with how fast infants grow. You’ll typically see options for newborn (usually up to around eight pounds), then one to three months, three to six months, six to nine months, and nine to twelve months. Each size has its own measurements for the chest, length, and leg openings. One piece of advice you’ll hear from experienced garment makers all the time: size up. Babies grow so quickly that something that fits perfectly at birth can feel snug within a matter of weeks.
Gauge is one of those concepts that trips up a lot of beginners, but it’s worth understanding before you start any garment project. Simply put, gauge is the number of stitches and rows you get per inch with your specific yarn and hook combination. Every pattern gives you a target gauge, and if yours doesn’t match, your finished romper won’t come out the right size. To check it, work a small swatch using the pattern stitch, measure it, and compare. If things are off, try a larger or smaller hook until your swatch lines up. Skipping this step is probably the single most common reason crochet garments come out the wrong size, so it’s worth the extra few minutes.
You’ll also want to pay attention to how the pattern is constructed — whether the pieces are worked separately and seamed, or built seamlessly in one continuous piece. Seamless construction tends to be preferred for baby garments because it means no bulky ridge seams pressing against a baby’s skin. Knowing the construction method from the start helps you follow along with confidence and makes the whole process feel logical rather than overwhelming.
Step-by-Step Construction Process
Most beginner-friendly rompers start either at the top of the bodice or at the bottom of the leg openings, depending on how the pattern is designed. Top-down construction is really popular because you can hold the piece up against a size reference as you work, which makes it easy to adjust the body length or strap length on the fly. Working from the top, you’ll usually start with the shoulder straps, then build out the front and back panels of the bodice — either at the same time or separately — before joining them at the sides.
The body of the romper is generally the largest section, and in many ways the most relaxing part to work through. Once the bodice pieces are joined, you work your way downward in rows or rounds depending on whether the pattern is flat or circular. This is where the stitch texture really starts to show, and a lot of baby romper patterns use simple, satisfying stitches like half double crochet, moss stitch, or a basic ribbing to add some visual interest without making things complicated for newer crocheters.
Shaping the crotch and leg openings comes next, and this is usually the part where beginners slow down a little — and that’s completely fine. It involves working increases and decreases to shape the fabric at the bottom of the garment, and it’s worth following the pattern closely here. When done well, the leg openings should look smooth and rounded without any gaps or puckering. A lot of patterns finish them off with a simple single crochet border or a decorative edging to give everything a clean, polished look.
Then comes finishing — honestly one of the most satisfying parts of the whole project. Here’s what that typically involves:
- Weave in all your loose yarn ends using a yarn needle, tucking them into the fabric so they’re hidden from the outside.
- Block the finished garment by lightly misting it with water and pinning it into shape on a blocking mat, then letting it dry completely — this gives it a noticeably more professional look.
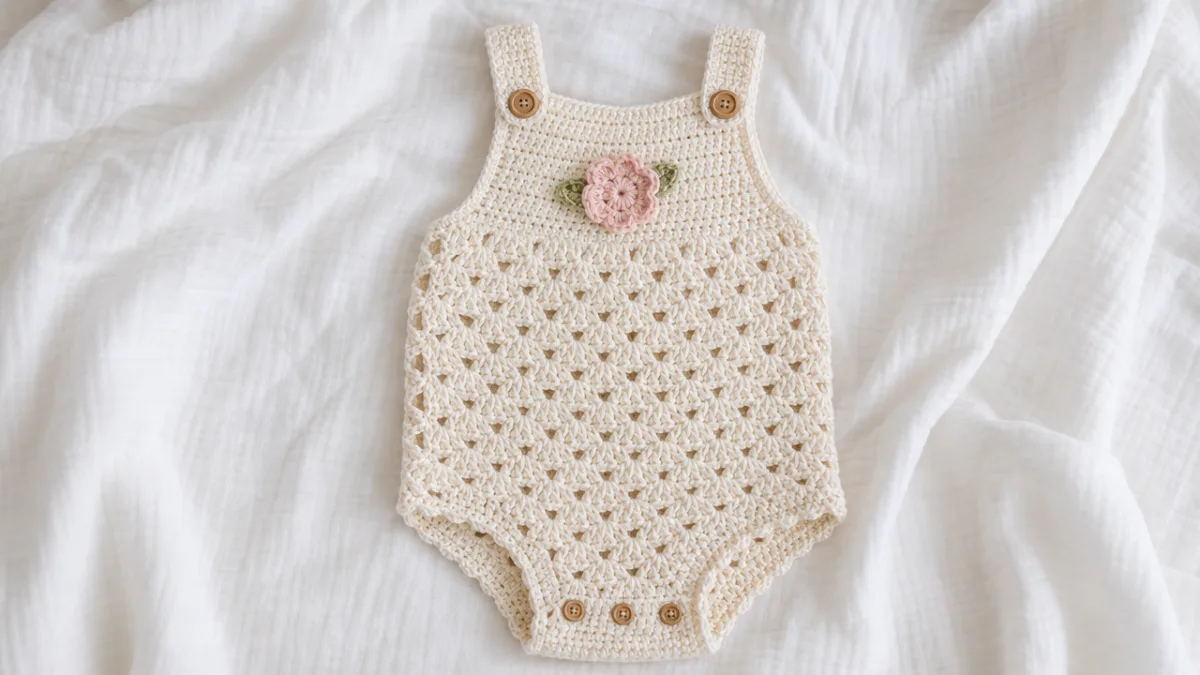
- Attach buttons or snaps at the crotch opening, securing them firmly with a sewing needle and thread or yarn so they won’t work loose during wear or washing.
- Add any decorative touches the pattern calls for, like bows, appliqués, or a contrasting color border.
- Go over all your seams and join points one more time to make sure everything feels secure before you call it done.
Tips for Beginner Crocheters
If this is your first time making a garment, the most important thing you can do is be patient with yourself. Garment crochet introduces concepts like gauge, shaping, and assembly that take a little time to really click. When something goes wrong — and at some point, something will — it’s not a setback, it’s just part of learning. The good news is that a baby romper is small, which means mistakes are usually catchable early and don’t require unraveling a huge amount of work. Focus on enjoying the process, not just crossing the finish line.
Tension is one of the most common challenges for newer crocheters and it really does make a difference in how a garment looks and fits. Too tight, and the fabric becomes stiff and may not stretch enough to go over a baby’s head. Too loose, and it goes floppy with visible gaps between stitches. Working some practice swatches before you start the romper is a great way to find your natural rhythm. Consistent tension becomes second nature eventually, but in the beginning it genuinely helps to pay conscious attention to it.
Pick a pattern that honestly matches where you are right now. Beginner-friendly patterns should stick mostly to the basics — chain, single crochet, half double crochet, double crochet — and give you clear written instructions rather than relying heavily on abbreviations or symbol charts. Before committing to a pattern, it’s worth reading through a few reviews or watching a video tutorial for it. That gives you a real sense of the difficulty level before you’re already three rows in and confused.
One thing a lot of crocheters don’t expect is how much a community can help. Whether it’s an online forum, a social media group, or a local crochet circle, connecting with other makers is genuinely valuable. Chances are, whatever confusing instruction or unexpected result you’re dealing with, someone else has hit the exact same wall and found a way through it. The crochet community has a well-earned reputation for being welcoming and generous with help, and leaning on that collective knowledge is one of the best things a beginner can do.
Caring for Your Finished Crochet Romper
Once you’ve put all that work into a romper, you want it to last. How you care for it depends mostly on what yarn you used. Cotton and cotton-blend yarns are usually machine washable on a gentle cycle with cold water, which makes them a practical pick for baby clothes that are going to deal with a lot of spills and frequent washing. That said, always check the yarn label first — manufacturer recommendations vary and it’s better to know before the first wash than after.
Drying is just as important as washing when it comes to keeping the shape intact. Most handmade crochet pieces are better off air drying flat rather than going in the dryer, since heat and tumbling can cause shrinkage and distortion over time. Lay the damp romper flat on a clean towel or drying rack, gently reshape it by hand to match its original dimensions, and let it dry completely before wearing or storing. It’s a small extra step, but it makes a real difference in how long the garment holds up.
If you’re tucking the romper away between uses or keeping it as a keepsake, storage matters too. Clean, dry garments stored in breathable cotton bags or wrapped in acid-free tissue paper hold up much better than items left in plastic bags or cardboard boxes. If you’re in an area where moths are a concern, cedar blocks or lavender sachets are a simple, natural way to protect your work. A little care in how you store it goes a long way toward keeping it beautiful.
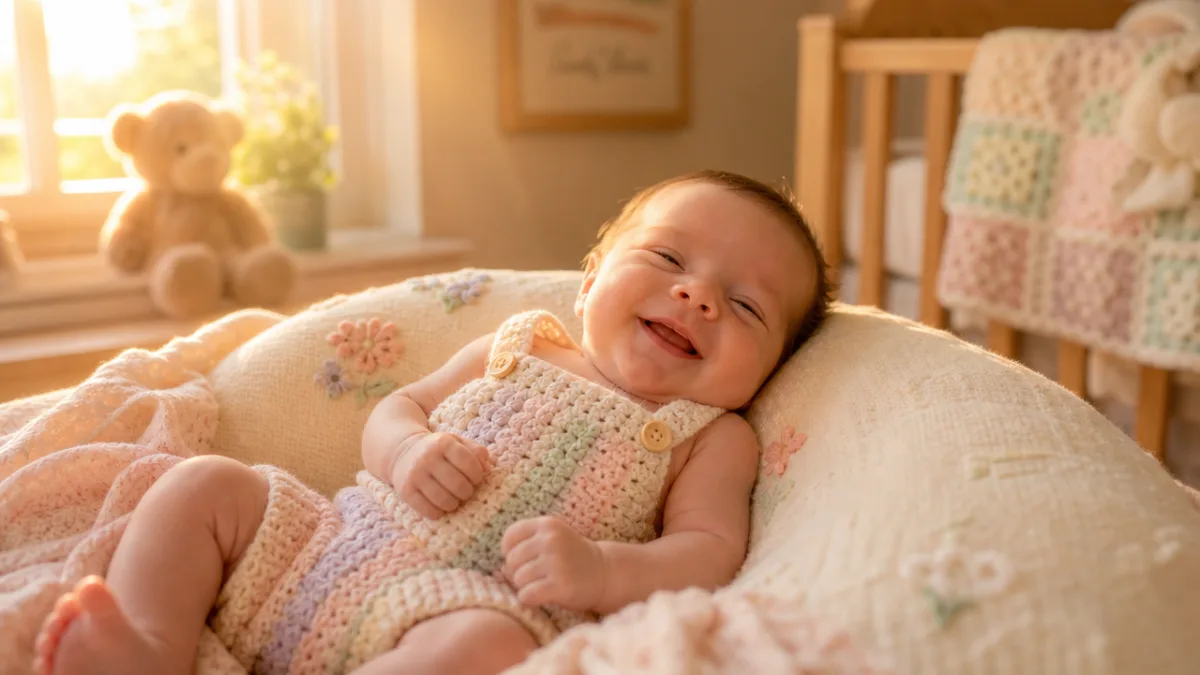
It’s also worth thinking about the longer life of something handmade. A lot of families photograph their handmade items and write down who made it, when, and why — and that simple act turns a practical little garment into a piece of family history. Whether the romper gets worn, handed down to a younger sibling, or saved as a keepsake from a particular season of life, the care that went into making it gives it a value that goes well beyond the yarn it’s made from.
Why Handmade Baby Garments Matter
In a world where almost everything is mass-produced, choosing to make something by hand is a genuinely intentional act. Every stitch in a crochet baby romper is a small moment of focused attention directed toward a specific child. That’s a completely different thing from factory-made clothing, where there’s no individual thought given to who’s going to wear it. Handmade garments carry a story and a connection that you simply can’t buy, regardless of what you spend.
There’s also a growing awareness of the real environmental and ethical costs of fast fashion, and handmade items made from natural or responsibly sourced yarns are a meaningful alternative. A well-made romper that’s sized a little generously, cared for properly, and passed along to younger siblings or donated to other families can end up serving multiple children over several years. That’s a pretty different outcome from a cheap garment that gets tossed after a few uses.
And beyond the garment itself, learning to crochet baby clothes opens a door to something bigger — a whole world of handcraft skills that have been passed down through generations. Making something functional and beautiful with your own hands connects you to a long tradition of making that’s as old as people themselves. Whether you’re picking up a hook for the very first time or adding garment-making to a skill set you’ve been building for years, finishing a crochet baby romper is genuinely worth celebrating. It’s proof that with a little patience, some practice, and a good pattern, you can create something extraordinary from nothing more than a length of yarn and a simple hook.








What do you think?
It is nice to know your opinion. Leave a comment.