










Why Your Bee Balm Isn’t Thriving (Most People Do This)
Understanding Bee Balm and What It Actually Needs
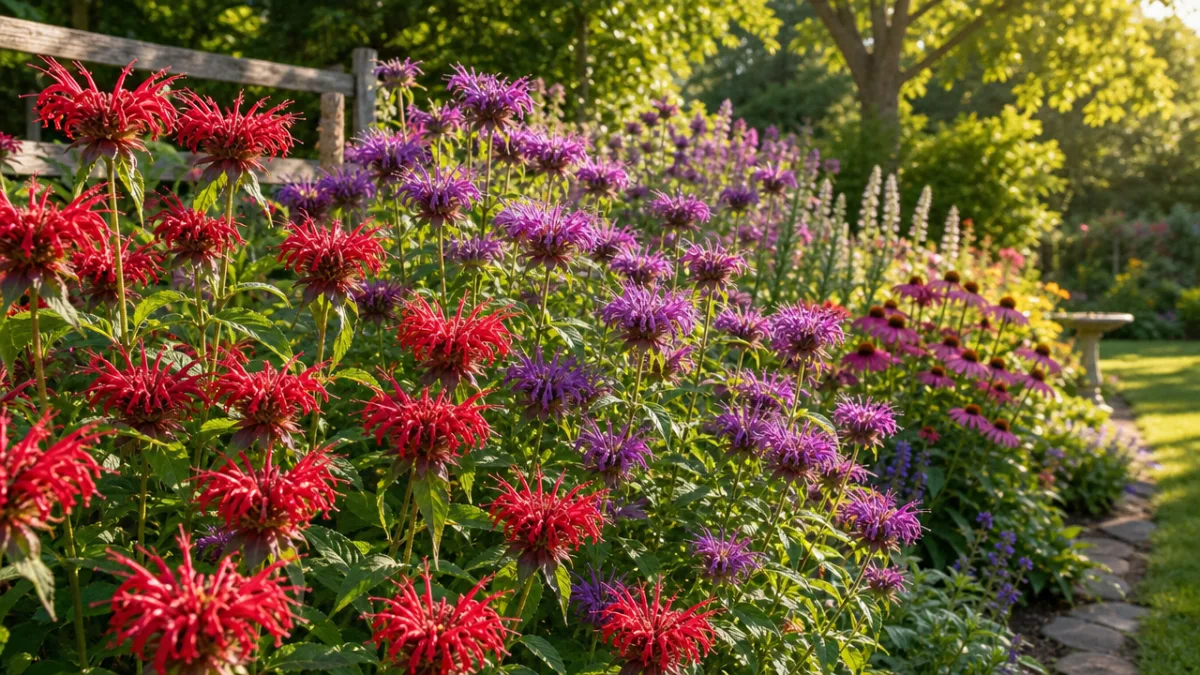
Bee balm — or Monarda, if you want to get botanical about it — is genuinely one of the most satisfying perennials you can grow. Those bold red, pink, purple, and white blooms pull in hummingbirds, butterflies, and bees like nothing else, and the foliage has this wonderful oregano-like smell that hits you every time you brush past it. It’s a North American native with a well-earned reputation for toughness, and in the right spot it really does earn that reputation. The catch? Most gardeners accidentally set it up to fail right from the start.
It helps to think about where bee balm actually grows in the wild. You’ll find Monarda along woodland edges, meadow borders, and stream banks — spots that get decent sun for at least part of the day, where the soil drains well but doesn’t go bone dry, and where there’s always a bit of a breeze moving through. That natural habitat tells you almost everything you need to know about what the plant wants from you. Even roughly mimicking those conditions makes a remarkable difference in how healthy and vigorous your plants turn out to be.
A lot of gardeners treat bee balm like an afterthought — something to tuck into whatever gap is left in the border and forget about. And while it does forgive a lot, it’s surprisingly picky about a few key things. Get those wrong, and the plant will survive without ever really taking off. It gets leggy, blooms sparsely, and almost inevitably ends up with that chalky white coating on the leaves by midsummer. Knowing what bee balm actually needs is the first step to turning things around.
The Number One Mistake: Poor Air Circulation
If one single mistake is responsible for most unhappy bee balm plants, it’s overcrowding. Bee balm spreads through underground rhizomes and can easily double or triple in diameter within a few growing seasons. Most people plant it, enjoy it for a year or two, and then leave it completely alone — until the center of the clump has become so dense and tangled that air can barely move through it at all. That stagnant, humid pocket at the base of the plant is basically a perfect home for powdery mildew spores, which are floating around in just about every garden environment anyway, just waiting for the right conditions.
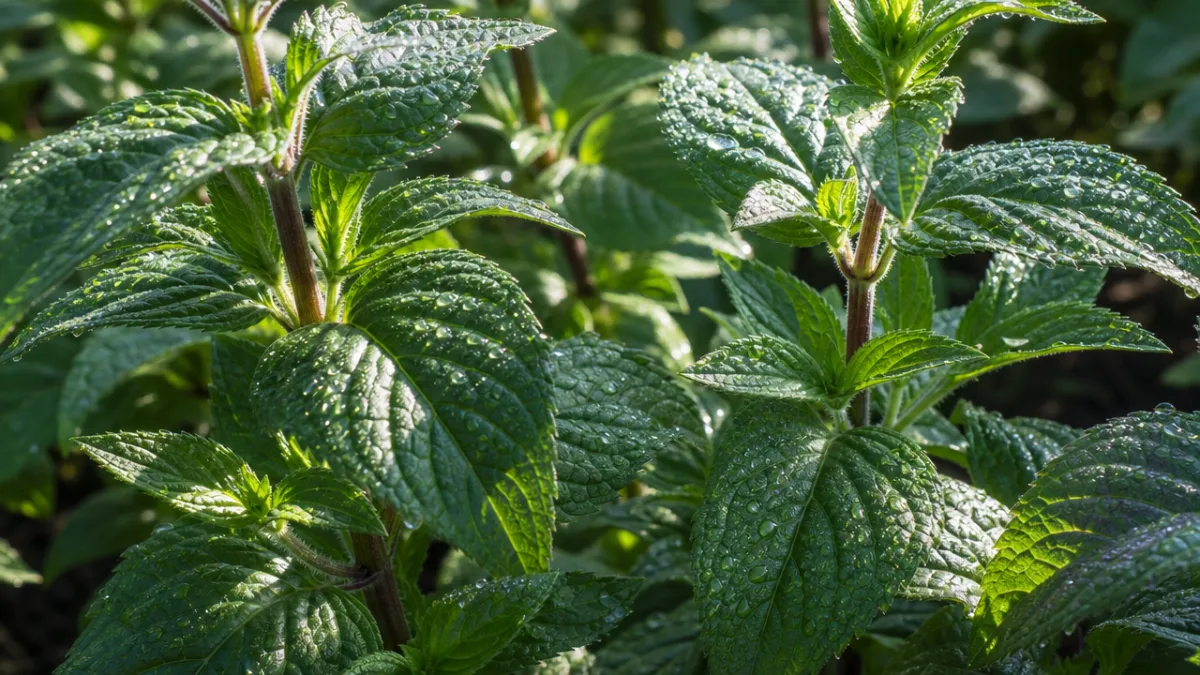
Powdery mildew is that grayish-white fuzz you’ve probably noticed coating bee balm leaves by midsummer. It’s a fungal disease that won’t usually kill the plant outright, but it weakens it considerably, cuts down on flowering, looks awful, and can spread to other susceptible plants nearby. By the time you see it, it’s already well established — and the spores will overwinter in the soil and old plant debris, ready to come right back next year. A lot of gardeners blame their variety or their climate, but in most cases the real problem is simply a crowded planting that traps warmth and moisture right where you don’t want it.
The fix is simple, but you have to actually commit to it: divide your bee balm every two to three years, no exceptions. In early spring, right as new growth is just starting to poke up, dig up the whole clump and break it into smaller sections with a sharp spade or garden fork. Replant only the healthy outer pieces — those are the most vigorous — and compost the old, woody center. When you put the divisions back in, space them at least 18 to 24 inches apart. That might feel weirdly generous when the plants are small, but that breathing room is exactly what keeps bee balm healthy through the whole growing season.
Watering Errors That Slowly Weaken Your Plant
Bee balm sits in an awkward middle ground when it comes to water. It likes consistent moisture and handles drought pretty poorly — a thirsty bee balm will droop dramatically to let you know, and repeated dry spells lead to fewer blooms, early dormancy, and plants that are much more vulnerable to pests and disease. But waterlogged soil is just as bad, encouraging root rot and keeping foliage wet in ways that invite fungal problems. Getting this balance right is honestly one of the trickier parts of growing bee balm well.
One of the most common watering mistakes is using an overhead sprinkler. When water lands directly on the foliage — especially in the dense inner canopy of a mature clump — it just sits there and creates exactly the humid, wet conditions that powdery mildew thrives in. Switching to drip irrigation or soaker hoses, which water the root zone without touching the leaves at all, can make a noticeable difference in plant health before you change anything else. It’s a small adjustment that has saved a lot of struggling plantings.
Timing matters too. Morning watering is always the better choice because any foliage that does get splashed has the whole day to dry out before the cooler, more humid evening rolls in. Deep, infrequent watering also beats shallow daily watering — it pushes roots deeper into the soil and makes plants far more resilient when things dry out. A good rule of thumb: water thoroughly when the top inch of soil feels dry, then let it partially dry again before the next watering, rather than sticking to a rigid schedule regardless of what’s actually happening in the ground.
Sunlight and Soil Problems You Might Be Overlooking
You’ll often see bee balm described as tolerating partial shade, and that’s technically accurate — it can get by on as little as four hours of direct sun a day. But there’s a real difference between getting by and actually thriving, and too much shade is one of the most common reasons gardeners are disappointed with their bee balm. Shaded plants bloom less, grow floppier, need more staking, and are significantly more prone to powdery mildew because shaded areas just don’t dry out as fast after rain or morning dew.
For the best results, aim for at least six hours of direct sun, with morning sun being especially valuable. Morning light dries the dew off the leaves quickly and gets the plant going at the best time of day. In hotter climates — USDA zones 7 and up — some light afternoon shade is actually fine and can prevent heat stress and faster moisture loss from the soil. If your bee balm is struggling and the light isn’t quite right, fixing that is often the single most impactful change you can make.
Soil is another thing a lot of gardeners overlook. Bee balm does best in moderately fertile, well-draining soil with a pH somewhere between 6.0 and 7.0. Heavy clay holds too much water around the roots and stays cold and wet well into spring, which slows everything down. Very sandy soil goes the other direction, drying out too fast and leaving the plant short on the consistent moisture it needs. Mixing in a generous amount of compost when you plant — and topdressing established clumps with compost each spring — works well in both situations, improving drainage in clay and water retention in sand.
Fertilizing and Pruning: Getting the Balance Right
Bee balm doesn’t need much fertilizer, and overfeeding it is actually a more common problem than underfeeding. Too much nitrogen — from heavy synthetic fertilizer applications or very rich soil — pushes the plant toward lush, soft, dark green leaves at the expense of flowers. That soft growth also happens to be irresistible to powdery mildew and aphids, so overfertilizing tends to create a cascade of problems. If your bee balm looks big and leafy but the flowers are underwhelming, excess nitrogen is a strong suspect.
A light application of a balanced slow-release granular fertilizer in early spring is usually all it needs. Many experienced gardeners skip the fertilizer entirely and just top-dress with compost each spring instead, since compost delivers a slow, steady trickle of nutrients without pushing that overly lush growth that synthetic fertilizers can cause. If your soil is genuinely poor and the plants look pale and stunted, one dose of something like 10-10-10 in spring will help — just don’t feel the urge to keep reapplying through the season.
Pruning and deadheading are tools a lot of bee balm growers don’t use nearly enough. Cutting off spent blooms promptly encourages the plant to push out a second flush of flowers later in the season rather than putting all its energy into making seeds. And if powdery mildew is getting out of hand in midsummer, cutting the whole plant back by a third to a half will remove the worst-affected foliage, open things up for better airflow, and often trigger a fresh wave of healthy new growth that carries the plant through to fall looking far better than if you’d just left it alone.
Choosing the Right Varieties and Long-Term Success Strategies
Modern bee balm breeding has come a long way, and there are now varieties with genuinely impressive resistance to powdery mildew. If you’ve been struggling with the disease, choosing one of these cultivars is probably the most effective preventive step you can take. Varieties like ‘Raspberry Wine,’ ‘Jacob Cline,’ ‘Violet Queen,’ and the whole Bee-You series were specifically selected for mildew resistance and hold up well across a wide range of garden conditions. If you’re currently growing an older or unnamed variety that looks like a mess by July every year, swapping it out for a resistant cultivar can honestly feel like a transformation.
Long-term success also means thinking ahead about bee balm’s spreading habit. Left to its own devices, one plant can take over a surprisingly large patch within five to seven years, crowding out everything around it and getting so dense at the center that it starts declining from its own competition. Putting a reminder on your calendar to divide clumps every two to three years is the single most important maintenance task in the bee balm calendar. In smaller gardens where space is tight, some people install physical root barriers around their plantings to keep the lateral spread in check, which works well as a practical solution.
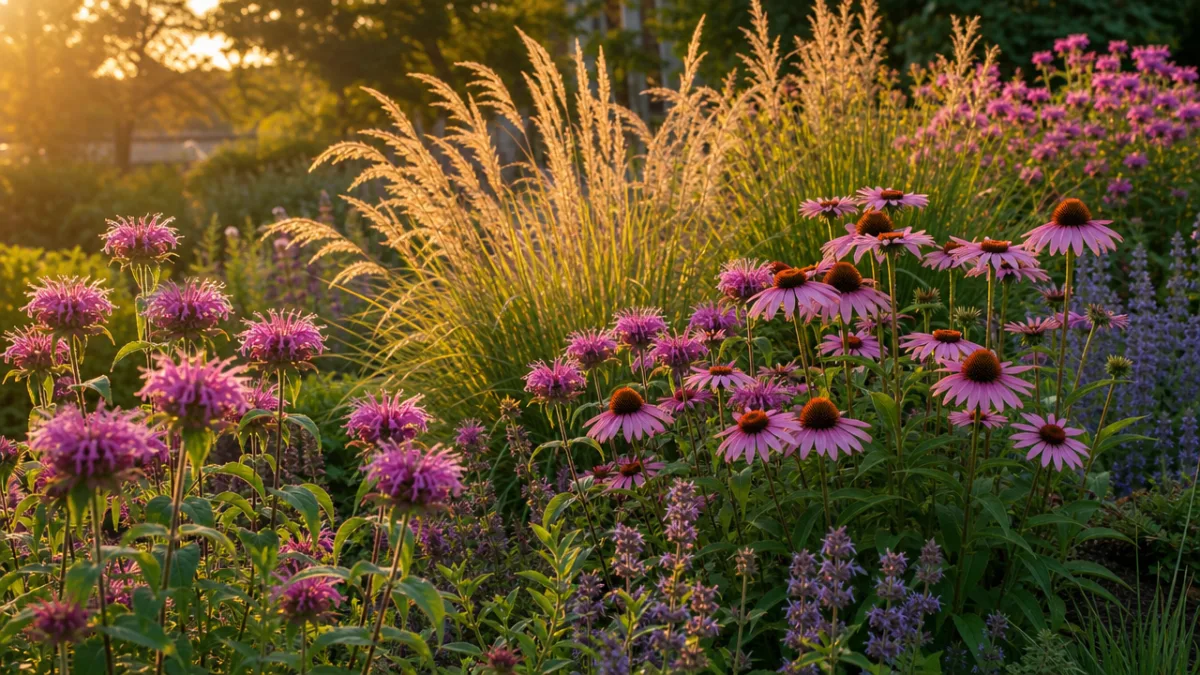
Companion planting is worth thinking about too. Growing bee balm next to plants with good upright structure — tall ornamental grasses, echinacea, rudbeckia — gives those sometimes-floppy stems something to lean against without the need for formal staking. And it’s worth avoiding planting bee balm right next to other powdery mildew magnets like garden phlox, monkshood, or squash, since clustering susceptible plants together just raises the disease pressure in that whole corner of the garden. Thoughtful neighbors make more of a difference than most people realize.
Seasonal Care and Knowing When to Act
Timing is everything with bee balm. In early spring, the moment you spot those first red or green shoots pushing up through the soil, that’s your window: divide any overcrowded clumps, refresh the mulch, add compost or a light fertilizer, and cut away the dead stems left over from last season. Acting right at this moment — when growth is just beginning but the stems aren’t yet tall enough to get in the way of digging — gives your new divisions the maximum time to put down strong roots before summer heat kicks in.
In late summer and fall, resist cutting bee balm down too early. The seed heads that follow the blooms are genuinely useful to birds, especially goldfinches, who come back repeatedly to pick out the small seeds. The standing stems also provide a bit of insulation for the crown through winter and give the garden some texture and structure during the colder months. Hold off until late winter or very early spring to cut everything back to the ground, working around the new growth that’s already starting to emerge as you tidy up. That way you’re getting the full value out of the plant all the way through winter.
And finally — keep notes. Gardening is deeply context-dependent, and what works brilliantly in one yard may not translate to yours because of differences in climate, soil, water, or even just the microclimate of a particular spot. Writing down when you divided plants, what varieties you’re growing, when mildew first showed up, and how the plants responded to different approaches builds a genuinely useful personal knowledge base over a few seasons. A lot of gardeners who struggled with bee balm for years find that things suddenly click when they start paying closer attention to timing and patterns. With the right information and a little observation, bee balm can go from your most frustrating plant to one of the most spectacular things in the whole summer garden.








What do you think?
It is nice to know your opinion. Leave a comment.